

DIY Shower Cleaner: Tired of battling stubborn soap scum and mildew in your shower? I know the feeling! It’s a chore we all dread, and those store-bought cleaners can be harsh on your skin, your wallet, and the environment. But what if I told you there’s a simple, effective, and all-natural solution hiding in your pantry?
For generations, resourceful homemakers have relied on homemade remedies to keep their homes sparkling clean. Before the age of mass-produced chemicals, vinegar and baking soda were the go-to powerhouses for tackling tough cleaning jobs. This tradition of DIY cleaning isn’t just about saving money; it’s about connecting with a simpler, more sustainable way of life.
That’s why I’m so excited to share my favorite DIY Shower Cleaner recipe with you! This isn’t just another cleaning hack; it’s a game-changer. It’s incredibly easy to make, uses ingredients you probably already have, and works wonders on soap scum, hard water stains, and even that pesky mildew. Plus, you’ll be avoiding harsh chemicals and creating a healthier environment for yourself and your family. Ready to ditch the store-bought stuff and embrace the power of DIY? Let’s get started!
DIY Shower Cleaner: Sparkling Clean Without the Harsh Chemicals!
Hey everyone! I’m so excited to share my go-to DIY shower cleaner recipe with you. I’ve been using this for years, and it’s seriously a game-changer. Not only does it save me money, but it also keeps my bathroom smelling fresh and clean without all those harsh chemicals that make my eyes water. Plus, it’s super easy to make! Let’s get started!
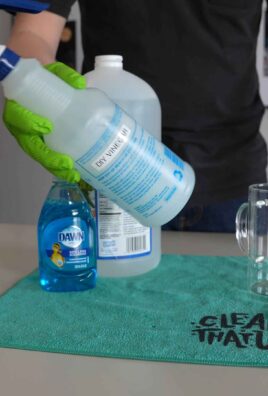
What You’ll Need: The Ingredients & Supplies
Before we dive into the cleaning magic, let’s gather our supplies. This is a pretty simple recipe, so you probably already have most of these things on hand.
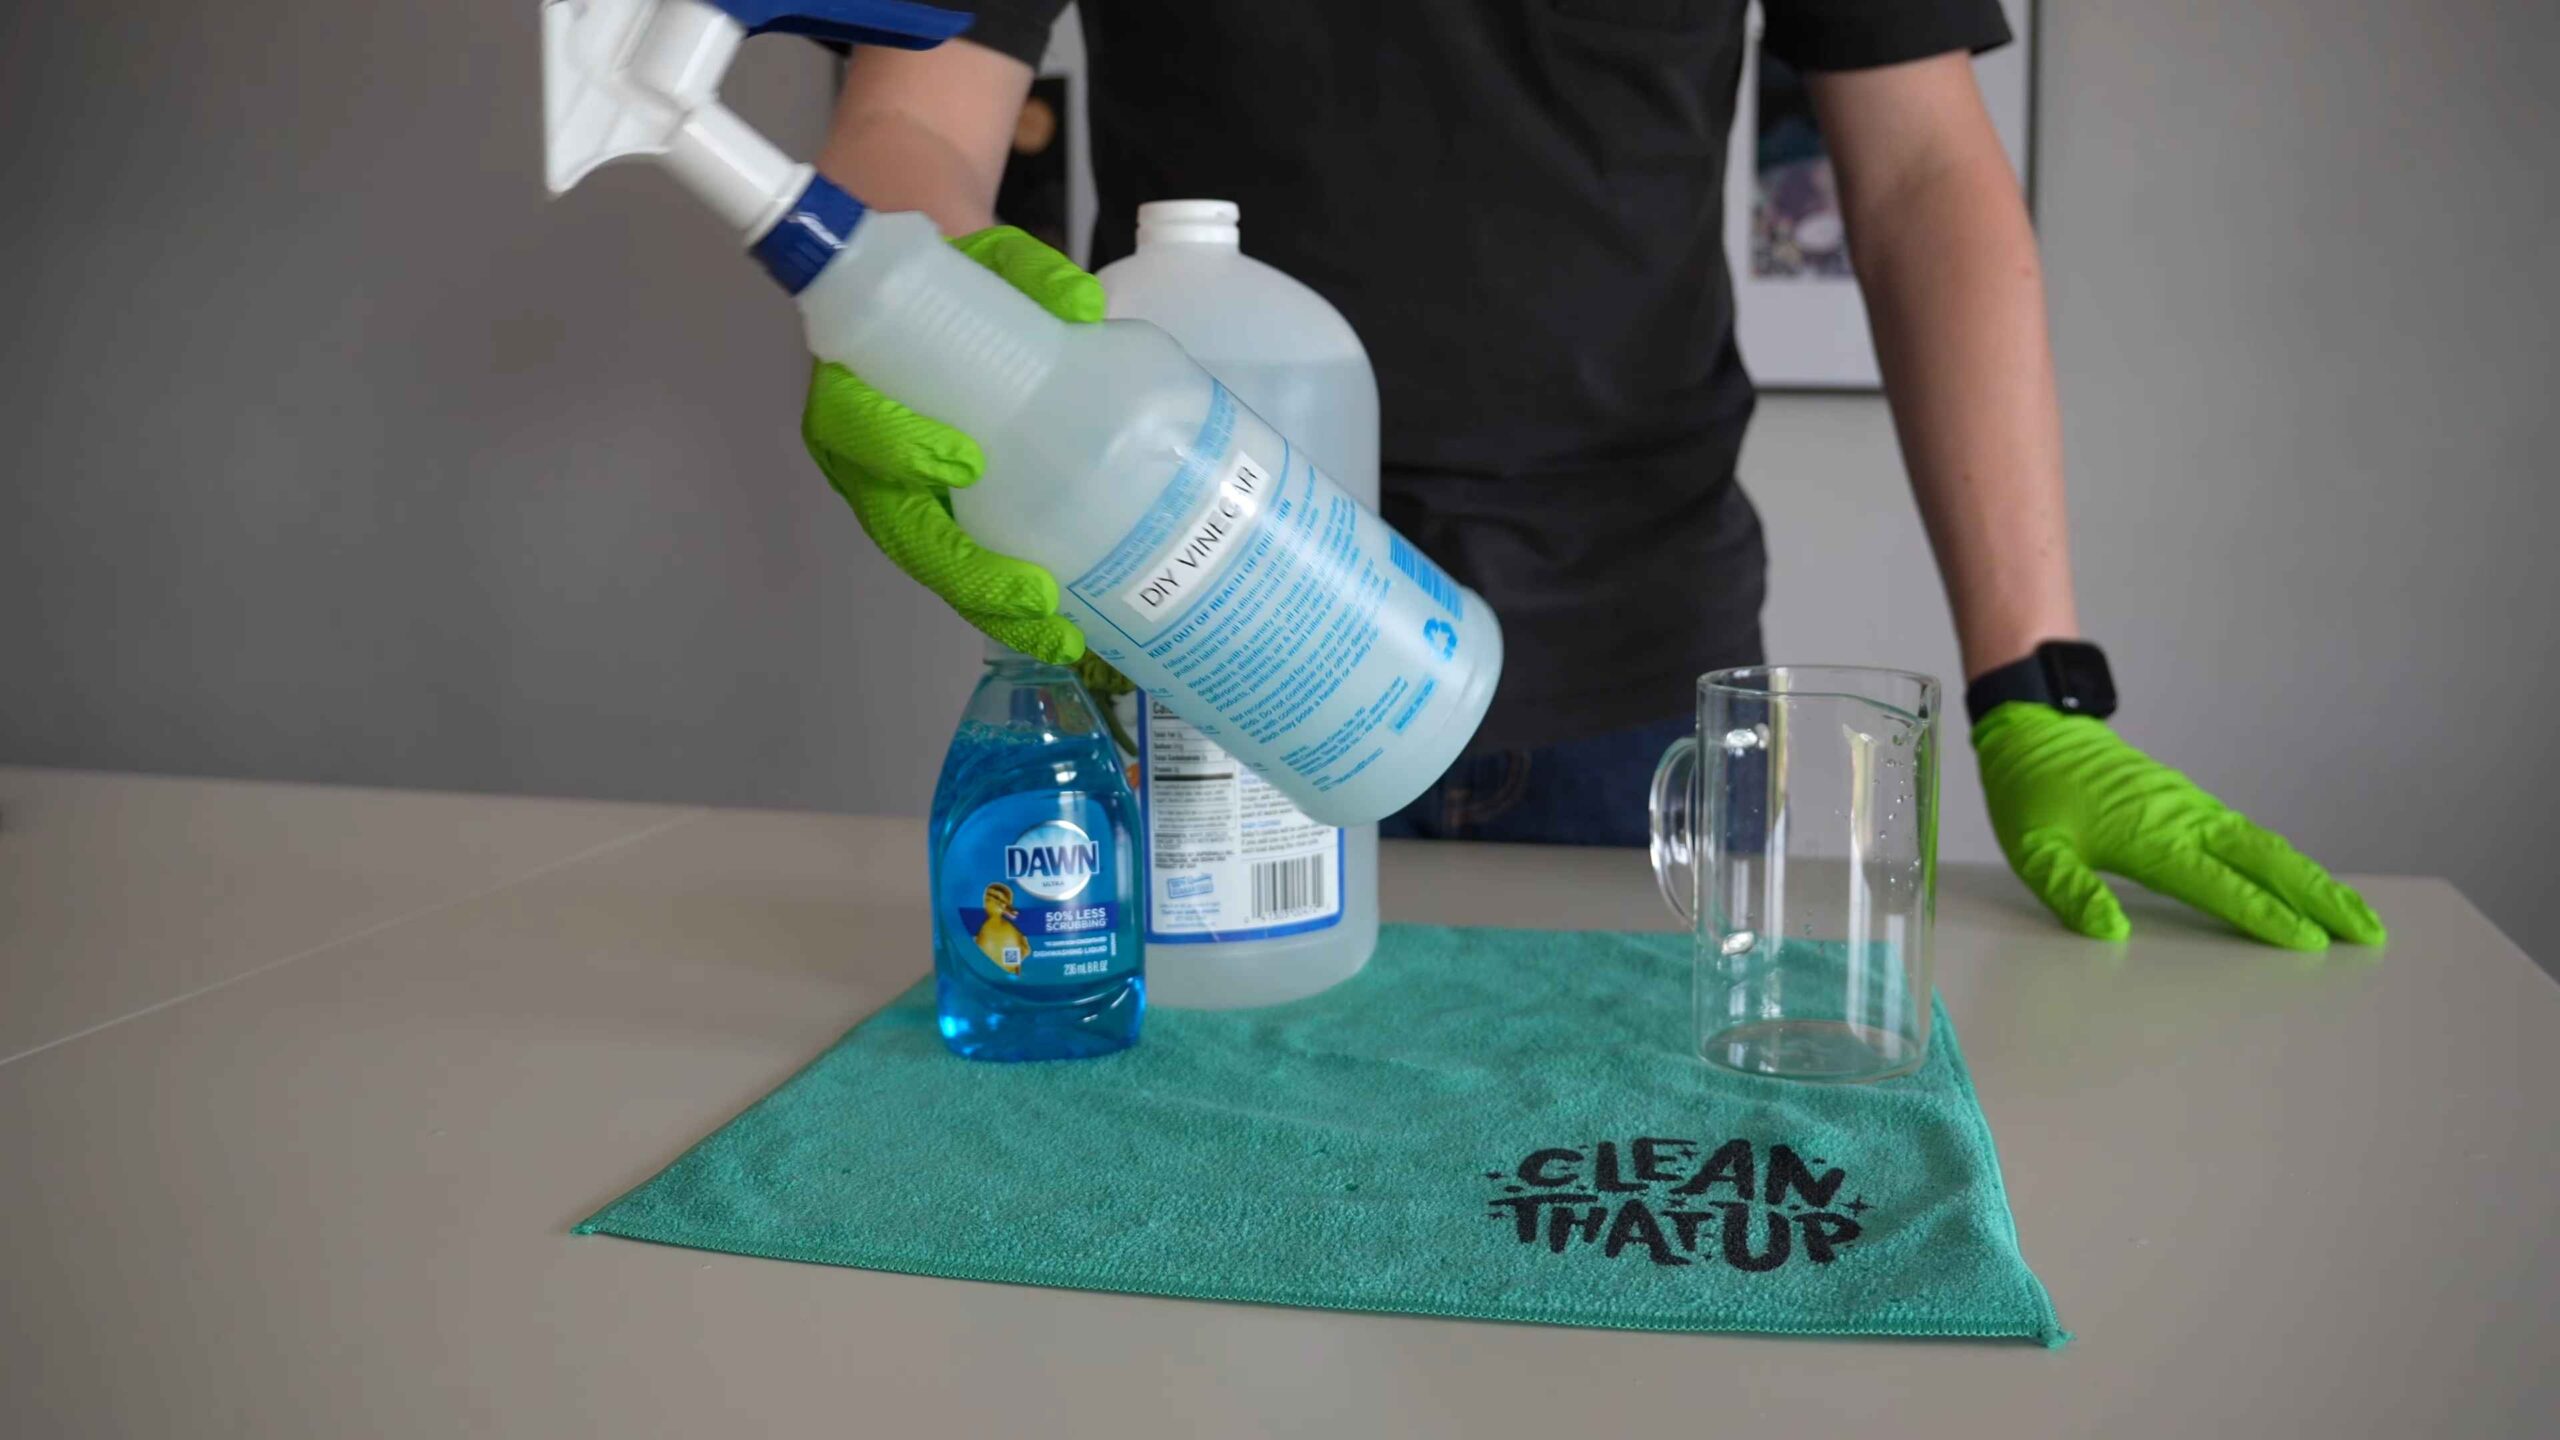
* White Vinegar: This is the star of the show! Vinegar’s acidity helps break down soap scum, hard water stains, and mildew. I usually buy a large jug to keep on hand.
* Dish Soap: I prefer using Dawn dish soap because it’s great at cutting through grease and grime. However, any dish soap will work. Just avoid anything with added moisturizers, as they can leave a residue.
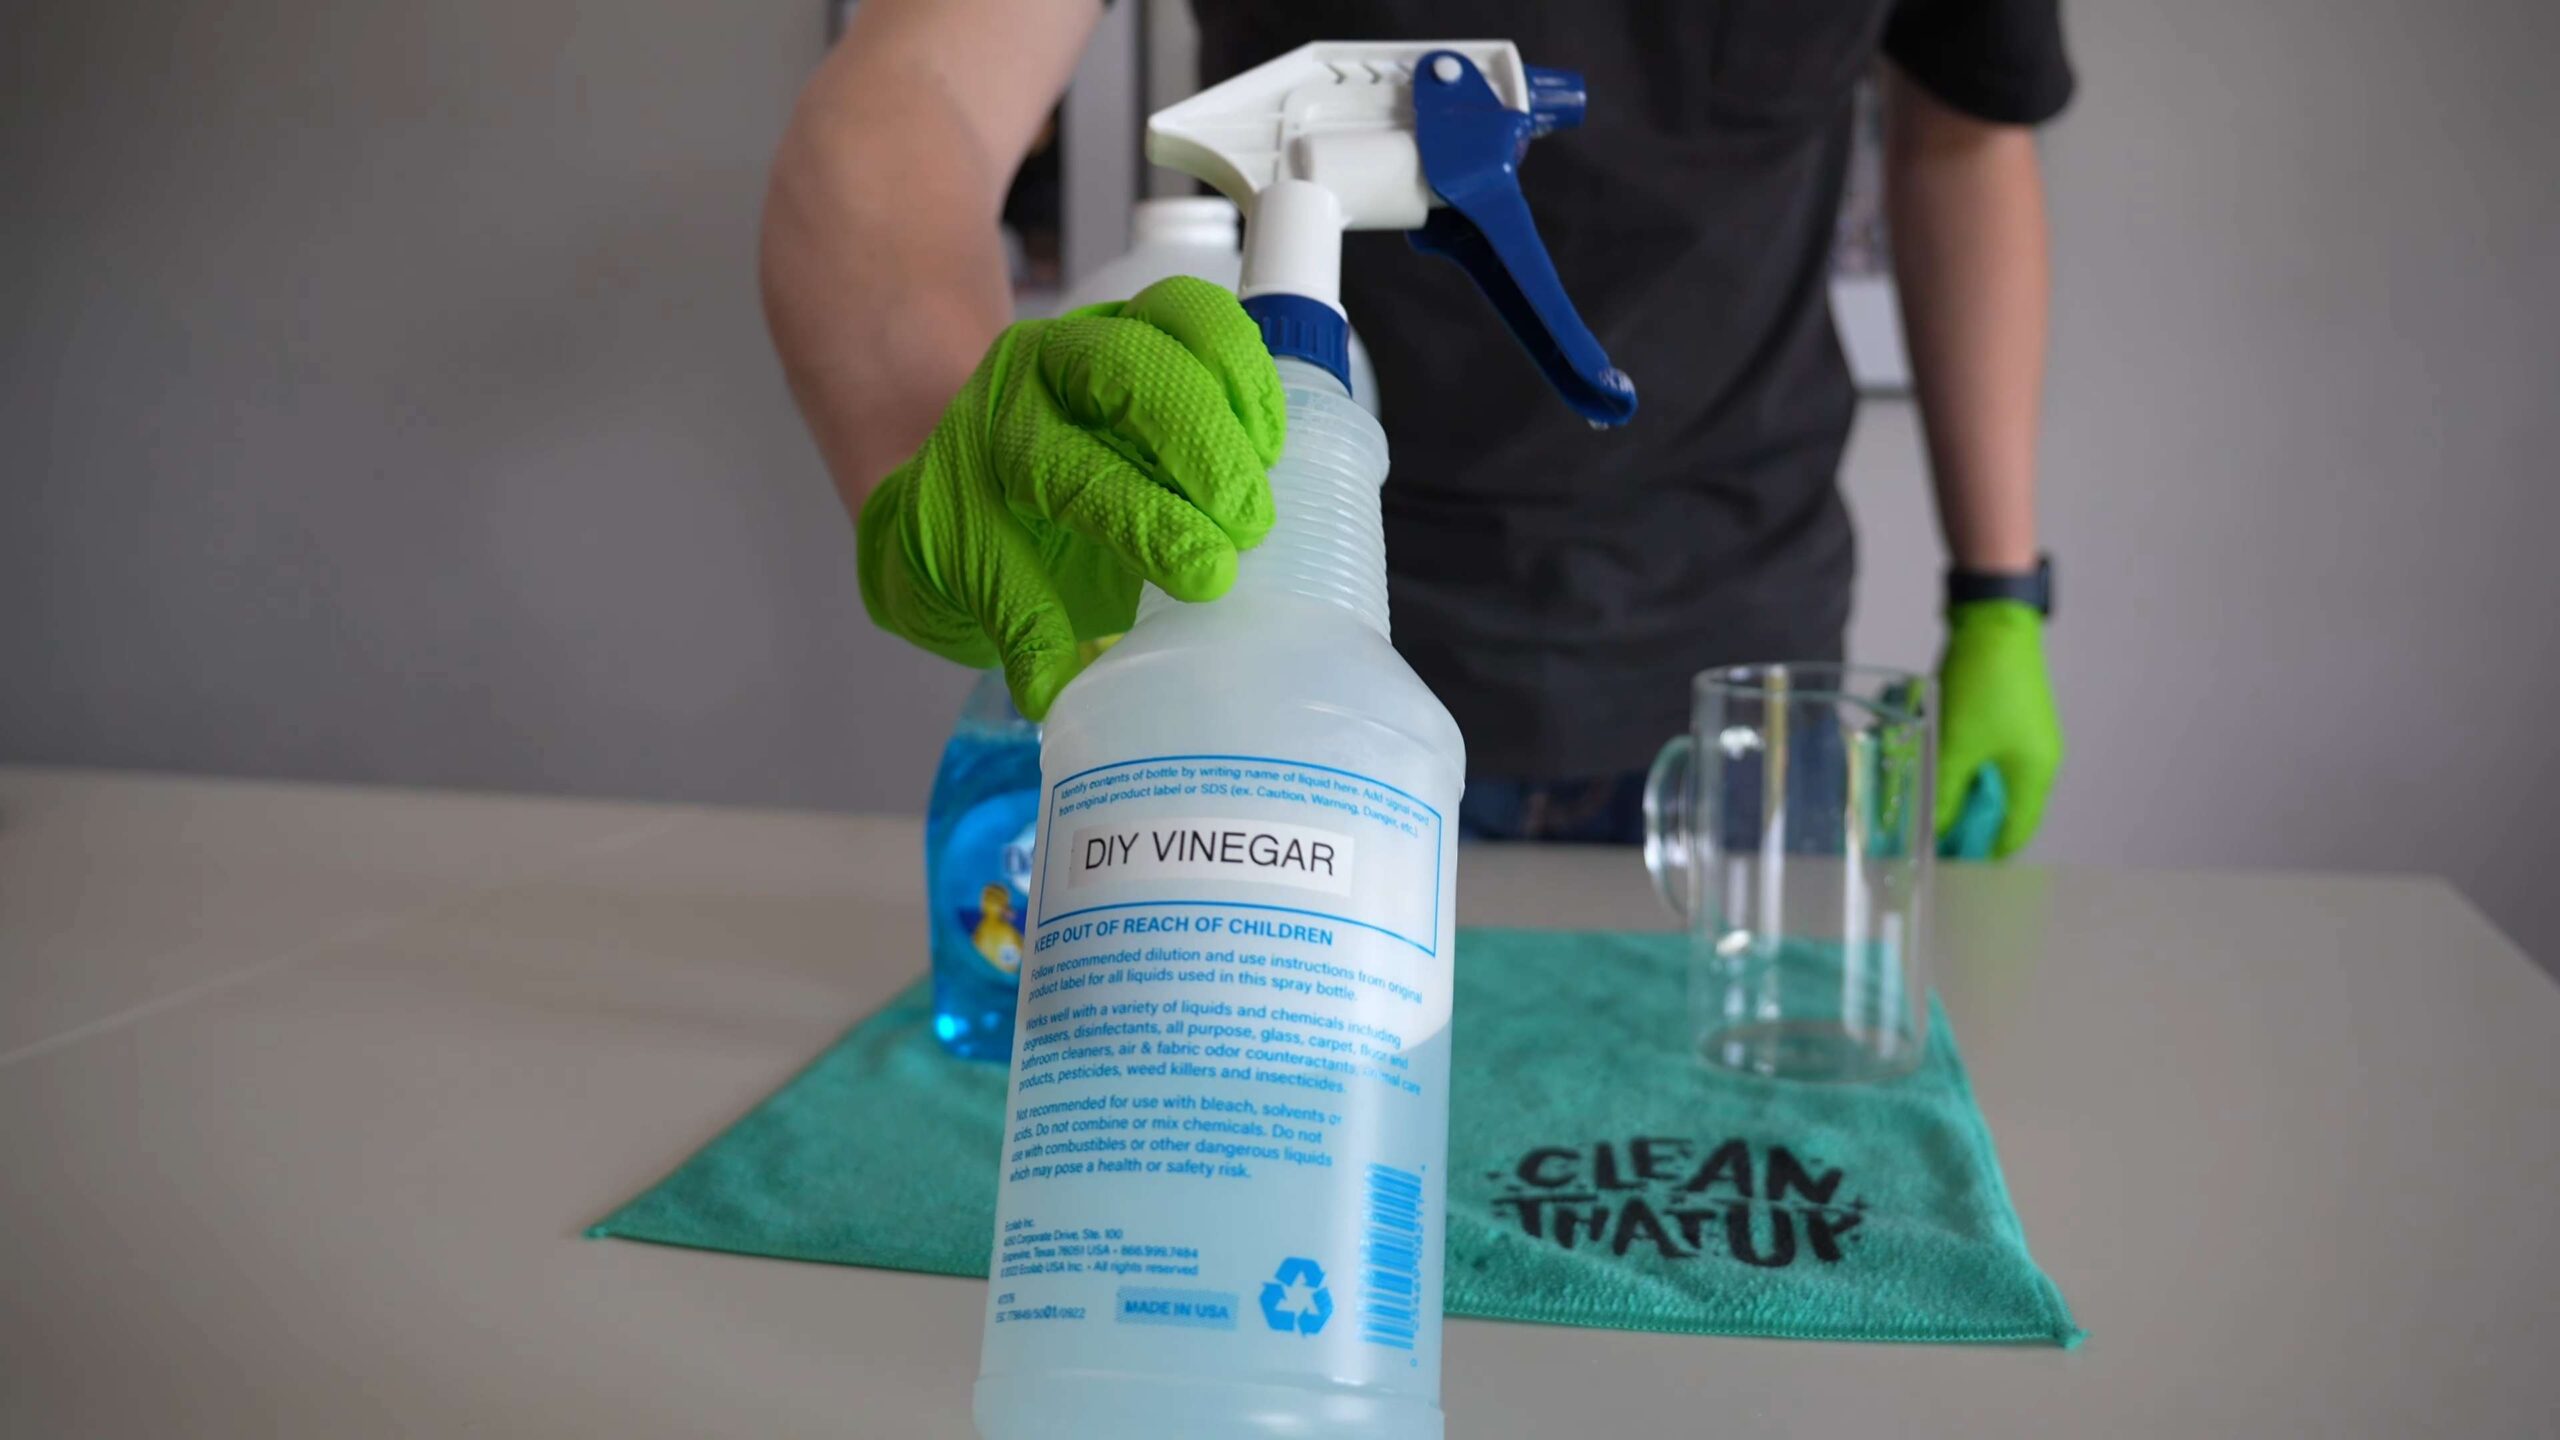
* Spray Bottle: You’ll need a clean, empty spray bottle to mix and apply the cleaner. I recommend using a sturdy one that can handle the vinegar.
* Microfiber Cloths or Sponges: These are essential for wiping down the shower surfaces. Microfiber cloths are my personal favorite because they’re super absorbent and don’t leave streaks.
* Optional: Essential Oils: If you want to add a pleasant scent to your cleaner, you can add a few drops of your favorite essential oil. I love using tea tree oil (which also has antibacterial properties), lavender, or eucalyptus.
* Optional: Baking Soda: For extra stubborn stains, baking soda can be your best friend.
Mixing the Magic: Step-by-Step Instructions
Now for the fun part – making the cleaner! This is so easy, you’ll wonder why you ever bought those expensive store-bought cleaners.
1. Heat the Vinegar: Pour one cup of white vinegar into a microwave-safe container. Heat it in the microwave for about 1-2 minutes, or until it’s hot but not boiling. Heating the vinegar helps it to work even better at dissolving soap scum. Be careful when handling hot vinegar!
2. Combine Vinegar and Dish Soap: In your spray bottle, carefully pour in the heated vinegar. Then, add one cup of dish soap.
3. Gently Mix: Close the spray bottle tightly and gently swirl the mixture to combine the vinegar and dish soap. Avoid shaking vigorously, as this can create excessive suds.
4. Add Essential Oils (Optional): If you’re using essential oils, add about 10-20 drops to the spray bottle. Again, gently swirl to combine.
5. Label Your Bottle: It’s always a good idea to label your spray bottle with the contents and date. This will prevent any confusion later on.
Cleaning Time: Applying and Scrubbing
Alright, we’ve got our cleaner ready to go. Now it’s time to tackle that shower!
1. Spray the Shower: Generously spray the entire shower area with the cleaner, focusing on areas with soap scum, hard water stains, or mildew. Make sure to get the walls, floor, shower door or curtain, and any fixtures.
2. Let it Sit: Allow the cleaner to sit on the surfaces for at least 15-30 minutes. This gives the vinegar and dish soap time to break down the grime. For really tough stains, you can let it sit for up to an hour.
3. Scrub (If Needed): After the cleaner has had time to soak, use a microfiber cloth or sponge to scrub the shower surfaces. You may need to use a little elbow grease for stubborn areas.
4. Rinse Thoroughly: Rinse the entire shower area with hot water to remove all traces of the cleaner. Make sure to get all the nooks and crannies.
5. Dry the Surfaces: Use a clean, dry microfiber cloth to dry the shower surfaces. This will help prevent water spots and keep your shower looking sparkling clean.
Dealing with Stubborn Stains: Baking Soda to the Rescue!
Sometimes, you’ll encounter stains that just won’t budge with the regular cleaner. That’s where baking soda comes in!
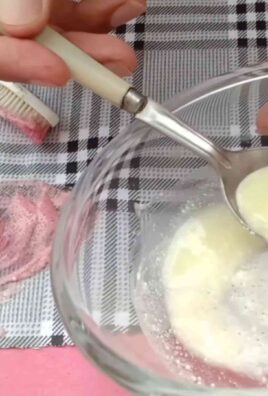
1. Make a Paste: Mix baking soda with a little water to form a thick paste.
2. Apply to Stains: Apply the paste to the stubborn stains and let it sit for about 15-20 minutes.
3. Scrub and Rinse: Use a scrub brush or sponge to scrub the area, then rinse thoroughly with water.
Preventative Measures: Keeping Your Shower Clean Longer
Okay, so you’ve got your shower sparkling clean. Now, how do you keep it that way? Here are a few tips:
* Squeegee After Each Shower: This is the single most effective thing you can do to prevent soap scum and hard water stains. A quick squeegee after each shower will remove excess water and prevent buildup.
* Improve Ventilation: Make sure your bathroom is well-ventilated. Open a window or turn on the exhaust fan after each shower to help dry out the surfaces and prevent mildew growth.
* Regular Cleaning: Clean your shower regularly, even if it doesn’t look dirty. A quick wipe-down once a week can prevent buildup and make cleaning easier in the long run.
* Consider a Water Softener: If you have hard water, consider installing a water softener. This will reduce the amount of minerals in your water, which can cause hard water stains.
* Use a Shower Spray: After each shower, you can spray your shower with a diluted vinegar solution (1 part vinegar, 1 part water) to help prevent soap scum and mildew.
Troubleshooting: Common Issues and Solutions
Even with the best DIY cleaner, you might encounter a few issues. Here are some common problems and how to solve them:
* Strong Vinegar Smell: The vinegar smell can be strong, especially when you first apply the cleaner. Make sure to ventilate your bathroom well. The smell will dissipate after a few hours. Adding essential oils can also help to mask the vinegar smell.
* Soap Scum Buildup: If you have a lot of soap scum buildup, you may need to repeat the cleaning process or use the baking soda paste for extra scrubbing power.
* Hard Water Stains: Hard water stains can be difficult to remove. You may need to use a stronger vinegar solution or a commercial hard water stain remover.
* Mildew Growth: If you have mildew growth, make sure to clean the area thoroughly with the DIY cleaner and allow it to dry completely. You can also use a bleach solution (1 part bleach, 10 parts water) to kill the mildew, but be careful when using bleach and always wear gloves and eye protection.
* Cleaner Not Working: If the cleaner doesn’t seem to be working, make sure you’re using the correct proportions of vinegar and dish soap. Also, make sure the vinegar is heated before mixing.
Why I Love This DIY Cleaner: The Benefits
I’m a huge fan of this DIY shower cleaner for so many reasons. Here are just a few:
* It’s Effective: This cleaner really works! It cuts through soap scum, hard water stains, and mildew like a champ.
* It’s Affordable: Vinegar and dish soap are both inexpensive, so this cleaner is much cheaper than store-bought cleaners.
* It’s Natural: This cleaner is made with natural ingredients, so you don’t have to worry about harsh chemicals.
* It’s Customizable: You can customize the scent of your cleaner by adding your favorite essential oils.
* It’s Easy to Make: This cleaner is so easy to make, you can whip up a batch in just a few minutes.
Final Thoughts: Enjoy Your Sparkling Clean Shower!
I hope you found this DIY shower cleaner recipe helpful! I know it’s made a huge difference in my bathroom, and I’m confident it will do the same for you. Remember to squeegee after each shower, ventilate your bathroom, and clean regularly to keep your shower looking its best. Happy cleaning!
Conclusion
So, there you have it! Ditching the harsh chemicals and embracing this DIY shower cleaner is more than just a trend; it’s a game-changer for your bathroom, your health, and even your wallet. We’ve walked you through a simple, effective recipe that harnesses the power of natural ingredients to combat soap scum, mildew, and grime, leaving your shower sparkling clean and smelling fresh.
But why is this DIY approach a must-try? Firstly, you’re in complete control of what goes into your cleaner. No more deciphering long lists of unpronounceable chemicals or worrying about their potential impact on your family’s health. Secondly, it’s incredibly cost-effective. The ingredients – vinegar, baking soda, and essential oils – are likely already in your pantry or readily available at your local grocery store for a fraction of the price of commercial cleaners. Finally, it’s environmentally friendly. By reducing your reliance on plastic bottles and harsh chemicals, you’re contributing to a healthier planet.
Don’t be afraid to experiment with variations to find the perfect formula for your shower. For a stronger cleaning boost, try adding a tablespoon of borax to the mixture. If you prefer a different scent, swap out the tea tree oil for lavender, eucalyptus, or lemon essential oil. For tougher stains, pre-treating with a paste of baking soda and water can work wonders. Consider using a scrub brush with stiff bristles for stubborn areas, or a microfiber cloth for a streak-free shine. Remember to always test any new cleaning solution in an inconspicuous area first to ensure it doesn’t damage your shower surfaces.
The beauty of this DIY shower cleaner lies in its adaptability. You can adjust the ratios of ingredients to suit the specific needs of your shower and your personal preferences. Perhaps you have hard water that leaves stubborn mineral deposits; in that case, increasing the amount of vinegar might be necessary. Or maybe you’re dealing with a particularly moldy shower; in that case, a higher concentration of tea tree oil, known for its antifungal properties, could be beneficial.
We truly believe that once you try this DIY shower cleaner, you’ll never go back to store-bought alternatives. It’s effective, affordable, safe, and customizable – what more could you ask for?
Now, it’s your turn! We encourage you to give this DIY shower cleaner a try and experience the difference for yourself. And most importantly, we want to hear about your results! Share your experiences, tips, and variations in the comments below. Let’s build a community of DIY cleaning enthusiasts and help each other create sparkling clean and healthy homes. Did you find a particular essential oil blend that worked wonders? Did you discover a unique application technique that made the process even easier? Share your knowledge and inspire others to embrace the power of DIY cleaning! We can’t wait to hear from you!
Frequently Asked Questions (FAQ)
What kind of vinegar should I use for this DIY shower cleaner?
White distilled vinegar is the best choice for this DIY shower cleaner. It’s inexpensive, readily available, and has a high acidity level, making it effective at dissolving soap scum and mineral deposits. Avoid using other types of vinegar, such as apple cider vinegar or balsamic vinegar, as they may contain sugars or pigments that could stain your shower surfaces.
Is baking soda safe to use on all shower surfaces?
Baking soda is generally safe to use on most shower surfaces, including tile, fiberglass, and porcelain. However, it’s mildly abrasive, so avoid using it on delicate surfaces like natural stone (marble, granite) or acrylic, as it could scratch them. Always test in an inconspicuous area first. For natural stone, consider using a pH-neutral cleaner specifically designed for those surfaces.
How often should I use this DIY shower cleaner?
The frequency of cleaning depends on how often you use your shower and how quickly soap scum and mildew build up. As a general guideline, aim to clean your shower at least once a week. For showers that are used frequently or prone to mildew, you may need to clean them more often, perhaps every few days. Regular cleaning will prevent buildup and make the cleaning process easier.
Can I use other essential oils besides tea tree oil?
Yes, you can definitely experiment with other essential oils! Tea tree oil is a popular choice due to its antifungal and antibacterial properties, making it effective at combating mildew. However, other essential oils like lavender, eucalyptus, lemon, grapefruit, and peppermint also have cleaning and deodorizing properties. Choose essential oils based on your personal preferences and desired scent. Just be sure to use pure essential oils and not fragrance oils, which don’t have the same therapeutic benefits.
How do I store the DIY shower cleaner?
Store the DIY shower cleaner in a clean, airtight spray bottle. Label the bottle clearly with the contents and date. Keep it in a cool, dark place away from direct sunlight, which can degrade the essential oils. The cleaner should be effective for several months. If you notice any changes in color, odor, or consistency, discard it and make a fresh batch.
My shower has really tough soap scum buildup. Will this DIY cleaner be effective?
For tough soap scum buildup, you may need to pre-treat the area with a paste of baking soda and water. Apply the paste to the affected areas, let it sit for 15-20 minutes, and then scrub with a brush or sponge. Rinse thoroughly before applying the DIY shower cleaner. You can also try heating the vinegar slightly before mixing it with the other ingredients, as warm vinegar is more effective at dissolving soap scum.
Is this DIY shower cleaner safe for septic systems?
Yes, this DIY shower cleaner is generally safe for septic systems. The ingredients – vinegar, baking soda, and essential oils – are all biodegradable and won’t harm the beneficial bacteria in your septic tank. However, it’s always a good idea to use any cleaning product sparingly, even natural ones, to avoid overloading your septic system.
Can I use this cleaner on glass shower doors?
Yes, this DIY shower cleaner is safe to use on glass shower doors. In fact, it can be quite effective at removing water spots and soap scum. After spraying the cleaner on the glass, use a squeegee to remove the excess liquid and prevent streaks. You can also buff the glass with a microfiber cloth for a sparkling shine.
What if I don’t have essential oils? Can I still make the cleaner?
Yes, you can still make the cleaner without essential oils. The vinegar and baking soda are the primary cleaning agents. The essential oils are added for their antibacterial properties and to provide a pleasant scent. If you don’t have essential oils, you can simply omit them. The cleaner will still be effective, but it may not have the same deodorizing effect. You could also add a few drops of lemon juice for a fresh scent.
My shower is made of natural stone. What cleaner should I use?
Natural stone showers (marble, granite, etc.) require special care as they are porous and can be damaged by acidic or abrasive cleaners. Avoid using vinegar, baking soda, or any cleaner with a pH level that is too high or too low. Instead, use a pH-neutral cleaner specifically designed for natural stone. These cleaners are available at most home improvement stores. Always test the cleaner in an inconspicuous area first to ensure it doesn’t damage the stone.
Leave a Comment