

Clean window tracks – those grimy grooves that seem to collect dust, dirt, and the occasional rogue insect – are often overlooked in our cleaning routines. But fear not, fellow homeowners and renters! I’m here to share some amazing DIY tricks that will transform those neglected tracks from eyesores to sparkling clean channels.
Window tracks, while seemingly insignificant, play a vital role in the smooth operation and energy efficiency of our homes. Think about it: they guide our windows, allowing fresh air and sunlight to flood our living spaces. Historically, keeping windows clean has been a sign of prosperity and care, reflecting a well-maintained home. In many cultures, a clean home is also associated with a clear mind and positive energy.
Let’s be honest, nobody enjoys struggling to open or close a window because of built-up grime. Not only is it frustrating, but it can also damage the window mechanism over time. Plus, those dirty tracks can be a breeding ground for mold and allergens, impacting your indoor air quality. That’s why learning how to clean window tracks effectively is so important. I’ll guide you through simple, affordable, and surprisingly satisfying DIY methods that will leave your window tracks looking brand new. Get ready to say goodbye to grime and hello to smoothly gliding windows!
DIY Window Track Cleaning: A Sparkling Guide
Okay, let’s face it, window tracks are the forgotten corners of our homes. They collect dust, grime, bugs – you name it! But fear not, because I’m going to walk you through a super effective DIY method to get those tracks sparkling clean. It’s easier than you think, and the results are so satisfying!
What You’ll Need: The Arsenal of Clean
Before we dive in, let’s gather our supplies. Having everything ready will make the process smooth and efficient.
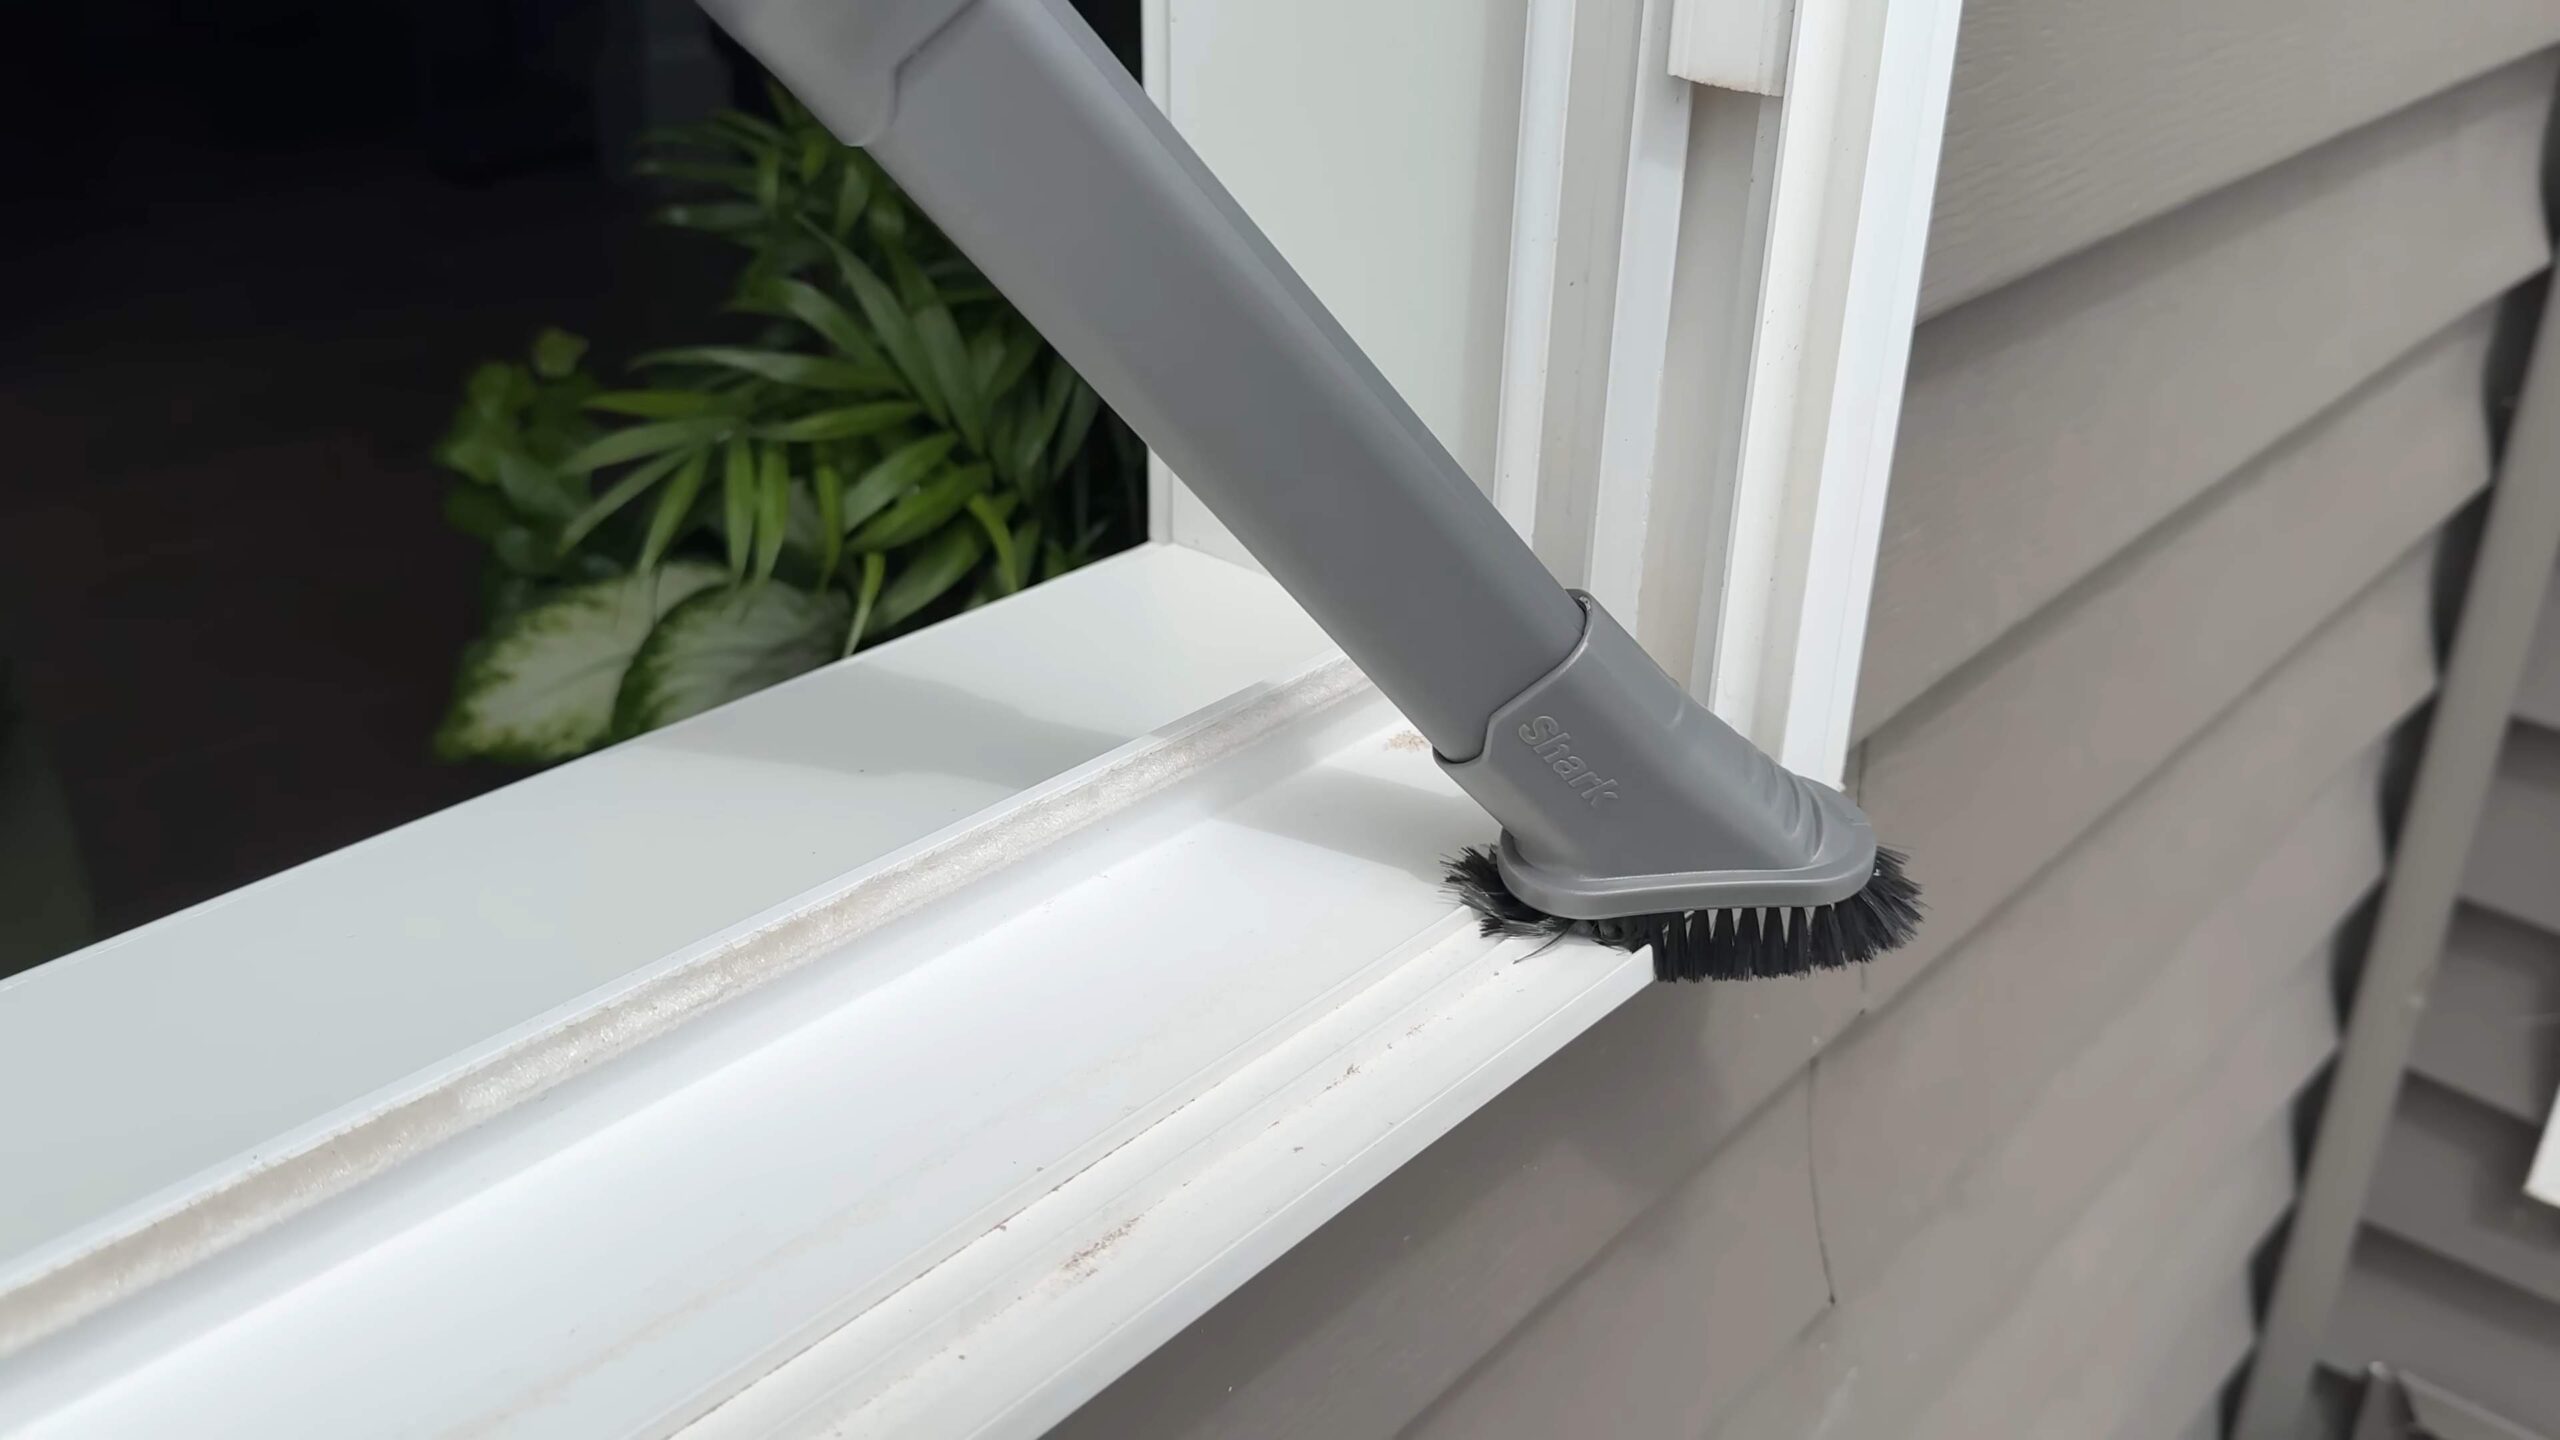
* Vacuum Cleaner with a Hose Attachment: This is your first line of defense against loose debris. A crevice tool is especially helpful.
* Stiff Brush (Old Toothbrush or Scrub Brush): For scrubbing away stubborn dirt and grime. An old toothbrush is perfect for tight corners.
* Small Putty Knife or Flathead Screwdriver (Wrapped in Cloth): To dislodge stubborn gunk. Be gentle to avoid scratching the tracks!
* Baking Soda: A natural and effective cleaning agent.
* White Vinegar: The magic ingredient that reacts with baking soda to create a powerful cleaning fizz.
* Spray Bottle: To apply the vinegar solution.
* Dish Soap: For extra cleaning power.
* Paper Towels or Cleaning Rags: For wiping away the mess. Microfiber cloths work great too!
* Water: For rinsing.
* Optional: Cotton Swabs: For those super hard-to-reach spots.
* Optional: Safety Glasses: To protect your eyes from splashes.
Step-by-Step Cleaning Process: Let’s Get Started!
Now that we have our supplies, let’s get those window tracks looking brand new!
1. Vacuum the Tracks: This is crucial! Use the hose attachment of your vacuum cleaner to remove all loose dirt, dust, and debris from the window tracks. Pay close attention to the corners and edges. This step alone can make a huge difference. I usually go over each track a couple of times to make sure I get everything.
2. Apply Baking Soda: Generously sprinkle baking soda all over the window tracks. Don’t be shy! The baking soda will act as a mild abrasive and help to loosen the grime. I like to make sure the baking soda covers all the dirty areas.
3. Spray with Vinegar: Now for the fun part! Fill your spray bottle with white vinegar and spray it directly onto the baking soda in the window tracks. You’ll see it start to fizz – that’s the chemical reaction working its magic! The fizzing action helps to break down the dirt and grime.
4. Let it Fizz: Allow the baking soda and vinegar mixture to fizz for about 5-10 minutes. This gives the solution time to penetrate and loosen the stubborn dirt. I usually use this time to gather any other supplies I might need or to tackle another small cleaning task.
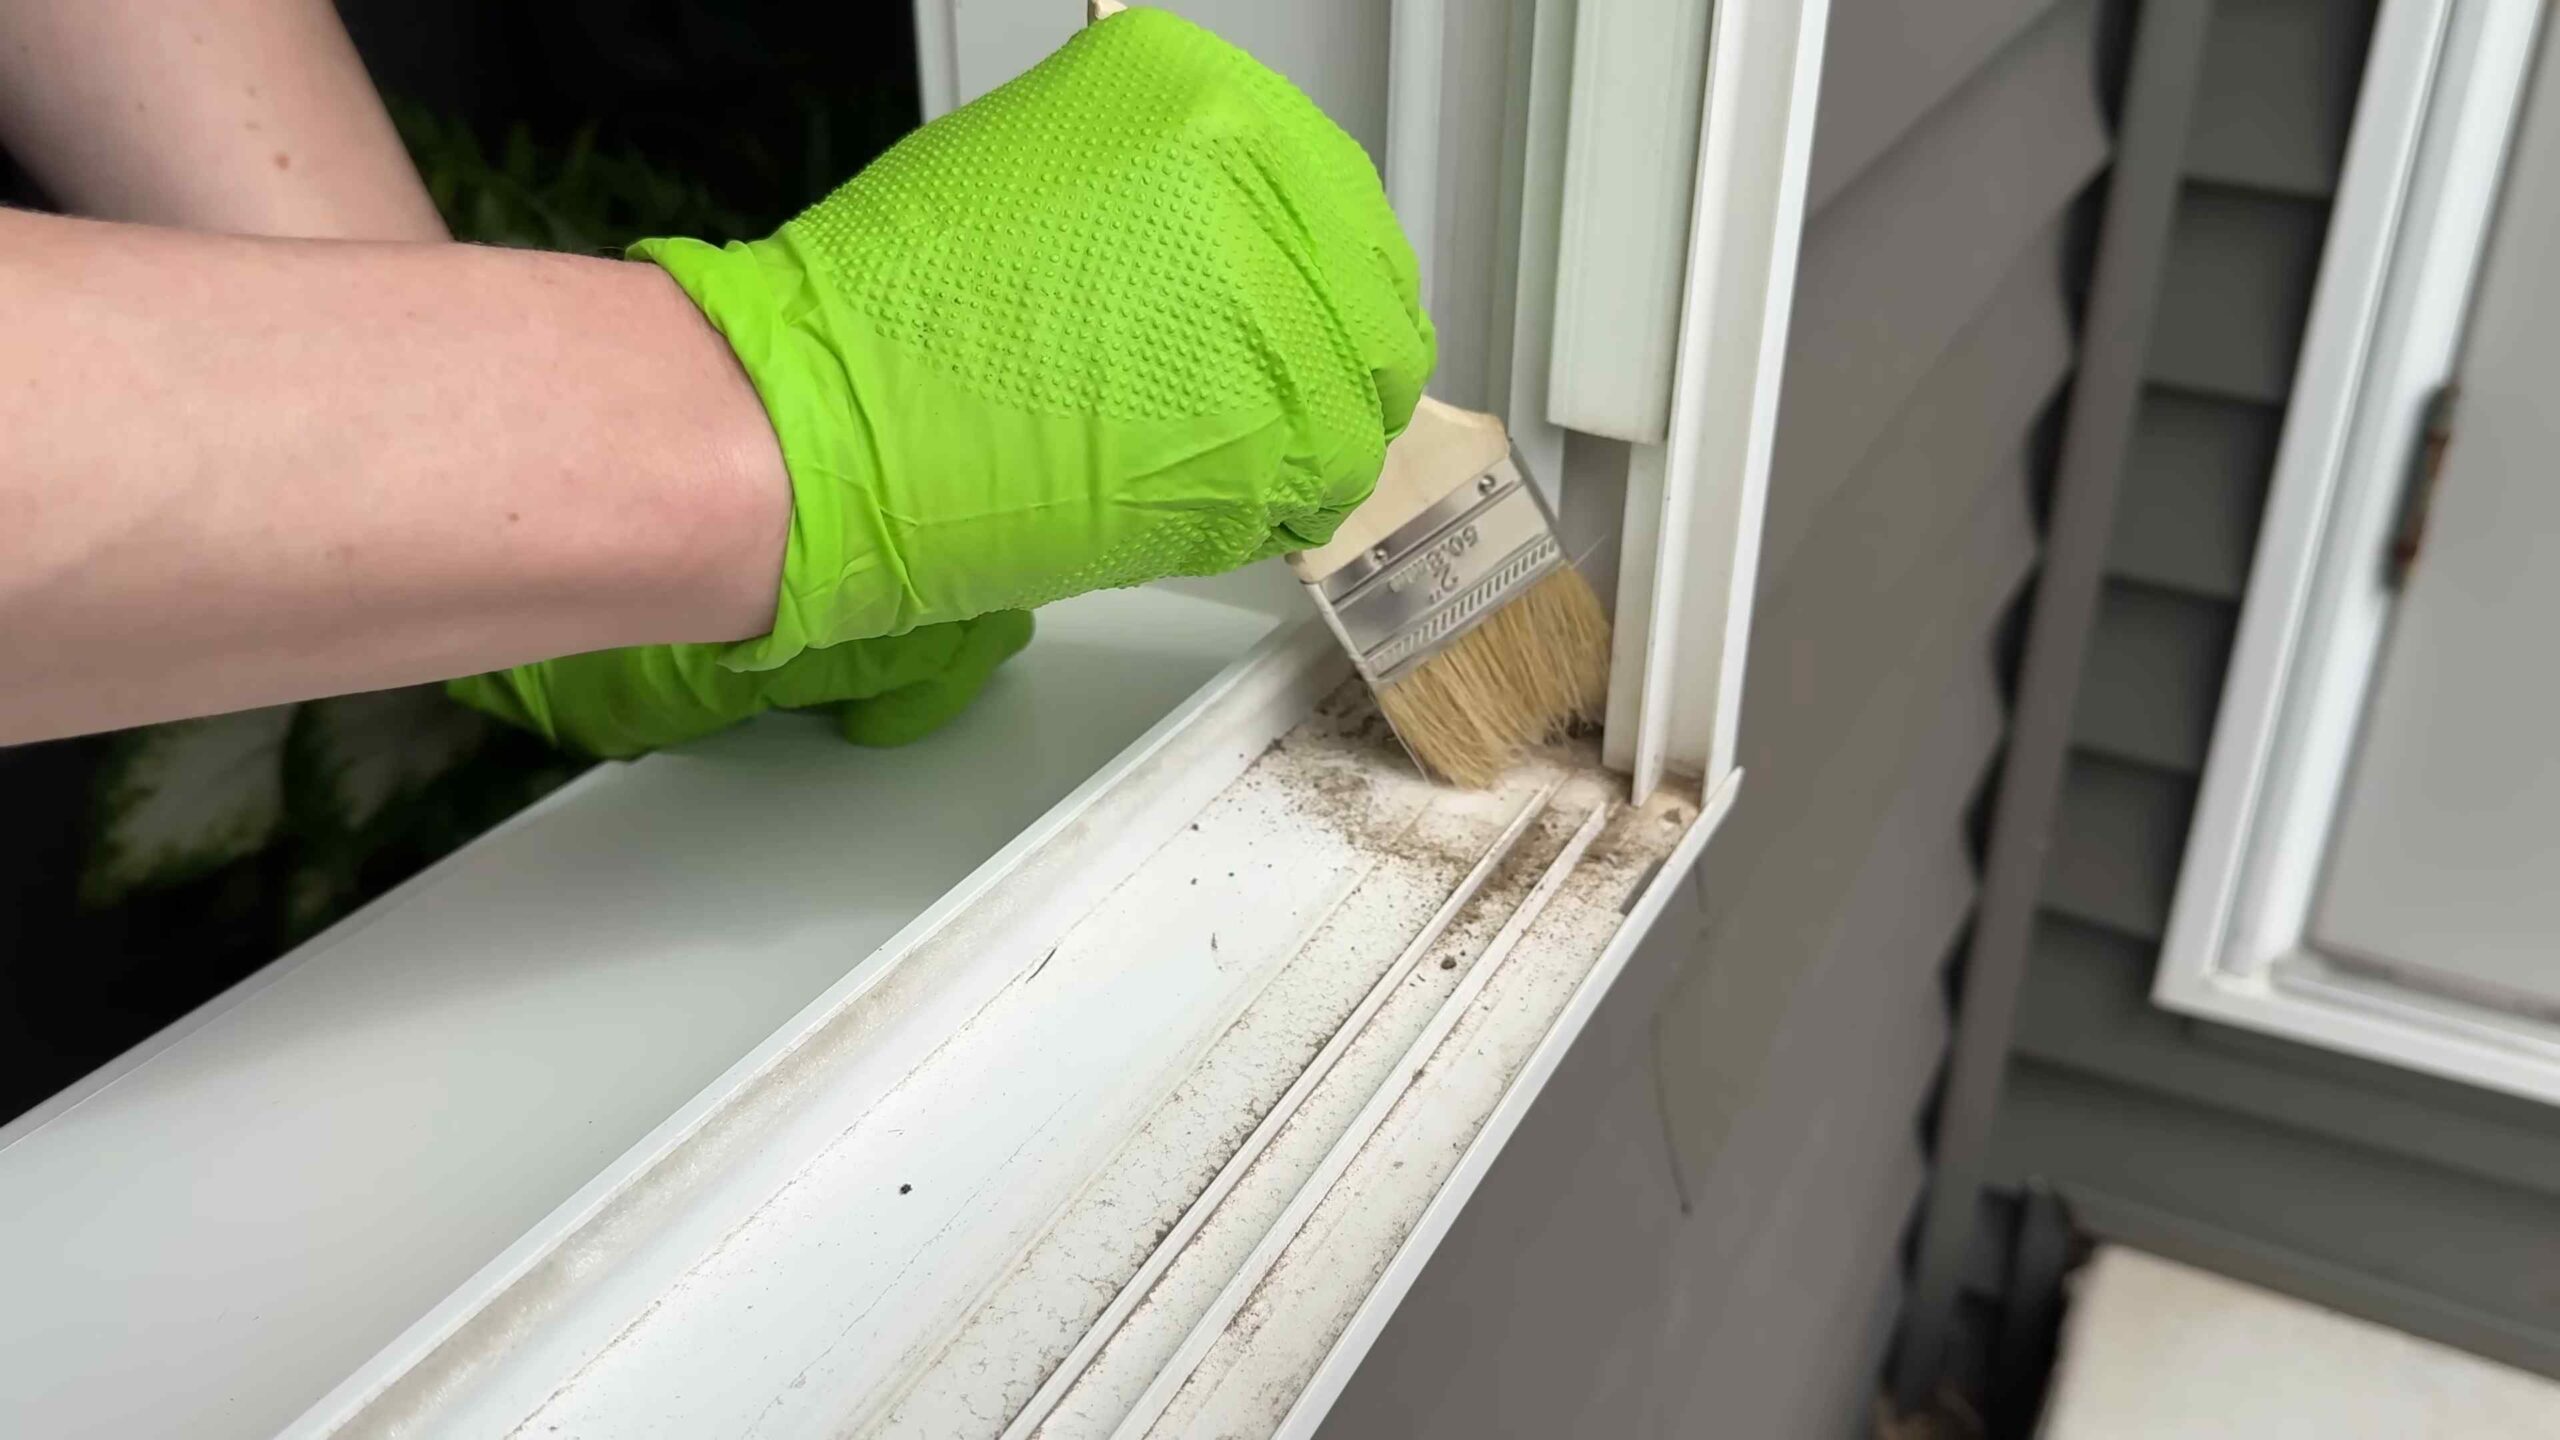
5. Scrub the Tracks: Using your stiff brush (or old toothbrush), scrub the window tracks thoroughly. Pay attention to the corners and edges, where dirt tends to accumulate. You might need to apply a little elbow grease for those really stubborn spots. I find that a back-and-forth motion works best.
6. Loosen Stubborn Gunk: If you encounter any particularly stubborn gunk, use your putty knife or flathead screwdriver (wrapped in cloth to protect the tracks) to gently scrape it away. Be careful not to scratch the window tracks! Apply gentle pressure and work slowly.
7. Wipe Away the Mess: Use paper towels or cleaning rags to wipe away the baking soda and vinegar mixture, along with all the loosened dirt and grime. You might need to use several paper towels or rags to get the tracks completely clean. I like to fold my paper towels into smaller squares so I can get into the corners more easily.
8. Rinse with Water (Optional): If you feel like the tracks are still a bit sticky or have residue, you can rinse them with a small amount of water. Use a damp cloth or sponge to wipe the tracks clean. Make sure to dry the tracks thoroughly afterward to prevent mold or mildew growth.
9. Add Dish Soap (For Extra Cleaning Power): For extra dirty tracks, you can add a few drops of dish soap to the baking soda and vinegar mixture. The dish soap will help to cut through grease and grime. Follow the same steps as above, but be sure to rinse the tracks thoroughly with water to remove any soap residue.
10. Dry the Tracks: Use a clean, dry cloth or paper towel to thoroughly dry the window tracks. This will help to prevent mold and mildew growth. I like to use a microfiber cloth for this step because it absorbs water really well.
11. Final Touches: Use cotton swabs to clean any remaining dirt or grime from those super hard-to-reach spots. This is especially helpful for cleaning the corners and edges of the window tracks.
Dealing with Specific Issues: Troubleshooting Tips
Sometimes, you might encounter specific issues that require a little extra attention. Here are a few tips for dealing with common problems:
* Mold and Mildew: If you notice mold or mildew in your window tracks, you can use a solution of bleach and water to kill the mold. Mix one part bleach with ten parts water and apply the solution to the affected areas. Let it sit for a few minutes, then scrub with a brush and rinse thoroughly with water. Be sure to wear gloves and eye protection when working with bleach. Always ventilate the area well when using bleach.
* Rust: If you have rust in your window tracks, you can try using a rust remover or a mixture of lemon juice and salt. Apply the rust remover or lemon juice and salt mixture to the affected areas and let it sit for a few minutes. Then, scrub with a brush and rinse thoroughly with water.
* Sticky Residue: If you have sticky residue in your window tracks, you can try using a solvent like Goo Gone or WD-40. Apply the solvent to the affected areas and let it sit for a few minutes. Then, wipe away the residue with a clean cloth. Be sure to follow the manufacturer’s instructions when using solvents.
Maintaining Your Clean Window Tracks: Prevention is Key
Now that your window tracks are sparkling clean, let’s talk about how to keep them that way! Regular maintenance is key to preventing dirt and grime from building up in the first place.
* Vacuum Regularly: Vacuum your window tracks at least once a month to remove loose dirt and debris. This will help to prevent the buildup of grime.
* Wipe Down Regularly: Wipe down your window tracks with a damp cloth or paper towel every few weeks to remove any dirt or grime that may have accumulated.
* Lubricate the Tracks: If your windows are sticking or difficult to open and close, you can lubricate the tracks with a silicone-based lubricant. This will help the windows to slide more smoothly.
* Address Leaks Promptly: If you notice any leaks around your windows, address them promptly to prevent water damage and mold growth.
Enjoy Your Sparkling Clean Windows!
And there you have it! Sparkling clean window tracks that will make your whole house feel fresher and brighter. It might seem like a small detail, but trust me, it makes a big difference. Plus, knowing you did it yourself is always a rewarding feeling. Happy cleaning!
Conclusion
So, there you have it! A simple, effective, and surprisingly satisfying way to tackle those grimy window tracks. Forget expensive cleaners and complicated tools. This DIY method for clean window tracks is a game-changer, offering a cost-effective and eco-friendly solution that delivers sparkling results.
Why is this a must-try? Because it’s not just about aesthetics. Clean window tracks ensure smooth window operation, preventing sticking and potential damage to your windows over time. Plus, removing that accumulated dirt and debris eliminates a breeding ground for mold and allergens, contributing to a healthier home environment.
But the best part? It’s adaptable! Feel free to experiment with variations to suit your specific needs and preferences. For instance, if you’re dealing with particularly stubborn grime, try letting the baking soda paste sit for a longer period – even overnight. You could also add a few drops of your favorite essential oil, like lemon or tea tree, to the vinegar solution for an extra boost of cleaning power and a pleasant scent.
Another variation involves using an old toothbrush instead of cotton swabs for reaching tight corners. The bristles can effectively dislodge dirt and debris in those hard-to-reach areas. If you don’t have vinegar on hand, a solution of warm water and dish soap can also work, although vinegar’s acidity provides a more potent cleaning action.
For those with metal window tracks, be mindful of using abrasive cleaners that could scratch the surface. Opt for gentler methods and always test in an inconspicuous area first. And if you have vinyl window tracks, avoid using harsh chemicals that could damage the material.
We’re confident that once you try this DIY trick, you’ll be amazed by the difference it makes. It’s a small effort that yields significant results, transforming your windows from grimy eyesores to sparkling focal points.
Don’t just take our word for it – give it a try! We encourage you to embrace this simple yet effective method for achieving impeccably clean window tracks. And most importantly, we want to hear about your experience! Share your before-and-after photos, tips, and variations in the comments below. Let’s create a community of sparkling windows and happy homeowners! Your insights could help others discover the joy of a cleaner, brighter home. Let us know if you have any questions, and happy cleaning!
Frequently Asked Questions (FAQ)
Q: How often should I clean my window tracks?
A: The frequency of cleaning your window tracks depends on several factors, including your location, the amount of dust and pollen in the air, and whether you have pets. As a general rule, cleaning them every 3-6 months is a good starting point. However, if you live in a dusty area or have pets that shed a lot, you may need to clean them more frequently. Regularly inspecting your window tracks will help you determine the best cleaning schedule for your home. If you notice a build-up of dirt and debris, it’s time to clean them.
Q: What if the grime is really stuck on and the baking soda paste isn’t working?
A: For particularly stubborn grime, several strategies can help. First, try letting the baking soda paste sit for a longer period, even overnight. This allows the baking soda to penetrate and loosen the grime more effectively. Second, consider using a slightly stiffer brush, like an old toothbrush with firm bristles, to scrub the area. Be careful not to scratch the window track material. Third, you can try using a specialized window track cleaning brush, which is designed to reach into tight corners and crevices. Finally, for extremely stubborn grime, you might consider using a commercial window track cleaner, but always test it in an inconspicuous area first to ensure it doesn’t damage the window track material.
Q: Can I use bleach to clean my window tracks?
A: While bleach is a powerful cleaning agent, it’s generally not recommended for cleaning window tracks. Bleach can be corrosive and may damage certain materials, such as metal or vinyl. It can also release harmful fumes, especially when mixed with other cleaning products. Furthermore, bleach can discolor or fade certain surfaces. It’s best to stick to gentler, more natural cleaning methods, such as baking soda and vinegar, which are less likely to cause damage or pose health risks. If you do choose to use bleach, dilute it significantly with water and wear gloves and eye protection. Ensure proper ventilation and never mix bleach with ammonia or other cleaning products.
Q: Is vinegar safe to use on all types of window tracks?
A: Vinegar is generally safe to use on most types of window tracks, including aluminum, vinyl, and wood. However, it’s always a good idea to test it in an inconspicuous area first to ensure it doesn’t cause any discoloration or damage. Vinegar is acidic, so it’s important to dilute it with water before using it on delicate surfaces. For example, if you have painted window tracks, vinegar could potentially soften or remove the paint. In such cases, a milder cleaning solution, such as warm water and dish soap, may be a better option.
Q: What’s the best way to prevent window tracks from getting dirty in the first place?
A: Preventing window tracks from getting dirty in the first place is the best way to minimize the need for frequent cleaning. Here are a few tips:
* Regularly vacuum or sweep around your windows: This will help remove loose dirt and debris before it gets trapped in the window tracks.
* Wipe down your window tracks with a damp cloth: Do this every few weeks to remove any surface dirt or dust.
* Use weather stripping or sealant: This will help prevent dirt and debris from entering the window tracks.
* Trim bushes and trees near your windows: This will reduce the amount of pollen and leaves that can accumulate in the window tracks.
* Consider using window track protectors: These are designed to keep dirt and debris out of the window tracks.
Q: My window tracks have mold growing in them. Will this DIY method work for removing mold?
A: While the baking soda and vinegar method can help remove some mold, it may not be sufficient for tackling significant mold growth. For mold, a more targeted approach is needed. First, ensure you’re wearing appropriate safety gear, including gloves, a mask, and eye protection. You can try using a solution of diluted bleach (1 part bleach to 10 parts water), but be sure to ventilate the area well and avoid contact with skin or clothing. Alternatively, you can use a commercial mold and mildew remover specifically designed for window tracks. Follow the product instructions carefully. After cleaning, ensure the window tracks are completely dry to prevent mold from returning. If the mold growth is extensive or you’re concerned about potential health risks, it’s best to consult with a professional mold remediation specialist.
Q: Can I use a power washer to clean my window tracks?
A: Using a power washer to clean window tracks is generally not recommended. The high pressure of the water can damage the window tracks, seals, and even the window glass itself. It can also force water into the walls and surrounding areas, leading to potential water damage and mold growth. It’s always best to stick to gentler cleaning methods, such as the baking soda and vinegar method, which are less likely to cause damage.
Q: What if I don’t have baking soda? What can I use instead?
A: If you don’t have baking soda, you can try using a paste made from cream of tartar and water. Cream of tartar has mild abrasive properties that can help loosen dirt and grime. You can also try using a mixture of borax and water, which is another effective cleaning agent. However, borax can be irritating to the skin, so be sure to wear gloves when using it. In a pinch, you can also try using a paste made from dish soap and water, although it may not be as effective as baking soda or cream of tartar.


Leave a Comment