

Grow Squash at Home, even if you think you don’t have the space or the green thumb! Have you ever dreamed of harvesting your own vibrant, delicious squash right from your backyard? Imagine the satisfaction of serving a home-cooked meal featuring squash you nurtured from seed to table. It’s more achievable than you think, and this DIY guide is here to show you how!
Squash has a rich history, dating back thousands of years in the Americas. Indigenous cultures revered it as a staple food, using every part of the plant – the flesh, seeds, and even the blossoms. Today, squash remains a beloved ingredient worldwide, celebrated for its versatility and nutritional benefits. But why buy it at the store when you can experience the joy of growing your own?
In today’s busy world, connecting with nature can be a real challenge. Grow Squash at Home offers a simple yet rewarding way to bring a touch of the natural world into your life. Plus, homegrown squash tastes infinitely better than anything you’ll find at the supermarket! This DIY guide will provide you with practical tips and tricks to successfully cultivate squash, regardless of your gardening experience. I’m excited to share my favorite hacks for maximizing your yield, dealing with common pests, and ensuring a bountiful harvest. Let’s get started and transform your backyard (or even your balcony!) into a squash-growing paradise!
Growing Squash at Home: A Beginner’s Guide
Hey there, fellow gardening enthusiasts! I’m so excited to share my experience and tips on growing squash right in your own backyard. Squash is a rewarding vegetable to grow, offering a variety of flavors and textures, from the sweet butternut to the savory zucchini. Plus, there’s nothing quite like the taste of homegrown produce! Let’s dive in and get our hands dirty.
Choosing Your Squash Variety
Before we even think about planting, we need to decide what kind of squash we want to grow. There are two main types: summer squash and winter squash.
* Summer Squash: These are harvested when they’re young and tender, with edible skin. Think zucchini, yellow squash, and pattypan. They’re fast growers and perfect for quick meals.
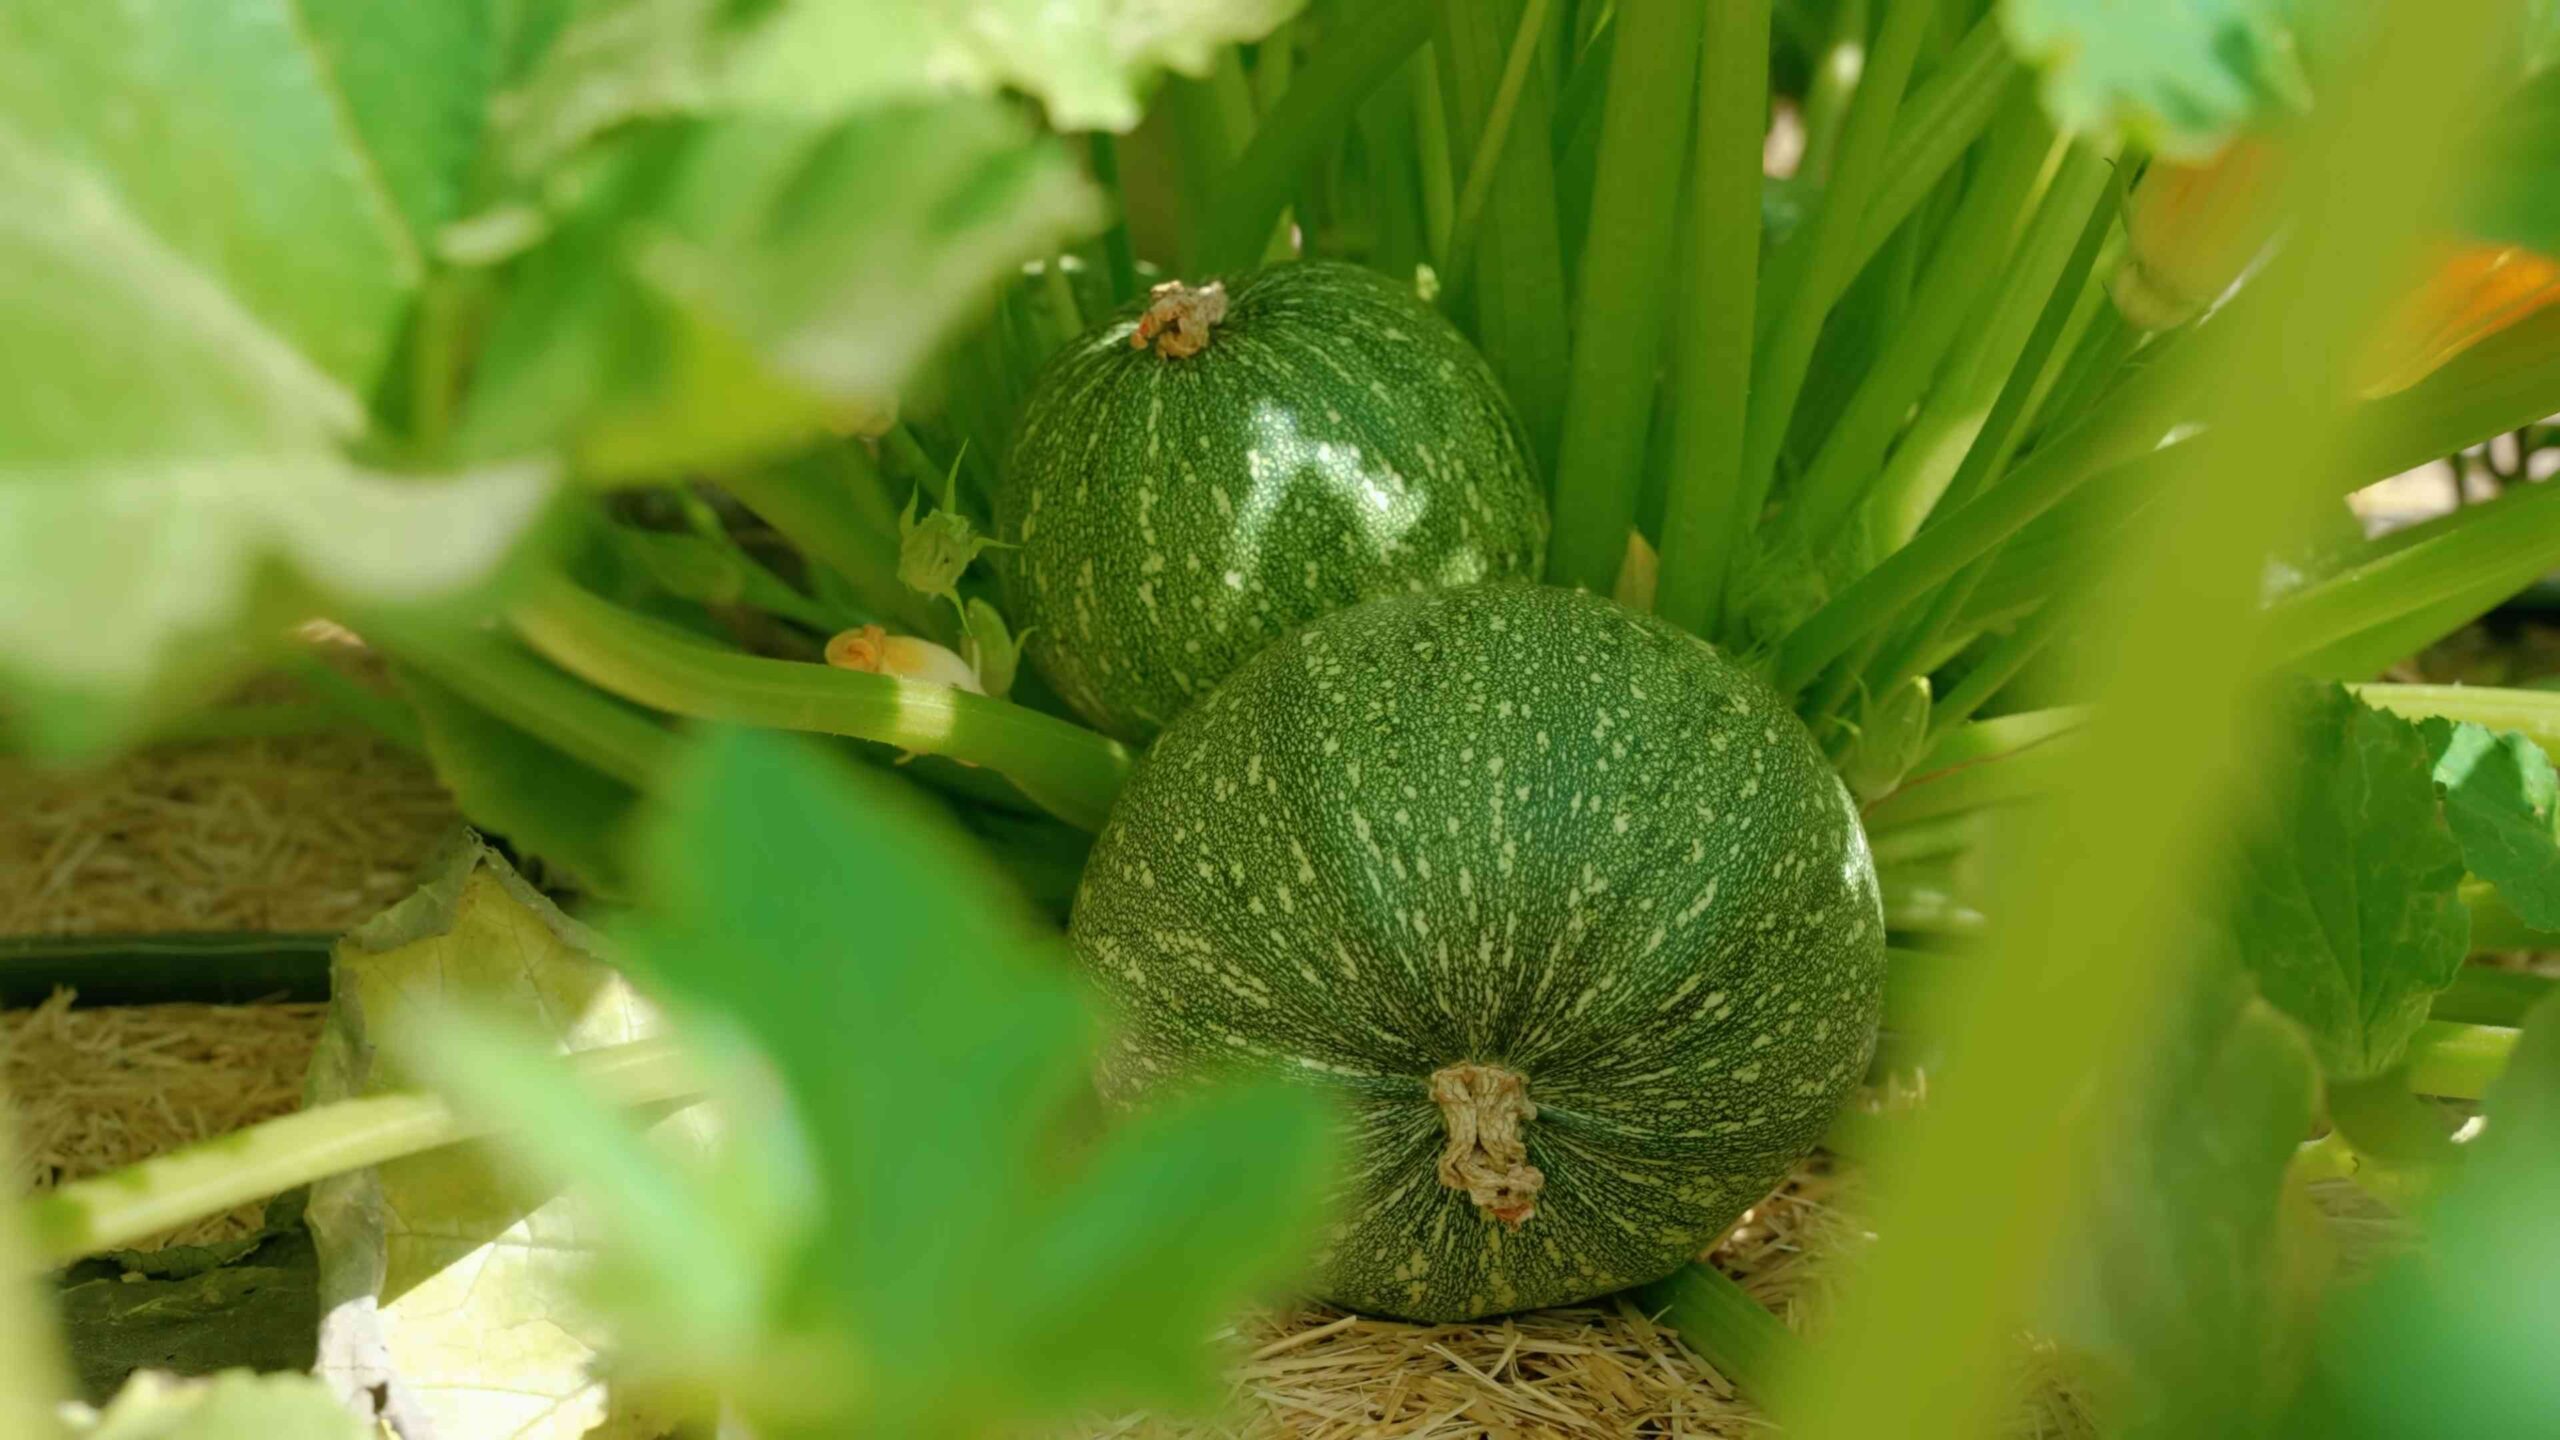
* Winter Squash: These are harvested when mature, with a hard rind. They store well and are great for soups, stews, and roasting. Think butternut, acorn, and spaghetti squash.
Consider your climate, space, and taste preferences when making your choice. I personally love growing zucchini for its versatility and butternut squash for its delicious fall flavor.
Preparing Your Garden Bed
Squash plants are hungry and thirsty, so preparing the soil is crucial. They need plenty of sunlight and well-drained soil rich in organic matter.
* Sunlight: Squash needs at least 6-8 hours of direct sunlight per day. Choose a sunny spot in your garden.
* Soil: Squash prefers well-drained soil with a pH between 6.0 and 7.0.
* Organic Matter: Amend your soil with compost, aged manure, or other organic matter to improve drainage and fertility.
Step-by-Step Soil Preparation:
1. Clear the Area: Remove any weeds, rocks, or debris from the planting area.
2. Till the Soil: Use a garden fork or tiller to loosen the soil to a depth of at least 12 inches. This will help with drainage and root growth.
3. Amend the Soil: Spread a 2-3 inch layer of compost or aged manure over the soil surface.
4. Incorporate the Amendments: Use the garden fork or tiller to mix the compost or manure into the soil thoroughly.
5. Level the Soil: Rake the soil smooth and level.
Starting Your Squash Seeds
You can either start your squash seeds indoors or directly sow them in the garden. Starting indoors gives you a head start, especially in cooler climates.
* Starting Indoors: Sow seeds 3-4 weeks before the last expected frost.
* Direct Sowing: Sow seeds directly in the garden after the last expected frost when the soil temperature is at least 60°F (15°C).
Starting Seeds Indoors:
1. Gather Your Supplies: You’ll need seed starting trays or small pots, seed starting mix, squash seeds, and a watering can.
2. Fill the Trays: Fill the seed starting trays or pots with seed starting mix.
3. Sow the Seeds: Plant 1-2 seeds per cell or pot, about 1 inch deep.
4. Water Gently: Water the soil gently until it’s moist but not soggy.
5. Provide Warmth and Light: Place the trays or pots in a warm location (around 70-75°F or 21-24°C) and provide plenty of light. A sunny windowsill or grow lights will work.
6. Keep the Soil Moist: Water the seedlings regularly to keep the soil moist.
7. Harden Off the Seedlings: Before transplanting the seedlings outdoors, you’ll need to harden them off. This means gradually exposing them to outdoor conditions over a period of 7-10 days. Start by placing them in a sheltered location for a few hours each day, gradually increasing the amount of time they spend outdoors.
Direct Sowing Seeds Outdoors:
1. Prepare the Planting Area: Make sure the soil is well-prepared and free of weeds.
2. Create Mounds or Hills: Squash plants benefit from being planted in mounds or hills, which improve drainage and warm the soil. Create mounds that are about 12 inches wide and 6 inches high.
3. Sow the Seeds: Plant 3-4 seeds per mound, about 1 inch deep.
4. Water Gently: Water the soil gently until it’s moist but not soggy.
5. Thin the Seedlings: Once the seedlings emerge, thin them to the strongest 1-2 plants per mound.
Transplanting Squash Seedlings
If you started your seeds indoors, it’s time to transplant them into the garden.
* Timing: Transplant seedlings after the last expected frost when the soil temperature is at least 60°F (15°C).
* Spacing: Space summer squash plants 2-3 feet apart and winter squash plants 3-4 feet apart.
Transplanting Steps:
1. Prepare the Planting Holes: Dig holes that are slightly larger than the root balls of the seedlings.
2. Remove the Seedlings: Gently remove the seedlings from their trays or pots, being careful not to damage the roots.
3. Place the Seedlings: Place the seedlings in the planting holes, making sure the top of the root ball is level with the soil surface.
4. Fill the Holes: Fill the holes with soil and gently firm around the base of the plants.
5. Water Thoroughly: Water the seedlings thoroughly after transplanting.
Caring for Your Squash Plants
Once your squash plants are in the ground, they’ll need regular care to thrive.
* Watering: Squash plants need consistent moisture, especially during hot, dry weather. Water deeply at the base of the plants, avoiding wetting the foliage, which can lead to fungal diseases.
* Fertilizing: Squash plants are heavy feeders and benefit from regular fertilization. Use a balanced fertilizer or side-dress with compost or aged manure.
* Weeding: Keep the area around your squash plants free of weeds, which can compete for nutrients and water.
* Pest and Disease Control: Squash plants can be susceptible to various pests and diseases, such as squash bugs, squash vine borers, and powdery mildew. Monitor your plants regularly and take action if you notice any problems.
Watering Tips:
* Water deeply and infrequently: This encourages deep root growth.
* Water in the morning: This allows the foliage to dry before nightfall, reducing the risk of fungal diseases.
* Use a soaker hose or drip irrigation: This delivers water directly to the roots, minimizing water waste and reducing the risk of fungal diseases.
Fertilizing Tips:
* Use a balanced fertilizer: A fertilizer with equal amounts of nitrogen, phosphorus, and potassium is a good choice.
* Side-dress with compost or aged manure: This provides a slow-release source of nutrients.
* Fertilize regularly: Fertilize every 2-3 weeks during the growing season.
Pest and Disease Control Tips:
* Monitor your plants regularly: Catching problems early is key to successful control.
* Use organic pest control methods: Insecticidal soap, neem oil, and diatomaceous earth are effective organic options.
* Practice good sanitation: Remove any diseased leaves or plants to prevent the spread of disease.
* Rotate your crops: Avoid planting squash in the same location year after year to reduce the risk of soilborne diseases.
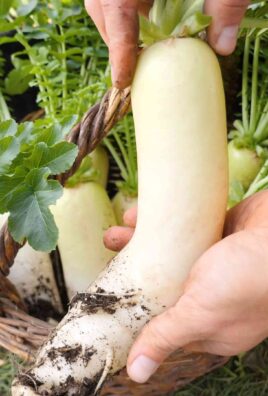
Harvesting Your Squash
The timing of your harvest will depend on the type of squash you’re growing.
* Summer Squash: Harvest summer squash when it’s young and tender, typically 50-60 days after planting. The skin should be smooth and easily pierced with your fingernail.
* Winter Squash: Harvest winter squash when it’s mature, typically 90-100 days after planting. The rind should be hard and resistant to scratching.
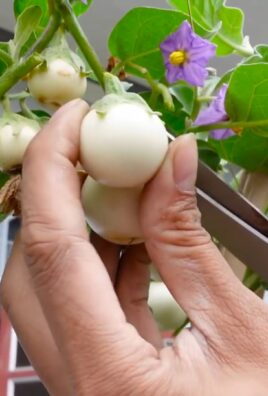
Harvesting Summer Squash:
1. Check for Maturity: Look for squash that are the right size and color for the variety you’re growing.
2. Cut the Stem: Use a sharp knife or pruners to cut the stem about 2 inches from the squash.
3. Handle with Care: Summer squash is delicate and bruises easily, so handle it with care.
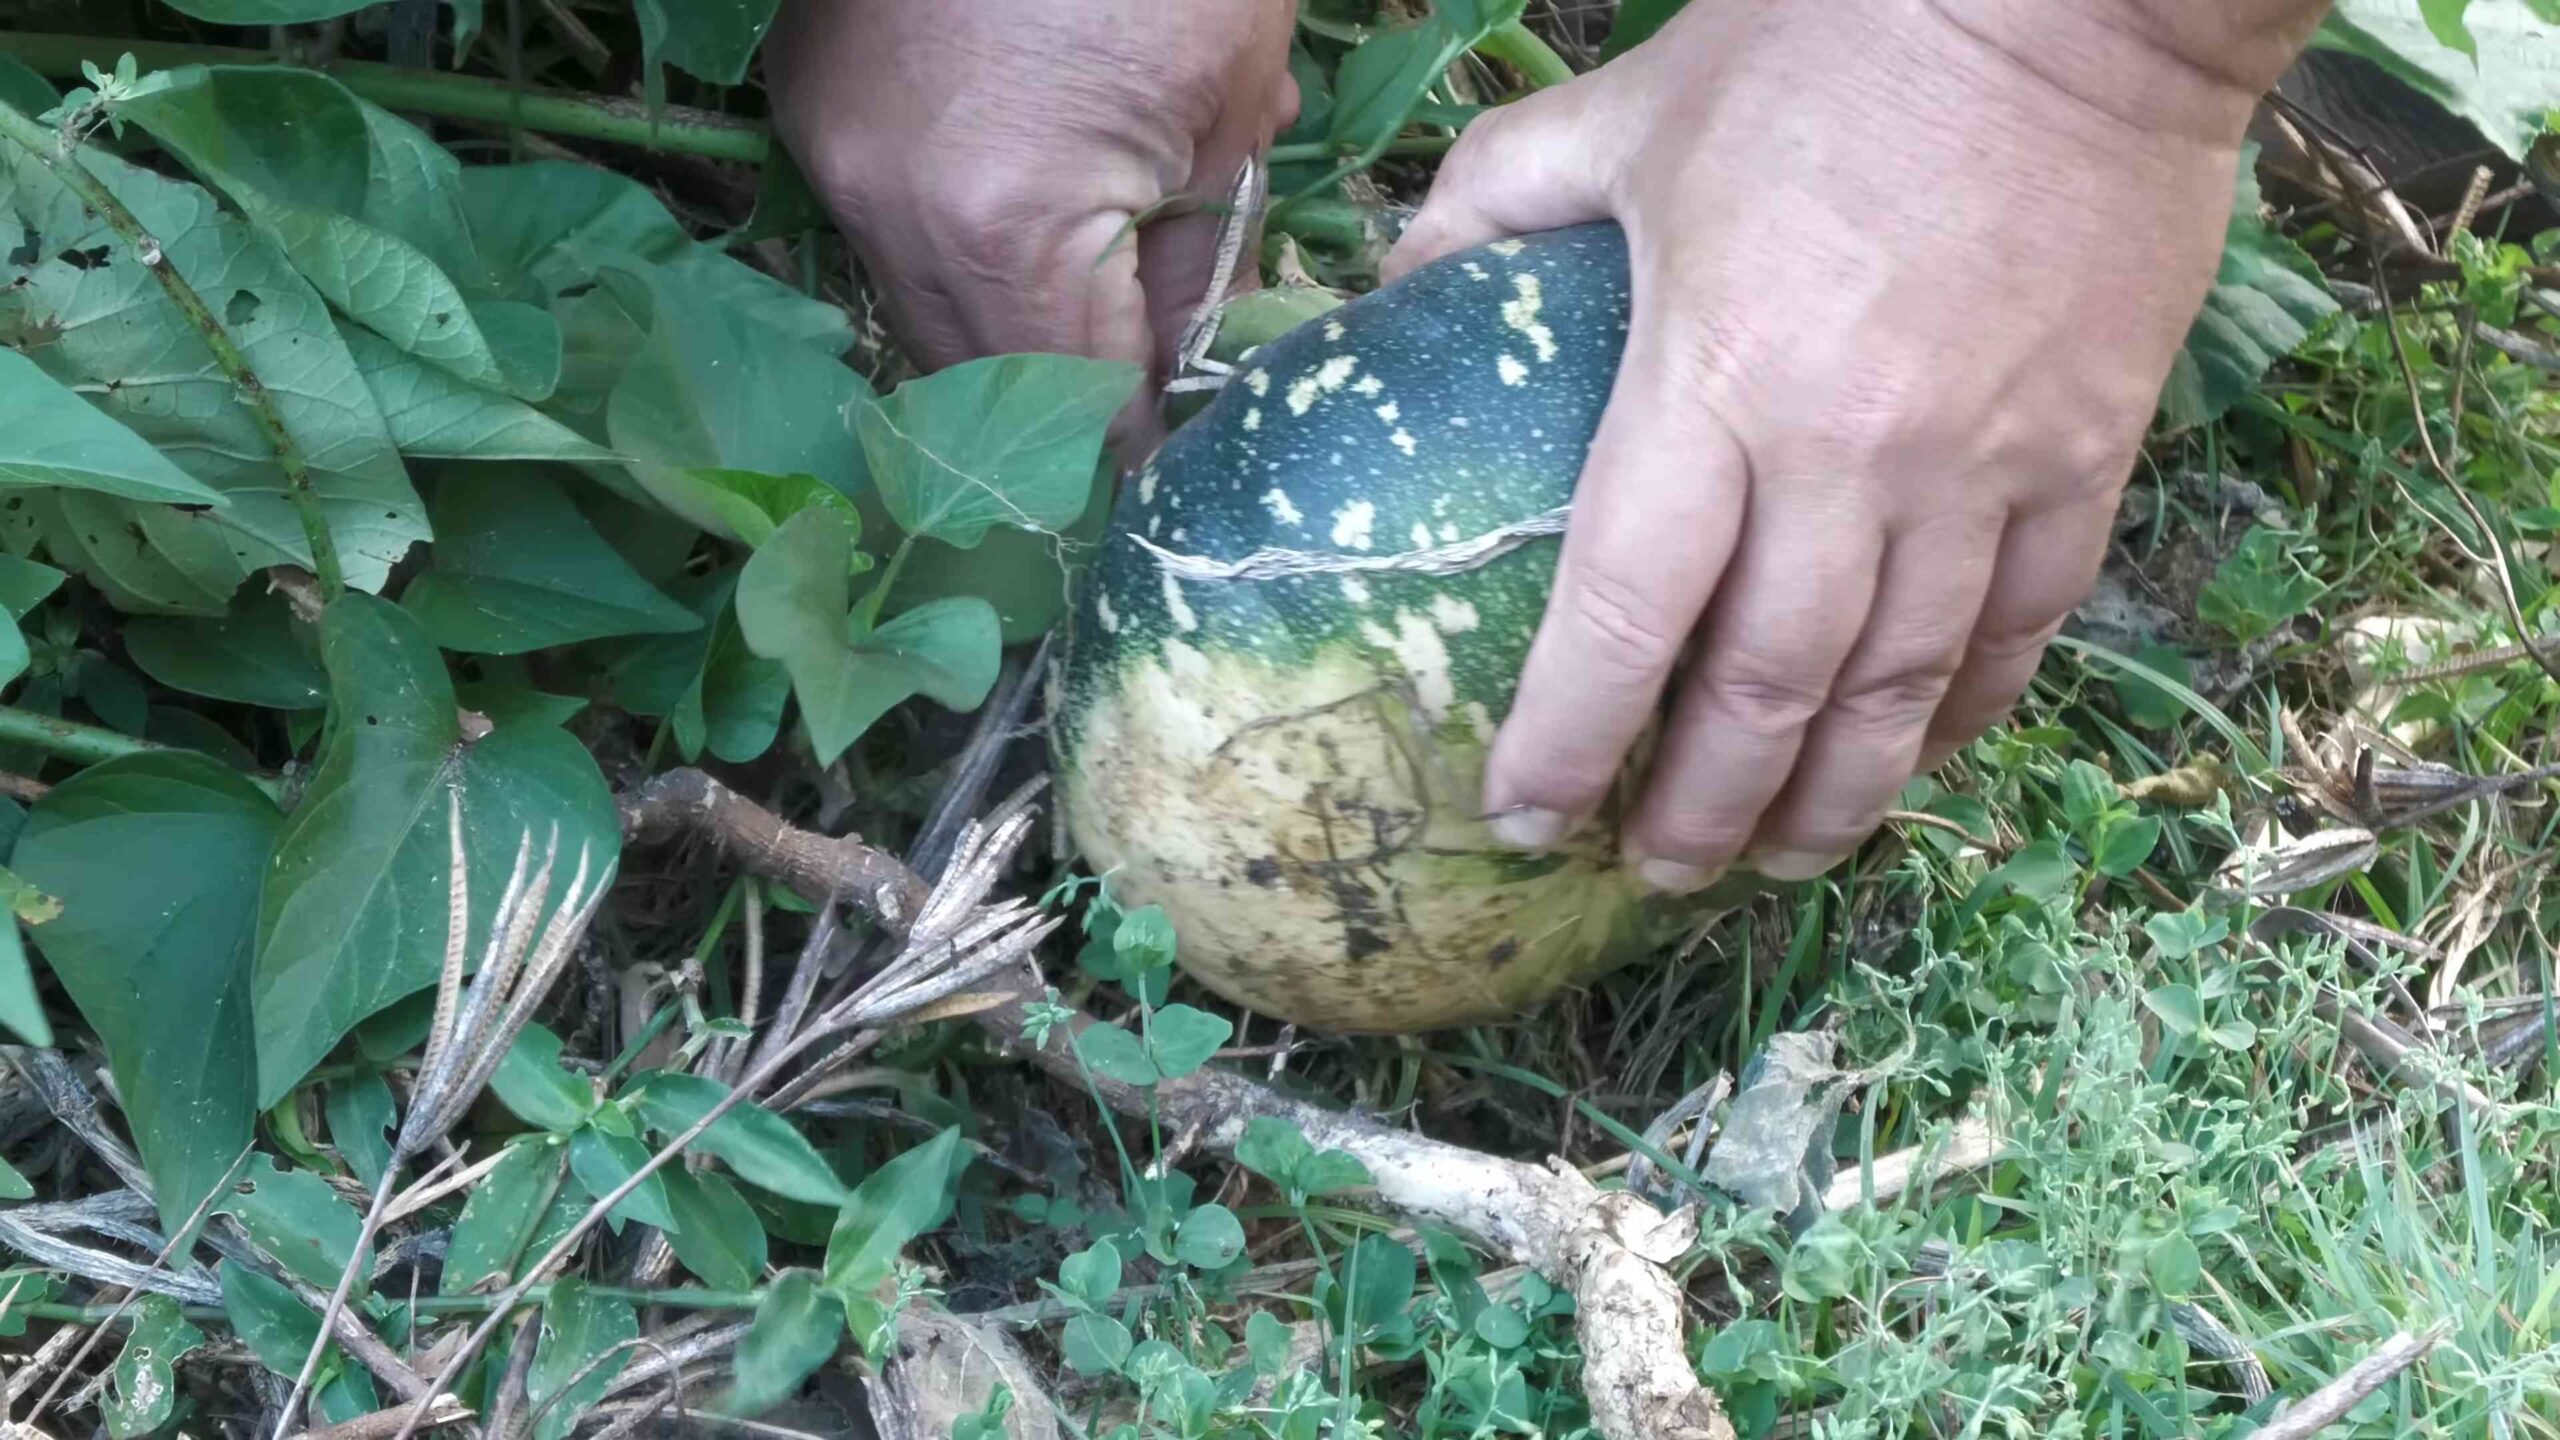
Harvesting Winter Squash:
1. Check for Maturity: Look for squash that have a hard rind and are the right color for the variety you’re growing.
2. Cut the Stem: Use a sharp knife or pruners to cut the stem about 3-4 inches from the squash.
3. Cure the Squash: Cure winter squash by placing
Conclusion
So, there you have it! Growing squash at home is not only achievable, but it’s also incredibly rewarding. From the vibrant blossoms to the satisfying harvest, every step of the process connects you to nature and provides you with delicious, homegrown produce. We’ve walked you through the essential steps, from selecting the right variety for your space to nurturing your plants for optimal growth.
But why should you take the plunge and try this DIY trick? Because nothing beats the taste of fresh, vine-ripened squash. Store-bought squash simply can’t compare to the flavor and texture of squash you’ve grown yourself. Plus, you have complete control over the growing process, ensuring that your squash is free from harmful pesticides and chemicals. You’re not just growing food; you’re cultivating a healthier lifestyle.
Beyond the taste and health benefits, growing squash at home is also a fantastic way to connect with nature and learn about the growing cycle. It’s a therapeutic activity that can reduce stress and improve your overall well-being. And let’s not forget the satisfaction of sharing your homegrown bounty with friends and family!
Ready to take your squash game to the next level? Consider experimenting with different varieties. Try growing butternut squash for its sweet, nutty flavor, or acorn squash for its tender flesh and delicate taste. You can even explore less common varieties like delicata squash or spaghetti squash for a unique culinary experience.
Another variation to consider is companion planting. Planting certain herbs and flowers alongside your squash can help deter pests and attract beneficial insects. Marigolds, nasturtiums, and basil are all excellent choices for companion planting with squash.
Don’t be afraid to get creative with your growing methods. If you’re short on space, try growing squash vertically on a trellis or fence. This not only saves space but also improves air circulation and reduces the risk of disease. You can also experiment with different soil amendments to improve drainage and nutrient availability.
The key to successful squash growing is observation and adaptation. Pay close attention to your plants and adjust your care routine as needed. Don’t be discouraged if you encounter challenges along the way. Every gardener faces setbacks, but with patience and persistence, you’ll be rewarded with a bountiful harvest.
We encourage you to embrace the challenge and embark on your own squash-growing adventure. Whether you have a sprawling garden or a small balcony, there’s a way to grow squash at home. So, grab your seeds, get your hands dirty, and prepare to enjoy the fruits (or rather, vegetables) of your labor.
And most importantly, we want to hear about your experience! Share your tips, tricks, and triumphs with us in the comments below. Let’s create a community of passionate squash growers and inspire others to discover the joys of homegrown produce. Let us know what varieties you tried, what challenges you faced, and what you learned along the way. Your insights could be invaluable to other aspiring gardeners. Happy growing!
Frequently Asked Questions (FAQ)
What is the best time to start growing squash?
The best time to start growing squash depends on your climate and the specific variety you’re growing. Generally, squash is a warm-season crop that requires at least 6-8 hours of sunlight per day. For most regions, it’s recommended to start seeds indoors 3-4 weeks before the last expected frost or direct sow seeds outdoors after the danger of frost has passed and the soil has warmed up to at least 60°F (15°C). Check your local planting calendar for specific dates. For summer squash, you can plant seeds directly in the ground in late spring or early summer. For winter squash, start seeds indoors a few weeks before the last frost or direct sow after the soil has warmed.
What kind of soil is best for growing squash?
Squash plants thrive in well-drained, fertile soil that is rich in organic matter. The ideal soil pH is between 6.0 and 7.0. Before planting, amend your soil with compost, aged manure, or other organic materials to improve drainage, fertility, and water retention. If your soil is heavy clay, consider adding sand or perlite to improve drainage. A soil test can help you determine the specific nutrient needs of your soil.
How often should I water my squash plants?
Squash plants need consistent moisture, especially during hot, dry weather. Water deeply and regularly, aiming to keep the soil consistently moist but not waterlogged. Water at the base of the plants to avoid wetting the foliage, which can increase the risk of fungal diseases. A good rule of thumb is to water when the top inch of soil feels dry to the touch. Mulching around your squash plants can help retain moisture and suppress weeds. During periods of heavy rain, you may need to reduce watering frequency.
What are some common pests and diseases that affect squash plants?
Squash plants are susceptible to a variety of pests and diseases, including squash bugs, squash vine borers, aphids, powdery mildew, and squash mosaic virus. Regularly inspect your plants for signs of pests or diseases. Handpick pests whenever possible. Use insecticidal soap or neem oil to control aphids and other soft-bodied insects. To prevent squash vine borers, wrap the base of the stems with aluminum foil or netting. To prevent powdery mildew, ensure good air circulation around your plants and avoid overhead watering. If powdery mildew does occur, treat it with a fungicide specifically labeled for use on squash.
How do I know when my squash is ready to harvest?
The harvest time for squash depends on the variety. Summer squash, such as zucchini and yellow squash, are typically harvested when they are young and tender, usually about 6-8 inches long. Winter squash, such as butternut squash and acorn squash, are harvested when they are fully mature and the skin is hard and tough. The stem of winter squash should also be dry and hardened. To harvest winter squash, cut the stem a few inches from the fruit. Handle the squash carefully to avoid bruising, which can shorten its storage life.
Can I grow squash in containers?
Yes, you can grow squash in containers, but you’ll need to choose a large container (at least 20 gallons) and select a compact or bush variety of squash. Make sure the container has drainage holes. Use a high-quality potting mix that is well-draining and rich in organic matter. Water regularly and fertilize every few weeks with a balanced fertilizer. Container-grown squash may require more frequent watering and fertilization than squash grown in the ground.
How can I prevent squash vine borers from destroying my plants?
Squash vine borers are a common and destructive pest of squash plants. The larvae bore into the stems of the plants, causing them to wilt and die. To prevent squash vine borers, try these strategies:
* **Wrap the base of the stems:** Wrap the base of the stems with aluminum foil or netting to prevent the borers from laying their eggs.
* **Monitor for eggs:** Regularly inspect your plants for squash vine borer eggs, which are small, brown, and oval-shaped. Remove and destroy any eggs you find.
* **Use row covers:** Cover your plants with row covers early in the season to prevent the moths from laying their eggs. Remove the row covers when the plants begin to flower to allow for pollination.
* **Apply Bacillus thuringiensis (Bt):** Bt is a natural insecticide that is effective against squash vine borer larvae. Apply Bt to the stems of your plants according to the product instructions.
* **Trap crops:** Plant a trap crop, such as blue hubbard squash, to attract the borers away from your main squash plants.
What are some good companion plants for squash?
Companion planting can help improve the health and productivity of your squash plants. Some good companion plants for squash include:
* **Marigolds:** Marigolds deter nematodes and other soil pests.
* **Nasturtiums:** Nasturtiums attract aphids away from squash plants and also repel squash bugs.
* **Basil:** Basil repels squash bugs and other pests.
* **Beans:** Beans fix nitrogen in the soil, which benefits squash plants.
* **Corn:** Corn provides shade for squash plants and also acts as a trellis for vining varieties.
* **Radishes:** Radishes deter squash vine borers.
How do I pollinate squash flowers if there are no bees?
Squash plants have separate male and female flowers. Pollination is necessary for the female flowers to develop into fruit. If there are not enough bees or other pollinators in your garden, you may need to hand-pollinate your squash flowers. To hand-pollinate, use a small paintbrush or cotton swab to transfer pollen from the male flower to the female flower. The male flower has a long, thin stem, while the female flower has a small, immature fruit at the base. Pollinate the flowers in the morning, when the pollen is most viable.
My squash plants are producing flowers, but no fruit. What could be the problem?
There are several reasons why your squash plants may be producing flowers but no fruit:
* **Lack of pollination:** As mentioned above, pollination is necessary for fruit development. If there are not enough pollinators in your garden, you may need to hand-pollinate your squash flowers.
* **Nutrient deficiencies:** Squash plants need adequate nutrients to produce fruit. Make sure your soil is rich in organic matter
Leave a Comment