

Tennis ball scuff mark removal – sounds like a niche problem, right? But trust me, if you’ve ever had a rogue tennis ball (or energetic kids!) bouncing around your home, you know those stubborn black marks can be a real eyesore. I’ve been there, staring at those unsightly streaks on my walls, wondering if I was doomed to repaint the entire house.
Historically, keeping our homes pristine has been a sign of care and pride. While we might not be scrubbing floors with lye soap like our ancestors, the desire for a clean and welcoming space remains. And let’s be honest, those tennis ball scuffs can instantly make a room feel less inviting. That’s why I’m so excited to share these simple, effective DIY tricks for tennis ball scuff mark removal.
Why do you need these hacks? Because nobody wants to spend hours scrubbing or resort to harsh chemicals that could damage your walls! These methods are gentle, use common household items, and will save you time and money. I’m going to walk you through the easiest and most effective ways to banish those blemishes and restore your walls to their former glory. Get ready to say goodbye to those pesky marks and hello to a spotless home!
DIY Tennis Ball Scuff Mark Removal: A Comprehensive Guide
Hey there! Are you tired of those unsightly tennis ball scuff marks decorating your walls and floors? As a fellow homeowner, I totally get it. Those little green fuzzballs can leave quite a mark, especially if you have kids or pets who love to play indoors. But don’t worry, you don’t need to repaint or replace your surfaces just yet! I’ve compiled a detailed guide with tried-and-true methods to help you banish those scuff marks for good. Let’s get started!
Understanding Tennis Ball Scuff Marks
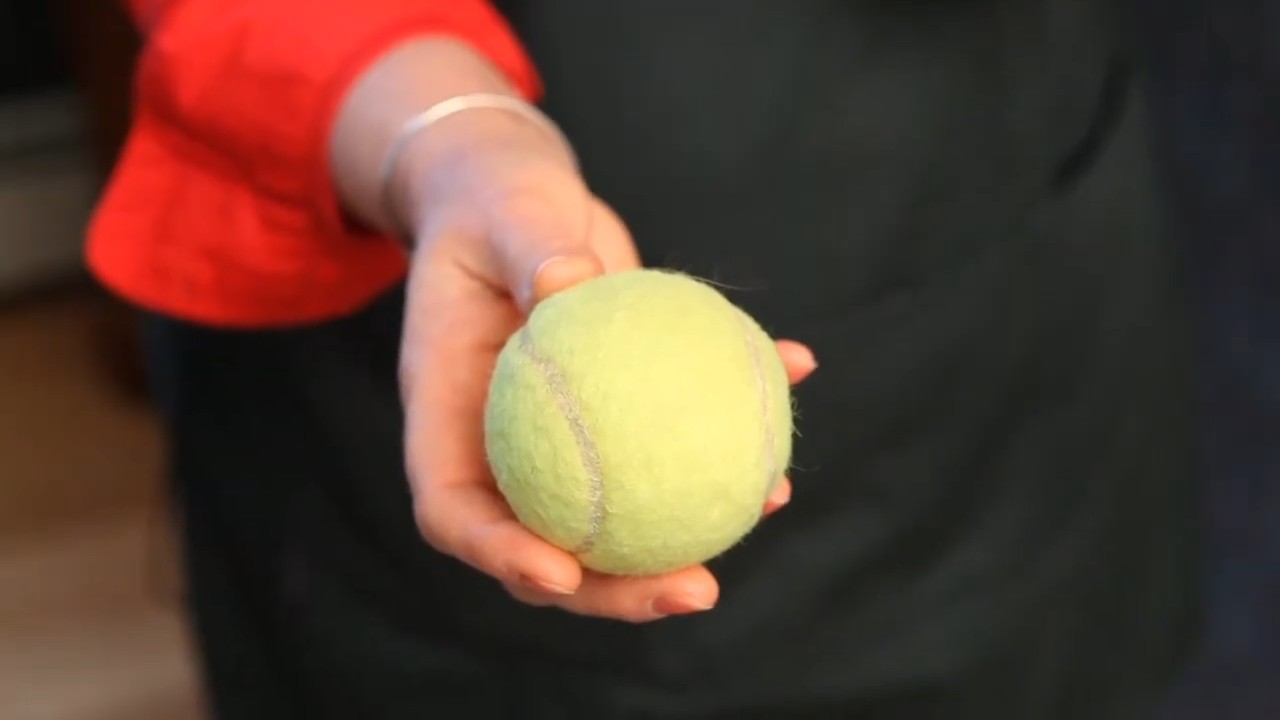
Before we dive into the removal process, it’s helpful to understand what we’re dealing with. Tennis ball scuff marks are essentially rubber residue left behind when the ball rubs against a surface. The fuzz on the ball can also contribute to the mark, making it a bit more stubborn to remove. The good news is that with the right tools and techniques, you can usually get rid of them without too much effort.
Materials You’ll Need
Here’s a list of the supplies you’ll want to gather before you begin. Having everything on hand will make the process much smoother:
* Microfiber cloths: These are essential for gentle cleaning and won’t scratch your surfaces.
* Soft sponges: For applying cleaning solutions.
* Warm water: The base for many of our cleaning solutions.
* Mild dish soap: A gentle yet effective cleaner for most surfaces.
* Baking soda: A mild abrasive that can help lift stubborn marks.
* Magic Eraser: These melamine sponges are fantastic for tackling tough scuffs.
* Rubbing alcohol (isopropyl alcohol): A solvent that can dissolve rubber residue.
* White vinegar: A natural cleaner and deodorizer.
* Toothpaste (non-gel): Another mild abrasive that can work wonders.
* Hair dryer (optional): For softening stubborn marks.
* Spray bottle (optional): For applying cleaning solutions.
* Protective gloves (optional): To protect your hands from cleaning solutions.
Testing Your Cleaning Solution
Important! Before applying any cleaning solution to a large area, always test it in an inconspicuous spot first. This will ensure that the solution doesn’t damage or discolor the surface. Apply a small amount of the solution, let it sit for a minute or two, and then wipe it away. Check for any adverse reactions before proceeding.
Method 1: The Warm Water and Dish Soap Approach
This is usually my first go-to method because it’s gentle and effective for most fresh scuff marks.
1. Prepare your solution: In a bowl or bucket, mix a few drops of mild dish soap with warm water. You don’t need a lot of soap – just enough to create a slightly sudsy solution.
2. Dampen your cloth: Dip a microfiber cloth into the soapy water and wring it out well. You want the cloth to be damp, not soaking wet.
3. Gently wipe the scuff mark: Using gentle, circular motions, wipe the scuff mark with the damp cloth. Avoid scrubbing too hard, as this could damage the surface.
4. Rinse with clean water: Dampen a clean microfiber cloth with plain water and wipe away any soap residue.
5. Dry the area: Use a dry microfiber cloth to dry the area thoroughly.
Method 2: Baking Soda Paste Power
For more stubborn scuff marks, baking soda can be a lifesaver. Its mild abrasive properties help to lift the residue without being too harsh.
1. Make a paste: In a small bowl, mix baking soda with a small amount of water to create a thick paste. The consistency should be similar to toothpaste.
2. Apply the paste: Apply a small amount of the baking soda paste to the scuff mark.
3. Gently scrub: Using a damp microfiber cloth or sponge, gently scrub the scuff mark with the paste. Use circular motions and avoid applying too much pressure.
4. Rinse thoroughly: Rinse the area thoroughly with clean water to remove all traces of the baking soda paste.
5. Dry the area: Use a dry microfiber cloth to dry the area completely.
Method 3: The Magic Eraser Miracle
Magic Erasers are incredibly effective at removing all sorts of marks, including tennis ball scuffs. However, it’s important to use them with caution, as they can be slightly abrasive.
1. Dampen the Magic Eraser: Lightly dampen the Magic Eraser with water. Do not soak it.
2. Gently rub the scuff mark: Gently rub the scuff mark with the Magic Eraser. Use light pressure and avoid scrubbing too hard.
3. Rinse with clean water: Wipe the area with a damp microfiber cloth to remove any residue from the Magic Eraser.
4. Dry the area: Use a dry microfiber cloth to dry the area completely.
Important Note: Magic Erasers can dull the finish on some surfaces, so always test in an inconspicuous area first.
Method 4: Rubbing Alcohol to the Rescue
Rubbing alcohol is a solvent that can dissolve rubber residue, making it effective for removing stubborn scuff marks.
1. Dampen a cloth with rubbing alcohol: Pour a small amount of rubbing alcohol onto a microfiber cloth.
2. Gently wipe the scuff mark: Gently wipe the scuff mark with the damp cloth.
3. Rinse with clean water: Wipe the area with a damp microfiber cloth to remove any alcohol residue.
4. Dry the area: Use a dry microfiber cloth to dry the area completely.
Caution: Rubbing alcohol is flammable, so use it in a well-ventilated area and keep it away from open flames.
Method 5: White Vinegar Wonder
White vinegar is a natural cleaner and deodorizer that can also help remove scuff marks.
1. Dilute the vinegar: Mix equal parts white vinegar and water in a spray bottle or bowl.
2. Apply the solution: Spray the solution onto the scuff mark or dampen a microfiber cloth with the solution.
3. Let it sit for a few minutes: Allow the solution to sit on the scuff mark for a few minutes to loosen the residue.
4. Wipe the scuff mark: Wipe the scuff mark with a clean microfiber cloth.
5. Rinse with clean water: Wipe the area with a damp microfiber cloth to remove any vinegar residue.
6. Dry the area: Use a dry microfiber cloth to dry the area completely.
Method 6: Toothpaste Trick
Believe it or not, non-gel toothpaste can be a surprisingly effective scuff mark remover!
1. Apply toothpaste to the scuff mark: Apply a small amount of non-gel toothpaste directly to the scuff mark.
2. Gently scrub: Using a damp microfiber cloth or soft-bristled toothbrush, gently scrub the scuff mark with the toothpaste.
3. Rinse thoroughly: Rinse the area thoroughly with clean water to remove all traces of the toothpaste.
4. Dry the area: Use a dry microfiber cloth to dry the area completely.
Method 7: Hair Dryer Heat Treatment (For Specific Surfaces)
This method is best suited for certain surfaces like vinyl or linoleum where heat can help soften the rubber residue.
1. Apply heat: Use a hair dryer on a low heat setting to warm the scuff mark for a minute or two.
2. Wipe with a cloth: While the area is still warm, wipe the scuff mark with a clean microfiber cloth. The heat should help soften the rubber and make it easier to remove.
3. Repeat if necessary: If the scuff mark is still visible, repeat the process.
4. Clean and dry: Once the scuff mark is removed, clean the area with a damp cloth and dry it thoroughly.
Caution: Be careful not to overheat the surface, as this could cause damage. Always test in an inconspicuous area first.
Preventing Future Scuff Marks
Now that you’ve successfully removed those pesky scuff marks, let’s talk about prevention. Here are a few tips to help keep your walls and floors scuff-free:
* Designated play areas: If possible, designate specific areas for playing with tennis balls or other toys that might cause scuff marks.
* Use rugs or mats: Place rugs or mats in high-traffic areas to protect your floors.
* Trim pet’s nails: Keeping your pet’s nails trimmed can help prevent scratches and scuff marks.
* Regular cleaning: Regularly cleaning your walls and floors can help prevent scuff marks from building up.
* Consider wall protectors: You can purchase clear wall protectors to place behind furniture or in areas
Conclusion
So, there you have it! No more unsightly tennis ball scuff marks plaguing your pristine walls and floors. This simple, yet incredibly effective, DIY trick is a game-changer for anyone battling the persistent aftermath of energetic games or accidental bumps. We’ve walked you through the easy steps, highlighting the minimal effort required to achieve maximum results. Forget expensive cleaning solutions and hours of scrubbing; this method is not only budget-friendly but also saves you precious time and energy.
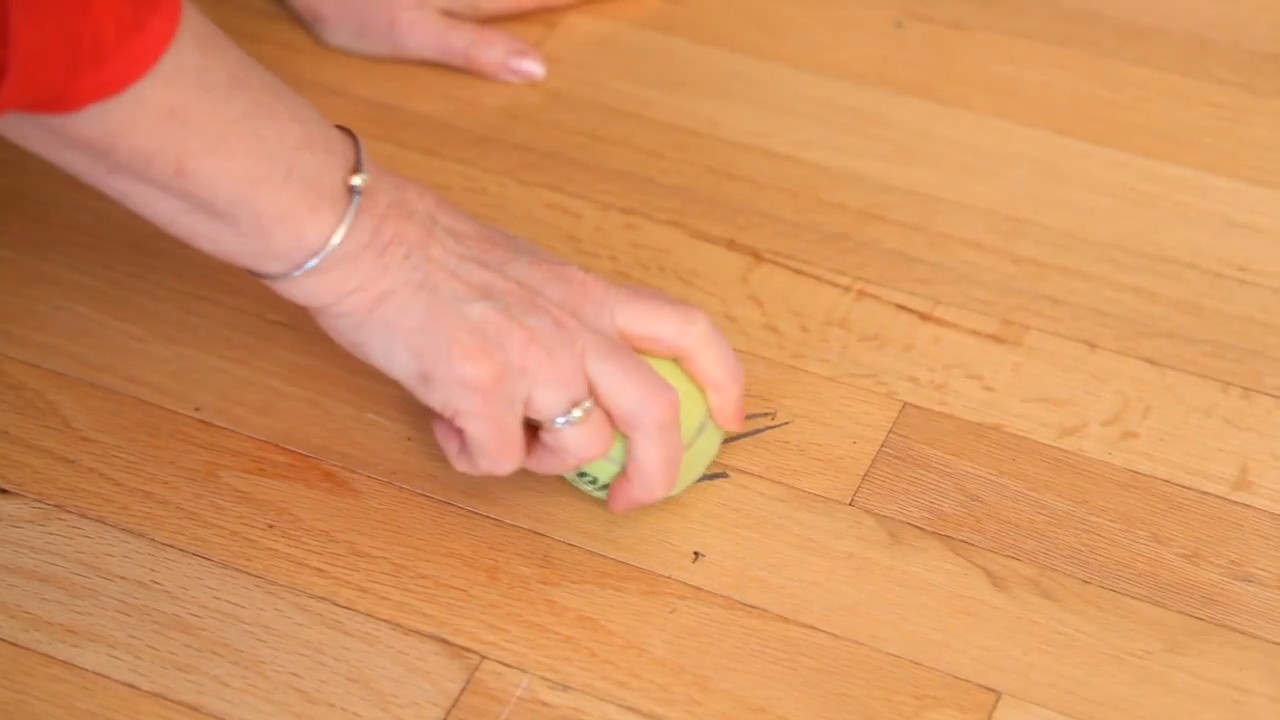
Why is this a must-try? Because it works! It’s a gentle, non-abrasive approach that lifts the scuff marks without damaging the underlying surface. It’s perfect for painted walls, baseboards, hardwood floors, and even doors. Imagine the satisfaction of effortlessly erasing those blemishes and restoring your home to its spotless glory.
But the beauty of this DIY trick lies in its adaptability. While we’ve focused on tennis ball scuff marks, this method can also be effective for removing other types of scuffs, such as those left by shoes, furniture, or even crayons (though for crayons, you might need a slightly damp cloth). Experiment with different levels of pressure and circular motions to find what works best for the specific type of scuff you’re dealing with. For particularly stubborn marks, you could try gently warming the area with a hairdryer for a few seconds before applying the eraser. This can help soften the mark and make it easier to remove.
Another variation to consider is the type of eraser you use. While a standard white eraser is generally recommended, you can also try a melamine sponge (like a Magic Eraser) for tougher marks. However, be cautious when using melamine sponges, as they can be slightly abrasive and may dull the finish on some surfaces. Always test in an inconspicuous area first.
Ultimately, the key to success with this DIY trick is patience and persistence. Don’t expect to erase the scuff mark in one fell swoop. Instead, work slowly and methodically, applying gentle pressure and gradually lifting the mark away. Remember to clean the area with a damp cloth afterward to remove any eraser residue.
We are confident that this simple DIY trick will become your go-to solution for removing tennis ball scuff marks and other unsightly blemishes around your home. It’s a cost-effective, time-saving, and environmentally friendly alternative to harsh chemical cleaners.
Now, it’s your turn! We encourage you to try this DIY trick and experience the satisfaction of effortlessly removing those pesky scuff marks. Don’t just take our word for it; see the results for yourself. And most importantly, share your experience with us! Let us know how it worked for you, what variations you tried, and any tips or tricks you discovered along the way. Your feedback will help us refine this method and make it even more effective for everyone. Share your before-and-after photos on social media and tag us! Let’s banish tennis ball scuff marks together! This simple **tennis ball scuff mark removal** method is a game changer.
Frequently Asked Questions (FAQ)
Q: What kind of eraser should I use?
A: A standard white eraser, like the kind you would use for pencils, is generally the best option. These erasers are non-abrasive and gentle enough for most surfaces. Avoid using colored erasers, as they may contain dyes that could transfer to the surface you’re cleaning. For more stubborn marks, you can try a melamine sponge (like a Magic Eraser), but be cautious, as they can be slightly abrasive and may dull the finish on some surfaces. Always test in an inconspicuous area first.
Q: Will this trick work on all types of surfaces?
A: This trick is generally safe and effective on most smooth, non-porous surfaces, including painted walls, baseboards, hardwood floors, doors, and even some types of furniture. However, it’s always a good idea to test in an inconspicuous area first, especially if you’re unsure about the surface’s durability. Avoid using this trick on delicate or easily damaged surfaces, such as wallpaper or unfinished wood.
Q: How much pressure should I apply when erasing the scuff mark?
A: Start with light pressure and gradually increase it as needed. The goal is to lift the scuff mark without damaging the underlying surface. Avoid applying too much pressure, as this could scratch or dull the finish. Use gentle, circular motions and work slowly and methodically.
Q: What if the scuff mark is really stubborn and won’t come off?
A: For particularly stubborn scuff marks, you can try a few different approaches. First, try gently warming the area with a hairdryer for a few seconds before applying the eraser. This can help soften the mark and make it easier to remove. You can also try using a slightly damp cloth along with the eraser. However, be careful not to over-wet the area, as this could damage the surface. If the scuff mark still won’t come off, you may need to try a stronger cleaning solution, but always test in an inconspicuous area first.
Q: Is this trick safe for painted walls?
A: Yes, this trick is generally safe for painted walls, as long as you use a non-abrasive eraser and apply gentle pressure. However, it’s always a good idea to test in an inconspicuous area first, especially if you’re unsure about the type of paint used. Avoid using this trick on freshly painted walls, as the paint may not be fully cured and could be easily damaged.
Q: Can I use this trick to remove scuff marks from shoes?
A: Yes, this trick can be effective for removing scuff marks from shoes, especially those made of leather or synthetic materials. However, be careful not to damage the shoe’s finish. Use a clean, white eraser and apply gentle pressure. You can also try using a shoe cleaner or polish after removing the scuff mark to restore the shoe’s shine.
Q: What should I do after removing the scuff mark?
A: After removing the scuff mark, clean the area with a damp cloth to remove any eraser residue. You can also use a mild soap and water solution if necessary. Dry the area thoroughly with a clean cloth.
Q: How often should I use this trick to remove scuff marks?
A: You can use this trick as often as needed to remove scuff marks. However, it’s important to be gentle and avoid over-cleaning the area, as this could damage the surface over time. Regular cleaning and maintenance can help prevent scuff marks from forming in the first place.
Q: Are there any surfaces I should avoid using this trick on?
A: Avoid using this trick on delicate or easily damaged surfaces, such as wallpaper, unfinished wood, or antique furniture. These surfaces may require specialized cleaning methods. Also, avoid using this trick on surfaces that are sensitive to moisture, such as electronics or electrical outlets.
Q: What if I don’t have an eraser? Are there any alternatives?
A: While an eraser is the recommended tool for this trick, you can try using a clean, soft cloth dampened with water and a small amount of mild soap. Gently rub the scuff mark in a circular motion. However, be careful not to over-wet the area, as this could damage the surface. You can also try using a baking soda paste, but be sure to test in an inconspicuous area first, as baking soda can be slightly abrasive.
Leave a Comment