

Coffee Grinder Cleaning: Is your morning cup tasting a little…off? Maybe it’s time to tackle that coffee grinder! I know, I know, cleaning appliances isn’t exactly thrilling, but trust me, this simple DIY trick will revolutionize your coffee experience. For centuries, coffee has been a ritual, a social connector, and a vital part of daily life for millions. But all that grinding leaves behind residue that can affect the flavor of your precious beans.
Think of it this way: your coffee grinder is like a tiny spice rack, accumulating oils and old grounds with every use. These remnants can turn rancid, leading to a bitter, stale taste that no one wants in their morning brew. Plus, a clean grinder operates more efficiently, ensuring a consistent grind size for optimal extraction.
This DIY coffee grinder cleaning hack is not only incredibly easy and affordable, but it will also extend the life of your grinder. I’m going to show you a simple, natural method that uses ingredients you probably already have in your pantry. Say goodbye to bitter coffee and hello to a fresh, flavorful cup every time! Let’s get started!
DIY Deep Clean: Revive Your Coffee Grinder Like New!
Okay, coffee lovers, let’s talk about something we often overlook: cleaning our coffee grinders! I know, I know, it’s not the most glamorous task, but trust me, a clean grinder is crucial for getting the best flavor from your beans. Over time, coffee oils and grounds build up, leading to stale flavors and even hindering your grinder’s performance. So, let’s dive into a simple, effective DIY cleaning method that will have your grinder singing again!
What You’ll Need:
Before we get started, gather these supplies. Don’t worry, most of them are probably already in your kitchen!
* Uncooked Rice: This acts as a natural abrasive to scrub away residue.
* Small Brush: A toothbrush, pastry brush, or even a dedicated grinder brush will work wonders.
* Microfiber Cloth: For wiping down the exterior and interior parts.
* Small Screwdriver (if needed): Depending on your grinder model, you might need this to disassemble parts.
* Vacuum Cleaner with Brush Attachment (optional): For removing loose grounds.
* Dish Soap (mild): For cleaning removable parts.
* Water: For rinsing.
* Compressed Air (optional): For blasting away stubborn particles.
Safety First!
Always unplug your coffee grinder before cleaning! This is super important to avoid any electrical accidents.
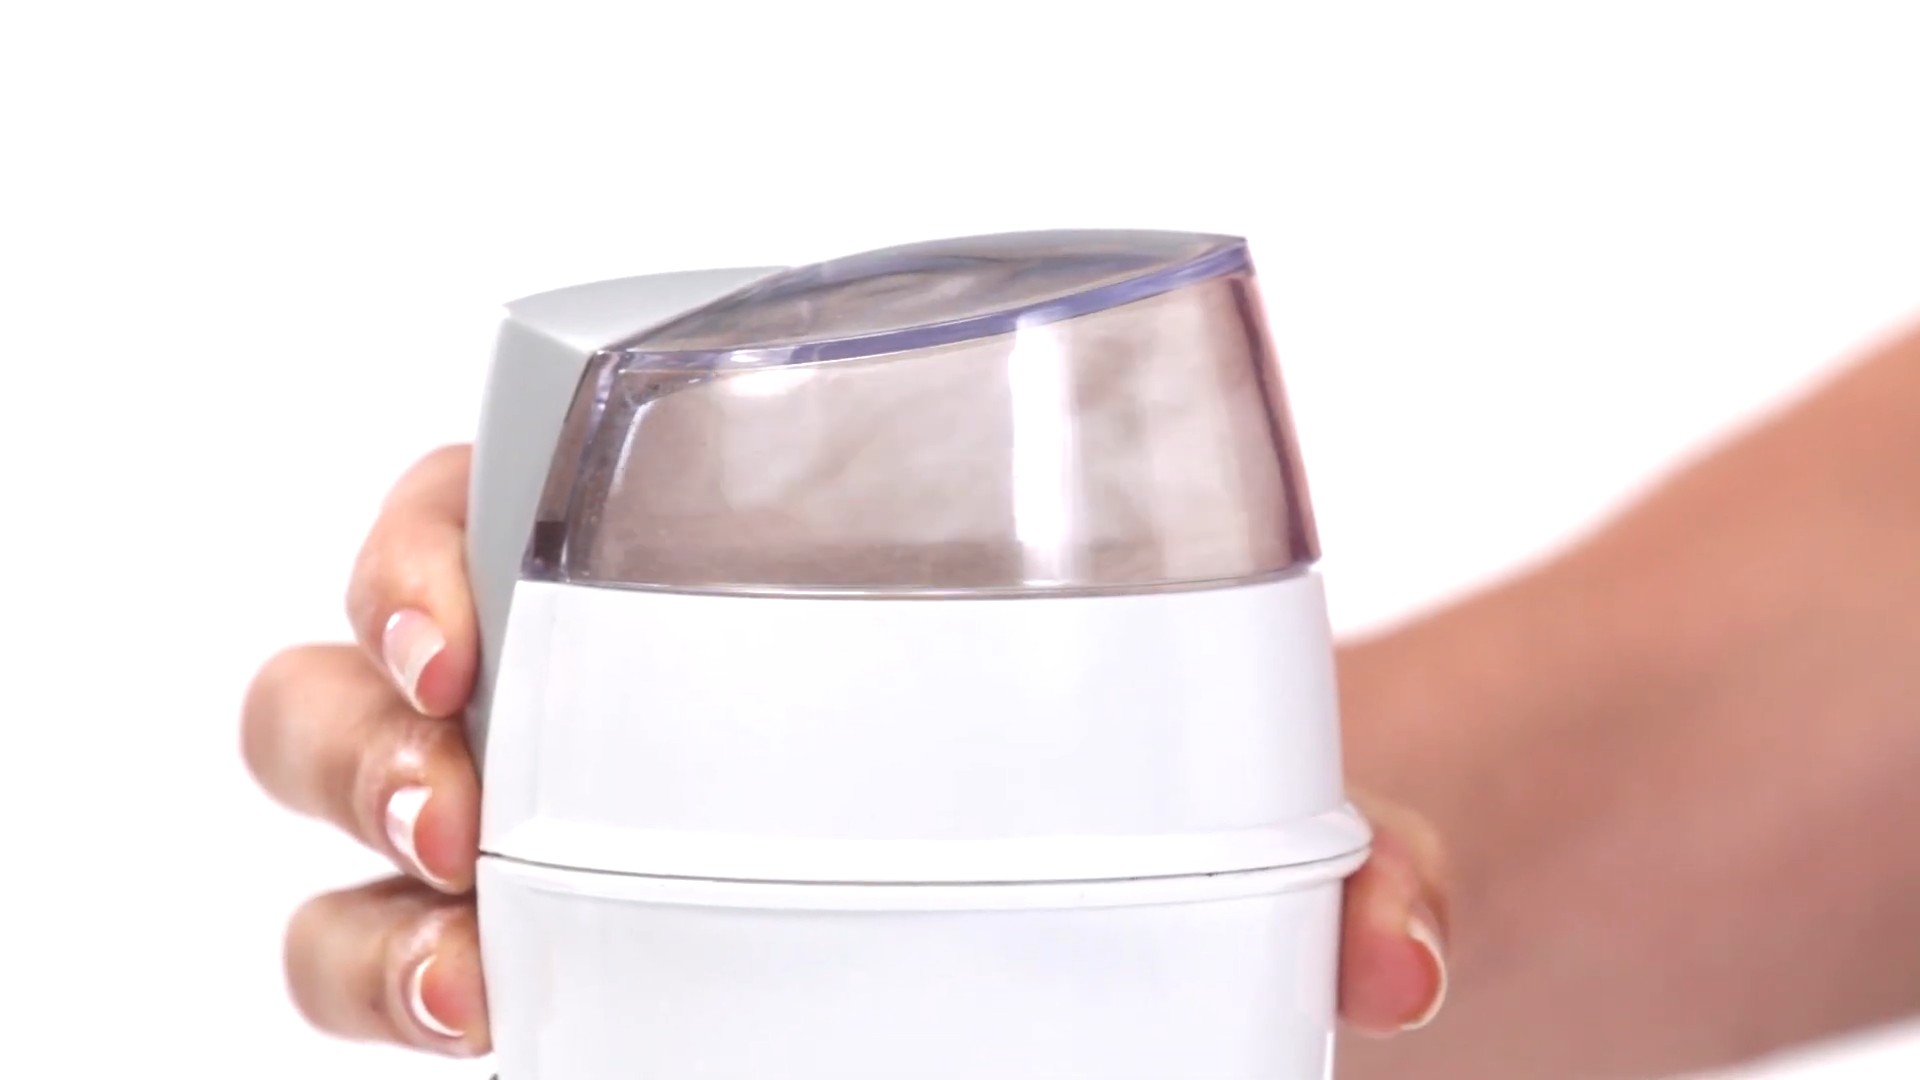
Cleaning Your Burr Grinder: Step-by-Step
Burr grinders are fantastic for consistent grinds, but they also tend to accumulate more residue. Here’s how to clean them properly:
1. Empty the Grinder: Make sure there are no coffee beans or grounds left in the hopper or the grinding chamber. Give it a good shake to dislodge any loose particles.
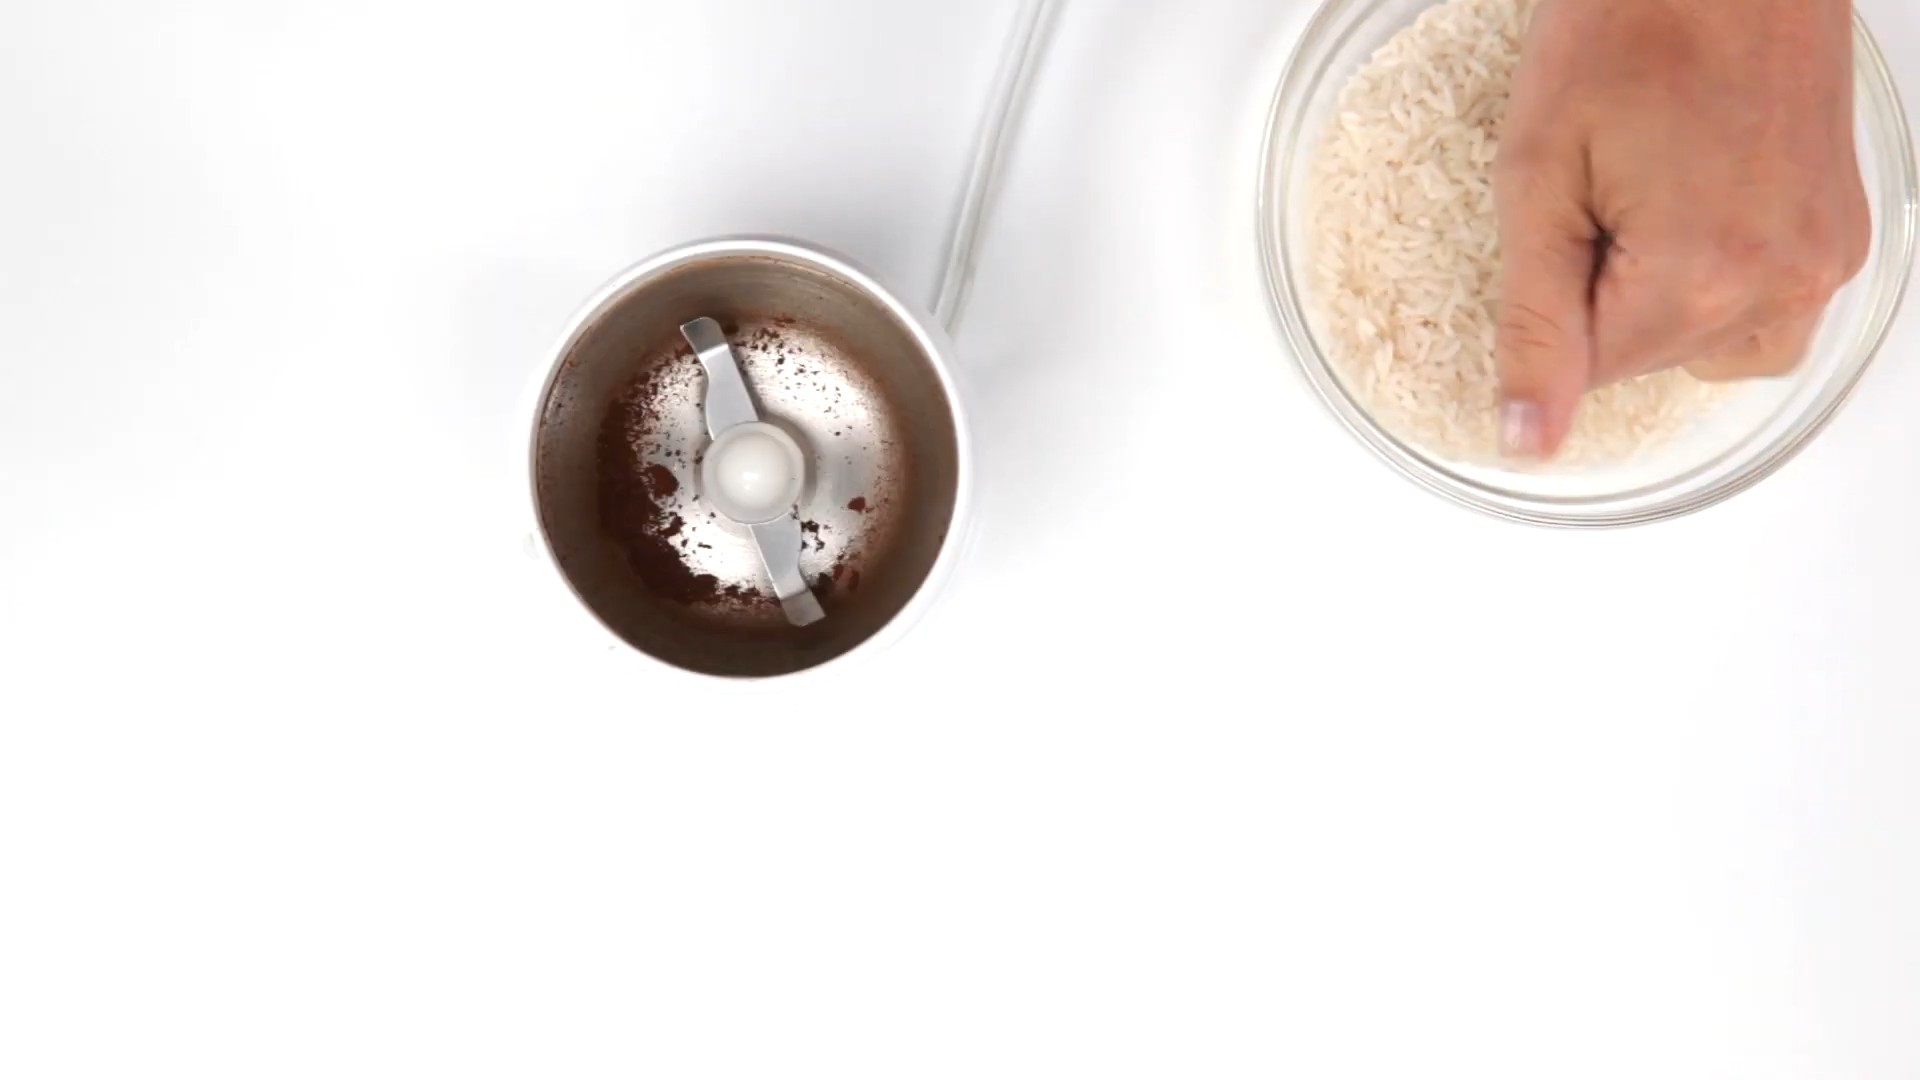
2. Grind the Rice: Pour about 1/4 cup of uncooked white rice into the hopper. Grind it as you would coffee beans. The rice will absorb the oils and dislodge the built-up residue. You’ll likely notice the rice turning a brownish color as it grinds – that’s all the gunk coming off!
3. Discard the Rice: Once you’ve ground all the rice, discard it. Don’t try to use it for cooking! It’s full of coffee oils and residue.
4. Disassemble the Grinder (if possible): Many burr grinders have removable parts, such as the upper burr and the hopper. Consult your grinder’s manual for instructions on how to safely disassemble it. If you’re not comfortable disassembling it, skip this step and focus on cleaning the accessible areas.
5. Brush the Parts: Use your small brush to thoroughly clean all the removable parts. Pay special attention to the burrs, where coffee grounds tend to accumulate. Brush away any remaining rice dust and coffee residue.
6. Wipe Down the Parts: Use a slightly damp microfiber cloth to wipe down all the removable parts. If there’s stubborn residue, you can use a tiny bit of mild dish soap on the cloth. Make sure to rinse the parts thoroughly with water and dry them completely before reassembling.
7. Clean the Grinding Chamber: Use the brush to clean the inside of the grinding chamber. You can also use a vacuum cleaner with a brush attachment to remove any loose grounds.
8. Wipe Down the Exterior: Use a damp microfiber cloth to wipe down the exterior of the grinder.
9. Reassemble the Grinder: Carefully reassemble the grinder according to the manufacturer’s instructions.
10. Run a Test Batch: Grind a small amount of coffee beans (about a tablespoon) and discard them. This will help remove any remaining rice dust or cleaning residue.
Cleaning Your Blade Grinder: Step-by-Step
Blade grinders are simpler in design, but they still need regular cleaning to maintain optimal performance.
1. Empty the Grinder: As with the burr grinder, make sure there are no coffee beans or grounds left in the grinding chamber.
2. Grind the Rice: Pour about 1/4 cup of uncooked white rice into the grinding chamber. Grind it for about 30-60 seconds.
3. Discard the Rice: Discard the rice after grinding.
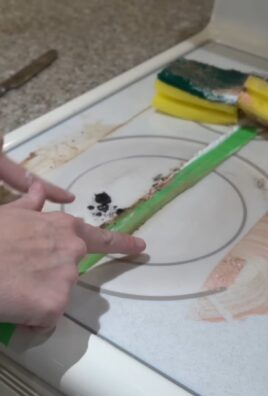
4. Brush the Chamber: Use your small brush to thoroughly clean the inside of the grinding chamber. Pay special attention to the area around the blade.
5. Wipe Down the Chamber: Use a slightly damp microfiber cloth to wipe down the inside of the grinding chamber. If there’s stubborn residue, you can use a tiny bit of mild dish soap on the cloth. Make sure to rinse the chamber thoroughly with a damp cloth and dry it completely.
6. Wipe Down the Exterior: Use a damp microfiber cloth to wipe down the exterior of the grinder.
7. Run a Test Batch: Grind a small amount of coffee beans (about a tablespoon) and discard them.
Deep Cleaning: When to Go the Extra Mile
Sometimes, a simple rice cleaning isn’t enough, especially if you haven’t cleaned your grinder in a while. Here’s when you might need to do a deeper clean:
* Noticeable Stale Flavors: If your coffee tastes off, even with fresh beans, it could be due to residue buildup in your grinder.
* Grinder is Clogged: If your grinder is struggling to grind beans, it might be clogged with coffee oils and grounds.
* Visible Residue: If you can see a thick layer of residue on the burrs or blades, it’s time for a deep clean.
Deep Cleaning Steps:
1. Disassemble (if possible): As with the regular cleaning, disassemble your grinder as much as possible, following the manufacturer’s instructions.
2. Soak Removable Parts: Soak the removable parts (burrs, hopper, etc.) in warm, soapy water for about 15-20 minutes. This will help loosen the stubborn residue.
3. Scrub Thoroughly: Use a brush or sponge to scrub all the parts thoroughly. Pay special attention to the burrs or blades, where residue tends to accumulate.
4. Rinse and Dry: Rinse all the parts thoroughly with clean water and dry them completely before reassembling.
5. Clean the Grinding Chamber: Use a brush and a damp cloth to clean the inside of the grinding chamber. You can also use a vacuum cleaner with a brush attachment to remove any loose grounds.
6. Compressed Air (Optional): If you have compressed air, you can use it to blast away any stubborn particles from the burrs or blades. Be careful not to damage the parts.
7. Reassemble: Carefully reassemble the grinder according to the manufacturer’s instructions.
8. Run a Test Batch: Grind a small amount of coffee beans (about a tablespoon) and discard them.
Tips for Maintaining a Clean Grinder:
* Clean Regularly: Aim to clean your grinder at least once a month, or more often if you use it frequently.
* Use Fresh Beans: Storing your coffee beans properly will help prevent them from becoming stale and oily, which can contribute to residue buildup in your grinder.
* Avoid Oily Beans: Some coffee beans are naturally more oily than others. If you notice that your grinder is getting dirty quickly, try switching to a less oily bean.
* Wipe Down After Each Use: After each use, wipe down the exterior of your grinder with a damp cloth to remove any stray coffee grounds.
Troubleshooting:
* Grinder Still Smells: If your grinder still smells like coffee after cleaning, try grinding a small amount of baking soda. Baking soda is a natural odor absorber.
* Burrs are Stained: If your burrs are stained, you can try soaking them in a solution of water and vinegar. Vinegar is a natural cleaning agent that can help remove stains.
* Grinder is Still Clogged: If your grinder is still clogged, you might need to disassemble it further and clean the individual parts more thoroughly. Consult your grinder’s manual for instructions.
Choosing the Right Brush:
The type of brush you use can make a big difference in how effectively you clean your grinder. Here are a few options:
* Grinder Brush: These brushes are specifically designed for cleaning coffee grinders. They typically have long, narrow bristles that can reach into tight spaces.
* Toothbrush: An old toothbrush can be a great tool for cleaning your grinder. Just make sure it’s clean and free of toothpaste residue.
* Pastry Brush: A pastry brush can also be used to clean your grinder. Choose one with soft bristles that won’t damage the burrs or blades.
A Note on Cleaning Products:
While mild dish soap is generally safe for cleaning your grinder, avoid using harsh chemicals or abrasive cleaners. These can damage the parts and leave behind residue
Conclusion
So, there you have it! Mastering the art of coffee grinder cleaning doesn’t require expensive products or complicated procedures. This simple, yet effective DIY trick using rice is a game-changer for any coffee enthusiast. Why is it a must-try? Because a clean grinder translates directly to a better cup of coffee. Think about it: stale coffee grounds clinging to the burrs not only impart a bitter, off-putting flavor to your freshly ground beans but also hinder the grinder’s performance over time. This can lead to inconsistent grinds, which ultimately affects the extraction and taste of your brew.
Beyond the improved flavor, regular cleaning extends the lifespan of your coffee grinder. By removing accumulated oils and residue, you prevent the burrs from becoming clogged and the motor from working harder than necessary. This translates to fewer repairs, less wear and tear, and a longer-lasting investment.
But the benefits don’t stop there. This DIY method is incredibly cost-effective. A bag of rice is significantly cheaper than specialized grinder cleaning tablets or solutions. Plus, it’s readily available in most households, making it a convenient and accessible solution for everyone.
Looking for variations? While white rice is the standard recommendation, some users have experimented with brown rice. Brown rice is more abrasive and may be more effective for heavily soiled grinders, but use it with caution, as it could potentially scratch delicate burrs. Another variation involves adding a small amount of baking soda to the rice. Baking soda acts as a natural deodorizer and can help to eliminate any lingering odors in the grinder. Just be sure to thoroughly clean the grinder afterward to remove any traces of baking soda.
For those with blade grinders, the rice trick works wonders too! Simply pulse the rice a few times, then wipe down the blades and interior with a damp cloth. Remember to unplug the grinder before cleaning!
We strongly encourage you to give this DIY coffee grinder cleaning method a try. It’s quick, easy, affordable, and incredibly effective. You’ll be amazed at the difference it makes in the taste of your coffee and the performance of your grinder. Don’t just take our word for it – experience the difference for yourself!
Once you’ve tried this method, we’d love to hear about your experience. Share your results, tips, and variations in the comments below. Did you notice a significant improvement in the taste of your coffee? Did you discover any other helpful cleaning techniques? Your feedback will help other readers discover the benefits of a clean coffee grinder and improve their coffee brewing experience. Let’s build a community of clean-grinding coffee lovers!
Frequently Asked Questions (FAQ)
Why use rice to clean a coffee grinder?
Rice acts as a natural abrasive that effectively dislodges coffee grounds and oils that accumulate on the burrs or blades of your coffee grinder. It’s a safe, inexpensive, and readily available alternative to specialized cleaning products. The rice absorbs the oils and sweeps away the old grounds, leaving your grinder cleaner and ready to produce better-tasting coffee. It’s important to use plain, uncooked rice for this process.
Is it safe to put rice in my coffee grinder?
Yes, it is generally safe to put rice in your coffee grinder for cleaning purposes, but there are a few precautions to keep in mind. First, use plain, uncooked white rice. Avoid flavored rice or rice with additives. Second, don’t overfill the grinder. Use a small amount of rice, typically a tablespoon or two, depending on the size of your grinder. Third, after grinding the rice, thoroughly clean the grinder to remove any rice dust or residue. While rice is generally safe, consuming rice dust is not ideal. Finally, inspect your grinder’s burrs or blades after cleaning to ensure there are no signs of damage.
How often should I clean my coffee grinder?
The frequency of cleaning depends on how often you use your coffee grinder. For daily users, cleaning every 1-2 weeks is recommended. If you only use your grinder occasionally, cleaning it every month should suffice. You’ll know it’s time to clean your grinder when you notice a buildup of coffee grounds, a change in the taste of your coffee, or a decrease in the grinder’s performance. Regular coffee grinder cleaning prevents the buildup of stale oils and grounds, which can negatively impact the flavor of your coffee.
Can I use this method for both burr grinders and blade grinders?
Yes, this DIY cleaning method is suitable for both burr grinders and blade grinders, but the process differs slightly. For burr grinders, simply grind the rice as you would coffee beans. For blade grinders, pulse the rice a few times to avoid overworking the motor. In both cases, thoroughly clean the grinder afterward to remove any rice dust or residue.
What type of rice is best for cleaning a coffee grinder?
Plain, uncooked white rice is the best option for cleaning a coffee grinder. Avoid using flavored rice, brown rice, or rice with additives, as these could potentially damage the grinder or leave unwanted residue. White rice is readily available, inexpensive, and provides the right level of abrasiveness for effective cleaning.
What if I don’t have rice? Are there any alternatives?
While rice is the most commonly recommended DIY cleaning method, there are a few alternatives you can try. Some people use grinder cleaning tablets, which are specifically designed to remove coffee oils and residue. Another option is to use a vacuum cleaner with a brush attachment to remove loose grounds. However, these methods may not be as effective as rice in removing stubborn oils and residue.
How do I clean the grinder after using rice?
After grinding the rice, it’s crucial to thoroughly clean the grinder to remove any rice dust or residue. Use a soft brush or cloth to wipe down the burrs or blades and the interior of the grinder. You can also use a vacuum cleaner with a brush attachment to remove any remaining dust. For burr grinders, you may need to disassemble the grinder to access all the nooks and crannies. Be sure to consult your grinder’s manual for instructions on disassembly and reassembly.
Will cleaning my coffee grinder with rice damage it?
When done correctly, cleaning your coffee grinder with rice should not damage it. However, it’s essential to follow the recommended guidelines. Use plain, uncooked white rice, avoid overfilling the grinder, and thoroughly clean the grinder afterward. If you’re concerned about potential damage, start with a small amount of rice and monitor the grinder’s performance. If you notice any unusual noises or resistance, stop immediately and consult your grinder’s manual or a professional repair service.
Can I use this method to clean a grinder that hasn’t been cleaned in a long time?
Yes, this method can be used to clean a grinder that hasn’t been cleaned in a long time, but it may require multiple cleaning cycles. If the grinder is heavily soiled, you may need to grind the rice several times to remove all the accumulated oils and residue. After each cleaning cycle, thoroughly clean the grinder to remove any rice dust or residue. You may also consider using a combination of methods, such as vacuuming the grinder before grinding the rice, to remove loose grounds and debris.
My coffee grinder smells bad. Will this method help?
Yes, cleaning your coffee grinder with rice can help to eliminate bad odors. The rice absorbs the stale oils and residue that contribute to unpleasant smells. For extra deodorizing power, you can add a small amount of baking soda to the rice before grinding. Baking soda is a natural deodorizer that can help to neutralize odors. Just be sure to thoroughly clean the grinder afterward to remove any traces of baking soda.


Leave a Comment