

Clean Your Fridge DIY: Is your refrigerator a chaotic landscape of half-eaten leftovers and mystery containers? I know mine sometimes is! Let’s face it, the fridge is the unsung hero of the kitchen, working tirelessly to keep our food fresh. But all that hard work can lead to a build-up of spills, odors, and, well, just plain gunk.
Before the days of electric refrigeration, preserving food was a real challenge, relying on methods like salting, pickling, and ice houses. Now, we have the luxury of keeping our perishables chilled, but that doesn’t mean we can neglect the appliance that makes it all possible. A clean fridge isn’t just about aesthetics; it’s about food safety, preventing cross-contamination, and maximizing the lifespan of your groceries.
That’s why I’m sharing my favorite clean your fridge DIY tricks and hacks! We’ll tackle everything from stubborn stains to lingering smells, using simple, natural ingredients you probably already have in your pantry. A sparkling clean fridge not only looks great but also helps you save money by preventing food waste and keeping your energy bills down. So, grab your cleaning supplies, and let’s get started on transforming your fridge from a disaster zone to a pristine paradise!
DIY Deep Clean: Revive Your Refrigerator!
Okay, let’s face it, cleaning the fridge is probably on everyone’s “least favorite chores” list. But a clean fridge isn’t just about aesthetics; it’s about food safety, preventing funky smells, and even making your groceries last longer. So, grab your cleaning supplies, put on some music, and let’s tackle this together! I promise, it’s not as bad as you think, and the feeling of accomplishment afterward is totally worth it.
What You’ll Need: The Cleaning Arsenal
Before we dive in, let’s gather our supplies. Having everything ready will make the process much smoother. Here’s what I recommend:
* Baking Soda: This is your secret weapon for absorbing odors.
* White Vinegar: A natural disinfectant and degreaser.
* Dish Soap: For general cleaning and grease removal.
* Warm Water: Essential for diluting cleaning solutions and rinsing.
* Microfiber Cloths: These are lint-free and great for wiping surfaces. I like to have a few on hand.
* Sponges: For scrubbing tougher spots. Make sure they’re clean!
* Old Toothbrush: Perfect for getting into those hard-to-reach corners and crevices.
* Trash Bags: For disposing of old or spoiled food.
* Cooler or Insulated Bag: To keep perishable items cold while you’re cleaning.
* Optional: Essential Oils (Lemon, Tea Tree): For a fresh, natural scent.
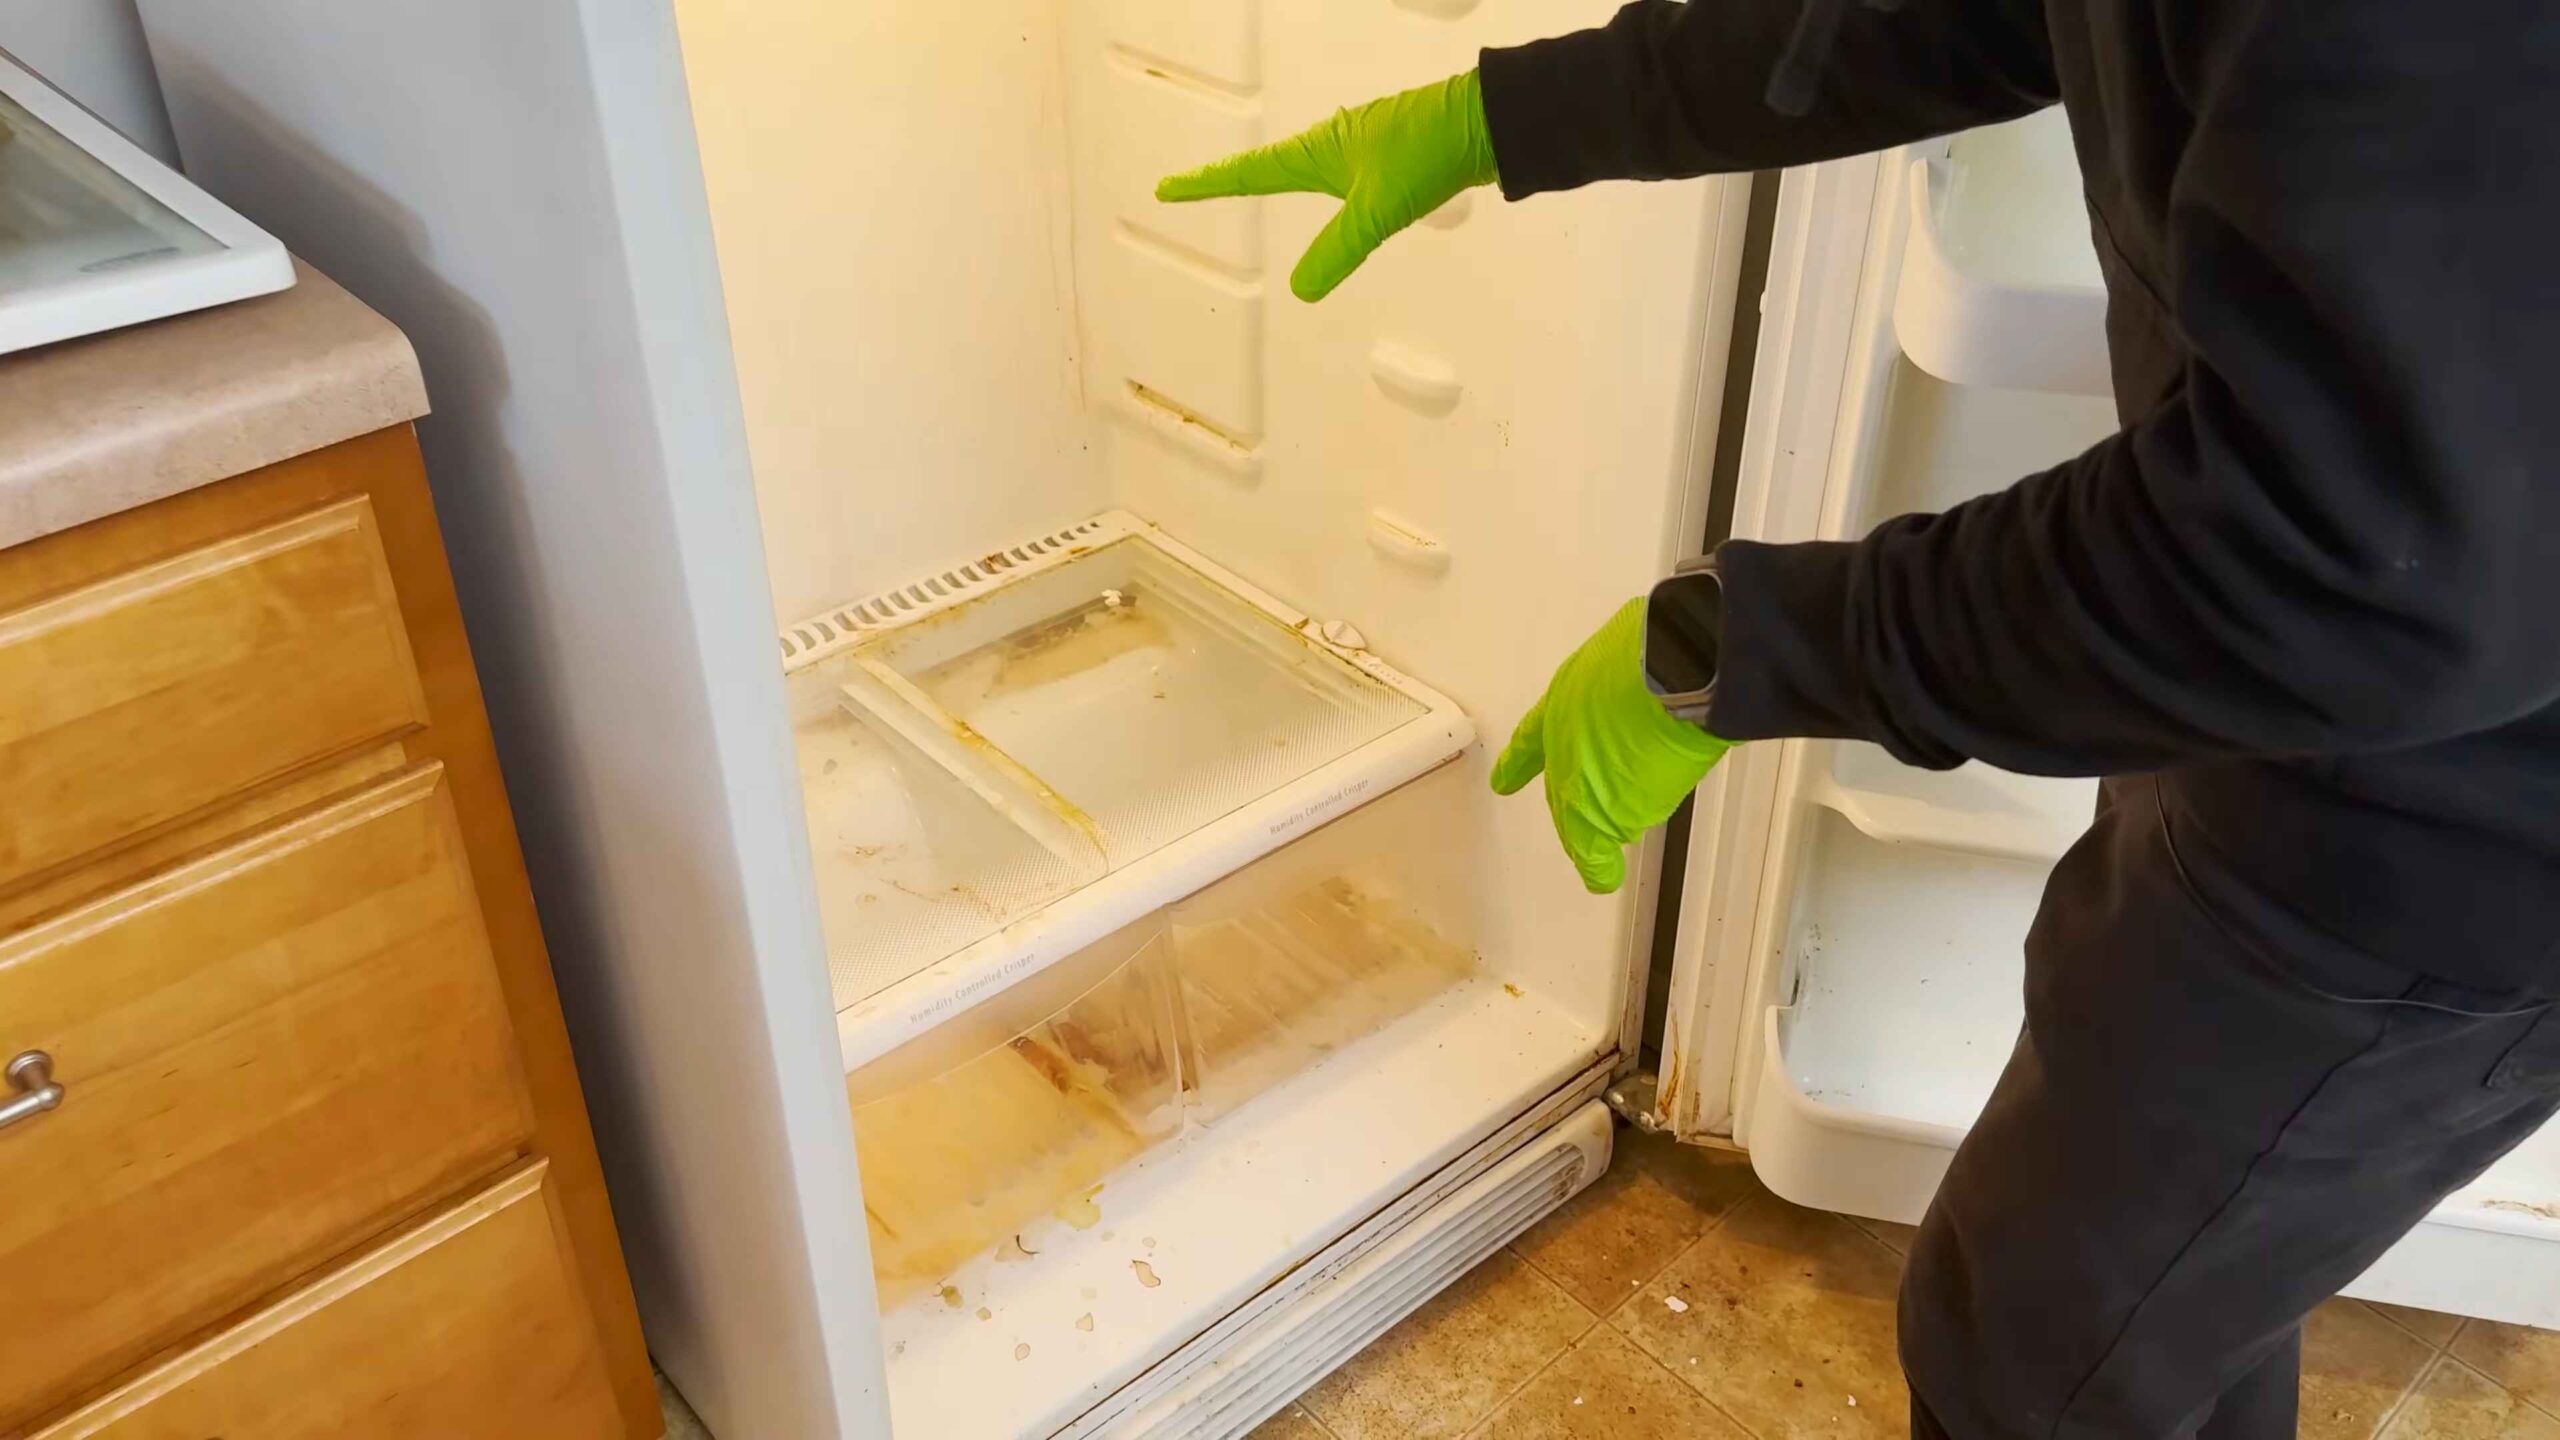
Phase 1: Emptying and Assessing the Situation
This is the “before” picture moment. It might be a little scary, but don’t worry, we’ll get through it!
1. Unplug the Fridge: Safety first! Unplugging the fridge will prevent any electrical accidents and also save energy while you’re working.
2. Remove All Food Items: Take everything out of the fridge and freezer. This is the time to be ruthless!
* Check expiration dates and toss anything that’s past its prime. Be honest with yourself – that wilted lettuce isn’t going to magically revive.
* Look for any signs of mold or spoilage. If something looks or smells questionable, throw it away.
* Group similar items together (e.g., condiments, dairy, produce). This will make it easier to put things back later.
3. Transfer Perishables to a Cooler: Place any perishable items (meat, dairy, eggs) into a cooler or insulated bag with ice packs to keep them cold while you’re cleaning. This is crucial to prevent food spoilage.
4. Remove Shelves, Drawers, and Bins: Take out all removable parts of the fridge, including shelves, drawers, bins, and any other accessories. This will allow you to clean them thoroughly and also access all areas of the fridge interior.
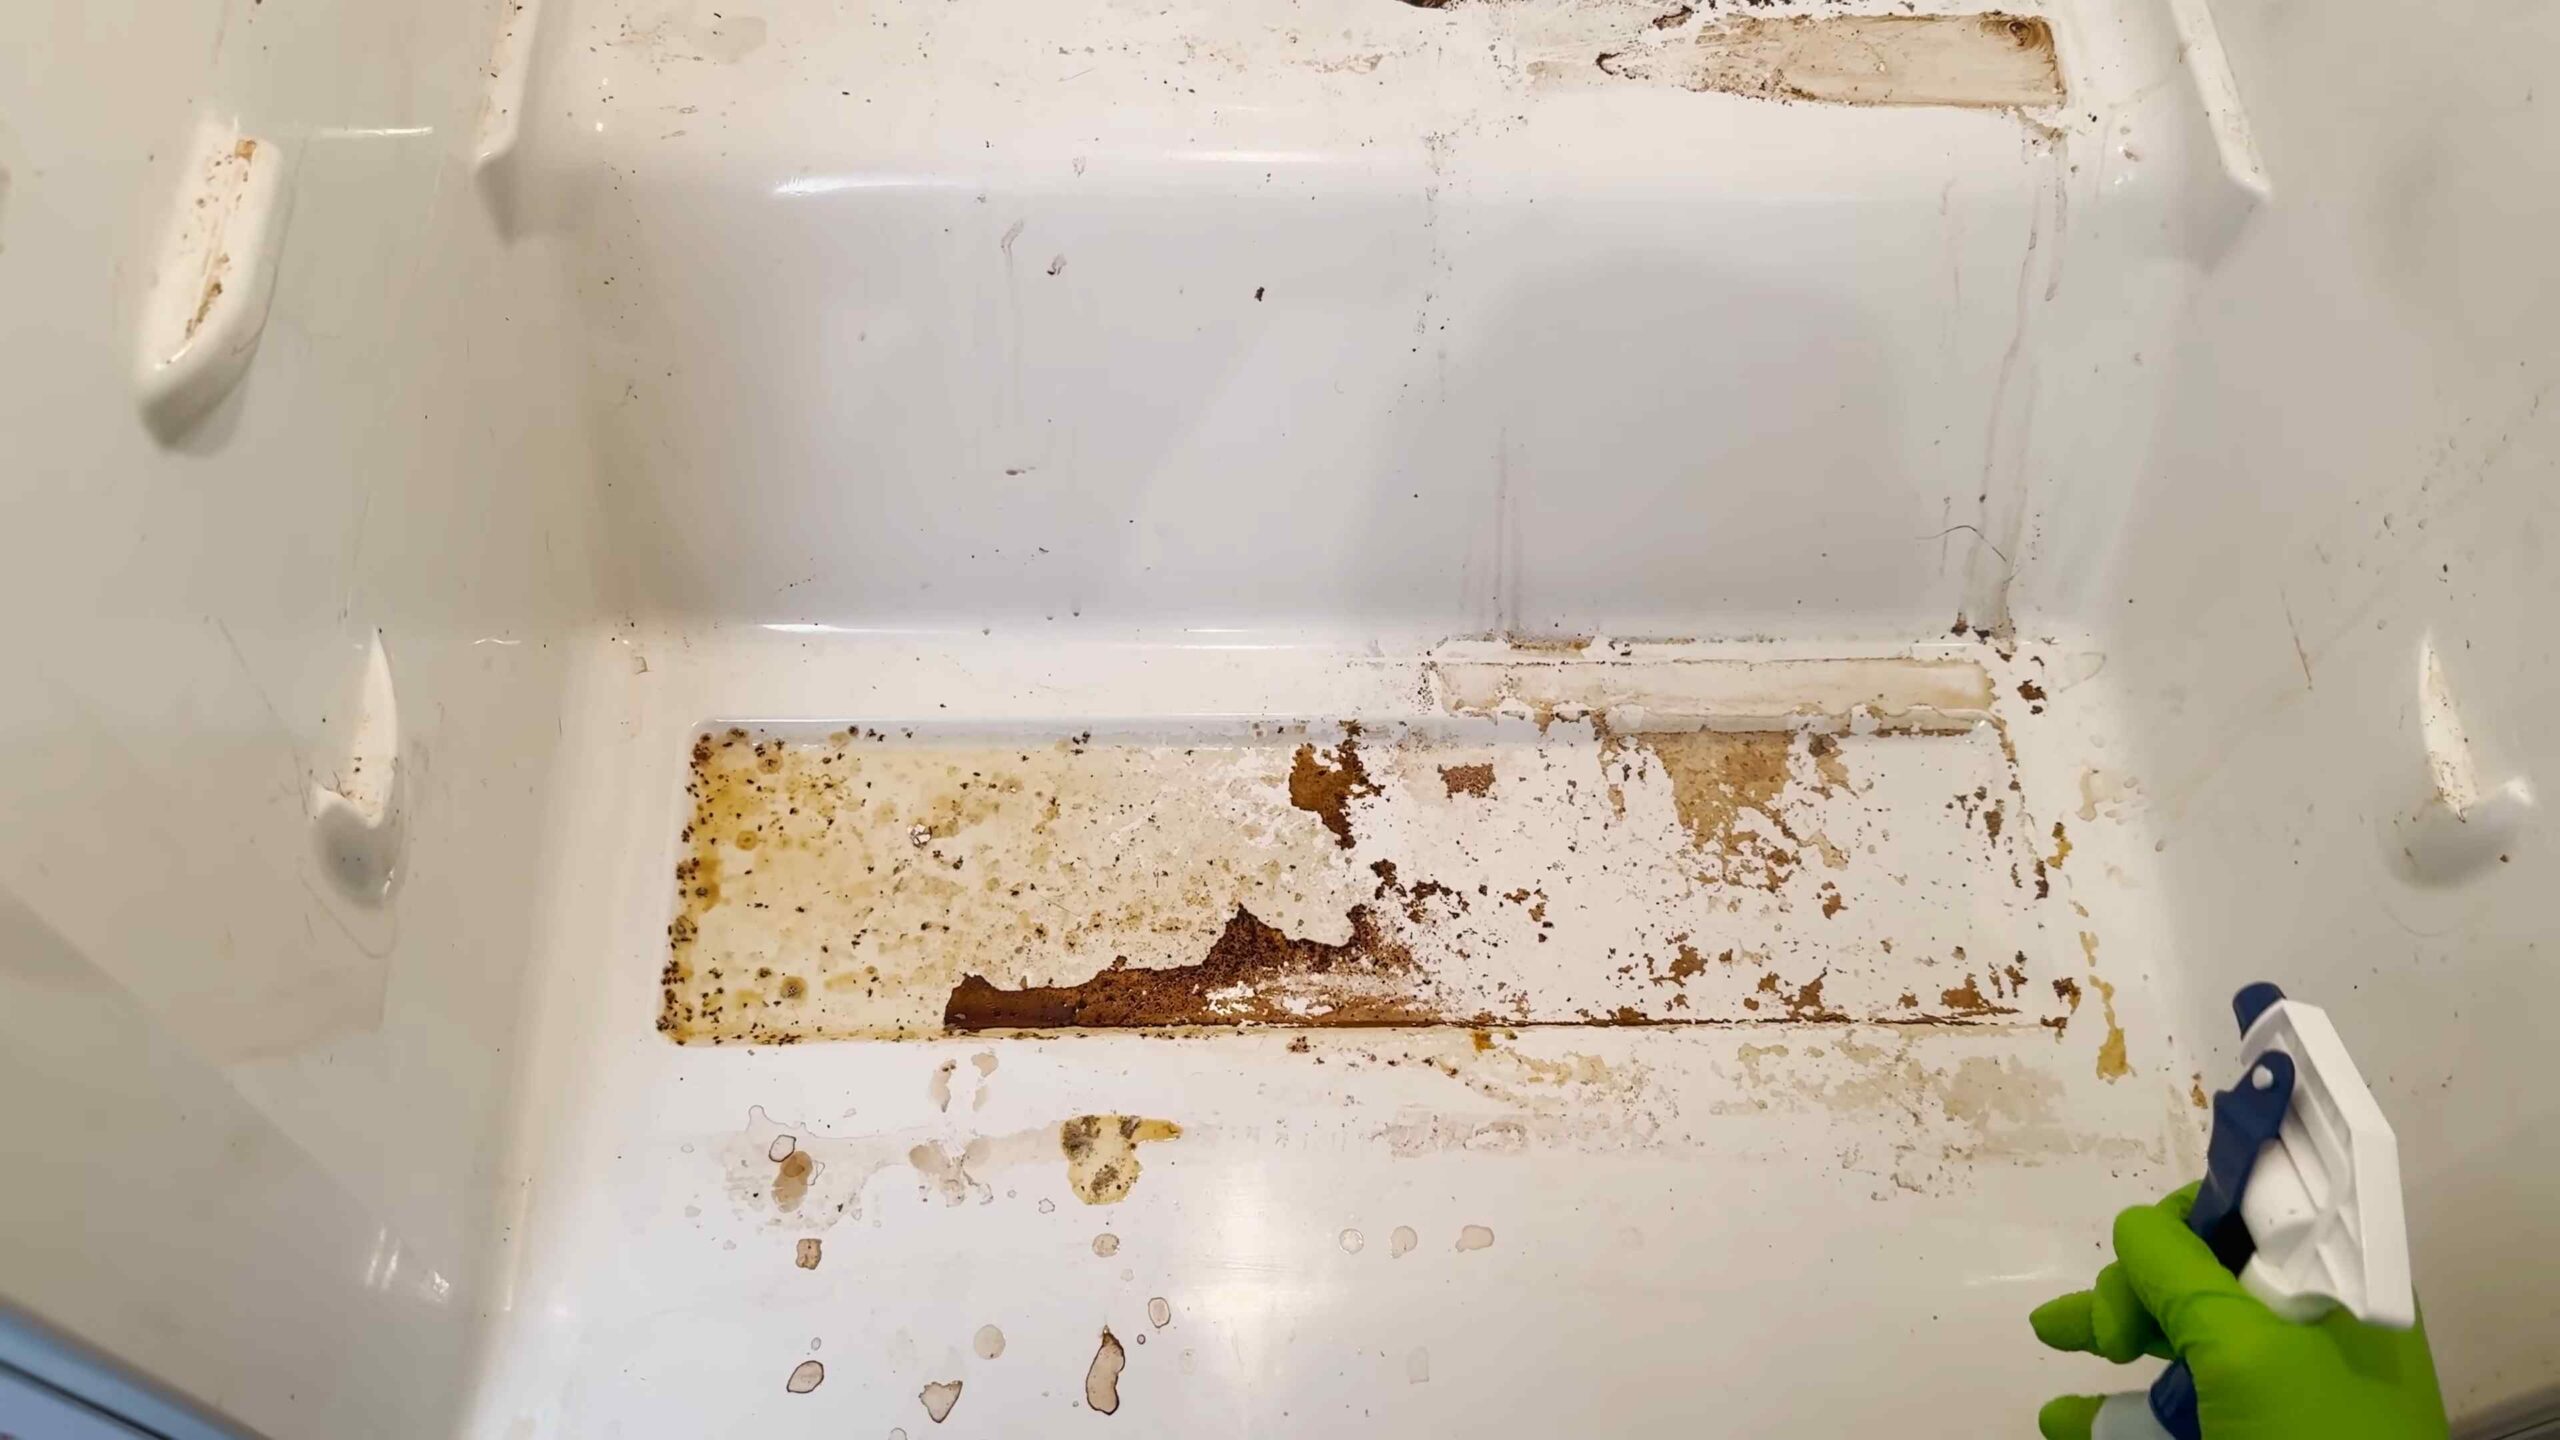
5. Assess the Damage: Take a good look at the inside of your fridge. Identify any problem areas, such as spills, stains, or mold growth. This will help you determine which cleaning solutions and techniques to use.
Phase 2: Cleaning the Interior
Now for the fun part (okay, maybe not *fun*, but definitely satisfying!).
1. Prepare Your Cleaning Solution: There are a few options here, depending on your preference:
* Baking Soda Paste: Mix baking soda with a small amount of water to create a paste. This is great for scrubbing stubborn stains and absorbing odors.
* Vinegar Solution: Mix equal parts white vinegar and warm water in a spray bottle. This is a good all-purpose cleaner and disinfectant.
* Dish Soap Solution: Mix a few drops of dish soap with warm water in a spray bottle. This is effective for removing grease and grime.
* My Personal Favorite: I usually start with the vinegar solution for general cleaning, then use the baking soda paste for any tough spots.
2. Spray and Wipe: Spray the interior surfaces of the fridge with your chosen cleaning solution. Let it sit for a few minutes to loosen any dirt or grime. Then, wipe down all surfaces with a clean microfiber cloth or sponge.
3. Tackle Stubborn Stains: For stubborn stains, apply the baking soda paste directly to the affected area. Let it sit for a few minutes, then scrub gently with a sponge or old toothbrush. Rinse with warm water and wipe dry.
4. Clean the Door Seals: Don’t forget the door seals! These can accumulate dirt and grime, which can prevent the fridge from sealing properly. Wipe them down with a damp cloth and a mild cleaning solution. Use the old toothbrush to get into the crevices.
5. Rinse and Dry: Once you’ve cleaned all the interior surfaces, rinse them with warm water to remove any remaining cleaning solution. Then, dry everything thoroughly with a clean microfiber cloth. Moisture can lead to mold growth, so make sure everything is completely dry before putting the shelves and food back in.
6. Deodorize (Optional): To further deodorize your fridge, place an open box of baking soda inside. You can also add a few drops of essential oils (lemon or tea tree) to a cotton ball and place it in the fridge.
Phase 3: Cleaning the Shelves, Drawers, and Bins
These removable parts often get overlooked, but they’re just as important to clean as the interior of the fridge.
1. Wash with Soap and Water: Wash the shelves, drawers, and bins with warm soapy water. Use a sponge or cloth to scrub away any dirt or grime.
2. Rinse Thoroughly: Rinse all the parts thoroughly with clean water to remove any soap residue.
3. Disinfect (Optional): If you want to disinfect the shelves and drawers, you can spray them with a vinegar solution or a diluted bleach solution (be sure to rinse thoroughly afterward!).
4. Dry Completely: Dry all the parts completely with a clean microfiber cloth before putting them back in the fridge.
Phase 4: Reassembling and Restocking
We’re almost there! This is the final stretch.
1. Replace Shelves, Drawers, and Bins: Once everything is clean and dry, put the shelves, drawers, and bins back into the fridge.
2. Organize Your Food: As you put your food back in the fridge, take the opportunity to organize it.
* Top Shelf: Store ready-to-eat foods, such as leftovers, yogurt, and cheese.
* Middle Shelves: Store dairy products, eggs, and other items that need to be kept cold.
* Bottom Shelf: Store raw meat and poultry in sealed containers to prevent cross-contamination.
* Drawers: Use the crisper drawers for fruits and vegetables.
* Door: Store condiments, sauces, and drinks. Keep in mind that the door is the warmest part of the fridge, so avoid storing highly perishable items there.
3. Check Temperatures: Make sure your fridge is set to the correct temperature (around 40°F or 4°C) to keep your food safe.
4. Plug the Fridge Back In: Plug the fridge back in and let it cool down before adding any more food.
5. Maintain Your Clean Fridge: To keep your fridge clean and organized, try to wipe up spills immediately and regularly check for expired or spoiled food. A quick weekly wipe-down can prevent bigger messes down the road.
Bonus Tip: Preventing Future Messes
* Use Shelf Liners: Line your shelves with plastic or paper liners to catch spills and make cleaning easier.
* Store Food Properly: Store food in airtight containers to prevent leaks and spills.
* Label Leftovers: Label leftovers with the date they were made so you know when to toss them.
* Clean Regularly: Make it a habit to clean your fridge regularly, even if it’s just a quick wipe-down.
And there you have it! A sparkling clean and organized refrigerator. Now you can enjoy your fresh, safe food without worrying about hidden messes or funky smells. You did it!
Conclusion
So, there you have it! This simple, effective, and surprisingly satisfying DIY fridge cleaning trick is a game-changer for anyone looking to maintain a fresh and hygienic kitchen. Forget harsh chemicals and hours of scrubbing. This method leverages the power of readily available ingredients and a little elbow grease to deliver sparkling results.
Why is this a must-try? Because a clean fridge isn’t just about aesthetics; it’s about food safety, extending the life of your groceries, and creating a more pleasant cooking environment. Think about it: a fridge free of spills, crumbs, and lingering odors prevents cross-contamination, reduces the risk of foodborne illnesses, and allows you to easily see what you have on hand, minimizing food waste. Plus, who doesn’t love opening a fridge that smells clean and fresh?
But the benefits don’t stop there. This DIY approach is also eco-friendly and budget-friendly. You’re avoiding the harsh chemicals found in many commercial cleaners, which can be harmful to your health and the environment. And you’re saving money by using ingredients you likely already have in your pantry.
Looking for variations? Absolutely! For stubborn stains, try making a paste of baking soda and water and letting it sit on the affected area for a few minutes before wiping it away. If you’re dealing with particularly strong odors, place an open box of baking soda or a bowl of activated charcoal in your fridge to absorb them. You can also add a few drops of your favorite essential oil (lemon, grapefruit, or tea tree are great choices) to your cleaning solution for an extra boost of freshness. For a deeper clean, consider removing all the shelves and drawers and washing them in warm, soapy water. This allows you to get into all the nooks and crannies of your fridge.
This DIY fridge cleaning method is a simple yet powerful way to improve your kitchen hygiene and overall well-being. It’s a small change that can make a big difference.
We’re confident that once you try this DIY trick, you’ll be amazed by the results. It’s quick, easy, and effective, and it will leave your fridge looking and smelling its best. So, ditch the harsh chemicals and embrace this natural and affordable cleaning solution.
Don’t just take our word for it – give it a try! We encourage you to try this DIY fridge cleaning method and share your experience with us. Let us know what variations you tried, what worked best for you, and any tips you have to share. We’re always looking for new and innovative ways to keep our kitchens clean and healthy, and we value your feedback. Share your before and after photos on social media and tag us! We can’t wait to see your sparkling clean fridges!
FAQ
Frequently Asked Questions About DIY Fridge Cleaning
1. How often should I clean my fridge?
Ideally, you should aim to clean your fridge thoroughly at least once a month. However, spot cleaning spills and wiping up messes as they occur is crucial for maintaining a clean and hygienic environment. A quick weekly wipe-down of shelves and drawers can also help prevent the buildup of grime and odors. If you notice any unpleasant smells or spills, address them immediately. Regular cleaning prevents foodborne illnesses and extends the life of your food.
2. What ingredients do I need for this DIY fridge cleaning method?
The beauty of this DIY method is its simplicity. You’ll typically need just a few basic ingredients that you likely already have on hand:
* Warm water
* Baking soda
* White vinegar (optional, for tougher stains and odors)
* A clean sponge or cloth
* A spray bottle (optional, for easy application)
For variations, you might also consider:
* Lemon juice (for a fresh scent and extra cleaning power)
* Essential oils (for added fragrance)
* Activated charcoal (for odor absorption)
3. Is vinegar safe to use in my fridge?
Yes, white vinegar is generally safe to use in your fridge. It’s a natural disinfectant and deodorizer. However, it’s important to dilute it with water to avoid any potential damage to certain surfaces. A 50/50 solution of white vinegar and water is usually sufficient. Avoid using vinegar on rubber seals, as it can cause them to degrade over time. Always wipe down surfaces thoroughly after using vinegar to remove any residue.
4. Can I use bleach to clean my fridge?
While bleach is a powerful disinfectant, it’s generally not recommended for cleaning your fridge. Bleach can be harsh and leave behind a strong odor that can be absorbed by your food. It can also be corrosive to certain materials. If you choose to use bleach, dilute it heavily with water and ensure proper ventilation. Rinse all surfaces thoroughly with clean water and allow them to air dry completely before putting food back in the fridge. However, we strongly recommend sticking to safer, more natural alternatives like baking soda and vinegar.
5. How do I get rid of stubborn odors in my fridge?
Stubborn odors can be a challenge, but there are several effective ways to combat them:
* Baking Soda: Place an open box of baking soda in your fridge to absorb odors. Replace it every month or two.
* Activated Charcoal: Similar to baking soda, activated charcoal is highly effective at absorbing odors. Place a bowl of activated charcoal in your fridge for several days.
* Coffee Grounds: Place a bowl of dry, unused coffee grounds in your fridge to absorb odors.
* Lemon: Cut a lemon in half and place it in your fridge. The lemon will absorb odors and leave a fresh scent.
* Vinegar: Place a bowl of white vinegar in your fridge to absorb odors.
6. How do I prevent my fridge from getting dirty in the first place?
Prevention is key to keeping your fridge clean and minimizing the need for frequent deep cleans. Here are a few tips:
* Store food properly: Use airtight containers to prevent spills and leaks.
* Wipe up spills immediately: Don’t let spills sit and harden.
* Check expiration dates regularly: Discard expired food to prevent spoilage and odors.
* Line shelves with paper towels or shelf liners: This makes it easier to clean up spills.
* Keep a small container of baking soda in your fridge: This will help absorb odors.
7. What if I have a stainless steel fridge? Are there any special considerations?
Yes, stainless steel requires special care to avoid streaks and scratches. When cleaning a stainless steel fridge, use a soft cloth and a cleaner specifically designed for stainless steel. Wipe in the direction of the grain to prevent streaks. Avoid using abrasive cleaners or scrub brushes, as they can scratch the surface. You can also use a mixture of vinegar and water to clean stainless steel, but be sure to wipe it dry immediately to prevent water spots.
8. Can I use this DIY method to clean the freezer as well?
Yes, you can use this DIY method to clean your freezer. However, you’ll need to defrost your freezer first. Remove all food items and allow the freezer to thaw completely. Then, use the same cleaning solution of warm water and baking soda to wipe down the interior of the freezer. Be sure to dry all surfaces thoroughly before putting food back in. You can also use a hairdryer to speed up the drying process.
9. Is it necessary to unplug my fridge before cleaning it?
While it’s not always necessary to unplug your fridge before cleaning it, it’s generally a good idea for safety reasons. Unplugging your fridge eliminates the risk of electric shock. It also prevents the fridge from running while you’re cleaning it, which can save energy. If you choose not to unplug your fridge, be extra careful when cleaning around electrical components.
10. How long does it take to clean a fridge using this DIY method?
The amount of time it takes to clean your fridge will depend on how dirty it is and how thorough you want to be. A quick wipe-down of shelves and drawers can take as little as 15-20 minutes. A more thorough cleaning, including removing all shelves and drawers and washing them separately, can take an hour or more. However, the results are well worth the effort.


Leave a Comment