

Fix Heat Stains on Wood – ever set a hot mug down on your beautiful wooden table and cringed as you saw that dreaded white ring appear? I know I have! It’s a common household woe, and those heat stains can seem like a permanent blemish on your cherished furniture. But don’t despair! Before you resign yourself to living with those unsightly marks or, worse, consider replacing your furniture, I’m here to tell you there’s hope!
Wood, a material deeply intertwined with human history, has been used for furniture making for centuries. From the grandest royal courts to the humblest homes, wood furniture has always been a symbol of comfort and elegance. But even the most meticulously crafted pieces are vulnerable to everyday accidents like heat stains. These stains aren’t just surface blemishes; they’re a sign that moisture has become trapped within the wood’s finish.
That’s why I’ve put together this guide filled with simple, effective DIY tricks to fix heat stains on wood. These aren’t just quick fixes; they’re methods that address the root cause of the problem, helping you restore your furniture to its former glory. You’ll learn how to tackle those stubborn rings with items you probably already have in your pantry. So, let’s dive in and learn how to banish those heat stains and keep your wood furniture looking its best!
DIY Guide: Banishing Heat Stains from Your Beloved Wood Furniture
Okay, so you’ve got a heat stain on your beautiful wood table. Don’t panic! We’ve all been there. A hot mug, a forgotten plate – life happens. The good news is, you don’t have to live with that unsightly white ring forever. I’m going to walk you through a few tried-and-true methods to remove those heat stains and restore your wood furniture to its former glory. Let’s get started!
Understanding the Enemy: What Causes Heat Stains?
Before we dive into the solutions, it’s helpful to understand what’s actually going on with those heat stains. That white ring isn’t actually a burn. It’s moisture trapped *underneath* the finish of your wood. The heat from the object causes the finish to cloud up, creating that milky appearance. So, our goal is to draw that moisture back out.
Method 1: The Ironing Board Trick (My Go-To!)
This is my personal favorite method because it’s usually the most effective and uses tools you probably already have at home.
What You’ll Need:
* An iron (dry, no steam!)
* A clean, soft cotton cloth (an old t-shirt works great)
* Water (optional, for stubborn stains)
Step-by-Step Instructions:
1. Prepare the Area: Make sure the surface of your wood furniture is clean and dry. Wipe away any dust or debris with a soft cloth.
2. Protect the Wood: Lay the clean cotton cloth directly over the heat stain. This is crucial! You don’t want the iron coming into direct contact with the wood finish.
3. Ironing Time: Set your iron to a low, dry setting (no steam!). Gently iron over the cloth in a circular motion. Don’t leave the iron in one spot for too long, or you risk damaging the finish.
4. Check Your Progress: Lift the cloth periodically to check if the stain is fading. You should start to see some improvement after a few passes.
5. Repeat as Needed: Continue ironing in short bursts, checking frequently, until the stain disappears. This might take several minutes, so be patient.
6. Stubborn Stains: If the stain is particularly stubborn, you can try *very* lightly dampening the cloth with water. Make sure the cloth is only slightly damp, not soaking wet. Repeat the ironing process as described above. The added moisture can sometimes help draw out the trapped moisture.
7. Buff and Polish: Once the stain is gone, buff the area with a clean, dry cloth to restore the shine. You can also apply a furniture polish or wax to protect the finish.
Method 2: The Hair Dryer Approach (Gentle Heat)
This method is a bit gentler than the ironing method, so it’s a good option if you’re worried about damaging the finish on your furniture.
What You’ll Need:
* A hair dryer
* A clean, soft cloth
Step-by-Step Instructions:
1. Clean the Surface: As always, start by cleaning the affected area with a soft cloth to remove any dust or dirt.
2. Apply Heat: Set your hair dryer to a low or medium heat setting. Hold the hair dryer a few inches away from the heat stain and move it back and forth in a sweeping motion.
3. Monitor the Stain: Keep a close eye on the stain as you apply heat. You should start to see it fade gradually.
4. Wipe Away Moisture: As the heat draws out the moisture, wipe the area with a clean, soft cloth.
5. Repeat as Necessary: Continue applying heat and wiping away moisture until the stain is gone. This method might take a bit longer than the ironing method, so be patient.
6. Buff and Polish: Once the stain is removed, buff the area with a clean cloth and apply furniture polish or wax to protect the finish.
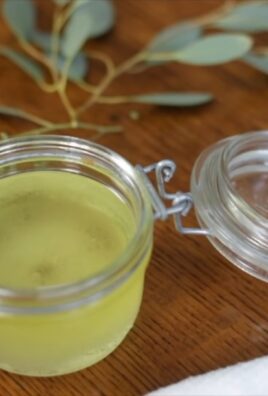
Method 3: The Mayonnaise Miracle (Believe It or Not!)
This might sound crazy, but mayonnaise actually works wonders on heat stains! The oil in the mayonnaise helps to draw out the trapped moisture.
What You’ll Need:
* Mayonnaise (full-fat is best)
* A clean, soft cloth
* Paper towels
Step-by-Step Instructions:
1. Apply the Mayonnaise: Generously apply a thick layer of mayonnaise to the heat stain.
2. Let It Sit: Cover the mayonnaise with a paper towel and let it sit for several hours, or even overnight. The longer it sits, the better the results.
3. Wipe Away the Mayonnaise: After the waiting period, wipe away the mayonnaise with a clean, soft cloth.
4. Clean the Area: Clean the area with a damp cloth to remove any remaining mayonnaise residue.
5. Dry and Polish: Dry the area thoroughly with a clean cloth and buff to restore the shine. You can also apply furniture polish or wax.
Method 4: The Toothpaste Technique (For Light Stains)
This method works best for lighter, more recent heat stains.
What You’ll Need:
* Non-gel toothpaste (plain white toothpaste)
* A soft cloth
* Water
Step-by-Step Instructions:
1. Apply Toothpaste: Apply a small amount of non-gel toothpaste to a soft cloth.
2. Gently Rub: Gently rub the toothpaste onto the heat stain in a circular motion. Be careful not to apply too much pressure, as you don’t want to scratch the finish.
3. Wipe Clean: After a minute or two of rubbing, wipe away the toothpaste with a damp cloth.
4. Dry and Polish: Dry the area thoroughly with a clean cloth and buff to restore the shine. Apply furniture polish or wax if desired.
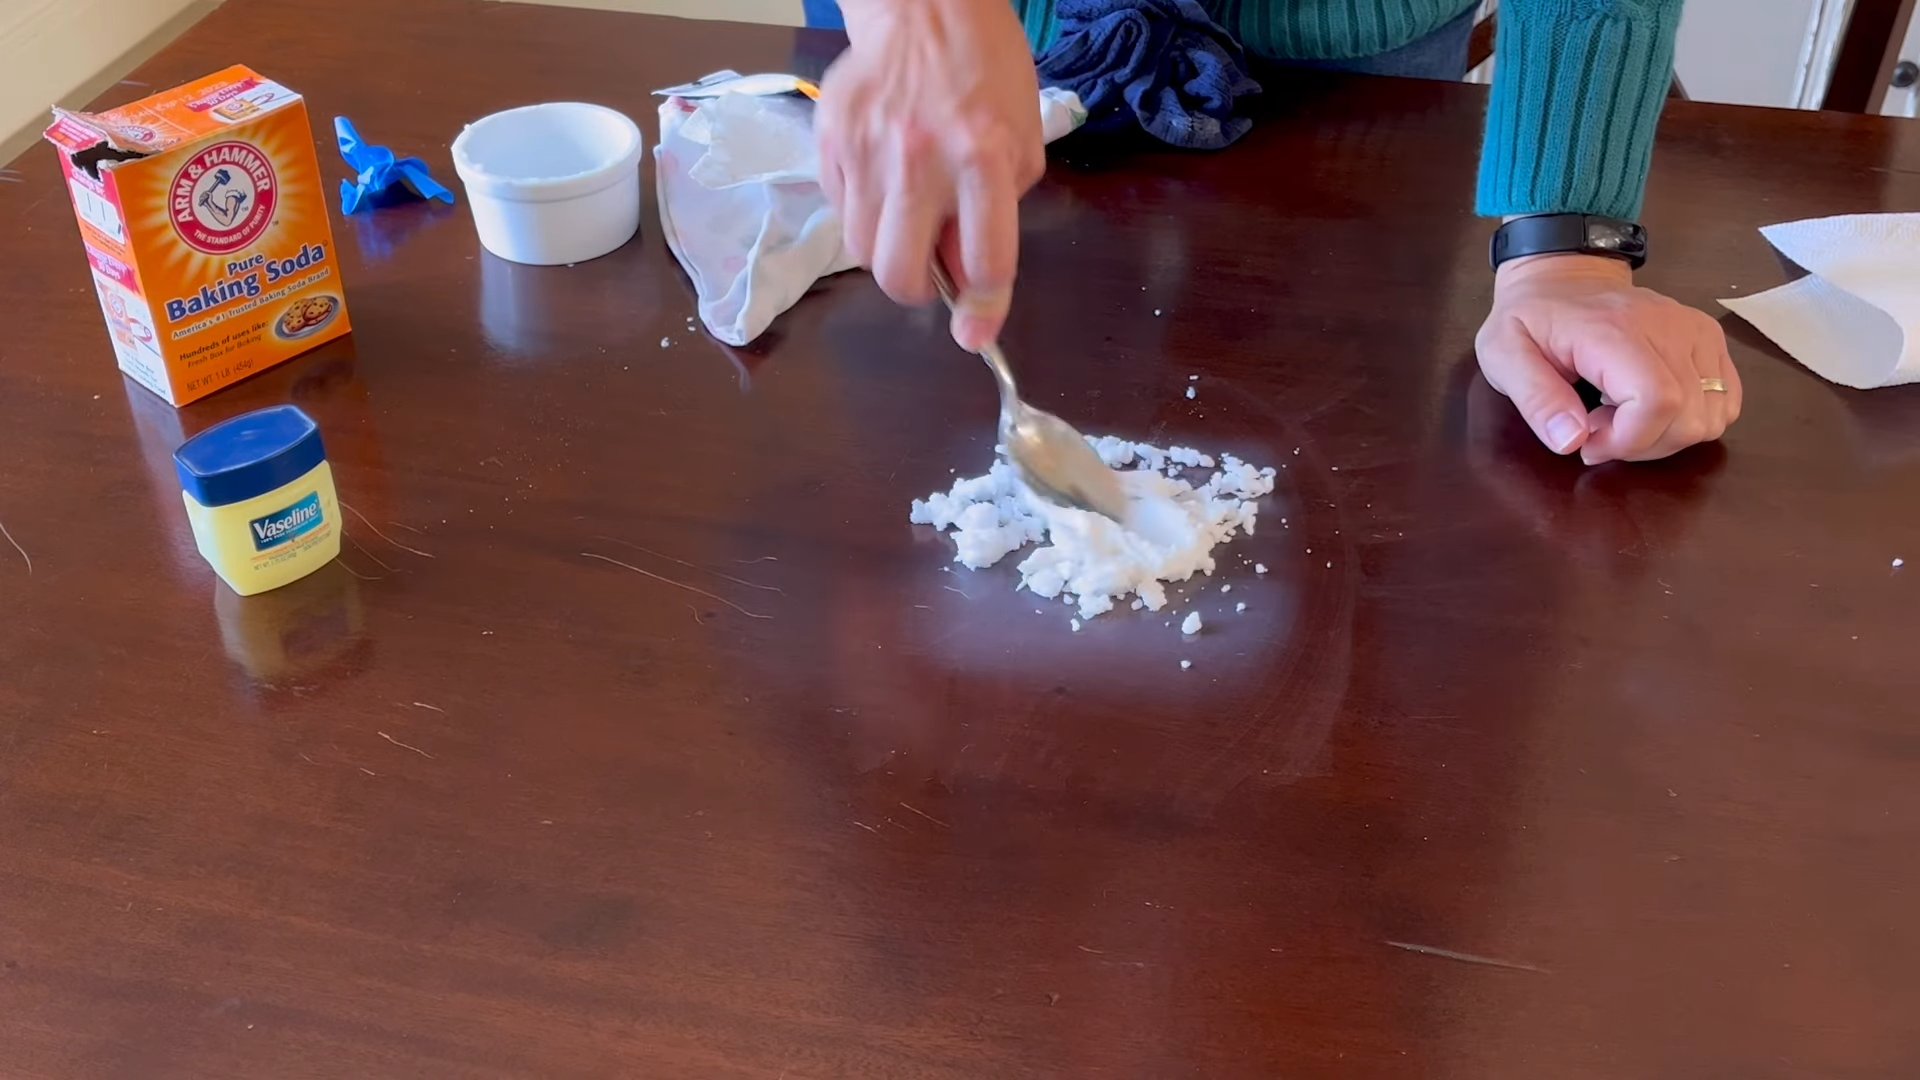
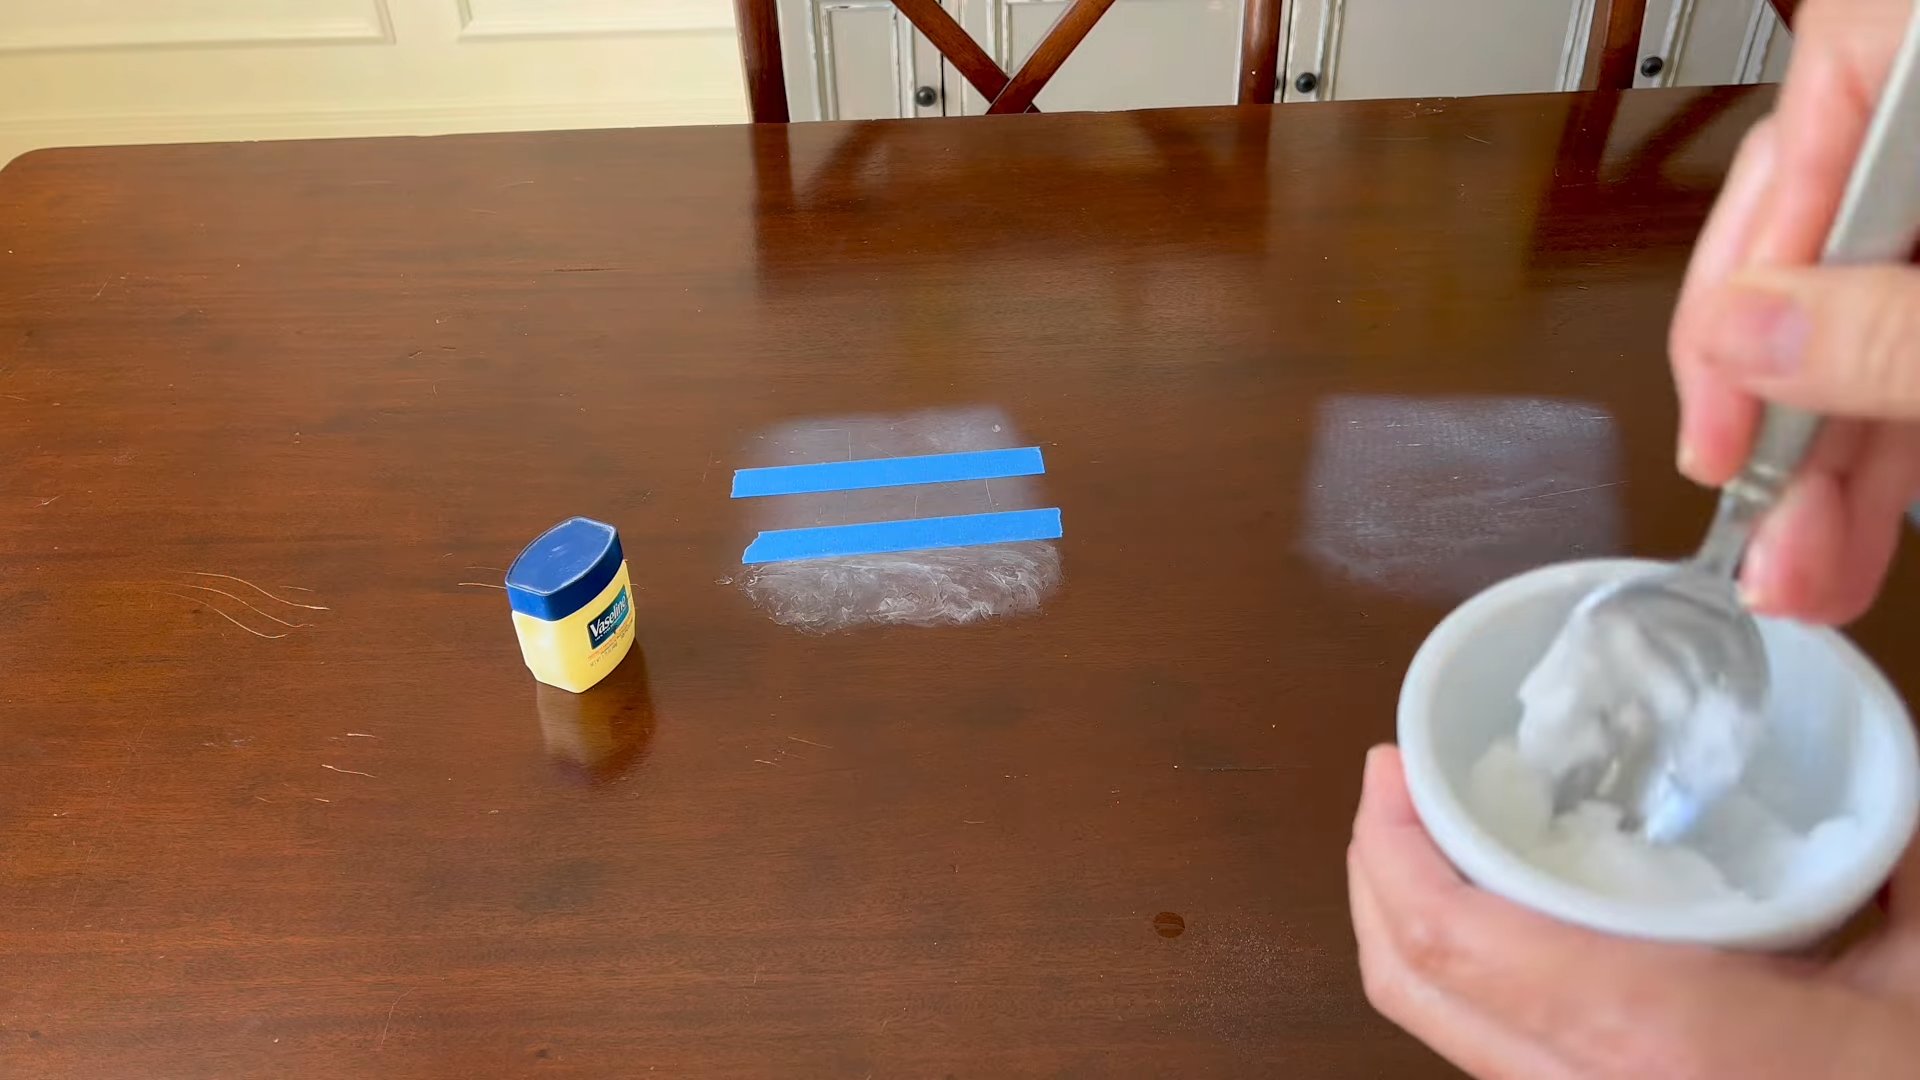
Method 5: The Baking Soda Paste (Abrasive Power)
This method is a bit more abrasive, so use it with caution, especially on delicate finishes.
What You’ll Need:
* Baking soda
* Water
* A soft cloth
Step-by-Step Instructions:
1. Make a Paste: Mix baking soda with a small amount of water to create a thick paste.
2. Apply the Paste: Apply the paste to the heat stain.
3. Gently Rub: Gently rub the paste onto the stain in a circular motion. Be very careful not to scrub too hard, as baking soda can be abrasive.
4. Wipe Clean: Wipe away the paste with a damp cloth.
5. Dry and Polish: Dry the area thoroughly with a clean cloth and buff to restore the shine. Apply furniture polish or wax if desired.
Important Considerations and Precautions:
* Test in an Inconspicuous Area: Before trying any of these methods, it’s always a good idea to test them in an inconspicuous area of your furniture to make sure they don’t damage the finish.
* Be Gentle: When working with wood furniture, it’s important to be gentle. Avoid using harsh chemicals or abrasive materials, as these can damage the finish.
* Patience is Key: Removing heat stains can take time and patience. Don’t get discouraged if the stain doesn’t disappear immediately. Keep trying, and you’ll eventually see results.
* Know Your Finish: The type of finish on your furniture will affect how you treat the stain. For example, antique furniture with a delicate finish should be handled with extra care. If you’re unsure about the type of finish, it’s best to consult with a professional furniture restorer.
* Prevention is Best: The best way to deal with heat stains is to prevent them in the first place. Always use coasters or placemats under hot dishes and drinks.
When to Call a Professional:
If you’ve tried all of these methods and the heat stain is still there, or if you’re dealing with a valuable piece of furniture, it might be time to call a professional furniture restorer. They have the expertise and tools to safely remove even the most stubborn stains.
I hope these tips help you banish those pesky heat stains from your wood furniture! Good luck, and happy restoring!
Conclusion
So, there you have it! Banishing those unsightly heat stains from your beloved wooden furniture doesn’t require expensive professional help or harsh chemicals. This simple, effective DIY trick, using items you likely already have in your pantry, is a game-changer for anyone who values the beauty and longevity of their wood surfaces. We’ve shown you how to tackle those stubborn white rings and cloudy marks with a little patience and the power of heat and moisture.
Why is this DIY method a must-try? Because it’s gentle, affordable, and incredibly effective. Unlike harsh chemical strippers that can damage the finish and even the wood itself, this approach works by gently coaxing the trapped moisture out of the wood fibers, reversing the damage caused by the heat. It’s a non-invasive solution that respects the integrity of your furniture. Plus, the satisfaction of seeing those stains disappear before your eyes is truly rewarding!
But don’t stop there! Feel free to experiment with variations to find what works best for your specific type of wood and the severity of the stain. For instance, if you’re dealing with a particularly stubborn stain, you might try increasing the heat setting on your iron slightly (always starting with the lowest setting and working your way up). Or, you could try using a slightly damp (not soaking wet!) cloth instead of a dry one. Some people have also found success using a hairdryer in place of an iron, especially for delicate or intricately carved surfaces. Remember to always test in an inconspicuous area first to ensure compatibility.
Consider the type of wood you are working with. More delicate woods may require a lower heat setting and shorter application times. For antique furniture, proceed with extra caution and consider consulting a professional if you’re unsure. The goal is to gently lift the stain, not to further damage the finish.
Ultimately, the key to success with this DIY trick is patience and persistence. Don’t expect miracles overnight. Some stains may require multiple applications to fully disappear. But with each attempt, you’ll likely see improvement, and the end result will be well worth the effort.
We are confident that this method will help you restore your furniture to its former glory. We encourage you to give this DIY trick a try and share your experiences with us! Let us know in the comments below what worked for you, any variations you tried, and any tips you have for others tackling similar heat stains. Your feedback will help us refine this method and make it even more effective for everyone. We can’t wait to hear your success stories and see your beautifully restored furniture! Remember, tackling those pesky **heat stains on wood** is easier than you think!
Frequently Asked Questions
What causes heat stains on wood furniture?
Heat stains on wood furniture are typically caused by trapped moisture within the wood’s finish. When a hot object, like a mug or a pan, is placed directly on the wood surface, the heat can cause the finish to expand and trap moisture underneath. This trapped moisture creates a cloudy or white ring-like appearance, commonly known as a heat stain. The severity of the stain depends on the temperature of the object, the duration of contact, and the type of finish on the wood.
What kind of iron should I use?
A dry iron is recommended for this DIY trick. Make sure the iron is clean and free of any residue that could transfer to the wood. It’s best to use an iron without steam holes, as the steam could potentially worsen the stain. If your iron has steam holes, ensure they are turned off and that no water is present in the iron’s reservoir. Start with the lowest heat setting and gradually increase it as needed, always monitoring the wood surface closely.
What if I don’t have an iron? Can I use something else?
While an iron is the most commonly used tool for this method, you can also try using a hairdryer. Set the hairdryer to a low heat setting and direct the airflow over the stained area. Move the hairdryer back and forth to avoid overheating any one spot. This method may take longer than using an iron, but it can be a gentler option for delicate wood surfaces. Some people have also reported success using a heat gun on its lowest setting, but this requires extreme caution and should only be attempted by experienced users.
How long should I apply the heat?
The duration of heat application depends on the severity of the stain and the type of wood. Start with short bursts of heat, about 5-10 seconds at a time, and check the stain’s progress after each application. Avoid holding the iron or hairdryer in one spot for too long, as this could damage the finish. Repeat the process as needed, gradually increasing the heat or duration if the stain is particularly stubborn. Patience is key!
What if the stain doesn’t disappear after several attempts?
If the stain persists after multiple attempts, it may be a deeper stain that has penetrated the wood’s finish. In this case, you may need to consider more aggressive methods, such as using a furniture polish or a specialized wood cleaner. However, always test these products in an inconspicuous area first to ensure they don’t damage the finish. If you’re unsure, it’s best to consult a professional furniture restorer.
Can this method be used on all types of wood?
This method is generally safe for most types of wood, but it’s always best to test it in an inconspicuous area first, especially on antique or delicate furniture. Some woods, like those with a very thin or fragile finish, may be more susceptible to damage from heat. If you’re working with a valuable or irreplaceable piece of furniture, consider consulting a professional before attempting any DIY repairs.
What kind of cloth should I use?
A soft, clean cotton cloth is ideal for this DIY trick. Avoid using abrasive cloths or paper towels, as they could scratch the wood’s finish. A lint-free cloth is also recommended to prevent leaving behind any fibers on the surface.
Will this method remove scratches or other types of damage?
No, this method is specifically designed to remove heat stains caused by trapped moisture. It will not remove scratches, dents, or other types of damage to the wood’s surface. For those types of repairs, you’ll need to use different techniques, such as wood fillers or furniture polish.
How can I prevent heat stains in the future?
The best way to prevent heat stains is to use coasters, placemats, or trivets under hot objects. These protective barriers will prevent the heat from coming into direct contact with the wood surface and trapping moisture. You can also consider applying a heat-resistant finish to your furniture, but be sure to consult a professional before doing so. Regular cleaning and polishing can also help maintain the wood’s finish and prevent stains from forming.

Leave a Comment