

Grow apple tree from seed? Absolutely! Imagine biting into a crisp, juicy apple grown right in your own backyard, knowing you nurtured it from a tiny seed. It sounds like a fairytale, right? Well, it’s more attainable than you might think! For centuries, cultivating fruit trees has been a symbol of prosperity and connection to nature. From ancient Roman orchards to the sprawling apple farms of today, the allure of homegrown fruit remains strong.
While grafting is the most common method for commercial apple production, starting from seed offers a unique and rewarding experience. It allows you to witness the entire life cycle of a tree and potentially discover a new and exciting apple variety. Plus, let’s be honest, who doesn’t love a good DIY project that connects them to the earth?
This article is your ultimate guide to successfully grow apple tree from seed. We’ll break down the process into easy-to-follow steps, from seed selection and stratification to planting and ongoing care. Forget expensive nursery trees – let’s embark on this exciting journey together and cultivate your very own apple orchard, one seed at a time! I’m excited to share all the tips and tricks I’ve learned along the way to help you succeed.
Growing Apple Trees From Seed: A Patient Gardener’s Guide
Okay, so you want to grow an apple tree from seed? That’s fantastic! It’s a rewarding, albeit lengthy, process. Let me tell you, it’s not the fastest way to get a Granny Smith in your backyard, but it’s a fascinating journey that connects you to the very roots (pun intended!) of your food. Just be aware that the apple you get might not be exactly like the one you took the seed from. Apple trees grown from seed rarely produce fruit identical to the parent tree. Think of it as a genetic lottery! But hey, you might end up with something even better!
Here’s a comprehensive guide to help you navigate this exciting project:
Understanding Apple Seed Germination
Before we dive into the nitty-gritty, let’s understand what we’re trying to achieve. Apple seeds need a period of cold stratification to break their dormancy. This mimics the natural winter conditions they’d experience in the wild. Without this cold period, the seeds simply won’t germinate.
Materials You’ll Need
* Apple seeds (from a ripe apple – organic is best!)
* Paper towels
* Sealable plastic bags (sandwich bags work great)
* Refrigerator
* Potting mix (seed starting mix is ideal)
* Small pots or seedling trays
* Watering can or spray bottle
* Sunny windowsill or grow lights
* Larger pot (eventually, for transplanting)
* Gardening gloves (optional, but recommended)
* Permanent marker (for labeling)
Phase 1: Seed Extraction and Preparation
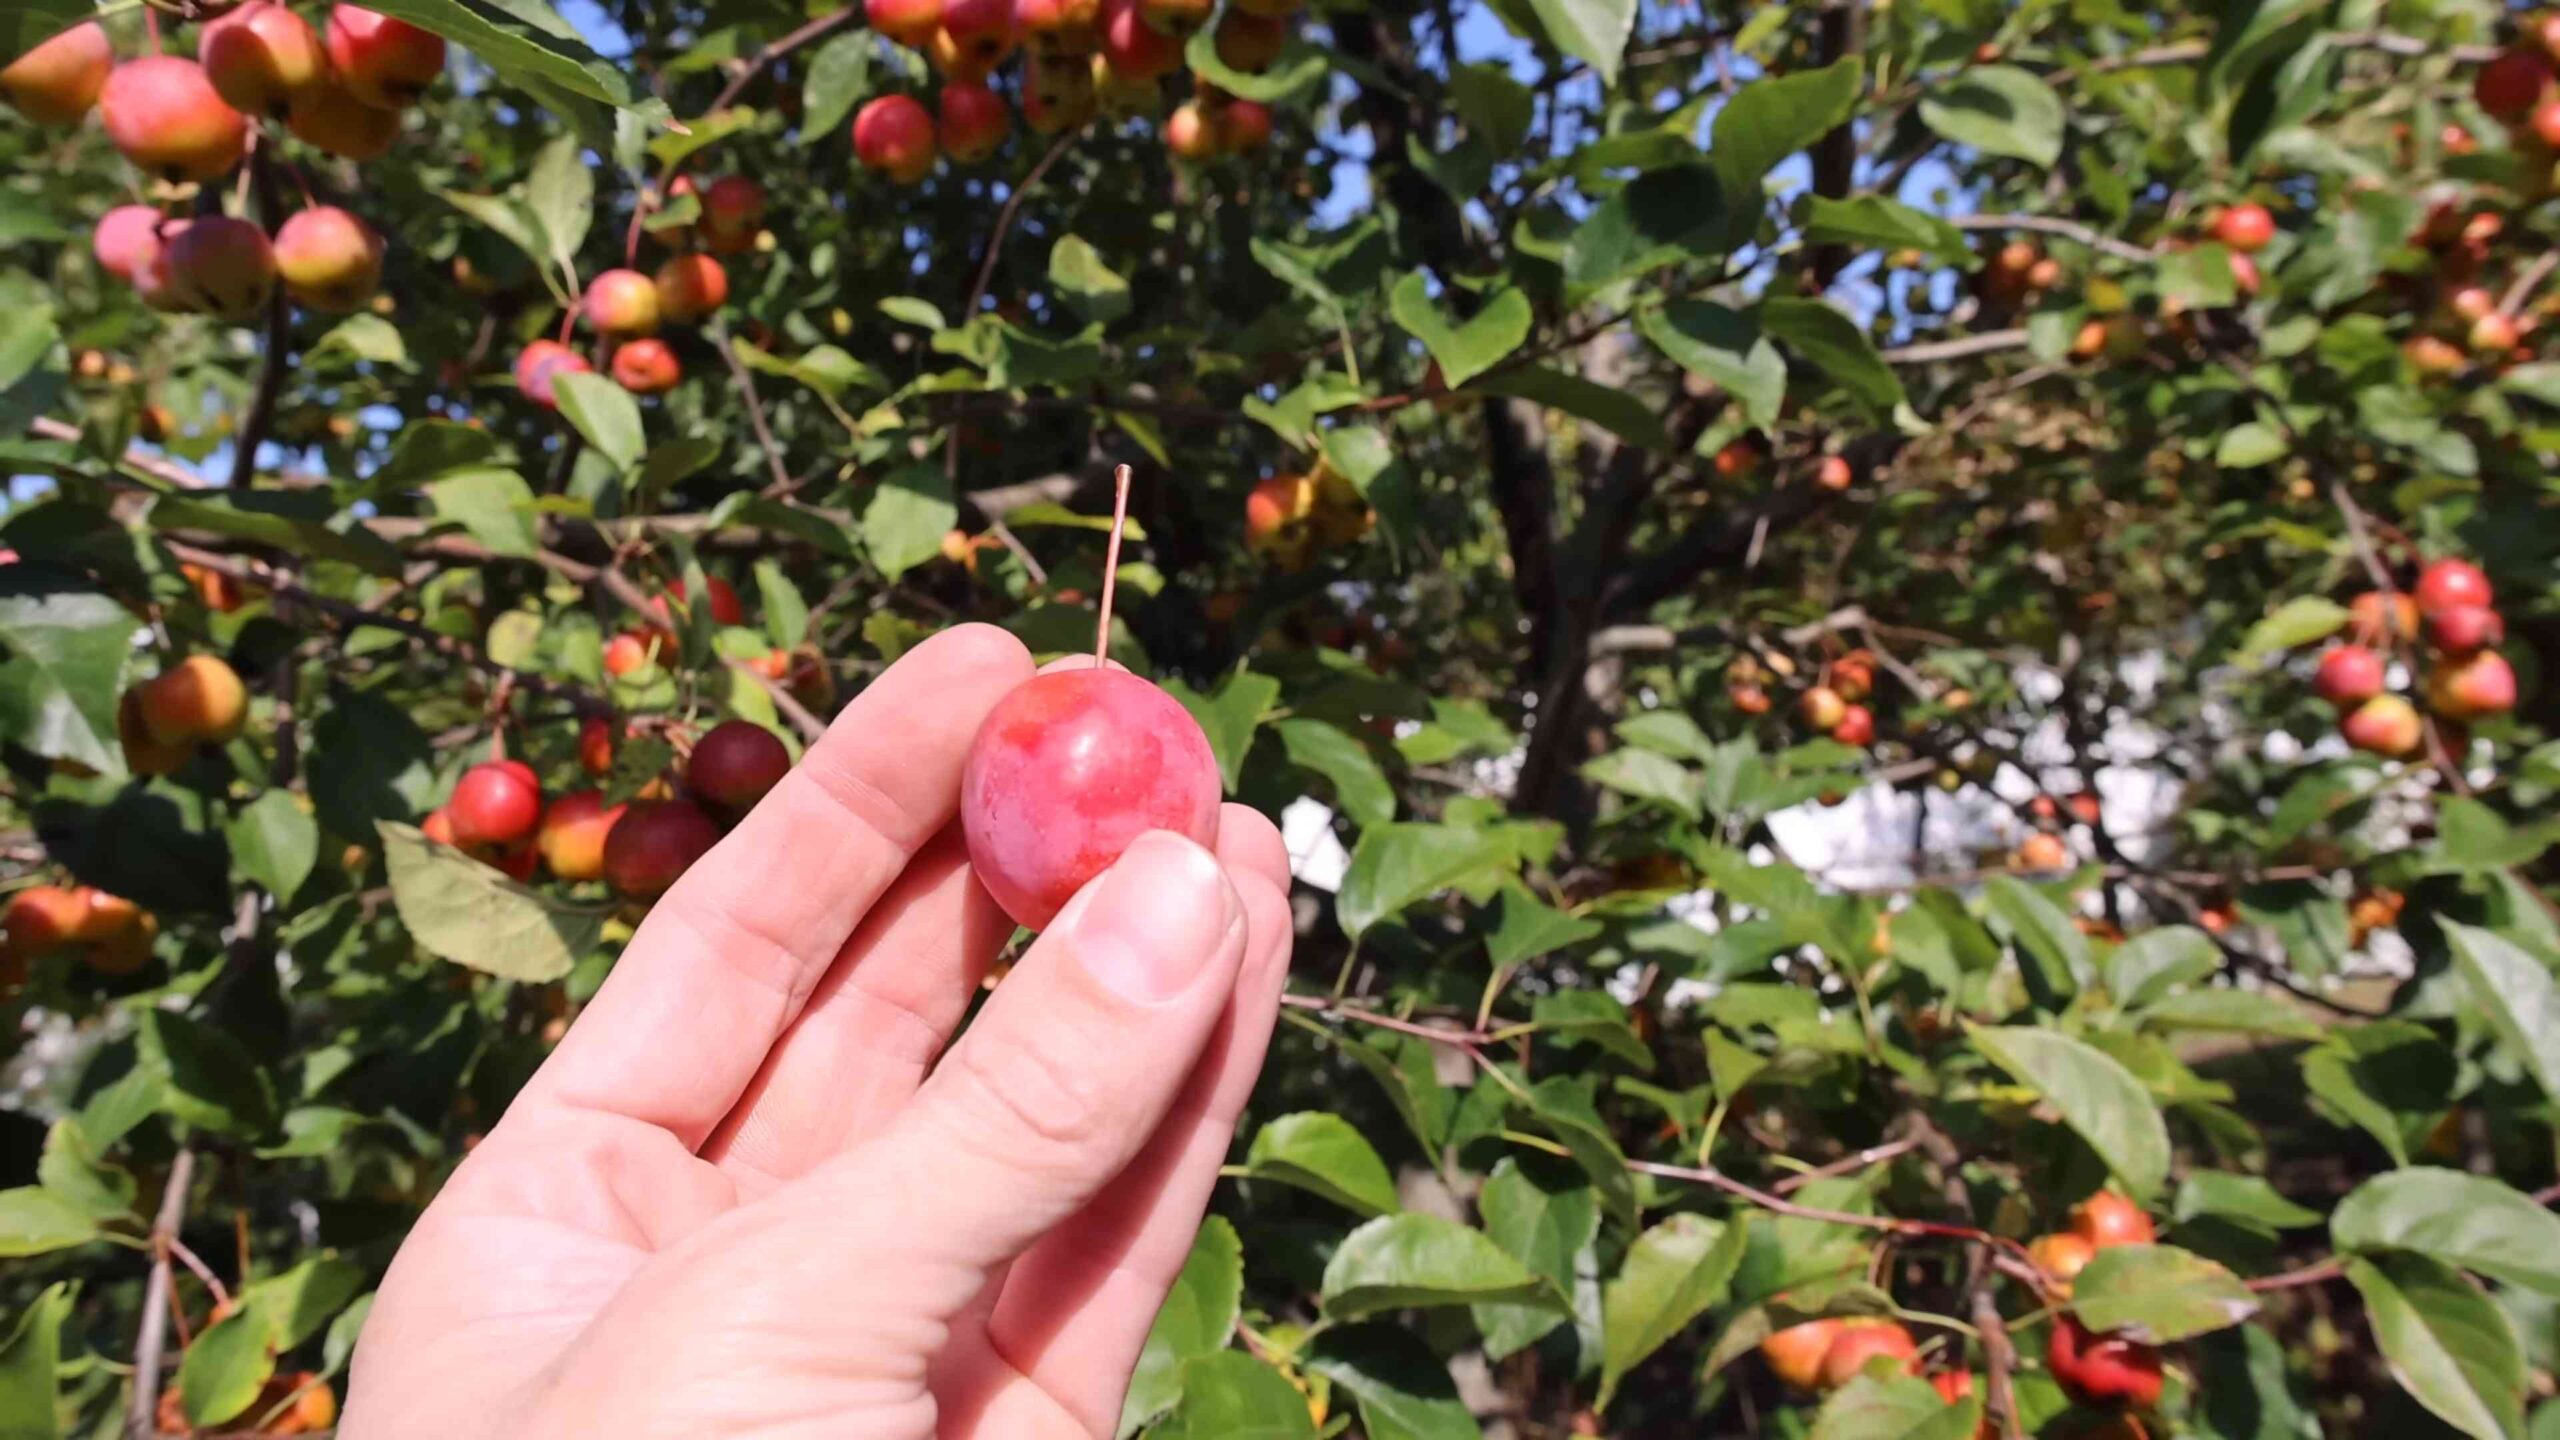
1. Choose Your Apple Wisely: Select a ripe, healthy apple. Organic apples are preferable because they haven’t been treated with chemicals that might inhibit germination. I usually go for apples that I really enjoy eating – even if the resulting tree doesn’t produce the exact same apple, at least I know I like the “parent” fruit!
2. Extract the Seeds: Cut the apple open and carefully remove the seeds. You’ll usually find them in the core. Don’t worry if some are small or shriveled; only the plump, brown seeds are likely to be viable.
3. Clean the Seeds: Rinse the seeds thoroughly under cool water to remove any remaining pulp or sugary residue. This is important to prevent mold growth during stratification. I like to gently rub them between my fingers to make sure they’re completely clean.
4. Dry the Seeds (Slightly): Place the cleaned seeds on a paper towel and let them air dry for a few hours. You don’t want them completely dry, just not soaking wet. This helps prevent them from sticking together during stratification.
Phase 2: Cold Stratification (The “Winter” Treatment)
This is the crucial step that tricks the seeds into thinking they’ve gone through winter.
1. Dampen the Paper Towel: Moisten a paper towel with water. It should be damp, not dripping wet. You want enough moisture to keep the seeds hydrated, but not so much that they’re sitting in water.
2. Wrap the Seeds: Place the apple seeds on the damp paper towel and fold the towel over them. You can also use two paper towels, one on top and one on the bottom.
3. Seal in a Plastic Bag: Put the wrapped seeds into a sealable plastic bag. Squeeze out as much air as possible before sealing the bag. This helps prevent mold growth.
4. Label the Bag: Use a permanent marker to label the bag with the date and the type of apple (if you know it). This will help you keep track of how long the seeds have been stratifying.
5. Refrigerate: Place the bag in the refrigerator. The ideal temperature is between 35°F and 45°F (2°C and 7°C). The crisper drawer is usually a good spot.
6. Stratification Period: The seeds need to be refrigerated for at least 60-90 days. I usually aim for 90 days just to be safe. During this time, check the bag every couple of weeks to make sure the paper towel is still damp. If it’s drying out, lightly mist it with water. Also, keep an eye out for any mold growth. If you see mold, carefully remove the affected seeds and replace the paper towel.
Phase 3: Planting and Germination
After the cold stratification period, it’s time to plant your seeds!
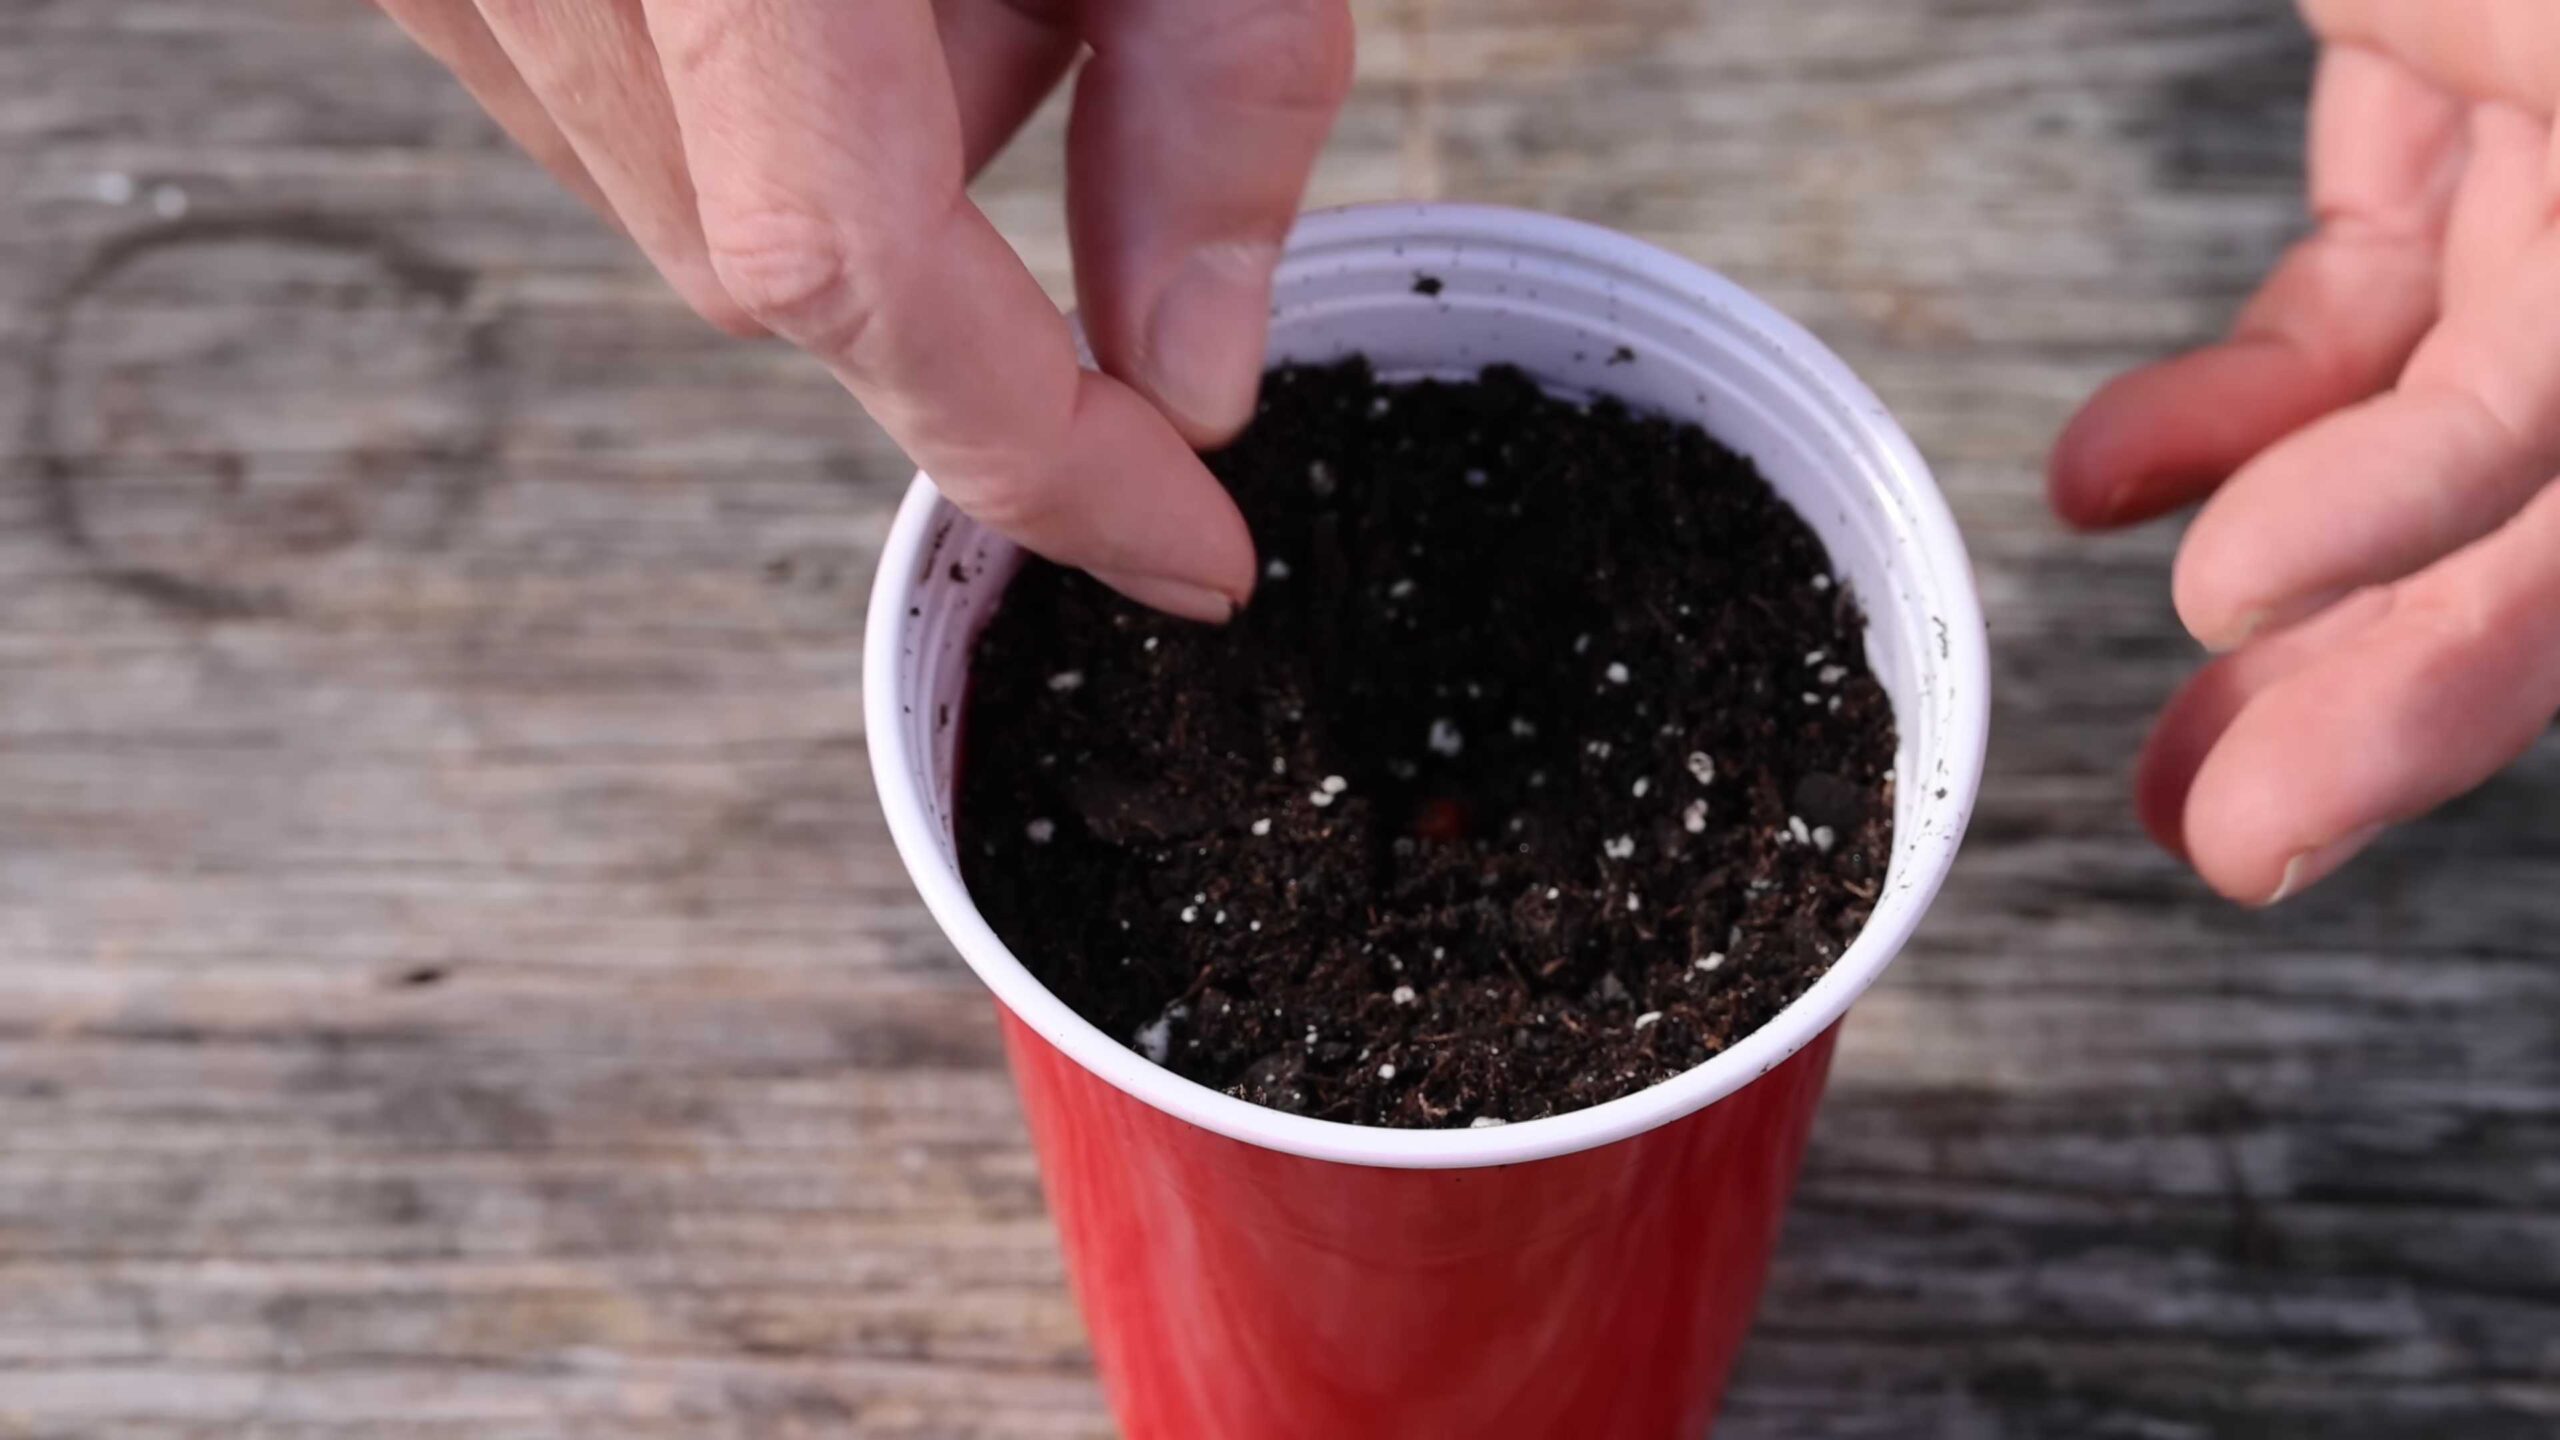
1. Prepare Your Pots: Fill small pots or seedling trays with a good quality seed starting mix. Make sure the pots have drainage holes.
2. Plant the Seeds: Remove the seeds from the refrigerator and gently plant them about ½ inch deep in the soil. I usually plant 2-3 seeds per pot to increase my chances of success.
3. Water Gently: Water the soil gently with a watering can or spray bottle. You want to moisten the soil without disturbing the seeds.
4. Provide Light: Place the pots in a sunny windowsill or under grow lights. Apple seedlings need plenty of light to thrive. If you’re using a windowsill, rotate the pots regularly to ensure even growth.
5. Maintain Moisture: Keep the soil consistently moist, but not waterlogged. Check the soil moisture daily and water as needed.
6. Germination Time: Germination can take anywhere from a week to a month, so be patient! Once the seedlings emerge, thin them out to one seedling per pot. Choose the strongest, healthiest-looking seedling and gently snip off the others at soil level.
Phase 4: Seedling Care
Now that you have apple seedlings, it’s time to nurture them into strong, healthy trees.
1. Watering: Continue to water the seedlings regularly, keeping the soil consistently moist. Avoid overwatering, which can lead to root rot.
2. Fertilizing: Once the seedlings have a few sets of true leaves (the leaves that look like miniature apple leaves), you can start fertilizing them with a diluted liquid fertilizer. Follow the instructions on the fertilizer label. I usually use a balanced fertilizer, like a 10-10-10.
3. Repotting: As the seedlings grow, they’ll need to be repotted into larger pots. When the roots start to circle around the bottom of the pot, it’s time to move them to a bigger container. Choose a pot that’s a few inches larger in diameter than the current pot.
4. Hardening Off: Before planting your apple tree outdoors, you’ll need to “harden it off.” This means gradually exposing it to outdoor conditions over a period of a week or two. Start by placing the pot outdoors in a sheltered location for a few hours each day, gradually increasing the amount of time it spends outdoors. This will help the tree acclimate to the sun, wind, and temperature changes.
Phase 5: Planting Outdoors
After hardening off, your apple tree is ready to be planted in its permanent location.
1. Choose a Location: Select a sunny location with well-drained soil. Apple trees need at least 6-8 hours of sunlight per day.
2. Prepare the Soil: Dig a hole that’s twice as wide and as deep as the root ball of the tree. Amend the soil with compost or other organic matter to improve drainage and fertility.
3. Plant the Tree: Carefully remove the tree from its pot and gently loosen the roots. Place the tree in the hole, making sure the top of the root ball is level with the ground. Backfill the hole with soil, tamping it down gently.
4. Water Thoroughly: Water the tree thoroughly after planting.
5. Mulch: Apply a layer of mulch around the base of the tree to help retain moisture and suppress weeds.
6. Protect from Pests: Young apple trees are susceptible to pests and diseases. Monitor your tree regularly and take appropriate action if you notice any problems.
Important Considerations
* Patience is Key: Growing an apple tree from seed takes time and patience. It can take several years for the tree to mature and produce fruit. Don’t get discouraged if you don’t see results right away.
* Genetic Variation: As I mentioned earlier, apple trees grown from seed rarely produce fruit identical to the parent tree. The fruit may be different in size, shape, color, and taste. This is because apple trees are typically grafted onto rootstock to ensure consistent fruit production.
* Pollination: Most apple trees require cross-pollination to produce fruit. This means you’ll need to plant at least two different varieties of apple trees to ensure successful pollination.
* Rootstock: If you’re serious about growing a specific type of apple, you’re better off buying a grafted tree from a reputable nursery. Grafting ensures that you’ll get the variety of apple you want, and it also allows you to choose a rootstock that’s
Conclusion
So, you’ve reached the end of this guide, and hopefully, you’re feeling inspired and ready to embark on the rewarding journey of growing your own apple tree from seed. It might seem daunting at first, but the satisfaction of nurturing a tiny seed into a fruit-bearing tree is unparalleled. This DIY trick isn’t just about saving money; it’s about connecting with nature, understanding the life cycle of a plant, and ultimately, enjoying the fruits (literally!) of your labor.
Why is this a must-try? Because it’s an experience. It’s a chance to witness the miracle of life unfold before your eyes. It’s a project that teaches patience, resilience, and the importance of sustainable practices. And, let’s be honest, imagine the bragging rights when you can say, “I grew this apple tree from a single seed!” Plus, you’ll have a unique apple variety, potentially unlike anything you can buy in a store.
But the benefits extend beyond personal satisfaction. Growing your own apple tree contributes to biodiversity, reduces your carbon footprint by minimizing transportation needs, and provides a valuable food source for yourself and potentially local wildlife. It’s a small act with a big impact.
Now, let’s talk variations and suggestions. While this guide focuses on the basic method, feel free to experiment! Try different apple varieties to see which ones thrive in your climate. Consider grafting a known variety onto your seedling’s rootstock once it’s established to ensure consistent fruit quality. You can also explore different soil mixes and fertilization techniques to optimize growth. Remember to research the specific needs of the apple variety you choose.
Don’t be afraid to get creative with your growing environment. If you live in an apartment, start your seeds indoors and gradually acclimate them to outdoor conditions. If you have a large garden, consider planting multiple trees to create a mini-orchard. The possibilities are endless!
The key to success is patience and observation. Pay close attention to your seedlings, monitor their growth, and adjust your care as needed. Don’t get discouraged if you encounter setbacks. Growing an apple tree from seed is a learning process, and every mistake is an opportunity to improve.
We wholeheartedly encourage you to try this DIY trick. It’s a rewarding and educational experience that will connect you with nature in a profound way. And most importantly, have fun!
Once you’ve embarked on this adventure, we’d love to hear about your experience. Share your progress, your challenges, and your successes in the comments below. Post pictures of your seedlings, your saplings, and eventually, your fruit-bearing trees. Let’s create a community of apple tree enthusiasts who are passionate about growing their own food and connecting with nature. Your insights and experiences will inspire others to take the plunge and discover the joy of growing an apple tree from seed.
Frequently Asked Questions (FAQ)
How long does it take to grow an apple tree from seed?
Growing an apple tree from seed is a long-term project. It typically takes 6-10 years for a seedling apple tree to produce fruit. This is because seedlings need to mature before they can flower and bear fruit. Grafting a known variety onto the seedling can shorten this time frame to 3-5 years, as the grafted scion is already mature. Be patient and enjoy the journey!
What kind of apple seeds should I use?
You can use seeds from any apple variety you enjoy eating. However, keep in mind that the resulting tree may not produce fruit identical to the parent apple. This is because apple trees are typically cross-pollinated, meaning the seeds contain genetic material from two different parent trees. For best results, use seeds from heirloom or open-pollinated varieties. Avoid using seeds from store-bought apples that may be hybrids, as they may not germinate or produce viable fruit.
Do apple seeds need stratification?
Yes, apple seeds require stratification, a period of cold, moist storage, to break dormancy and promote germination. This mimics the natural winter conditions that apple seeds experience in the wild. To stratify apple seeds, wrap them in a moist paper towel, place them in a sealed plastic bag, and store them in the refrigerator (not the freezer) for 60-90 days. Check the seeds periodically to ensure the paper towel remains moist.
What type of soil is best for apple seedlings?
Apple seedlings thrive in well-draining soil that is rich in organic matter. A good potting mix for apple seedlings consists of equal parts peat moss, perlite, and vermiculite. You can also add compost or aged manure to improve soil fertility. Avoid using heavy clay soils, as they can become waterlogged and inhibit root growth.
How often should I water my apple seedlings?
Water apple seedlings regularly, keeping the soil consistently moist but not waterlogged. Check the soil moisture level daily and water when the top inch of soil feels dry to the touch. Avoid overwatering, as this can lead to root rot. During hot, dry weather, you may need to water more frequently.
When should I transplant my apple seedling outdoors?
Transplant your apple seedling outdoors in the spring after the last frost. Choose a sunny location with well-draining soil. Dig a hole that is twice as wide and as deep as the seedling’s root ball. Gently remove the seedling from its container and loosen any circling roots. Place the seedling in the hole and backfill with soil, tamping gently to remove air pockets. Water thoroughly after planting.
How much sunlight do apple trees need?
Apple trees need at least 6-8 hours of direct sunlight per day to produce fruit. Choose a planting location that receives full sun throughout the growing season. If you live in a hot climate, provide some afternoon shade to protect the tree from excessive heat.
Do I need to prune my apple tree?
Yes, pruning is essential for maintaining the health and productivity of your apple tree. Pruning helps to shape the tree, remove dead or diseased branches, and improve air circulation. Prune your apple tree in late winter or early spring before new growth begins. There are many resources available online and in libraries that can teach you the basics of apple tree pruning.
How do I protect my apple tree from pests and diseases?
Apple trees are susceptible to a variety of pests and diseases, including aphids, codling moths, apple scab, and fire blight. Monitor your tree regularly for signs of infestation or disease. Use organic pest control methods, such as insecticidal soap or neem oil, to control pests. Prune out any diseased branches and dispose of them properly. Choose disease-resistant apple varieties to minimize the risk of disease.
Can I grow an apple tree in a container?
Yes, you can grow an apple tree in a container, but you will need to choose a dwarf or semi-dwarf variety that is suitable for container growing. Use a large container (at least 20 gallons) with drainage holes. Fill the container with a well-draining potting mix. Water and fertilize the tree regularly. Container-grown apple trees will need to be pruned more frequently to maintain their size and shape.
Will my apple tree need a pollinator?
Most apple trees require cross-pollination to produce fruit. This means that you will need to plant two different apple varieties that bloom at the same time to ensure pollination. Some apple varieties are self-pollinating, but they will still produce more fruit if they are cross-pollinated. If you only have room for one apple tree, consider planting a crabapple tree nearby, as crabapples are excellent pollinators for apple trees.
How do I know when my apples are ripe?
Apples are typically ripe in late summer or early fall. The exact ripening time will depend on the apple variety and your climate. Ripe apples will have a deep color, a sweet aroma, and will easily detach from the tree when gently twisted. You can also test the ripeness of an apple by cutting it open. Ripe apples will have juicy flesh and dark brown seeds.

Leave a Comment