

Growing Lavender Shrubs can transform your garden into a fragrant oasis, bursting with color and attracting beneficial pollinators. Have you ever dreamed of strolling through your own lavender field, breathing in the calming aroma and snipping stems for bouquets and crafts? Well, dream no more! This DIY guide is packed with simple, effective tricks to help you cultivate thriving lavender shrubs, even if you don’t have a “green thumb.”
Lavender has a rich history, dating back to ancient times when it was used for medicinal and aromatic purposes. The Romans used it to scent their baths, and it has long been associated with cleanliness and tranquility. Today, lavender continues to be cherished for its beauty, fragrance, and therapeutic properties.
But let’s face it, growing lavender shrubs can sometimes feel like a challenge. They can be a bit finicky, demanding specific conditions to truly flourish. That’s where these DIY tricks come in! I’m going to share my secrets for choosing the right variety, preparing the perfect soil, and providing the care your lavender needs to thrive. Whether you’re a seasoned gardener or just starting out, these tips will empower you to create a stunning lavender display that will bring joy to your garden for years to come. So, grab your gardening gloves, and let’s get started!
DIY: Transforming Your Garden with Lavender Shrubs
Okay, let’s dive into the wonderful world of lavender! I’m going to walk you through everything you need to know to successfully grow these fragrant beauties in your own garden. It’s easier than you might think, and the reward – the scent, the color, the bees buzzing around – is absolutely worth it.
Choosing the Right Lavender Variety
First things first, not all lavender is created equal. Different varieties thrive in different climates and have slightly different needs. So, before you even think about planting, let’s figure out which lavender is right for you.
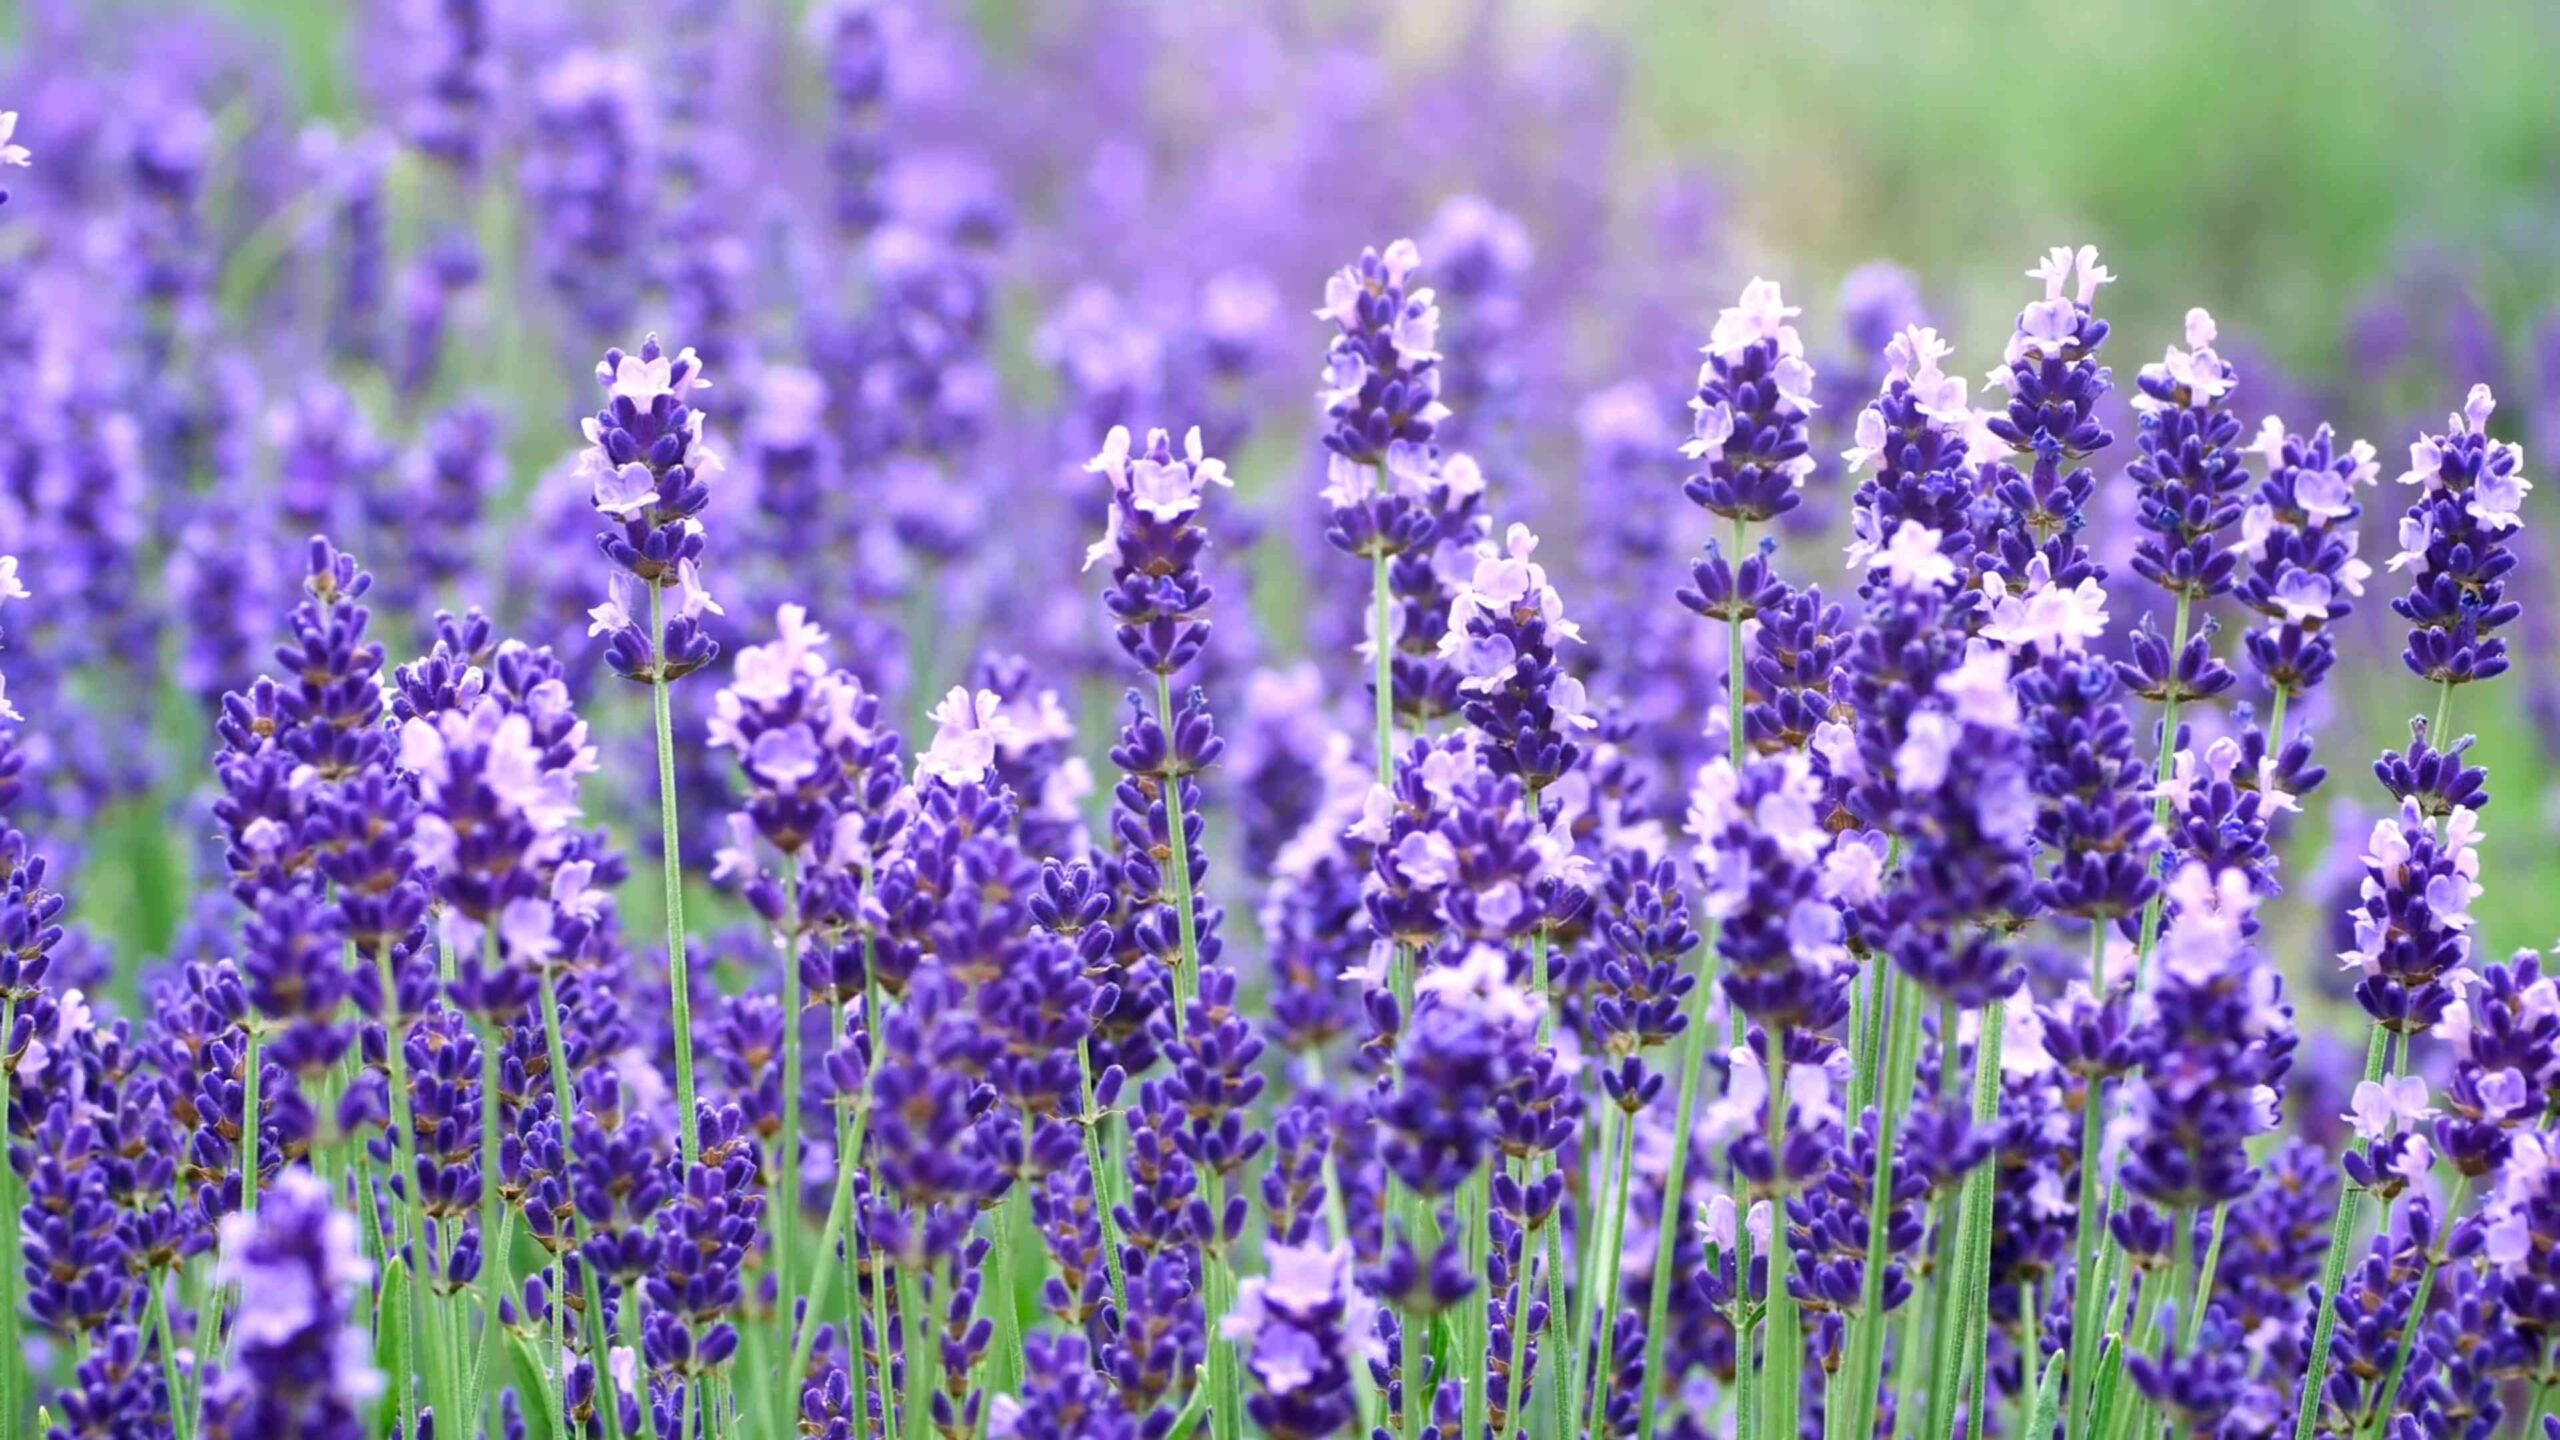
* **English Lavender (Lavandula angustifolia):** This is probably the most popular and widely available type. It’s known for its classic lavender scent and beautiful purple flowers. It’s also relatively cold-hardy, making it a good choice for cooler climates. Varieties like ‘Munstead’ and ‘Hidcote’ are particularly popular.
* **Lavandin (Lavandula x intermedia):** This is a hybrid of English lavender and spike lavender. It’s larger and more vigorous than English lavender, with longer flower spikes and a stronger, more camphoraceous scent. It’s also more heat-tolerant. ‘Grosso’ is a very common lavandin variety, often used for commercial lavender production.
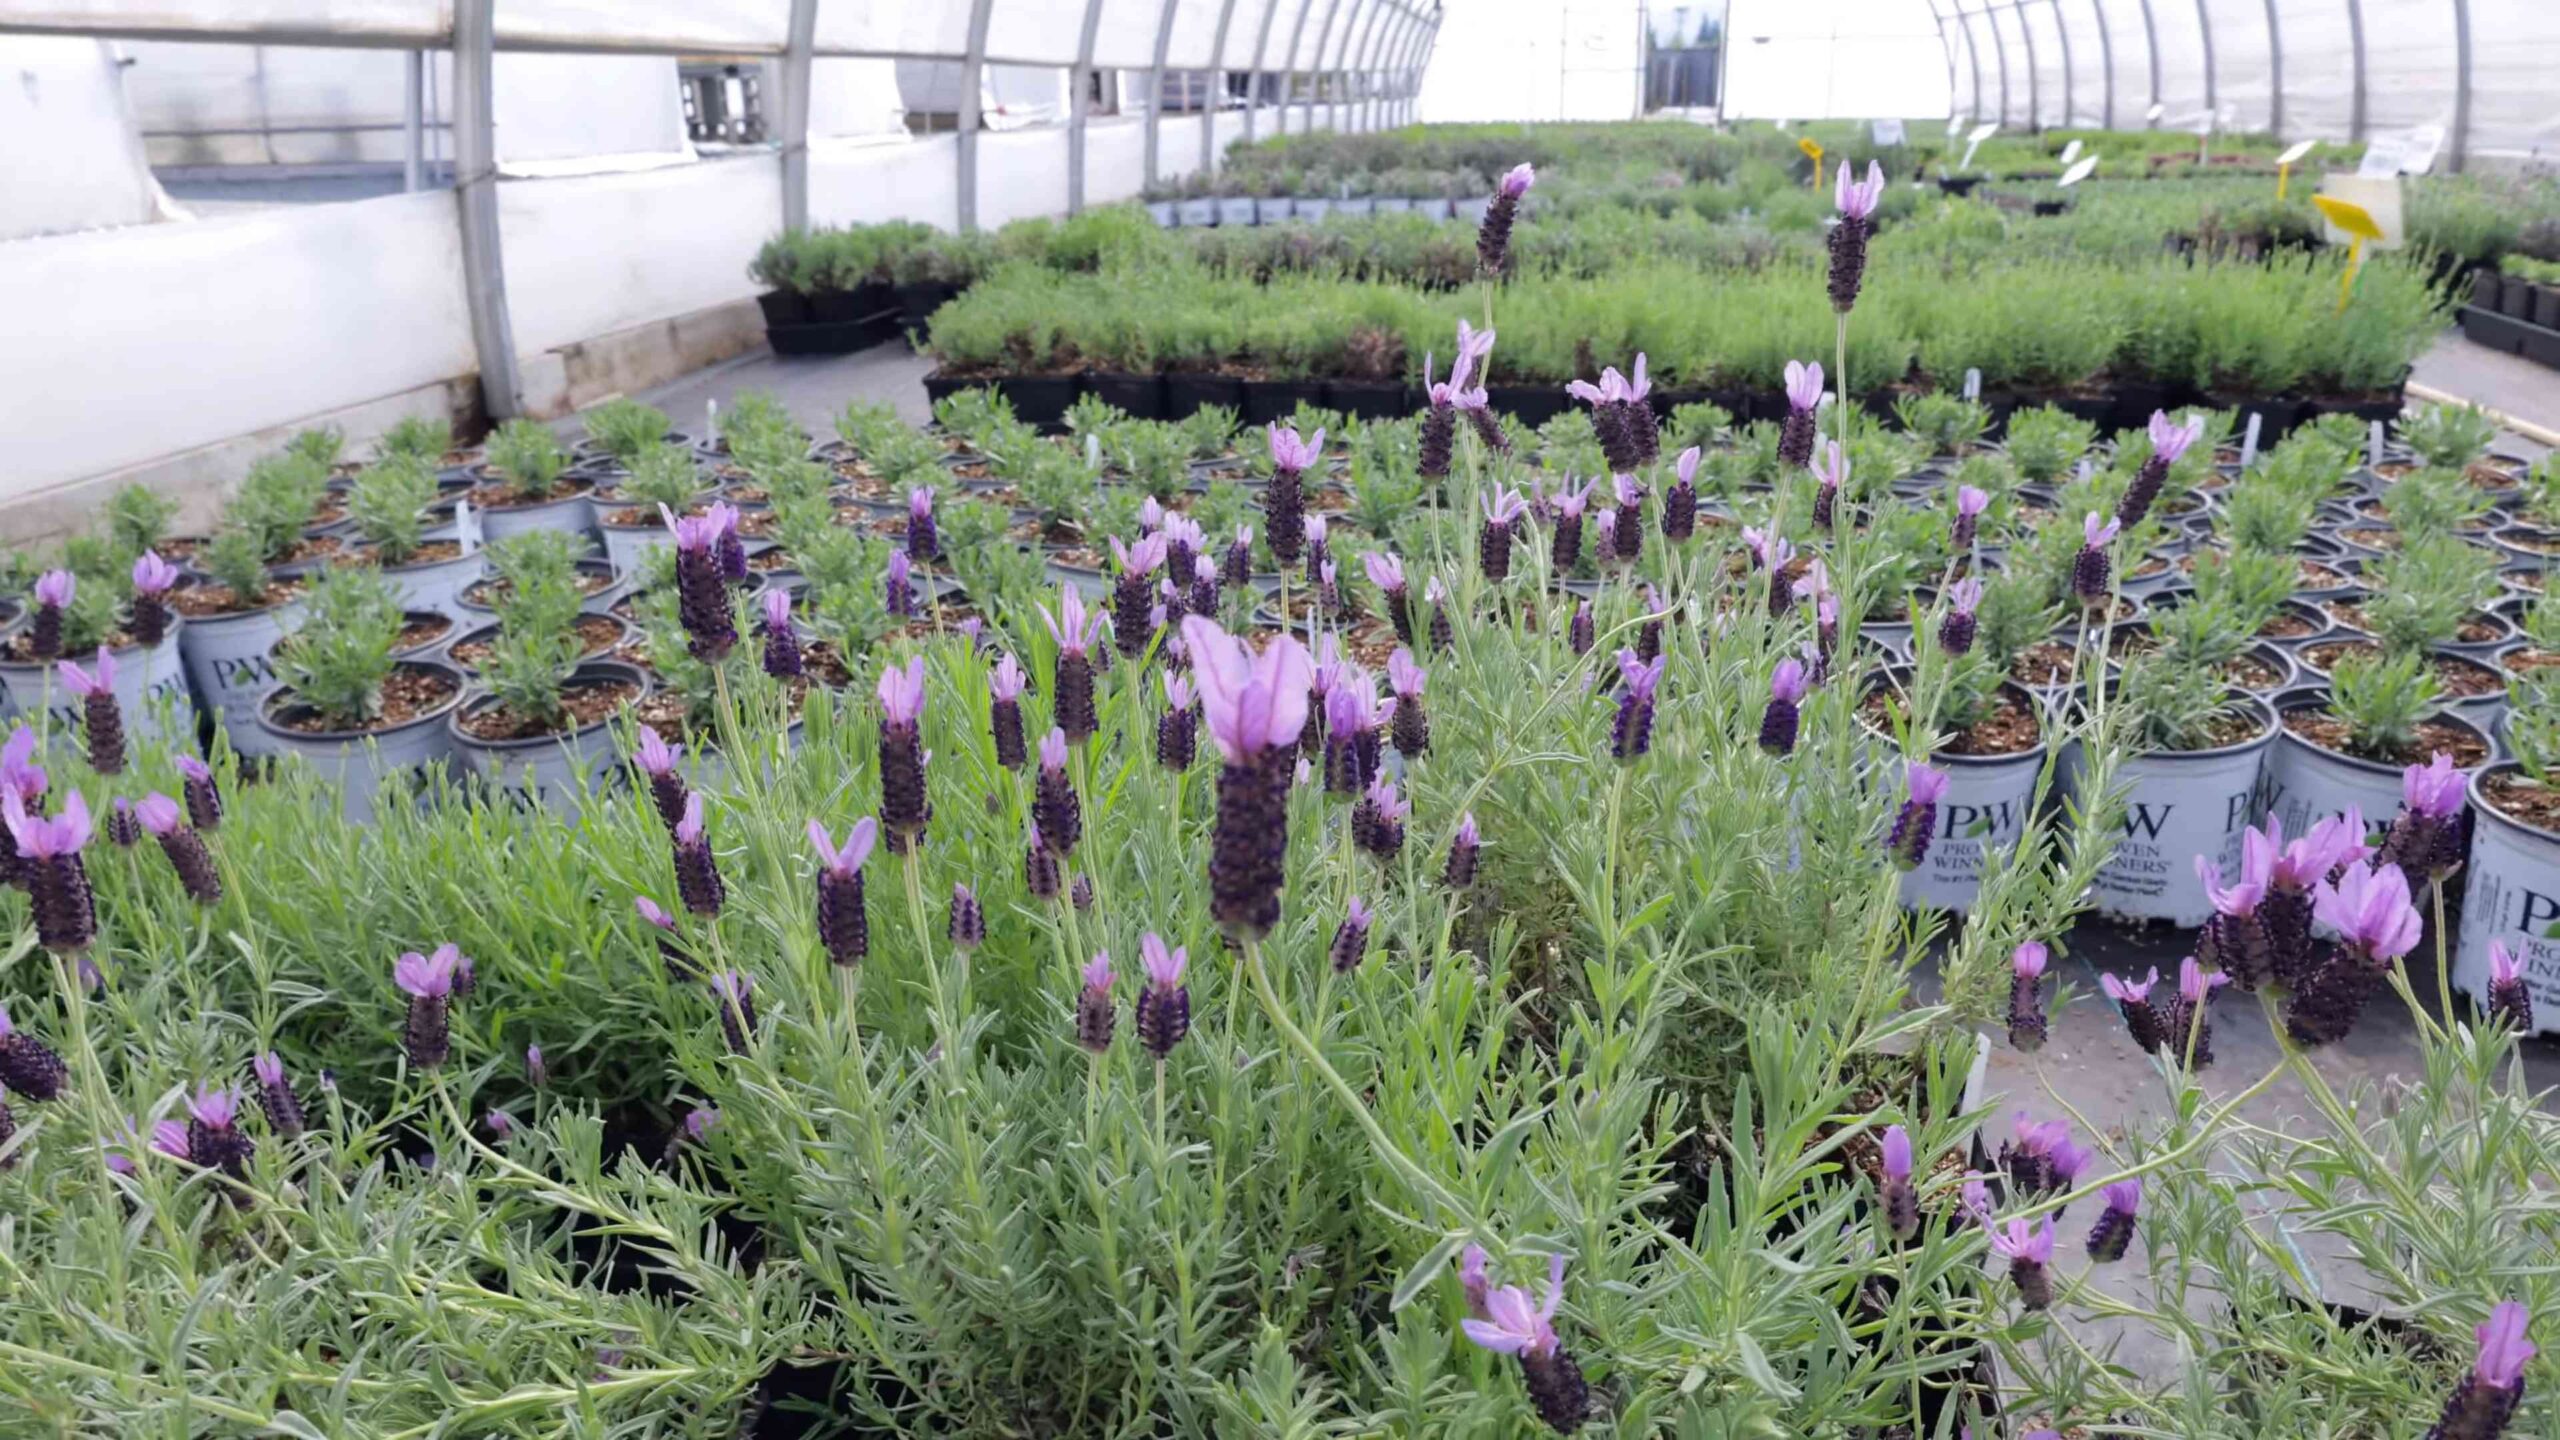
* **Spanish Lavender (Lavandula stoechas):** This one is a bit different, with distinctive “ears” or bracts on top of the flower spikes. It’s less cold-hardy than English lavender and lavandin, so it’s best suited for warmer climates.
* **French Lavender (Lavandula dentata):** This lavender has toothed leaves and a more relaxed, less formal appearance. It’s also less cold-hardy and prefers warmer climates.
Consider your climate and the amount of space you have when choosing your lavender variety.
Preparing the Soil: Lavender’s Happy Place
Lavender is a bit picky about its soil. It needs well-draining soil and doesn’t like to sit in wet conditions. Think of it like this: lavender loves sunshine and dry feet!
* **Well-draining soil is key:** Lavender hates soggy soil. If your soil is heavy clay, you’ll need to amend it with plenty of organic matter, such as compost or well-rotted manure, and consider adding some sand or gravel to improve drainage.
* **Slightly alkaline soil is ideal:** Lavender prefers a soil pH of around 6.5 to 8.0. If your soil is acidic, you can add lime to raise the pH. You can get a soil testing kit at most garden centers to determine your soil’s pH.
* **Full sun is a must:** Lavender needs at least 6-8 hours of sunlight per day to thrive. Choose a location in your garden that gets plenty of sun.
Planting Your Lavender: Getting Started
Now for the fun part – planting! Whether you’re starting with seedlings or larger plants, the process is pretty straightforward.
1. **Dig a hole:** Dig a hole that’s twice as wide as the root ball of your lavender plant and just as deep.
2. **Amend the soil (if needed):** If your soil is heavy or compacted, amend it with compost or other organic matter.
3. **Gently remove the plant from its container:** Loosen the roots gently with your fingers. If the roots are circling the pot, gently tease them apart to encourage them to grow outward.
4. **Place the plant in the hole:** Make sure the top of the root ball is level with the surrounding soil.
5. **Backfill the hole:** Fill the hole with soil, gently firming it around the plant.
6. **Water thoroughly:** Water the plant well after planting.
7. **Mulch lightly:** Add a light layer of mulch around the plant to help retain moisture and suppress weeds. Use something like gravel or small stones, as lavender doesn’t like overly moist mulch.
Caring for Your Lavender: Keeping it Happy
Once your lavender is planted, it’s important to provide it with the right care to ensure it thrives.
* **Watering:** Lavender is drought-tolerant once established, so you don’t need to water it very often. Water deeply but infrequently, allowing the soil to dry out completely between waterings. Overwatering is a common mistake that can lead to root rot.
* **Fertilizing:** Lavender doesn’t need a lot of fertilizer. In fact, too much fertilizer can actually make it leggy and less fragrant. If you want to fertilize, use a balanced fertilizer sparingly in the spring.
* **Pruning:** Pruning is essential for keeping your lavender plants healthy and productive. Prune your lavender plants after they finish flowering in the late summer or early fall.
* **First Year Pruning:** In the first year, focus on shaping the plant. Lightly trim the tips of the stems to encourage bushier growth.
* **Subsequent Years Pruning:** Each year, cut back about one-third of the plant’s growth. Be careful not to cut back into the old wood, as lavender doesn’t always regrow from old wood.
* **Weeding:** Keep the area around your lavender plants free of weeds. Weeds can compete with your lavender for water and nutrients.
* **Winter Protection:** In colder climates, you may need to protect your lavender plants from the winter cold. You can do this by mulching heavily around the base of the plants or by covering them with burlap.
Harvesting Your Lavender: Enjoying the Fruits (or Flowers!) of Your Labor
Harvesting lavender is a rewarding experience. The best time to harvest lavender is in the morning, after the dew has dried but before the sun gets too hot.
1. **Cut the stems:** Use sharp scissors or pruning shears to cut the stems just above the leaves.
2. **Bundle the stems:** Gather the stems into small bundles and tie them together with twine or rubber bands.
3. **Hang the bundles to dry:** Hang the bundles upside down in a cool, dark, and well-ventilated place to dry.
4. **Store the dried lavender:** Once the lavender is completely dry, you can store it in airtight containers.
Dried lavender can be used in a variety of ways, including potpourri, sachets, and bath products. You can also use it to make lavender oil or lavender tea.
Troubleshooting: Common Lavender Problems
Even with the best care, you may encounter some problems with your lavender plants. Here are a few common issues and how to address them:
* **Root Rot:** This is caused by overwatering or poor drainage. Symptoms include yellowing leaves and wilting. To prevent root rot, make sure your soil is well-draining and avoid overwatering. If your plant has root rot, you may need to dig it up and replant it in a new location with better drainage.
* **Fungal Diseases:** Lavender can be susceptible to fungal diseases, especially in humid climates. Symptoms include spots on the leaves and stems. To prevent fungal diseases, provide good air circulation around your plants and avoid overhead watering. If your plant has a fungal disease, you can treat it with a fungicide.
* **Pests:** Lavender is generally pest-resistant, but it can occasionally be attacked by aphids or spider mites. These pests can be controlled with insecticidal soap or neem oil.
Propagating Lavender: Making More Lavender Plants
If you want to expand your lavender garden, you can propagate lavender from cuttings. This is a relatively easy process that can be done in the spring or summer.
1. **Take cuttings:** Take cuttings from healthy, non-flowering stems. The cuttings should be about 4-6 inches long.
2. **Remove the lower leaves:** Remove the leaves from the bottom inch or two of the cuttings.
3. **Dip the cuttings in rooting hormone:** Dip the cut ends of the cuttings in rooting hormone. This will help them to root more quickly.
4. **Plant the cuttings in a well-draining potting mix:** Plant the cuttings in a well-draining potting mix, such as a mixture of perlite and vermiculite.
5. **Water the cuttings:** Water the cuttings gently and keep the soil moist but not soggy.
6. **Cover the cuttings with a plastic bag or dome:** This will help to create a humid environment that will encourage rooting.
7. **Place the cuttings in a warm, bright location:** Avoid direct sunlight.
8. **Wait for the cuttings to root:** It will take several weeks for the cuttings to root. You can check for roots by gently tugging on the cuttings. If they resist, they have rooted.
9. **Transplant the rooted cuttings:** Once the cuttings have rooted, you can transplant them into individual pots or into your garden.
Lavender in Containers: Bringing the Fragrance Indoors (or to Your Patio)
Don’t have a garden? No problem! Lavender thrives in containers, making it a perfect choice for patios, balconies, or even indoors (with enough sunlight!).
* **Choose the right container:** Select a pot that’s large enough to accommodate the lavender’
Conclusion
So, there you have it! Mastering the art of growing lavender shrubs doesn’t require a green thumb blessed by the gardening gods. It’s about understanding the plant’s needs, providing the right environment, and a little bit of patience. This DIY approach, focusing on well-draining soil, ample sunlight, and mindful watering, is a game-changer for anyone dreaming of a fragrant, purple-hued landscape.
Why is this a must-try? Because store-bought lavender, while beautiful, often lacks the robustness and longevity of plants nurtured from the ground up with your own care. You have complete control over the soil composition, ensuring it’s perfectly suited for your lavender’s needs. You can monitor its growth closely, addressing any issues before they escalate. And, perhaps most importantly, you get the immense satisfaction of watching a tiny seedling transform into a thriving, aromatic shrub.
But don’t stop there! Experiment with different lavender varieties to discover your favorites. ‘Hidcote’ offers a deep purple hue and compact growth, perfect for borders. ‘Provence’ boasts a classic lavender fragrance and taller stems, ideal for cutting and drying. Consider companion planting with rosemary, thyme, or echinacea to create a vibrant and beneficial garden ecosystem. You can even explore different propagation methods, such as cuttings, to expand your lavender collection even further.
Remember, growing lavender shrubs is a journey, not a destination. There will be successes and setbacks, but each experience will teach you something new about these remarkable plants. The key is to be observant, adaptable, and persistent.
We wholeheartedly encourage you to give this DIY trick a try. Imagine the joy of harvesting your own lavender for sachets, potpourri, or even culinary creations. Picture your garden buzzing with bees and butterflies, drawn to the irresistible fragrance of your thriving lavender shrubs.
Don’t be afraid to get your hands dirty and embrace the process. And most importantly, share your experiences with us! We’d love to hear about your successes, your challenges, and any unique tips or tricks you discover along the way. Post photos of your lavender shrubs, share your favorite lavender recipes, and connect with fellow lavender enthusiasts in the comments below. Let’s create a community of passionate gardeners, all united by our love for this extraordinary plant. Let us know if you have any questions about growing lavender shrubs.
Frequently Asked Questions (FAQ)
What type of soil is best for growing lavender shrubs?
Lavender thrives in well-draining, slightly alkaline soil. Heavy clay soils are a death sentence for lavender, as they retain too much moisture and lead to root rot. Amend your soil with sand, gravel, or perlite to improve drainage. A soil pH between 6.5 and 8.0 is ideal. If your soil is acidic, you can add lime to raise the pH. Consider raised beds or containers if your native soil is particularly poor.
How much sunlight does lavender need?
Lavender needs at least six to eight hours of direct sunlight per day to thrive. Insufficient sunlight will result in leggy growth, fewer flowers, and a weaker fragrance. Choose a location in your garden that receives full sun throughout the day. If you live in a particularly hot climate, some afternoon shade may be beneficial, but avoid planting lavender in completely shaded areas.
How often should I water my lavender?
Overwatering is one of the most common mistakes when growing lavender. Water deeply but infrequently, allowing the soil to dry out completely between waterings. During the first year, water more frequently to help the plant establish its roots. Once established, lavender is drought-tolerant and requires very little supplemental watering, especially in well-draining soil. Avoid overhead watering, as this can promote fungal diseases.
When is the best time to plant lavender?
The best time to plant lavender is in the spring or early fall, allowing the plant to establish its roots before the extreme temperatures of summer or winter. Avoid planting during the hottest part of the summer or when the ground is frozen. If you live in a colder climate, planting in the spring is generally recommended to give the plant ample time to acclimate before winter.
How do I prune lavender?
Pruning is essential for maintaining the shape and vigor of your lavender shrubs. Prune annually in late summer or early fall, after the flowers have faded. Remove about one-third of the plant’s growth, cutting back to just above a set of leaves. Avoid cutting back into the old wood, as lavender does not typically regenerate from bare stems. Regular pruning encourages bushier growth and more abundant flowering.
Can I grow lavender in containers?
Yes, lavender can be successfully grown in containers, making it a great option for those with limited garden space. Choose a pot that is at least 12 inches in diameter and has drainage holes. Use a well-draining potting mix specifically formulated for containers. Water regularly, allowing the soil to dry out between waterings. Fertilize sparingly with a balanced fertilizer. Container-grown lavender may need to be protected from extreme winter temperatures.
What are some common problems with growing lavender?
Common problems with growing lavender include root rot, fungal diseases, and insect infestations. Root rot is caused by overwatering and poor drainage. Fungal diseases can be prevented by providing good air circulation and avoiding overhead watering. Common insect pests include aphids, spider mites, and whiteflies. Treat infestations with insecticidal soap or neem oil.
How do I harvest lavender?
Harvest lavender when the flowers are fully open and the fragrance is at its peak. Cut the stems in the morning, after the dew has dried. Bundle the stems together and hang them upside down in a cool, dark, and well-ventilated place to dry. Once the lavender is dry, you can strip the flowers from the stems and use them for sachets, potpourri, or culinary purposes.
What are some uses for lavender?
Lavender has a wide range of uses, including aromatherapy, culinary applications, and crafting. Lavender essential oil is known for its calming and relaxing properties. Lavender flowers can be used to flavor baked goods, teas, and other culinary creations. Dried lavender flowers can be used to make sachets, potpourri, and other crafts. Lavender is also a popular ingredient in soaps, lotions, and other personal care products.
How do I propagate lavender?
Lavender can be propagated from seeds or cuttings. Propagating from seeds can be challenging, as lavender seeds require stratification (a period of cold exposure) to germinate. Propagating from cuttings is a more reliable method. Take cuttings from new growth in the spring or summer. Dip the cuttings in rooting hormone and plant them in a well-draining potting mix. Keep the cuttings moist and warm until they develop roots.
Leave a Comment