

DIY Basket Weaving Bucket: Ever dreamt of crafting something beautiful and functional with your own two hands? I know I have! There’s a unique satisfaction in creating something from scratch, and that’s exactly what we’re diving into today. We’re going to explore the wonderful world of DIY basket weaving, specifically focusing on creating your very own bucket.
Basket weaving, a craft as old as civilization itself, has been used for centuries across various cultures to create containers for everything from food storage to carrying water. Think of ancient Egyptians weaving papyrus baskets or Native American tribes crafting intricate designs from natural fibers. It’s a skill that connects us to our ancestors and allows us to appreciate the beauty of handmade objects.
But why a DIY basket weaving bucket, you might ask? Well, in a world dominated by mass-produced plastic, creating your own bucket offers a sustainable and personalized alternative. Imagine using your handcrafted bucket for gardening, collecting eggs, or even as a stylish storage solution in your home. Plus, it’s a fantastic way to unwind, de-stress, and tap into your creative side. This DIY project is not only rewarding but also incredibly practical. I’m excited to guide you through the process, making it easy and enjoyable for everyone, regardless of your experience level. Let’s get weaving!
DIY Basket Weaving Bucket: A Rustic Storage Solution
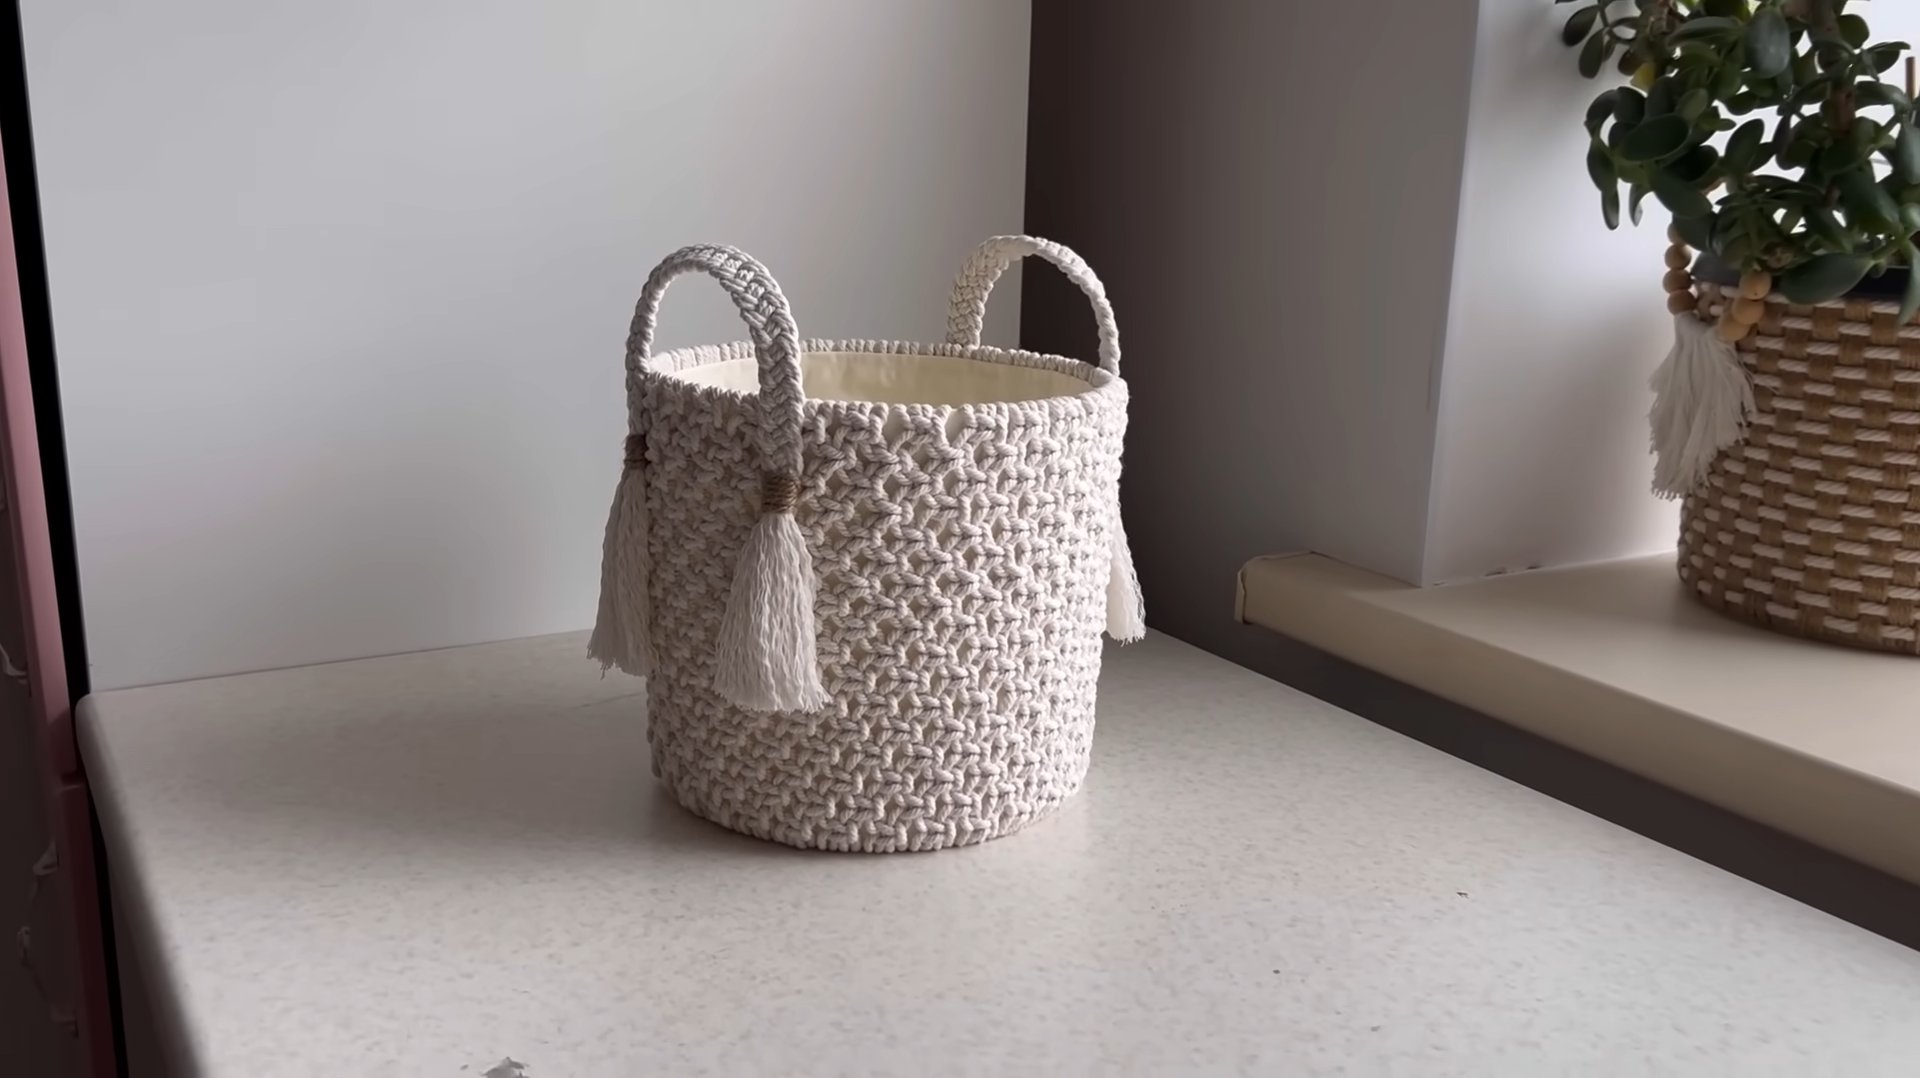
Hey there, fellow DIY enthusiasts! Today, I’m super excited to share a project that combines practicality with a touch of rustic charm: a basket-woven bucket! This isn’t just any bucket; it’s a stylish storage solution you can proudly display in your home. We’re taking a plain, ordinary bucket and transforming it into something truly special. Get ready to learn how to weave a beautiful basket around a bucket, adding texture, warmth, and a unique handmade touch to your space.
Materials You’ll Need
Before we dive in, let’s gather our supplies. Trust me, having everything organized beforehand will make the whole process much smoother and more enjoyable.
* A sturdy bucket: Choose a bucket that’s the right size for your needs. Plastic or metal buckets work well. I’m using a 5-gallon plastic bucket for this project, but feel free to adapt the size to your preference. Make sure it’s clean and dry.
* Natural weaving material: This is where you can get creative! I’m using natural reed, which is a classic choice for basket weaving. You can also use willow, rattan, or even thick yarn or rope for a different look. The amount you’ll need depends on the size of your bucket, but it’s always better to have a little extra. For my 5-gallon bucket, I’m using about 200 feet of reed.
* Vertical stakes (also reed): These will form the vertical structure of your basket. They need to be slightly longer than the height of your bucket. I’m using the same reed as my weaving material for a cohesive look. You’ll need enough stakes to space them evenly around the bucket. For my bucket, I’m using 20 stakes.
* Scissors or a sharp knife: For cutting the reed and other materials.
* Measuring tape or ruler: To ensure even spacing and accurate measurements.
* Clothespins or clips: These are incredibly helpful for holding the stakes in place while you weave.
* Water: Soaking the reed makes it more pliable and easier to work with.
* A large container or tub: For soaking the reed.
* Gloves (optional): To protect your hands from splinters or rough materials.
* Sandpaper (optional): To smooth any rough edges on the reed.
* Finishing spray or sealant (optional): To protect the finished basket and give it a polished look.
Preparing the Reed
This step is crucial for successful weaving. Dry reed is brittle and prone to cracking, so soaking it makes it flexible and easy to manipulate.
1. Soak the reed: Fill your large container or tub with warm water. Submerge the reed completely in the water. The soaking time will vary depending on the thickness of the reed. Thinner reed may only need to soak for 30 minutes, while thicker reed may need to soak for an hour or more. You’ll know it’s ready when it’s pliable and bends easily without breaking.
2. Check for pliability: Periodically check the reed to see if it’s ready. Gently bend a piece of reed. If it bends easily without cracking, it’s ready to use. If it still feels stiff, continue soaking it.
3. Keep the reed moist: As you work, keep the reed moist by occasionally spritzing it with water or wrapping it in a damp towel. This will prevent it from drying out and becoming brittle again.
Attaching the Vertical Stakes
This is the foundation of our basket. We’ll be attaching the vertical stakes to the bucket, which will serve as the framework for our weaving.
1. Measure and mark the bucket: Use your measuring tape or ruler to measure the circumference of the bucket. Divide the circumference by the number of stakes you’re using to determine the spacing between each stake. Mark these points evenly around the top and bottom of the bucket.
2. Attach the stakes: There are a few ways to attach the stakes to the bucket. I prefer using clothespins or clips. Align each stake with the marked points on the bucket. Use clothespins or clips to secure the stakes to the top and bottom of the bucket. Make sure the stakes are evenly spaced and securely attached.
3. Ensure stability: Double-check that all the stakes are securely attached and evenly spaced. This is important for creating a stable and well-proportioned basket. If any stakes are loose, adjust the clothespins or clips to tighten them.
Weaving the Basket
Now for the fun part! This is where we’ll start weaving the reed around the vertical stakes, creating the basket’s beautiful texture.
1. Choose your weaving technique: There are many different basket weaving techniques you can use. I’m going to demonstrate a simple over-under weave, which is perfect for beginners. You can also experiment with other techniques like twining or waling.
2. Start weaving: Take one end of your soaked reed and insert it behind one of the vertical stakes, near the bottom of the bucket. Begin weaving the reed over and under the stakes, working your way around the bucket.
3. Maintain tension: As you weave, maintain consistent tension on the reed. This will create a tight and even weave. Avoid pulling the reed too tight, as this can distort the shape of the basket.
4. Join new pieces of reed: When you reach the end of a piece of reed, simply overlap it with the beginning of a new piece. Tuck the ends of the reed behind the vertical stakes to secure them.
5. Continue weaving: Continue weaving the reed over and under the stakes, working your way up the bucket. Overlap the ends of the reed and tuck them behind the stakes as needed.
6. Adjust as you go: As you weave, periodically check the tension and spacing of the reed. Adjust as needed to ensure a tight and even weave. If you notice any gaps or loose spots, gently push the reed into place.
Finishing the Top Edge
Once you’ve reached the top of the bucket, it’s time to finish the edge of the basket. This will give it a clean and polished look.
1. Bend the stakes: Once you’ve reached the desired height, bend the vertical stakes over the top rim of the bucket.
2. Tuck the ends: Tuck the ends of the stakes into the weaving on the inside of the bucket. This will secure the stakes and create a finished edge. You can use a sharp knife or scissors to trim any excess reed.
3. Secure the ends: Use a small amount of glue or twine to secure the ends of the stakes in place. This will prevent them from unraveling.
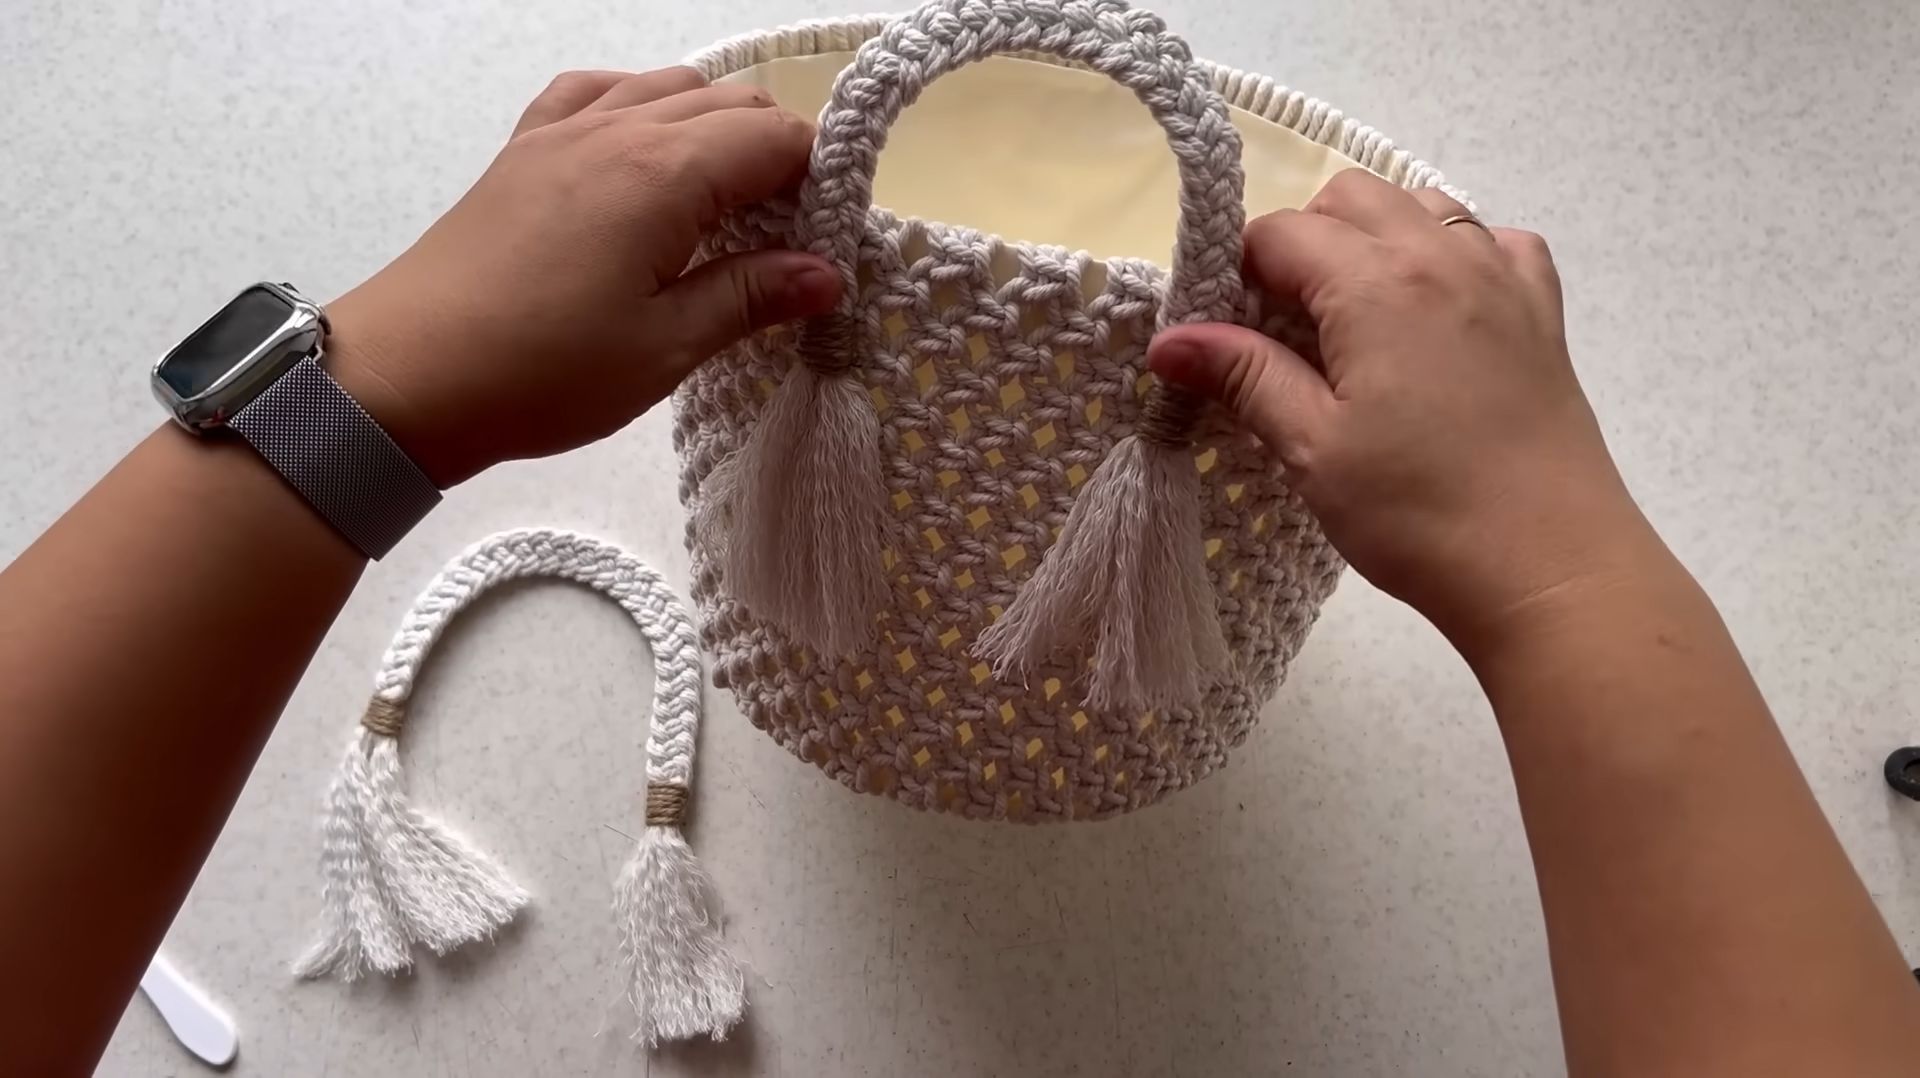
Adding a Handle (Optional)
If you want to add a handle to your basket, you can do so using a piece of sturdy reed or rope.
1. Choose your handle material: Select a piece of sturdy reed or rope that’s long enough to create a comfortable handle.
2. Attach the handle: Attach the handle to the basket by weaving it through the vertical stakes on opposite sides of the bucket. Secure the ends of the handle with glue or twine.
3. Reinforce the handle: For added strength, you can reinforce the handle by wrapping it with additional reed or rope.
Finishing Touches
Now that the weaving is complete, it’s time to add the finishing touches that will make your basket truly shine.
1. Trim any loose ends: Use scissors or a sharp knife to trim any loose ends of reed or rope.
2. Sand any rough edges: Use sandpaper to smooth any rough edges on the reed or the bucket.
3. Apply a finishing spray or sealant (optional): To protect the finished basket and give it a polished look, you can apply a finishing spray or sealant. Follow the manufacturer’s instructions for application.
4. Let it dry: Allow the basket to dry completely before using it. This will ensure that the glue or sealant is fully cured.
Tips and Tricks
* Soak the reed thoroughly: This is the most important step for successful weaving. Make sure the reed is completely pliable before you start working with it.
* Maintain consistent tension: This will create a tight and even weave.
* Don’t be afraid to experiment: There are many different basket weaving techniques you can try.
* Take your time: Basket weaving is a relaxing and rewarding craft. Don’t rush the process.
* Get creative with your materials: You can use a variety of different materials for weaving, such as willow, rattan, yarn, or rope.
* Personalize your basket: Add your own personal touches to make your basket unique. You can paint it, stain it, or add embellishments.
* Use the right tools: Having the right tools will make the weaving process much easier.
* Practice makes
Conclusion
So, there you have it! Transforming an ordinary bucket into a beautifully woven basket is not only achievable but also incredibly rewarding. This DIY basket weaving bucket project offers a fantastic way to repurpose materials, unleash your creativity, and add a touch of rustic charm to your home decor. Forget those mass-produced, generic storage solutions – with a little time and effort, you can craft a unique and personalized basket that reflects your individual style.
Why is this DIY trick a must-try? Because it’s more than just a craft project; it’s an opportunity to connect with the tradition of basket weaving, a skill passed down through generations. It’s a chance to slow down, disconnect from the digital world, and engage in a tactile, hands-on activity. Plus, the satisfaction of creating something beautiful and functional with your own two hands is simply unparalleled.
Beyond the basic technique, the possibilities for customization are endless. Experiment with different weaving patterns, such as a simple over-under weave, a more intricate twill weave, or even incorporate decorative elements like beads, shells, or colorful yarn. Consider using different types of natural materials for weaving, such as willow branches, raffia, or even recycled fabric strips. You could also paint or stain the bucket before weaving to create a contrasting or complementary color scheme.
For a more modern look, try using paracord or rope for weaving, creating a sturdy and stylish basket perfect for storing blankets or toys. If you’re feeling adventurous, explore different bucket sizes and shapes to create a whole collection of woven baskets for various purposes. Imagine a small woven bucket for holding plants, a medium-sized one for organizing craft supplies, and a large one for storing laundry.
Don’t be intimidated if your first attempt isn’t perfect. Basket weaving takes practice, and every imperfection adds to the unique character of your handmade creation. Embrace the learning process, and don’t be afraid to experiment and make mistakes. The most important thing is to have fun and enjoy the journey of creating something beautiful and functional.
We wholeheartedly encourage you to give this DIY basket weaving bucket project a try. It’s a fantastic way to spend a weekend afternoon, a creative outlet for stress relief, and a rewarding experience that will leave you with a beautiful and functional piece of art. Once you’ve completed your woven bucket, we’d love to see your creations! Share your photos and experiences with us on social media using #DIYBasketBucket. We can’t wait to see what you come up with! Let’s inspire each other and celebrate the joy of handmade crafts. So grab a bucket, gather your materials, and get weaving! You might just discover a new passion.
Frequently Asked Questions
What kind of bucket is best for basket weaving?
The best type of bucket for basket weaving is a sturdy plastic bucket with a smooth surface. Avoid buckets with excessive ridges or textures, as these can make weaving more difficult. A standard 5-gallon bucket is a good starting point, but you can experiment with different sizes and shapes depending on your desired outcome. Make sure the bucket is clean and free of any debris before you begin weaving. Metal buckets can also be used, but they may require more preparation to ensure the weaving material adheres properly.
What materials can I use for weaving?
The possibilities are endless! Natural materials like willow branches, raffia, reeds, and seagrass are traditional choices for basket weaving. You can also use recycled materials like fabric strips, yarn, rope, or even plastic bags cut into strips. Experiment with different textures and colors to create a unique and personalized look. Consider the durability and flexibility of the material when making your selection. For example, thicker materials like rope will create a sturdier basket, while thinner materials like raffia will create a more delicate and intricate weave.
How do I prepare the weaving materials?
The preparation of your weaving materials will depend on the type of material you’re using. Natural materials like willow branches may need to be soaked in water to make them more pliable. Fabric strips should be cut into uniform widths and lengths. Yarn and rope can be used as is. If you’re using recycled materials, make sure they are clean and free of any sharp edges. It’s always a good idea to test a small sample of your weaving material before starting the project to ensure it’s easy to work with and produces the desired effect.
How do I start the weaving process?
Starting the weaving process involves creating a base or anchor point for your weaving material. One common method is to create small holes around the rim of the bucket and thread the weaving material through these holes to create a secure foundation. Another method is to use glue or adhesive to attach the weaving material directly to the bucket. The specific technique you use will depend on the type of bucket and weaving material you’re using. There are many online tutorials and videos that can provide step-by-step instructions for different starting methods.
How do I maintain tension while weaving?
Maintaining consistent tension is crucial for creating a neat and even weave. As you weave, gently pull the weaving material taut to ensure it’s snug against the bucket. Avoid pulling too tightly, as this can distort the shape of the bucket. Use your fingers to guide the weaving material and keep it in place. If you’re using a flexible material like raffia, you may need to use clothespins or clips to hold the weaving in place while you work. Regularly check the tension of your weave and make adjustments as needed.
What if my weaving material breaks or runs out?
Don’t worry! If your weaving material breaks, simply overlap the broken ends and continue weaving. You can also use a small dab of glue to secure the ends. If you run out of weaving material, simply start a new piece by overlapping it with the end of the previous piece. Hide the overlapping ends behind the existing weave for a seamless look. It’s always a good idea to have extra weaving material on hand to avoid running out in the middle of your project.
How can I finish the top edge of the basket?
There are several ways to finish the top edge of your woven bucket. One option is to simply tuck the ends of the weaving material under the last row of weaving. Another option is to create a decorative border by weaving the ends of the material together or adding a separate piece of trim. You can also use glue or adhesive to secure the ends of the material and prevent them from unraveling. Consider the overall style of your basket when choosing a finishing technique.
How do I clean and care for my woven bucket?
The cleaning and care of your woven bucket will depend on the materials used. For baskets made with natural materials, avoid getting them wet, as this can cause them to mold or mildew. Dust the basket regularly with a soft brush or cloth. For baskets made with synthetic materials, you can wipe them down with a damp cloth. Avoid using harsh chemicals or abrasive cleaners, as these can damage the weaving. Store your woven bucket in a dry, well-ventilated area to prevent moisture buildup.
Can I use this technique to weave other containers?
Absolutely! The basic principles of basket weaving can be applied to a variety of containers, such as flower pots, storage bins, and even glass jars. Simply adapt the weaving technique to the shape and size of the container you’re using. Experiment with different materials and patterns to create a unique and personalized look. The possibilities are endless!
Where can I find inspiration for DIY basket weaving bucket projects?
The internet is a treasure trove of inspiration for DIY basket weaving projects. Search online for tutorials, patterns, and ideas. Browse social media platforms like Pinterest and Instagram for visual inspiration. Visit craft stores and libraries for books and magazines on basket weaving. Don’t be afraid to experiment and develop your own unique style. The most important thing is to have fun and enjoy the creative process!


Leave a Comment