

DIY cap cleaning: Let’s face it, your favorite baseball cap, the one that perfectly shields you from the sun and completes your casual look, probably isn’t as fresh as it used to be. We’ve all been there – sweat stains, dust, and maybe even a rogue coffee spill have taken their toll. But before you resign yourself to tossing it in the trash, hold on!
Caps have been a staple of headwear for centuries, evolving from practical sun protection to iconic fashion statements. Think of the classic baseball cap, born from the sport itself, now a symbol of American culture and worn worldwide. But no matter how stylish your cap is, a dirty one just doesn’t cut it.
That’s where this DIY guide comes in. I’m going to share some simple, effective, and budget-friendly DIY cap cleaning tricks that will breathe new life into your beloved headwear. Forget expensive dry cleaning or risking damage in the washing machine. These methods use common household items and are gentle enough to preserve the shape and color of your cap. So, let’s get started and get that cap looking its best again!
DIY Cap Cleaning: Revive Your Favorite Headwear!
Hey there, fellow hat enthusiasts! Are you tired of your favorite baseball cap looking a little… lackluster? Don’t worry, I’ve been there. We all love our caps, but they can get pretty grimy with sweat, dirt, and who-knows-what-else. Instead of tossing them or risking a disastrous washing machine cycle, I’m going to walk you through a few tried-and-true methods for cleaning your caps at home. These methods are gentle, effective, and will have your hats looking fresh in no time!
Choosing the Right Cleaning Method
Before we dive in, it’s important to consider the type of cap you’re dealing with. Is it a delicate vintage piece? A sturdy sports cap? The material will dictate the best approach.
* For Delicate or Vintage Caps: Hand-washing is your best bet. You want to avoid any harsh chemicals or aggressive scrubbing that could damage the fabric or structure.
* For Sturdy Sports Caps (Cotton, Polyester): You can often get away with a more thorough hand-washing or even a gentle cycle in the washing machine (with precautions, of course!).
* For Wool Caps: Wool requires special care. Hand-washing with a wool-specific detergent is crucial to prevent shrinking or felting.
* For Suede or Leather Caps: These materials require specialized cleaning products and techniques. I’ll touch on those briefly later.
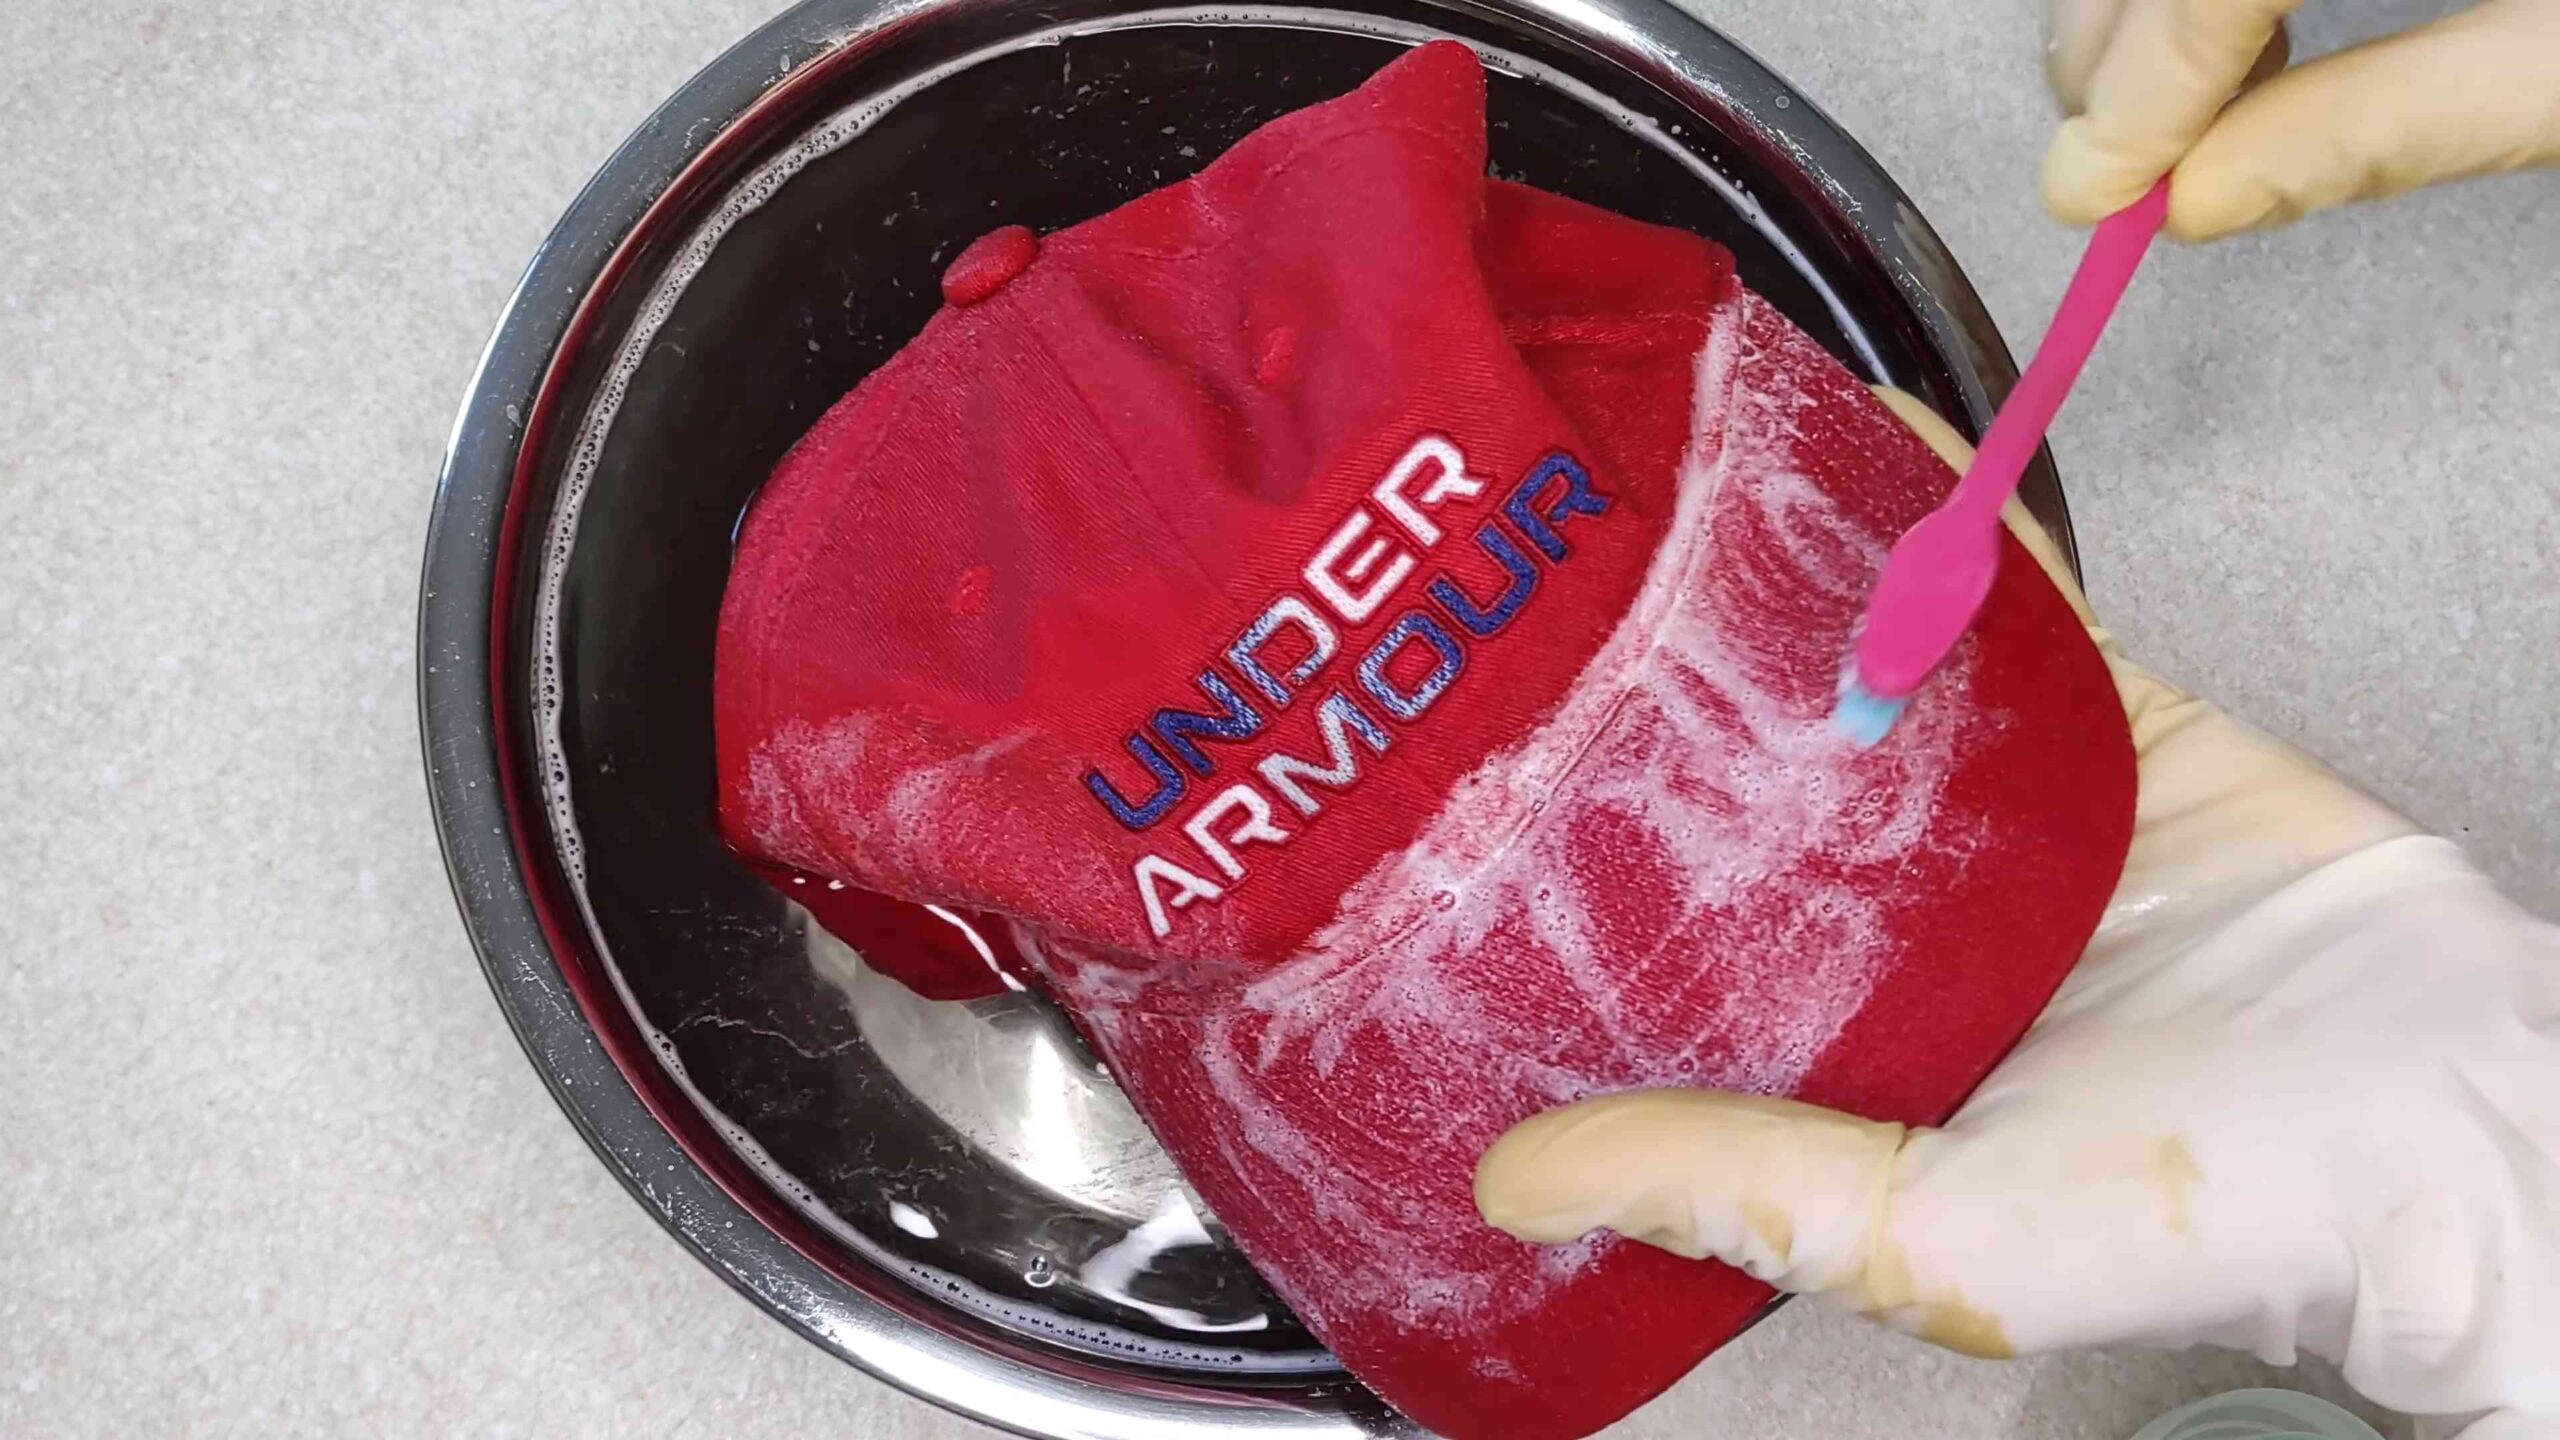
Method 1: The Gentle Hand-Washing Approach
This is my go-to method for most of my caps, especially the ones I really care about. It’s gentle, effective, and gives you the most control over the cleaning process.
What You’ll Need:
* A clean sink or basin
* Cool or lukewarm water
* Mild detergent (baby shampoo or a gentle laundry detergent works great)
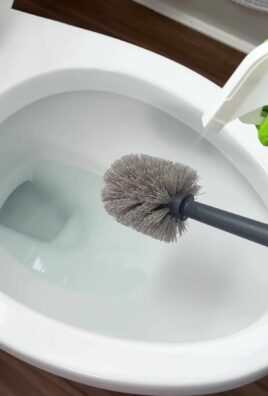
* A soft-bristled brush (an old toothbrush is perfect)
* A clean towel
* A cap shaper or something to help the cap hold its shape while drying (a balloon, a rolled-up towel, or even a clean bowl will do)
Step-by-Step Instructions:
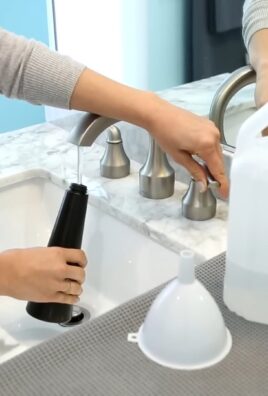
1. Prepare the Cleaning Solution: Fill your sink or basin with cool or lukewarm water. Add a small amount of mild detergent – just a teaspoon or two should be enough. Swish the water around to create a gentle, soapy solution.
2. Spot Clean First: Before submerging the entire cap, take a look for any particularly dirty spots or stains. Dip your soft-bristled brush into the soapy water and gently scrub those areas. Pay special attention to the sweatband, as this is where most of the grime accumulates.
3. Submerge and Soak: Carefully submerge the cap in the soapy water. Let it soak for about 15-30 minutes. This will help loosen the dirt and grime.
4. Gentle Scrubbing: After soaking, use your soft-bristled brush to gently scrub the entire cap, paying attention to the areas that tend to get the dirtiest (the front panel, the brim, and the sweatband). Don’t scrub too hard, as you don’t want to damage the fabric.
5. Rinse Thoroughly: Drain the soapy water and rinse the cap thoroughly with cool, clean water. Make sure to remove all traces of detergent. You may need to rinse it several times.
6. Gently Press Out Excess Water: Don’t wring the cap out, as this can distort its shape. Instead, gently press out the excess water with your hands.
7. Shape and Air Dry: This is the most important step! Place the cap on a cap shaper, balloon, rolled-up towel, or clean bowl to help it maintain its shape while drying. Allow it to air dry completely in a well-ventilated area, away from direct sunlight or heat. Direct sunlight can fade the colors of your cap.
Method 2: The Washing Machine (Use with Caution!)
Okay, I know some people swear by washing their caps in the washing machine, but I always proceed with caution. This method is best for sturdy sports caps made of cotton or polyester. Never put a delicate, vintage, or wool cap in the washing machine!
What You’ll Need:
* A washing machine
* A laundry bag or pillowcase
* Mild detergent
* A cap shaper (highly recommended!)
Step-by-Step Instructions:
1. Pre-Treat Stains: If your cap has any stubborn stains, pre-treat them with a stain remover before putting it in the washing machine.
2. Protect Your Cap: Place the cap inside a laundry bag or pillowcase to protect it from getting banged around in the washing machine. This is crucial to prevent damage.
3. Wash on a Gentle Cycle: Use a gentle cycle with cool water and a small amount of mild detergent. Avoid using bleach or fabric softener.
4. Skip the Spin Cycle (If Possible): The spin cycle can be harsh on caps and can distort their shape. If your washing machine has an option to skip the spin cycle, choose that. If not, remove the cap immediately after the wash cycle is complete.
5. Shape and Air Dry: Immediately after removing the cap from the washing machine, place it on a cap shaper to help it maintain its shape while drying. Allow it to air dry completely in a well-ventilated area, away from direct sunlight or heat.
Method 3: Spot Cleaning for Minor Stains
Sometimes, your cap just needs a little spot cleaning to freshen it up. This is a quick and easy way to address minor stains or dirt without having to wash the entire cap.
What You’ll Need:
* A clean, damp cloth
* Mild detergent or stain remover
* A soft-bristled brush (optional)
Step-by-Step Instructions:
1. Dampen the Cloth: Dampen a clean cloth with cool water.
2. Apply Detergent or Stain Remover: Apply a small amount of mild detergent or stain remover to the damp cloth.
3. Gently Blot the Stain: Gently blot the stain with the damp cloth, working from the outside in. Avoid rubbing the stain, as this can spread it.
4. Rinse with a Clean Cloth: Rinse the area with a clean, damp cloth to remove any traces of detergent or stain remover.
5. Air Dry: Allow the area to air dry completely.
Special Considerations for Different Materials
As I mentioned earlier, different materials require different cleaning approaches. Here’s a quick rundown:
* Wool Caps: Hand-wash only with a wool-specific detergent. Avoid hot water, as this can cause the wool to shrink or felt. Gently press out excess water and lay the cap flat to dry.
* Suede or Leather Caps: These materials require specialized cleaning products designed specifically for suede or leather. Follow the instructions on the cleaning product carefully. You can also take your cap to a professional leather cleaner.
* Dark-Colored Caps: To prevent fading, turn dark-colored caps inside out before washing them. You can also add a cup of white vinegar to the wash water to help set the colors.
Tips for Preventing Future Stains
Prevention is always better than cure! Here are a few tips to help keep your caps clean in the first place:
* Wear a Sweatband: Wearing a sweatband under your cap can help absorb sweat and prevent it from staining the cap.
* Avoid Wearing Caps During Strenuous Activities: If you’re going to be sweating a lot, consider wearing a different type of headwear that’s easier to clean.
* Store Your Caps Properly: Store your caps in a clean, dry place, away from direct sunlight.
* Clean Your Caps Regularly: Don’t wait until your caps are filthy to clean them. Regular cleaning will prevent dirt and grime from building up and becoming more difficult to remove.
Dealing with Stubborn Stains
Sometimes, you’ll encounter a stain that just won’t budge. Here are a few tricks you can try:
* Baking Soda Paste: Mix baking soda with a little water to form a paste. Apply the paste to the stain and let it sit for 30 minutes before rinsing.
* Vinegar Solution: Mix equal parts white vinegar and water. Apply the solution to the stain and let it sit for 15 minutes before rinsing.
* Hydrogen Peroxide: Use hydrogen peroxide to remove blood stains. Apply it directly to the stain and let it sit for a few minutes before rinsing. Test in an inconspicuous area first to ensure it doesn’t discolor the fabric.
Final Thoughts
Cleaning your caps doesn’t have to be a daunting task. With a little care and attention, you can keep your favorite headwear looking fresh and new for years to come. Remember to always consider the material of your cap

Conclusion
So, there you have it! This simple, yet incredibly effective, DIY cap cleaning method is a game-changer for anyone who wants to keep their favorite hats looking fresh and new. Forget about harsh chemicals, expensive dry cleaning, or the dreaded washing machine tumble that can warp and ruin your beloved caps. This gentle approach allows you to target stains, eliminate odors, and restore your caps to their former glory without risking damage.
Why is this DIY cap cleaning trick a must-try? Because it’s economical, environmentally friendly, and, most importantly, it works! You likely already have all the necessary supplies in your home, saving you time and money. Plus, you’re in complete control of the cleaning process, ensuring that your delicate caps receive the personalized care they deserve. No more faded colors, misshapen brims, or lingering sweat stains.
But the best part? This method is incredibly versatile. For particularly stubborn stains, consider pre-treating the area with a paste of baking soda and water before proceeding with the general cleaning. If you’re dealing with a vintage cap, exercise extra caution and test the cleaning solution on an inconspicuous area first to ensure colorfastness. For lighter-colored caps, a touch of lemon juice in the cleaning solution can help brighten the fabric. And if you’re looking to add a refreshing scent, a few drops of your favorite essential oil (like lavender or tea tree) can be added to the water.
Don’t let dirty caps cramp your style any longer. Embrace this easy and effective DIY cap cleaning method and rediscover the joy of wearing your favorite hats with confidence. We’re confident that you’ll be amazed by the results.
We encourage you to give this DIY cap cleaning method a try. It’s a simple, effective, and affordable way to keep your caps looking their best. And most importantly, share your experience with us! Let us know in the comments below how this method worked for you, any variations you tried, and any tips you discovered along the way. Your feedback will help other readers achieve cap-cleaning success! We can’t wait to hear your stories and see your sparkling clean caps!
Frequently Asked Questions (FAQ)
Q: What types of caps can I clean using this method?
This DIY cap cleaning method is generally safe for most types of caps, including baseball caps, snapbacks, fitted caps, and even some newsboy caps. However, it’s always a good idea to check the care label on your cap before proceeding. Caps made from delicate materials like silk or wool may require special care or professional cleaning. If you’re unsure, test the cleaning solution on a small, inconspicuous area of the cap first to ensure that it doesn’t cause any discoloration or damage.
Q: What kind of detergent should I use?
A mild, gentle detergent is best for cleaning caps. Avoid using harsh chemicals, bleach, or detergents with strong fragrances, as these can damage the fabric or cause discoloration. Baby shampoo or a delicate laundry detergent are excellent choices. You can also use a specialized cap cleaning solution if you prefer.
Q: How often should I clean my caps?
The frequency of cleaning depends on how often you wear your caps and how much they’re exposed to dirt and sweat. If you wear your caps frequently, you may need to clean them every few weeks. If you only wear them occasionally, you can clean them less often. It’s a good idea to spot-clean your caps as needed to remove any visible stains or dirt.
Q: Can I use a washing machine to clean my caps?
While it may be tempting to toss your caps in the washing machine, it’s generally not recommended. The washing machine can be too harsh on caps, causing them to lose their shape, fade, or even fall apart. The agitation and heat can damage the brim and other delicate features. This DIY method is a much gentler and safer alternative.
Q: How do I dry my caps after cleaning?
Never put your caps in the dryer! The heat can cause them to shrink or warp. Instead, allow your caps to air dry. Stuff the cap with a clean towel or crumpled paper to help it maintain its shape while drying. Place the cap in a well-ventilated area away from direct sunlight or heat. Avoid hanging the cap by its brim, as this can cause it to stretch or distort.
Q: What if I have a really stubborn stain?
For stubborn stains, pre-treating the area is key. Create a paste of baking soda and water and apply it to the stain. Let it sit for 30 minutes to an hour before proceeding with the general cleaning. You can also try using a stain remover specifically designed for fabrics. Always test the stain remover on an inconspicuous area first to ensure that it doesn’t damage the cap.
Q: How do I prevent my caps from getting dirty in the first place?
Prevention is always better than cure! To keep your caps clean, avoid wearing them in dirty or dusty environments. Store your caps in a clean, dry place when you’re not wearing them. Consider using a cap protector spray to help repel dirt and stains. And be sure to wipe down your caps regularly with a damp cloth to remove any surface dirt or sweat.
Q: My cap has a cardboard brim. Will this method ruin it?
Caps with cardboard brims require extra care. Avoid soaking the brim excessively, as this can cause the cardboard to warp or disintegrate. Use a damp cloth to gently clean the brim, and avoid submerging it in water. If the brim gets wet, try to dry it as quickly as possible using a hairdryer on a low setting.
Q: Can I use this method to clean hats other than caps?
While this method is primarily designed for caps, it can also be used to clean other types of hats made from similar materials. However, it’s always a good idea to check the care label and test the cleaning solution on an inconspicuous area first. Hats made from delicate materials like wool or felt may require special care or professional cleaning.
Q: What if my cap has a leather brim?
Leather brims require special care. Avoid using harsh chemicals or detergents, as these can damage the leather. Use a leather cleaner specifically designed for hats. Apply the cleaner to a soft cloth and gently wipe down the leather brim. Avoid soaking the leather in water. After cleaning, condition the leather with a leather conditioner to keep it soft and supple.

Leave a Comment