

Anemone Growing Tips: Unlocking the Secrets to Breathtaking Blooms!
Have you ever gazed upon the vibrant, poppy-like flowers of anemones and wished you could recreate that magic in your own garden? I know I have! These captivating blooms, with their delicate petals and dark, alluring centers, have been enchanting gardeners for centuries. In fact, anemones have a rich history, appearing in ancient Greek mythology as symbols of love and remembrance. Legend says they sprang from the tears of Aphrodite as she mourned the death of Adonis. Pretty dramatic, right?
But beyond the romantic lore, anemones offer a practical appeal for today’s gardener. Let’s face it, we’re all looking for ways to add a splash of color and personality to our outdoor spaces without spending a fortune or dedicating endless hours to upkeep. That’s where these anemone growing tips come in! Whether you’re a seasoned green thumb or just starting out, I’m here to share some simple, effective DIY tricks and hacks that will help you cultivate a thriving anemone patch. From choosing the right varieties to mastering the art of corm soaking, I’ll guide you through every step of the process. Get ready to transform your garden into a vibrant oasis with these stunning, easy-to-grow flowers!

Growing Anemones: A DIY Guide to Breathtaking Blooms
Hey there, fellow flower enthusiasts! I’m so excited to share my secrets to growing anemones, those absolutely stunning, poppy-like flowers that add a touch of magic to any garden or bouquet. They might seem a little intimidating at first, but trust me, with a little know-how, you can have a vibrant display of these beauties blooming in your own backyard. Let’s dive in!
Understanding Anemones: A Quick Overview
Before we get our hands dirty, let’s talk a little bit about anemones. There are two main types you’ll likely encounter:
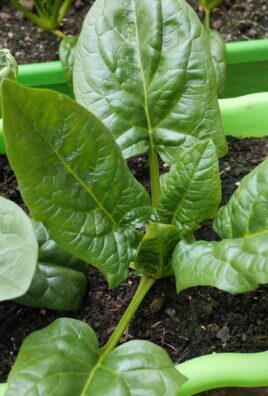
* Anemone coronaria (Poppy Anemone): These are the ones you typically see with the dark centers and vibrant colors like red, white, pink, and purple. They’re often grown from corms (similar to bulbs) and bloom in spring.
* Anemone blanda (Grecian Windflower): These are smaller, daisy-like anemones that come in shades of blue, white, and pink. They also grow from corms and are known for their early spring blooms.
This guide will primarily focus on growing Anemone coronaria, as they are the more popular and slightly more challenging of the two.
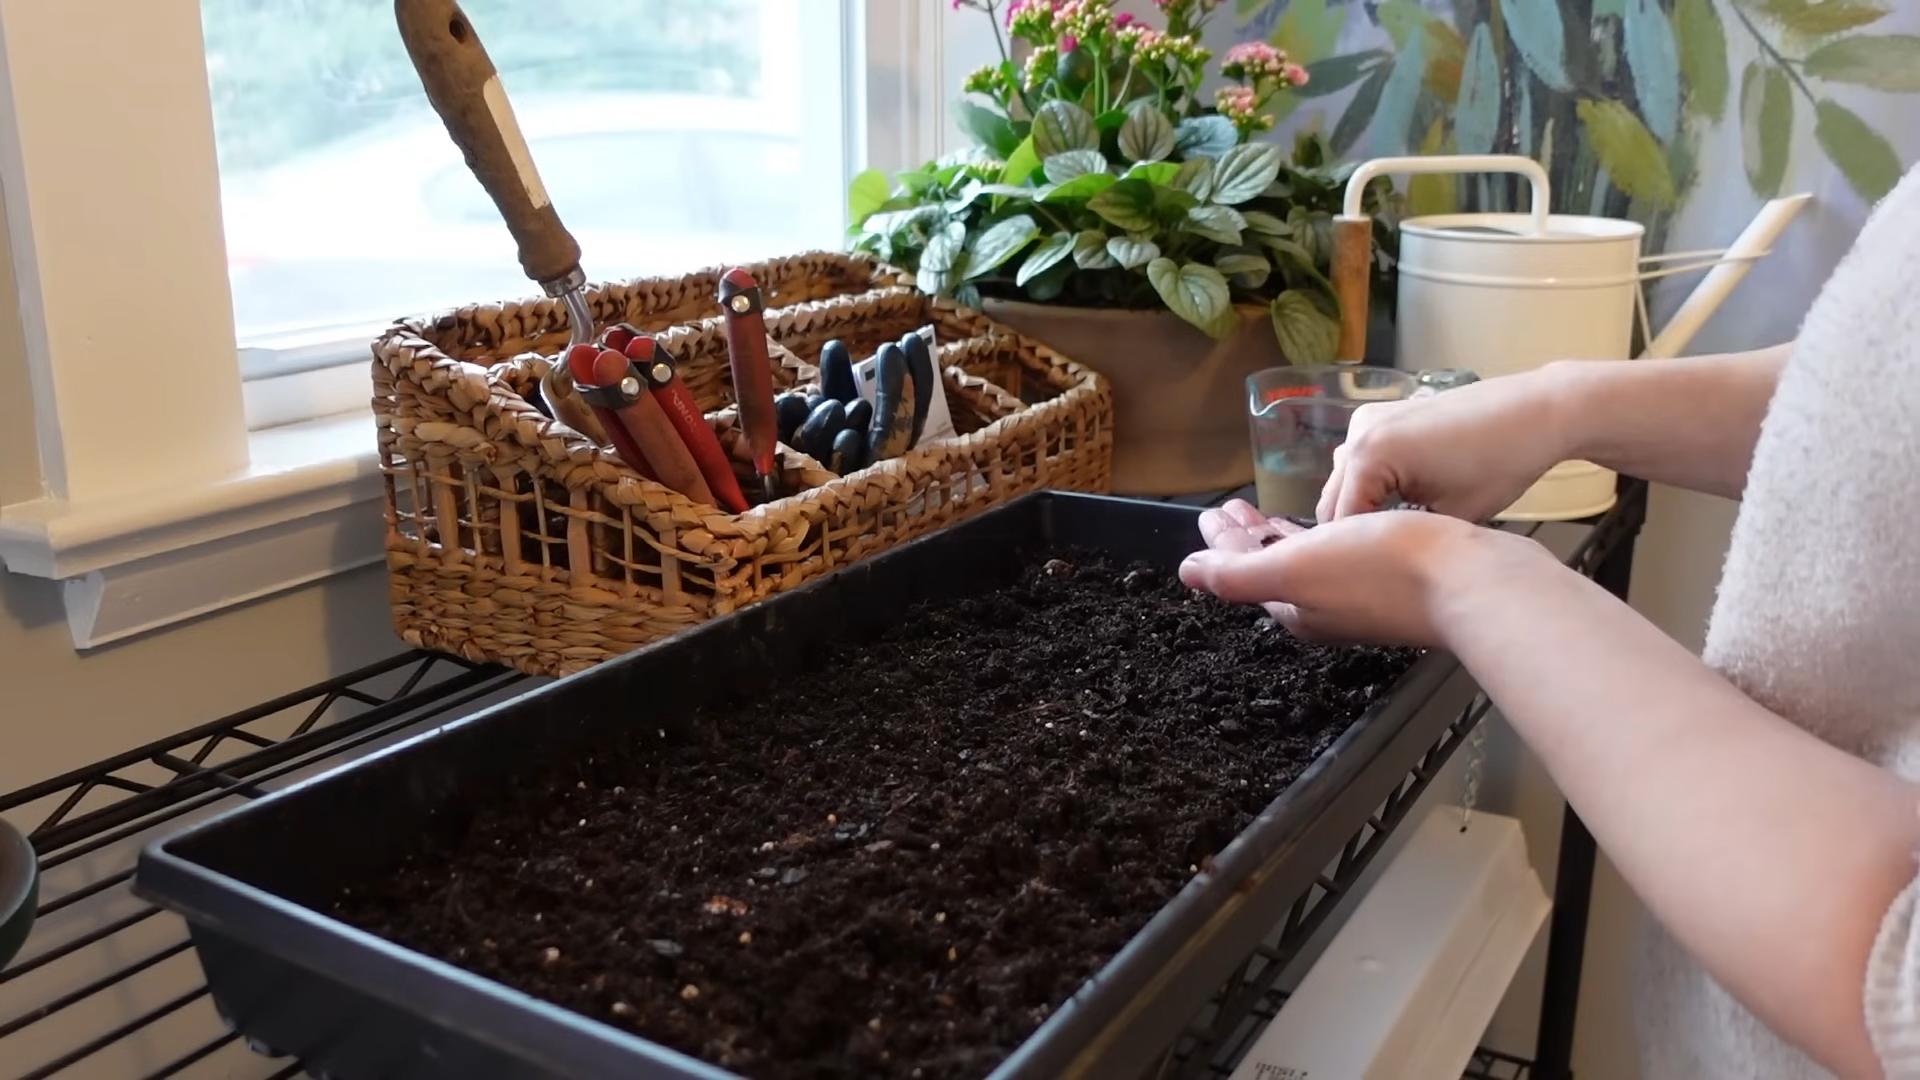
Preparing Your Anemone Corms: The Soaking Secret
Anemone corms are notoriously dry and shriveled when you first get them. This is perfectly normal! They need a good soak to rehydrate before planting. This step is crucial for successful germination.
1. Gather Your Supplies: You’ll need a bowl or container, lukewarm water, and your anemone corms.
2. Soak the Corms: Place the corms in the bowl and cover them with lukewarm water. I like to use a mesh bag or pantyhose to keep them contained, but it’s not essential.
3. How Long to Soak: Soak the corms for 2-4 hours. You’ll notice they plump up a bit as they absorb water. Don’t soak them for longer than 4 hours, as this can cause them to rot.
4. Optional: Oxygenate the Water: Some gardeners recommend oxygenating the water during soaking to further improve germination. You can do this by using an aquarium air pump or simply changing the water every hour. I’ve had success both with and without oxygenating, so it’s up to you!
Planting Your Anemones: Location, Location, Location!
Choosing the right location is key to happy anemones. They need well-draining soil and plenty of sunlight.
1. Choose a Sunny Spot: Anemones need at least 6 hours of sunlight per day. A spot that gets morning sun and afternoon shade is ideal, especially in warmer climates.
2. Prepare the Soil: Anemones prefer well-draining soil that is rich in organic matter. Amend your soil with compost or well-rotted manure before planting. If your soil is heavy clay, consider adding sand or perlite to improve drainage.
3. Planting Depth: Plant the corms about 2-3 inches deep and 4-6 inches apart. The tricky part is figuring out which side is up! The corms are often irregularly shaped. Look for a slightly pointed end or a small bump – that’s usually the top. If you’re unsure, don’t worry too much! They’ll usually figure it out.
4. Planting Technique: Dig a small hole, place the corm in the hole with the pointed end (hopefully!) facing up, and cover it with soil. Gently pat the soil down.
5. Water Thoroughly: After planting, water the area thoroughly to settle the soil and encourage root growth.
Caring for Your Anemones: Watering, Feeding, and Protection
Once your anemones are planted, it’s important to provide them with the right care to ensure they thrive.
1. Watering: Keep the soil consistently moist, but not soggy. Water when the top inch of soil feels dry to the touch. Avoid overwatering, as this can lead to corm rot.
2. Fertilizing: Feed your anemones with a balanced fertilizer (10-10-10) every 4-6 weeks during the growing season. You can also use a fertilizer specifically formulated for bulbs.
3. Mulching: Apply a layer of mulch around your anemones to help retain moisture, suppress weeds, and regulate soil temperature. Organic mulches like straw or shredded bark are excellent choices.
4. Pest and Disease Control: Anemones are generally pest-resistant, but they can be susceptible to aphids, slugs, and snails. Inspect your plants regularly and take action if you notice any problems. You can use insecticidal soap for aphids and slug bait for slugs and snails. Good air circulation can help prevent fungal diseases.
5. Staking: Taller varieties of anemones may need staking to prevent them from flopping over, especially in windy areas. Use bamboo stakes or plant supports to provide support.
Extending the Bloom: Succession Planting and Deadheading
Want to enjoy anemone blooms for as long as possible? Here are a few tips:
1. Succession Planting: Plant corms in batches every 2-3 weeks to extend the bloom season. This will ensure a continuous supply of flowers.
2. Deadheading: Remove spent flowers regularly to encourage more blooms. Cut the flower stem back to the base of the plant.
Overwintering Anemones: Protecting Them from the Cold
Anemones are not reliably winter hardy in all climates. In colder regions (zones 6 and below), you’ll need to take steps to protect them from freezing temperatures.
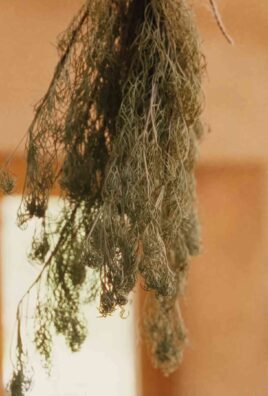
1. Lifting the Corms: After the foliage has died back in the fall, carefully dig up the corms.
2. Cleaning and Drying: Remove any excess soil from the corms and allow them to dry in a cool, dry place for a few days.
3. Storing the Corms: Store the corms in a paper bag or cardboard box filled with peat moss or vermiculite. Keep them in a cool, dry place (around 40-50°F) until spring.
4. Replanting in Spring: In the spring, after the last frost, replant the corms as described above.
In milder climates (zones 7 and above), you may be able to leave the corms in the ground over winter. However, it’s still a good idea to protect them with a thick layer of mulch.
Troubleshooting: Common Anemone Problems
Even with the best care, you might encounter a few problems when growing anemones. Here are some common issues and how to address them:
* Corms Not Sprouting: This is often due to insufficient soaking or planting in poorly draining soil. Make sure to soak the corms for the recommended time and plant them in well-draining soil.
* Yellowing Leaves: This can be caused by overwatering, underwatering, or nutrient deficiencies. Adjust your watering schedule and fertilize your plants as needed.
* Lack of Blooms: This can be due to insufficient sunlight, poor soil, or improper fertilization. Make sure your anemones are getting enough sunlight, amend your soil with compost, and fertilize them regularly.
* Corm Rot: This is caused by overwatering or planting in poorly draining soil. Make sure your soil is well-draining and avoid overwatering.
Enjoying Your Anemones: Cut Flowers and Garden Displays
The best part about growing anemones is enjoying their beautiful blooms!
* Cut Flowers: Anemones make excellent cut flowers. Cut the stems in the morning when the flowers are fully open. Place them in a vase of fresh water and enjoy their beauty indoors.
* Garden Displays: Plant anemones in borders, beds, or containers for a stunning display of color. They look especially beautiful when planted in groups.
Final Thoughts
Growing anemones can be a rewarding experience. With a little patience and attention, you can enjoy a vibrant display of these stunning flowers in your own garden. Don’t be afraid to experiment and try different techniques to find what works best for you. Happy gardening!
Conclusion
So, there you have it! Mastering the art of growing anemones doesn’t have to be shrouded in mystery. By understanding their specific needs and implementing these simple yet effective DIY tricks, you can transform your garden into a vibrant tapestry of color, bursting with these captivating blooms. This isn’t just about planting bulbs; it’s about creating an environment where anemones thrive, rewarding you with a breathtaking display year after year.
The beauty of this approach lies in its adaptability. Feel free to experiment with different soil amendments to find the perfect balance for your local conditions. Perhaps you’ll discover that adding a touch of bone meal encourages even more robust root development, or that a slightly more acidic soil brings out the most intense hues in your anemone flowers. Don’t be afraid to tweak the watering schedule based on the weather patterns in your area. Remember, observation is key! Pay close attention to your plants and adjust your care routine accordingly.
Consider exploring different varieties of anemones to extend the blooming season and add visual interest to your garden. From the classic poppy anemones with their bold, cup-shaped flowers to the delicate Grecian windflowers that carpet the ground in early spring, there’s an anemone for every taste and garden style. You can even try growing them in containers, allowing you to enjoy their beauty on patios, balconies, or even indoors. Just ensure the containers have adequate drainage and are filled with a well-draining potting mix.
Why is this DIY approach a must-try? Because it empowers you to take control of your anemone growing experience. It’s about understanding the fundamental principles of plant care and applying them in a way that’s tailored to your specific environment. It’s about moving beyond generic instructions and becoming a true anemone whisperer! Plus, the satisfaction of nurturing these delicate flowers from tiny bulbs to vibrant blooms is truly unparalleled.
We wholeheartedly encourage you to give these **anemone growing tips** a try. Don’t be intimidated by the perceived difficulty of growing these flowers. With a little knowledge and a bit of patience, you’ll be amazed at what you can achieve. And most importantly, we want to hear about your experiences! Share your successes, your challenges, and your unique insights in the comments below. Let’s create a community of anemone enthusiasts, sharing our knowledge and inspiring each other to cultivate even more beautiful gardens. Your tips and tricks could be the key to unlocking anemone success for someone else. So, get planting, get experimenting, and get sharing! Let’s make the world a more colorful place, one anemone at a time.
Frequently Asked Questions (FAQ)
What is the best time of year to plant anemone bulbs?
The ideal planting time for anemone bulbs depends on your climate. In regions with mild winters, fall planting is generally recommended. This allows the bulbs to establish roots over the winter months, resulting in earlier and more abundant blooms in the spring. In colder climates, spring planting is preferable to avoid the risk of frost damage. However, you can start the bulbs indoors a few weeks before the last expected frost to give them a head start. Remember to soak the bulbs in water for a few hours before planting to rehydrate them.
How deep should I plant anemone bulbs?
The recommended planting depth for anemone bulbs is typically around 2-3 inches. Ensure that the pointed end of the bulb is facing upwards. If you’re unsure which end is which, plant the bulb on its side; the plant will eventually find its way upwards. Space the bulbs about 3-4 inches apart to allow for adequate growth and air circulation.
What type of soil is best for growing anemones?
Anemones thrive in well-draining soil that is rich in organic matter. Amend heavy clay soils with compost or other organic materials to improve drainage and aeration. A slightly acidic to neutral soil pH is ideal. You can test your soil pH using a home testing kit and adjust it accordingly if necessary. Adding a layer of mulch around the plants can help retain moisture, suppress weeds, and regulate soil temperature.
How much sunlight do anemones need?
Anemones generally prefer full sun to partial shade. In hotter climates, providing some afternoon shade can help prevent the flowers from scorching. In cooler climates, full sun is usually ideal for promoting vigorous growth and abundant blooms. Observe your plants throughout the day to determine the optimal amount of sunlight for your specific location.
How often should I water anemones?
Anemones need consistent moisture, especially during their active growing season. Water deeply whenever the top inch of soil feels dry to the touch. Avoid overwatering, as this can lead to bulb rot. During the dormant period, reduce watering significantly. If you’re growing anemones in containers, they may require more frequent watering than those planted in the ground.
Do anemones need fertilizer?
Anemones benefit from regular fertilization, especially during their active growing season. Use a balanced fertilizer formulated for flowering plants, following the instructions on the package. Avoid over-fertilizing, as this can lead to excessive foliage growth at the expense of flowers. You can also amend the soil with compost or other organic matter to provide a slow-release source of nutrients.
How do I protect anemones from pests and diseases?
Anemones are generally relatively pest-resistant, but they can occasionally be affected by aphids, slugs, or snails. Inspect your plants regularly for signs of infestation and take appropriate action if necessary. Slugs and snails can be handpicked or trapped using beer traps. Aphids can be controlled with insecticidal soap or a strong blast of water. To prevent fungal diseases, ensure good air circulation around the plants and avoid overwatering.
Can I grow anemones in containers?
Yes, anemones can be successfully grown in containers. Choose a container that is at least 6 inches deep and has adequate drainage holes. Use a well-draining potting mix and water regularly. Container-grown anemones may require more frequent fertilization than those planted in the ground. Place the container in a location that receives full sun to partial shade.
How do I deadhead anemones?
Deadheading, or removing spent flowers, encourages the plant to produce more blooms. Simply snip off the faded flowers just below the flower head. This prevents the plant from wasting energy on seed production and redirects it towards producing new flowers.
What do I do with anemone bulbs after they have finished blooming?
After the anemones have finished blooming and the foliage has died back, you can either leave the bulbs in the ground or dig them up and store them for the winter. In mild climates, the bulbs can usually be left in the ground. In colder climates, it’s best to dig them up and store them in a cool, dry place until the following spring. Before storing the bulbs, allow them to dry completely to prevent rot. Store them in a paper bag or mesh bag in a cool, dark location.

Leave a Comment