

Growing peas can seem daunting, especially if you’re just starting your home gardening journey. But trust me, there’s nothing quite like the sweet, fresh taste of homegrown peas straight from the pod! For centuries, peas have been a staple crop, enjoyed by cultures around the world. From ancient Roman feasts to medieval gardens, these little green gems have nourished and delighted generations.
But why should you bother with growing peas? Well, store-bought peas simply can’t compare to the flavor and texture of freshly picked ones. Plus, growing your own is incredibly rewarding and a fantastic way to connect with nature. This beginner’s guide is packed with simple, effective tricks and DIY hacks that will help you cultivate a thriving pea patch, even if you have limited space or experience.
I’m here to show you that growing peas doesn’t have to be complicated. We’ll cover everything from choosing the right variety to building simple support structures, ensuring you have a bountiful harvest. So, grab your gardening gloves, and let’s get started on this exciting adventure together! You’ll be amazed at how easy and enjoyable it is to grow your own delicious peas.
Growing Peas: A Beginner’s Guide to Sweet Success
Hey there, fellow gardening enthusiasts! I’m so excited you’re thinking about growing peas. They’re one of the most rewarding crops to cultivate – not only are they delicious, but they’re also relatively easy to grow, even for beginners. Plus, there’s nothing quite like the taste of fresh, homegrown peas straight from the pod! This guide will walk you through everything you need to know to successfully grow peas in your own backyard.
Choosing Your Pea Variety
First things first, let’s talk about pea varieties. There are a few main types, and your choice will depend on your preferences and how you plan to use your harvest.
* **Shelling Peas (English Peas):** These are the classic peas you probably think of. You shell them to get the sweet, round peas inside. Popular varieties include ‘Little Marvel,’ ‘Green Arrow,’ and ‘Wando.’
* **Snap Peas:** With snap peas, you eat the entire pod! They’re crisp, sweet, and perfect for snacking or stir-fries. ‘Sugar Snap’ is a very popular and reliable variety.
* **Snow Peas:** Snow peas have flat pods with small peas inside. They’re also eaten whole and are often used in Asian cuisine. ‘Oregon Sugar Pod II’ is a great choice.
Consider your climate and growing season when selecting your variety. Some peas are more heat-tolerant than others, and some mature faster. Check the seed packet for specific information.
Preparing Your Garden Bed
Peas thrive in well-drained soil that’s rich in organic matter. Here’s how to get your garden bed ready:
* **Location, Location, Location:** Choose a spot that gets at least 6-8 hours of sunlight per day. Peas need plenty of sunshine to produce a good harvest.
* **Soil Testing (Optional but Recommended):** Ideally, you should test your soil’s pH. Peas prefer a slightly acidic to neutral pH of around 6.0 to 7.0. You can buy a soil testing kit at most garden centers.
* **Amend the Soil:** Even if your soil is already pretty good, adding some compost or well-rotted manure will give your peas a boost. Work it into the top 6-8 inches of soil.
* **Ensure Good Drainage:** Peas don’t like soggy feet! If your soil is heavy clay, amend it with sand or perlite to improve drainage.
* **Consider a Raised Bed:** If you have poor soil or drainage issues, growing peas in a raised bed is a great option.
Planting Your Pea Seeds
Timing is crucial when planting peas. They’re a cool-season crop, so you’ll want to plant them early in the spring or late in the summer for a fall harvest.
* **When to Plant:** Plant peas as soon as the soil can be worked in the spring, usually 4-6 weeks before the last expected frost. For a fall crop, plant them 8-10 weeks before the first expected frost.
* **Soaking the Seeds (Optional):** Soaking your pea seeds in water for 12-24 hours before planting can help speed up germination.
* **Planting Depth and Spacing:** Plant the seeds about 1 inch deep and 1-2 inches apart. Space rows about 18-24 inches apart.
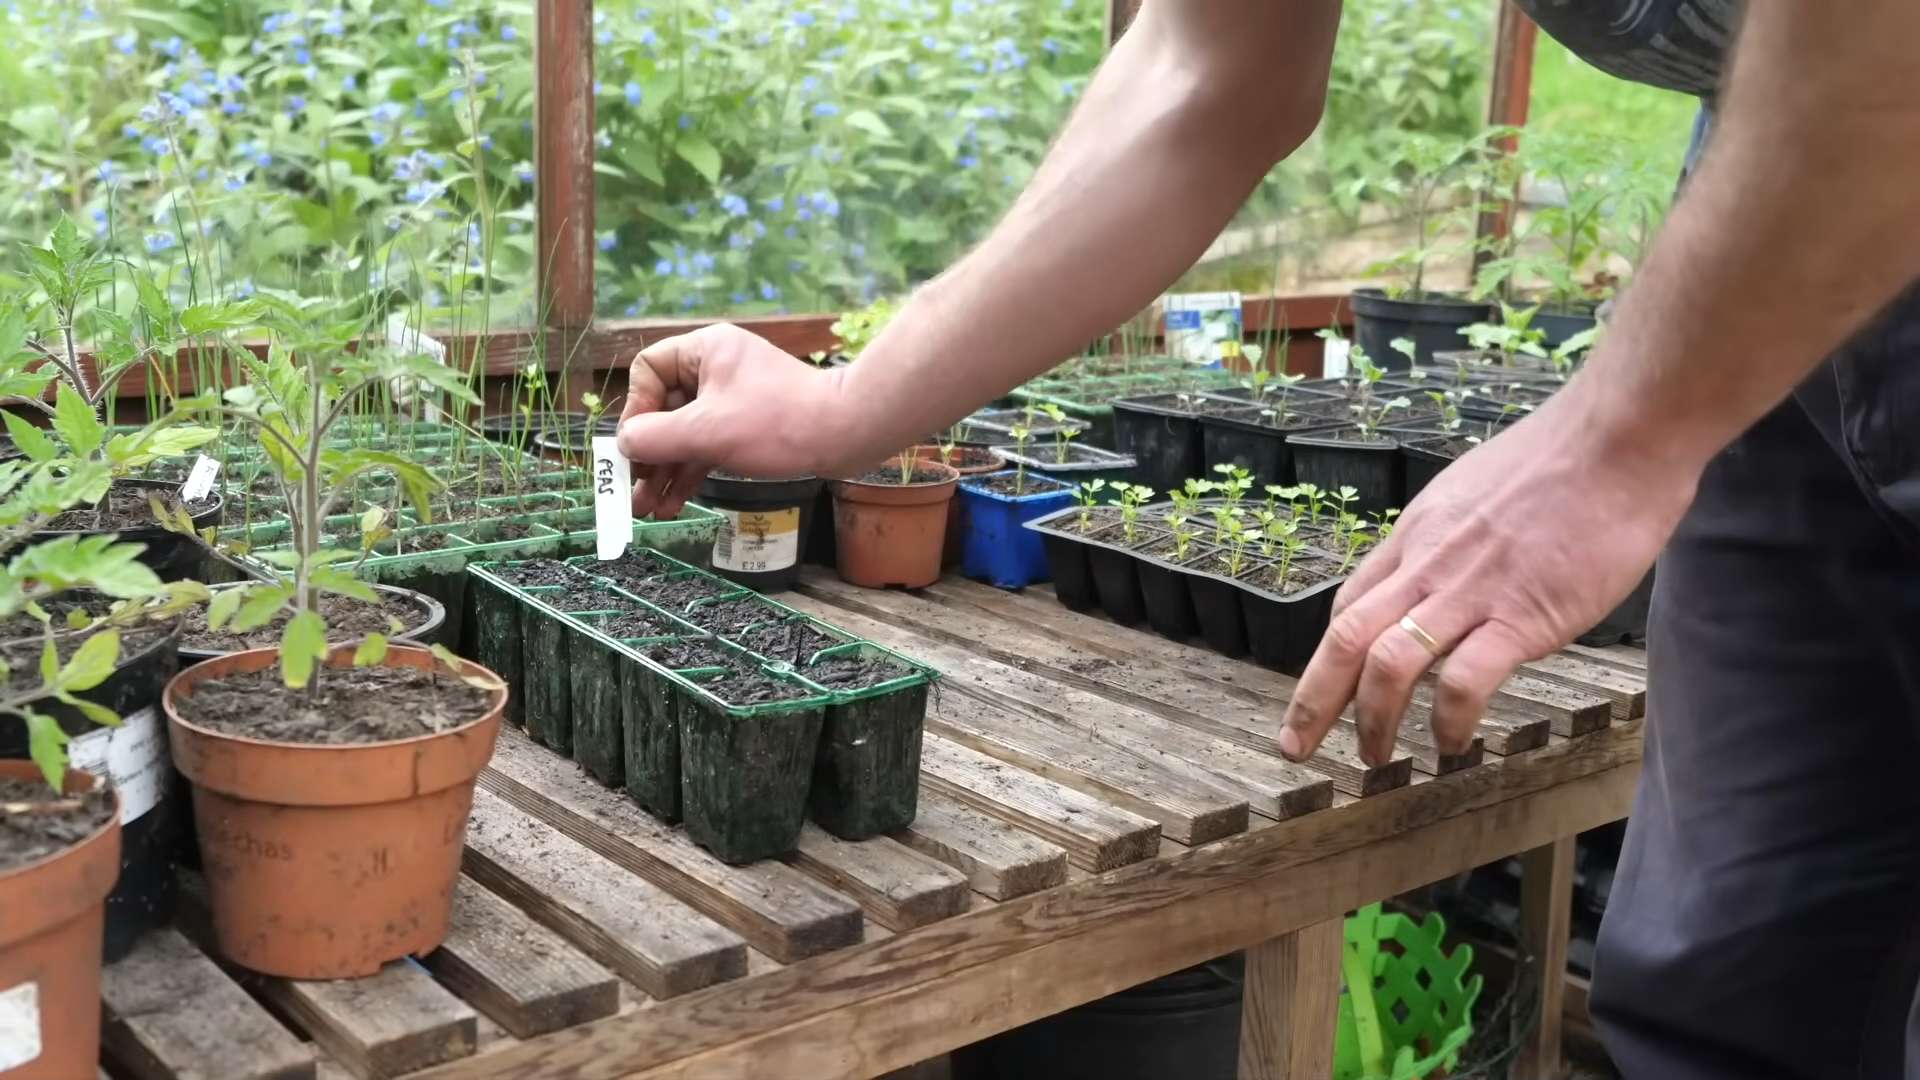
* **Direct Sowing:** Peas are best direct-sown into the garden. They don’t transplant well.
* **Watering After Planting:** Gently water the soil after planting to ensure good seed-to-soil contact.
Providing Support for Your Peas
Peas are vining plants, so they need something to climb on. Providing support will keep the plants off the ground, improve air circulation, and make harvesting easier.
* **Types of Support:** There are several options for supporting your peas:
* **Trellis:** A trellis is a sturdy structure that peas can easily climb.
* **Netting:** Garden netting is a lightweight and inexpensive option.
* **Pea Brush:** You can use branches from trees or shrubs as a natural support system.
* **DIY Structures:** Get creative and build your own support structure using bamboo stakes, twine, or other materials.
* **Installing the Support:** Install the support system at the time of planting or shortly after the seedlings emerge. Make sure it’s sturdy enough to support the weight of the mature plants.
* **Guiding the Vines:** As the pea plants grow, gently guide the vines onto the support structure. They’ll eventually start climbing on their own.
Caring for Your Pea Plants
Once your pea plants are established, here’s how to keep them healthy and productive:
* **Watering:** Keep the soil consistently moist, especially during flowering and pod development. Water deeply but avoid overwatering, which can lead to root rot.
* **Fertilizing:** Peas are legumes, which means they can fix nitrogen from the air. However, they still benefit from a light feeding of a balanced fertilizer. Apply fertilizer according to the package directions.
* **Weeding:** Keep the garden bed free of weeds, which can compete with the pea plants for nutrients and water. Hand-pull weeds carefully to avoid disturbing the pea roots.
* **Pest Control:** Peas can be susceptible to certain pests, such as aphids and pea weevils. Inspect your plants regularly and take action if you see any signs of infestation.
* **Aphids:** These tiny insects suck sap from the plants. You can control them with insecticidal soap or by spraying them with a strong stream of water.
* **Pea Weevils:** These beetles lay their eggs on pea pods, and the larvae burrow into the peas. You can control them by hand-picking them off the plants or by using an insecticide.
* **Disease Prevention:** Peas can also be affected by certain diseases, such as powdery mildew and root rot. To prevent diseases, ensure good air circulation, avoid overwatering, and practice crop rotation.
Harvesting Your Peas
Harvesting peas at the right time is essential for getting the best flavor and texture.
* **When to Harvest:** The timing of harvest depends on the type of pea you’re growing.
* **Shelling Peas:** Harvest when the pods are plump and the peas inside are well-developed.
* **Snap Peas:** Harvest when the pods are full and crisp, but before the peas inside become too large.
* **Snow Peas:** Harvest when the pods are flat and tender, before the peas inside develop.
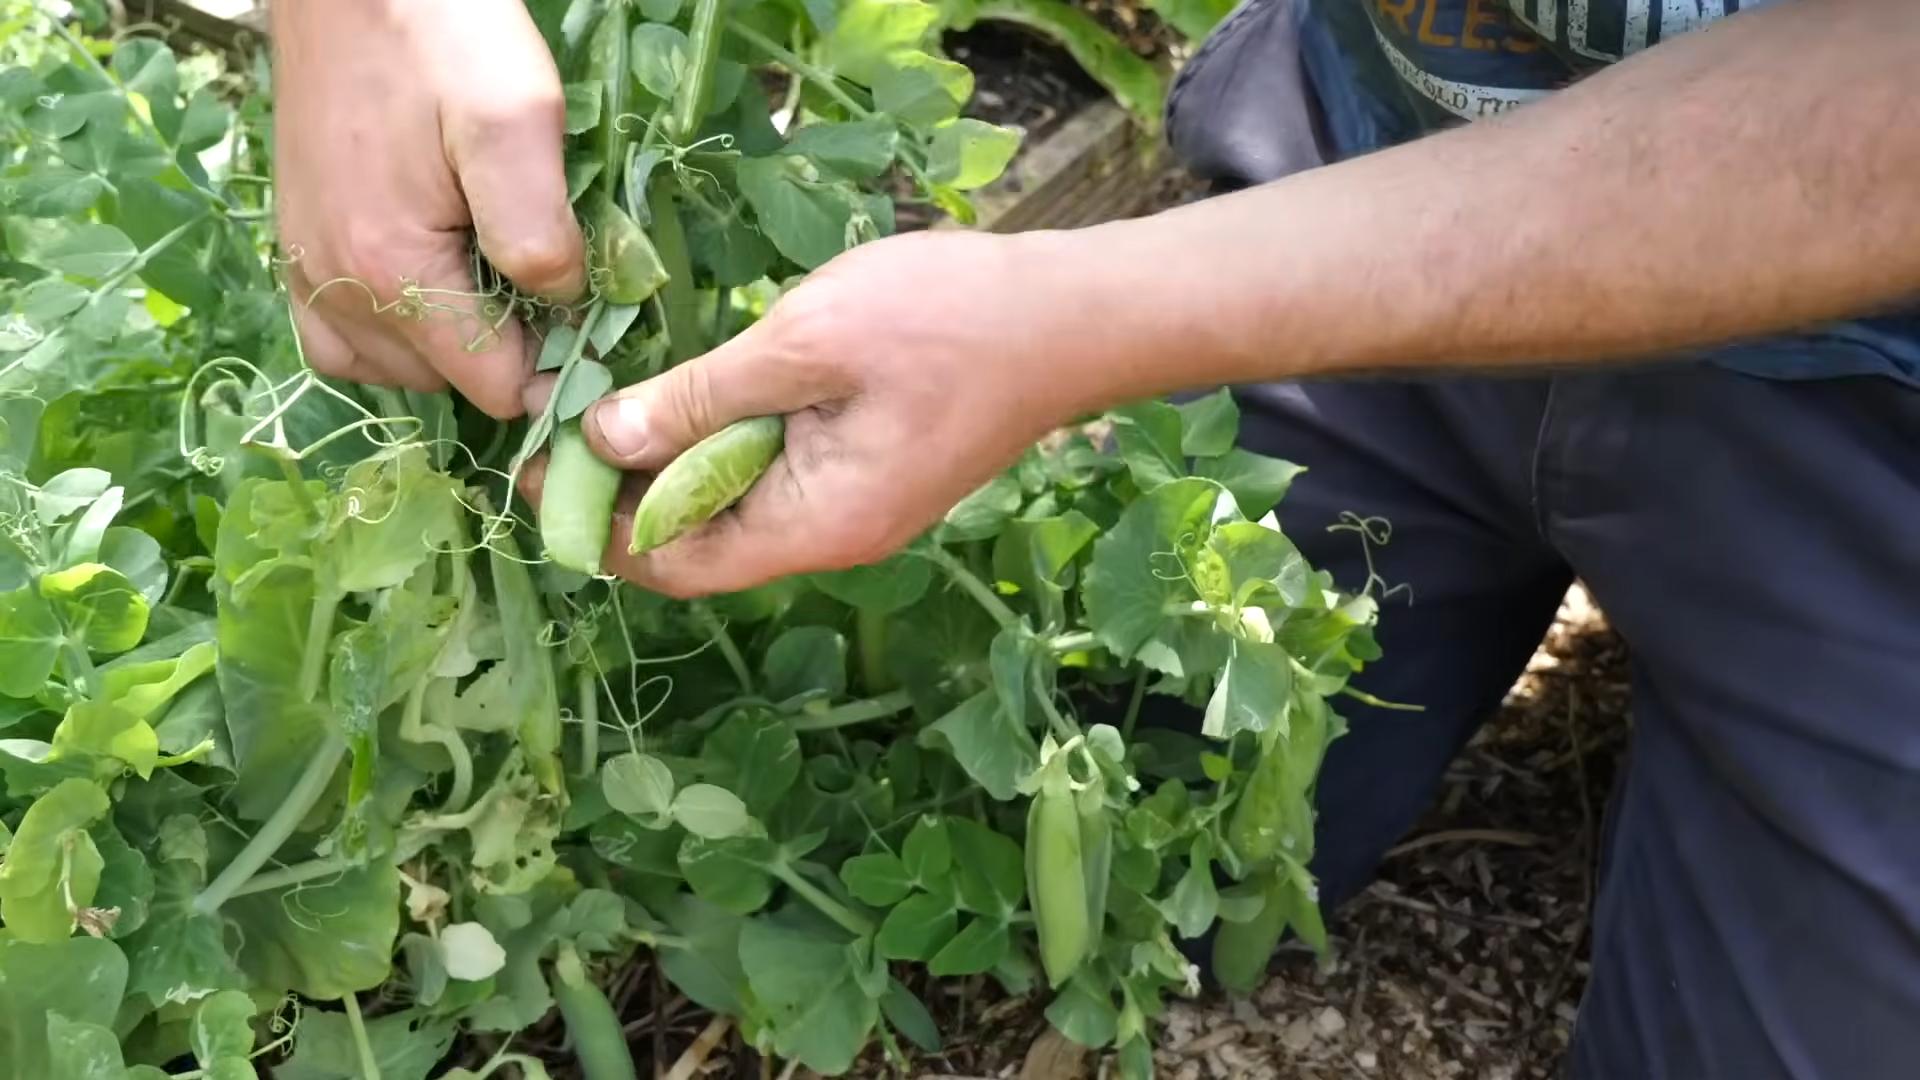
* **How to Harvest:** Gently pick the pods from the vine. Avoid pulling or tearing the plants.
* **Harvesting Regularly:** Harvest peas regularly to encourage continued production.
* **Enjoying Your Harvest:** Freshly harvested peas are best eaten right away. You can also store them in the refrigerator for a few days or freeze them for longer storage.
Troubleshooting Common Pea Problems
Even with the best care, you might encounter some problems when growing peas. Here are a few common issues and how to address them:
* **Poor Germination:** If your pea seeds aren’t germinating, it could be due to several factors:
* **Cold Soil:** Peas need a soil temperature of at least 40°F (4°C) to germinate.
* **Poor Soil Drainage:** Soggy soil can cause the seeds to rot.
* **Old Seeds:** Pea seeds lose their viability over time. Use fresh seeds for best results.
* **Yellowing Leaves:** Yellowing leaves can be a sign of nutrient deficiency or disease.
* **Nitrogen Deficiency:** Peas need nitrogen to grow. Apply a nitrogen-rich fertilizer.
* **Root Rot:** Overwatering can lead to root rot, which can cause the leaves to yellow. Improve drainage and avoid overwatering.
* **Lack of Pods:** If your pea plants are growing well but not producing pods, it could be due to:
* **Hot Weather:** Peas don’t produce well in hot weather. Plant them early in the spring or late in the summer.
* **Lack of Pollination:** Peas are self-pollinating, but sometimes they need a little help. Gently shake the plants to help distribute the pollen.
* **Nutrient Deficiency:** Peas need phosphorus and potassium to produce pods. Apply a fertilizer that’s rich in these nutrients.
Extending Your Pea Season
Want to enjoy fresh peas for as long as possible? Here are a few tips for extending your pea season:
* **Succession Planting:** Plant a new batch of pea seeds every 2-3 weeks to ensure a continuous harvest.
* **Choose Early and Late Varieties:** Select pea varieties that mature at different times.
* **Provide Shade:** In hot weather, provide shade for your pea plants to help them stay cool and productive.
* **Fall Planting:** Plant a fall crop of peas for a late-season harvest.
Saving Pea Seeds
If you want to save seeds from your pea plants for next year, here’s how:
1. **Select Healthy Plants:** Choose plants
Conclusion
So, there you have it! Growing peas, even if you’re a complete beginner, is absolutely achievable and incredibly rewarding. We’ve walked you through the entire process, from selecting the right variety to harvesting those sweet, plump pods. But the real game-changer, the secret weapon in your pea-growing arsenal, is our DIY pea trellis trick.
Why is this DIY trellis a must-try? Because it’s more than just a support system; it’s an investment in a healthier, more productive pea crop. By providing vertical support, you’re maximizing sunlight exposure, improving air circulation, and minimizing the risk of soil-borne diseases. This translates to bigger yields, sweeter peas, and a more enjoyable gardening experience overall. Plus, let’s be honest, a well-trellised pea patch is a beautiful sight to behold!
But don’t think you’re limited to the exact materials we used. Feel free to get creative! If you have bamboo stakes readily available, use those instead of wooden dowels. Old chicken wire or netting can be repurposed into a fantastic trellis. The key is to provide a sturdy and accessible climbing structure for your peas.
Consider these variations to tailor the trellis to your specific needs and aesthetic preferences:
* A-Frame Trellis: Construct two separate trellis panels and lean them against each other to form an “A” shape. This provides excellent stability and creates a visually appealing focal point in your garden.
* Teepee Trellis: Gather several long poles and tie them together at the top, spreading the base to create a teepee shape. This is a great option for smaller gardens and adds a whimsical touch.
* Horizontal Trellis: String wires or twine horizontally between posts to create a series of climbing rungs. This is a simple and effective method for supporting peas along a fence or wall.
Remember, the best trellis is the one that works best for you and your garden. Don’t be afraid to experiment and find what suits your style and resources.
We’re confident that with a little planning and effort, you’ll be harvesting baskets full of delicious, homegrown peas in no time. The satisfaction of eating something you’ve grown yourself is truly unparalleled.
So, what are you waiting for? Grab your seeds, gather your materials, and get ready to embark on your pea-growing adventure! We encourage you to try our DIY pea trellis trick and see the difference it makes. And most importantly, share your experiences with us! We’d love to hear about your successes, your challenges, and any creative variations you come up with. Post photos of your pea patch on social media and tag us – we can’t wait to see what you create! Happy gardening!
Frequently Asked Questions (FAQ)
What type of peas are best suited for this DIY trellis?
This DIY trellis is versatile and works well for most climbing pea varieties, including shelling peas, snow peas, and snap peas. However, it’s essential to consider the mature height of the pea variety you choose. Taller varieties, such as ‘Sugar Snap,’ may require a taller trellis or additional support. Bush varieties, which are shorter and more compact, may not need a trellis at all, but a small support structure can still be beneficial to keep them off the ground. When selecting your pea seeds, check the seed packet for information on the plant’s mature height and growth habit to ensure it’s a good fit for your trellis.
How tall should my DIY pea trellis be?
The ideal height of your pea trellis depends on the variety of peas you’re growing. As a general rule, aim for a trellis that is at least as tall as the expected mature height of your pea plants. For most climbing varieties, a trellis that is 4 to 6 feet tall is sufficient. If you’re growing taller varieties, you may need to build a taller trellis or provide additional support as the plants grow. It’s always better to err on the side of caution and build a slightly taller trellis than you think you’ll need, as peas can sometimes grow taller than expected, especially in favorable conditions.
What materials are best for building a DIY pea trellis?
The best materials for building a DIY pea trellis are those that are sturdy, durable, and readily available. Wood, bamboo, and metal are all excellent choices. For the framework of the trellis, you can use wooden stakes, bamboo poles, or metal pipes. For the climbing surface, you can use twine, string, wire mesh, or netting. When choosing your materials, consider the weight of the pea plants and the expected weather conditions in your area. If you live in a windy area, you’ll want to use heavier, more durable materials to ensure that your trellis can withstand the elements. Also, consider using recycled materials to make your trellis more sustainable.
How do I train my pea plants to climb the trellis?
Pea plants are generally good climbers, but they may need a little encouragement to get started. As the plants begin to grow, gently guide their tendrils towards the trellis. You can use small clips or ties to attach the tendrils to the trellis if needed. Once the plants have established a good grip on the trellis, they will usually continue to climb on their own. Regularly check the plants and redirect any stray tendrils to ensure that they are climbing in the desired direction.
How far apart should I space my pea plants when planting them near the trellis?
The ideal spacing for pea plants depends on the variety you’re growing and the type of trellis you’re using. As a general rule, space pea plants 2 to 3 inches apart along the base of the trellis. This will allow the plants to grow close together and support each other as they climb. If you’re using a wider trellis, you may need to space the plants further apart to ensure that they have enough room to grow. Check the seed packet for specific spacing recommendations for the variety of peas you’re growing.
Can I reuse my DIY pea trellis for multiple seasons?
Yes, with proper care and maintenance, you can reuse your DIY pea trellis for multiple seasons. After harvesting your peas, remove the plants from the trellis and clean it thoroughly. Inspect the trellis for any damage or wear and tear, and make any necessary repairs. Store the trellis in a dry place over the winter to protect it from the elements. Before using the trellis again in the spring, give it another cleaning and inspect it for any new damage. With proper care, your DIY pea trellis can last for many years.
What are some common problems when growing peas and how can the trellis help?
Some common problems when growing peas include powdery mildew, aphids, and slugs. The DIY trellis can help to mitigate these problems by improving air circulation around the plants, which can reduce the risk of powdery mildew. The trellis also makes it easier to inspect the plants for pests and diseases, and to apply treatments if necessary. Additionally, the trellis can help to keep the pea pods off the ground, which can reduce the risk of slug damage. By providing a healthy and supportive growing environment, the DIY trellis can help you to overcome many of the challenges associated with growing peas.
How does using a trellis impact the yield of my pea plants?
Using a trellis can significantly increase the yield of your pea plants. By providing vertical support, the trellis allows the plants to receive more sunlight, which is essential for photosynthesis and growth. The improved air circulation also helps to prevent diseases, which can reduce yields. Additionally, the trellis makes it easier to harvest the peas, as the pods are held off the ground and are more accessible. All of these factors contribute to a higher yield of peas compared to growing them without a trellis.
What if I don’t have space for a traditional garden? Can I still use this DIY pea trellis?
Absolutely! One of the great things about this DIY pea trellis is that it can be adapted for use in small spaces, such as balconies, patios, or even indoors with proper lighting. You can build a smaller, more compact trellis that is suitable for container gardening. Simply adjust the dimensions of the trellis to fit your container and choose a pea variety that is well-suited for container growing. With a little creativity, you can enjoy fresh, homegrown peas even if you don’t have a traditional garden.
Is there a specific time of year that is best for planting peas and using this trellis?
Peas are a cool-season crop, so the best time to plant them is in early spring or late summer/early fall, depending on your climate. In areas with mild winters, you may even be able to grow peas throughout the winter. The ideal soil temperature for pea germination is between 45°F and 70°F. Before planting, check the weather forecast to ensure that there is no risk of frost, as frost can damage young pea plants. Once the plants have emerged, provide them with plenty of sunlight and water, and train them to climb the trellis as they grow.
Leave a Comment