

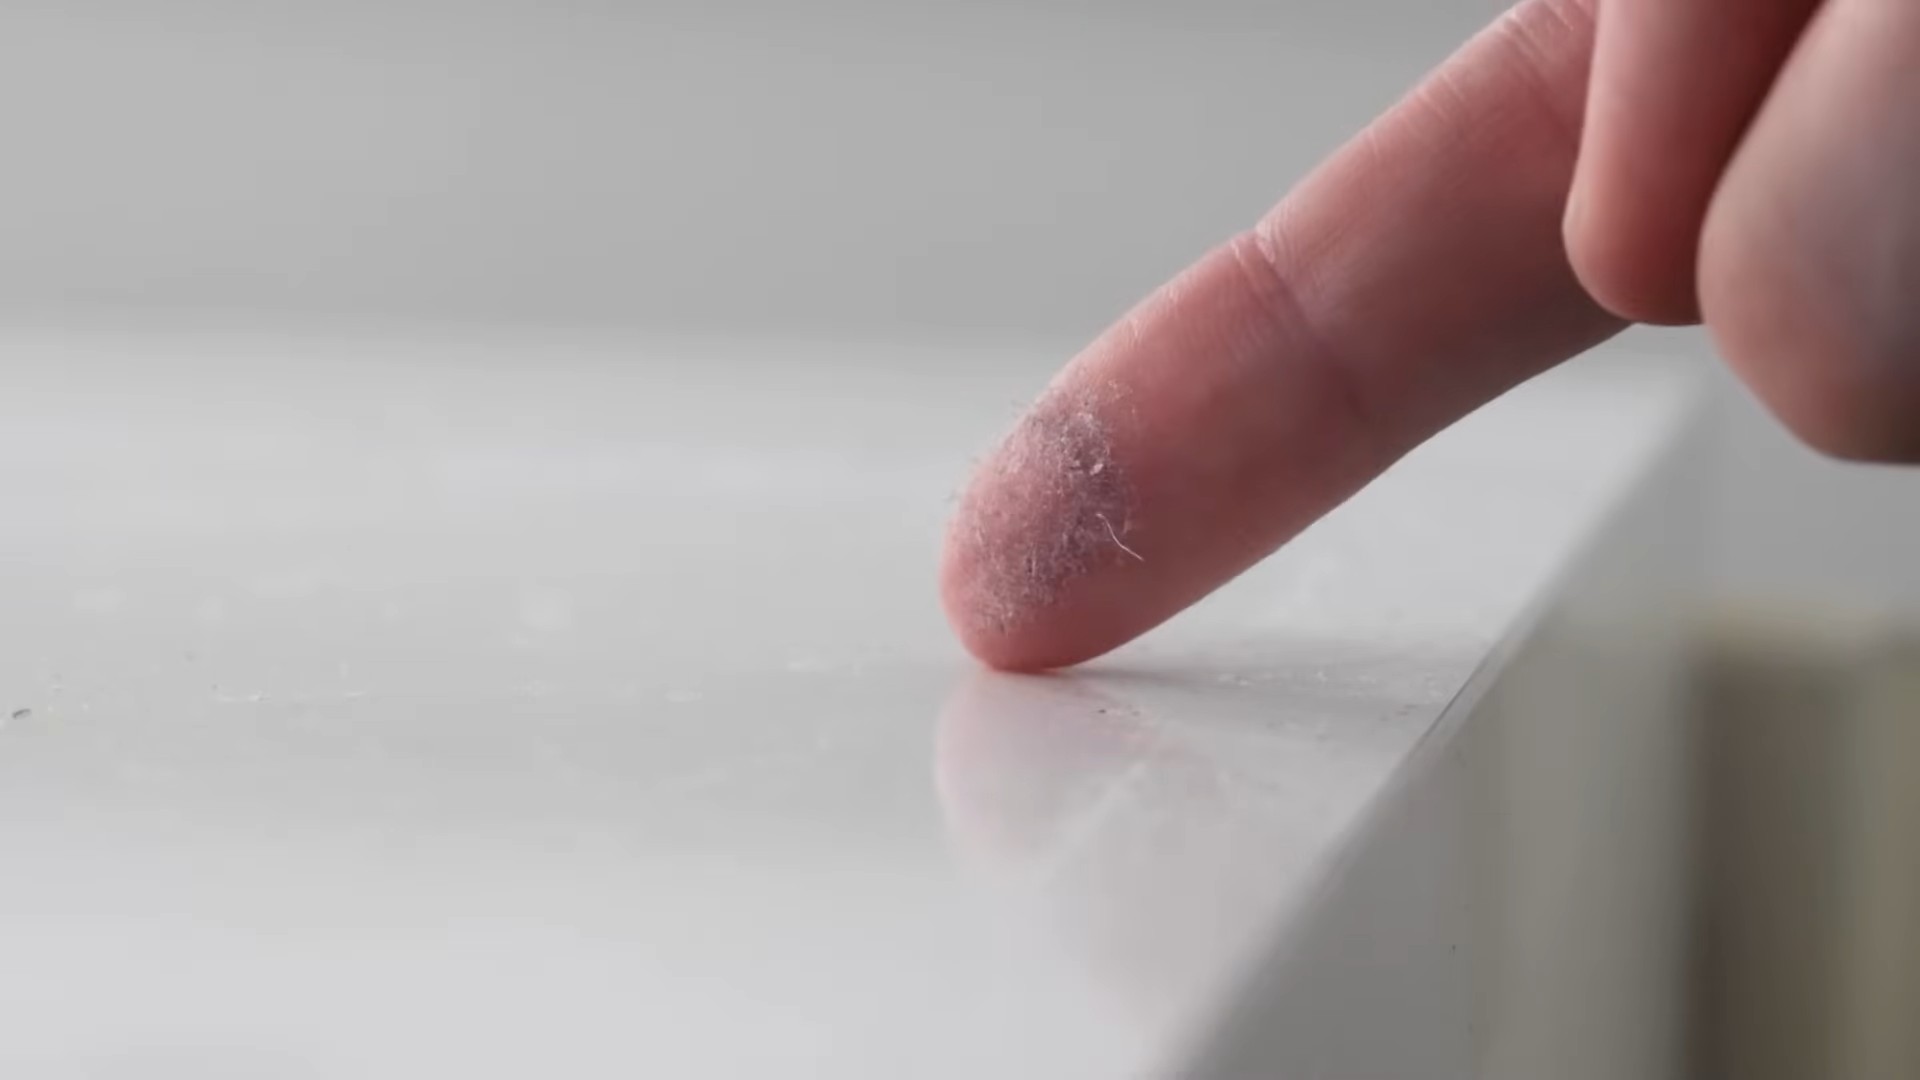
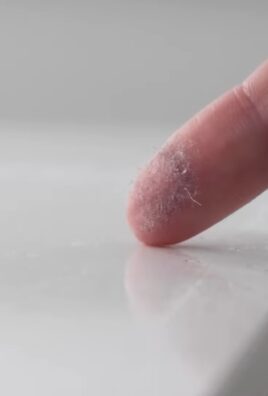
Dusting tricks – are you tired of battling dust bunnies that seem to multiply overnight? I know I am! It feels like no matter how much I clean, that pesky layer of grime always returns. But what if I told you there are simple, effective, and even fun ways to conquer the dust in your home, leaving it sparkling and healthier than ever before?
Dusting, while seemingly mundane, has a long history. In ancient civilizations, keeping homes clean was a sign of prosperity and order. While we may not be using feather dusters like our grandmothers did (though those can still be effective!), the need for a dust-free environment remains. Beyond aesthetics, dust can trigger allergies, asthma, and other respiratory issues. So, mastering effective dusting tricks isn’t just about a cleaner home; it’s about a healthier life for you and your family.
This article is packed with DIY solutions and clever hacks that will transform your dusting routine. We’ll explore everything from homemade dusting sprays to the best tools for reaching those tricky spots. Get ready to say goodbye to endless sneezing and hello to a fresh, clean, and inviting home. Let’s dive in and discover the secrets to a dust-free haven!
DIY Dusting Hacks for a Sparkling Clean Home
Okay, let’s face it, dusting is nobody’s favorite chore. But a dust-free home is a happier, healthier home. I’m going to share some of my favorite DIY dusting hacks that will make the process easier, more effective, and maybe even a little bit…dare I say…enjoyable? (Okay, maybe not enjoyable, but definitely less painful!).
Understanding the Enemy: Dust
Before we dive into the hacks, let’s quickly understand what we’re fighting. Dust isn’t just dirt; it’s a complex mixture of:
* Dead skin cells (yuck!)
* Pet dander
* Pollen
* Dust mites and their droppings (double yuck!)
* Textile fibers
* Soil
* And a whole lot more!
Knowing this helps us understand why regular dusting is so important – it’s not just about aesthetics; it’s about hygiene and air quality.
Hack #1: The Microfiber Magic
Microfiber cloths are your best friend when it comes to dusting. They’re super absorbent and have a unique weave that traps dust instead of just pushing it around.
Why Microfiber?
* Superior Dust Collection: The split fibers create a larger surface area, grabbing and holding onto dust particles.
* Lint-Free: Unlike cotton cloths, microfiber won’t leave behind annoying lint.
* Reusable and Washable: Save money and reduce waste by washing and reusing your microfiber cloths.
* Safe for Most Surfaces: Gentle enough for delicate surfaces like wood furniture and electronics.
Step-by-Step Guide to Microfiber Dusting:
1. Choose Your Cloth: Opt for a high-quality microfiber cloth. I prefer the ones with a slightly longer nap for better dust collection.
2. Slightly Dampen (Optional): For stubborn dust or greasy surfaces, lightly dampen your microfiber cloth with water. Wring it out thoroughly so it’s not dripping wet. A damp cloth helps to attract and trap dust more effectively.
3. Fold Your Cloth: Fold the cloth into quarters. This gives you eight clean surfaces to work with.
4. Dust in Sections: Start at the top of the room and work your way down. This prevents dust from falling onto already cleaned surfaces.
5. Wipe Methodically: Use a consistent wiping motion, overlapping each pass slightly.
6. Rinse and Repeat: As the cloth becomes soiled, rinse it under running water and wring it out. Refold to a clean surface.
7. Wash Regularly: Wash your microfiber cloths in the washing machine with a mild detergent. Avoid using fabric softener, as it can reduce their absorbency.
Hack #2: The DIY Dusting Spray
Commercial dusting sprays can be expensive and often contain harsh chemicals. I prefer to make my own using simple, natural ingredients.
My Go-To DIY Dusting Spray Recipe:
* 1 cup water
* 1/4 cup white vinegar (the acidity helps to cut through grease and grime)
* 2-3 drops of essential oil (lemon, lavender, or tea tree are great choices for their cleaning and antibacterial properties)
Why This Recipe Works:
* Water: Acts as the base for the spray.
* White Vinegar: A natural disinfectant and degreaser.
* Essential Oils: Add a pleasant scent and have additional cleaning properties.
Step-by-Step Guide to Making and Using the DIY Dusting Spray:
1. Gather Your Ingredients: Make sure you have all the ingredients on hand.
2. Mix the Ingredients: Combine the water, white vinegar, and essential oil in a spray bottle.
3. Shake Well: Shake the bottle thoroughly to ensure the ingredients are well mixed.
4. Test in an Inconspicuous Area: Before spraying on a large surface, test the spray in a hidden area to ensure it doesn’t damage the finish.
5. Spray Lightly: Lightly spray the surface you want to dust.
6. Wipe with a Microfiber Cloth: Immediately wipe the surface with a clean microfiber cloth.
7. Buff Dry (Optional): For extra shine, buff the surface with a dry microfiber cloth.
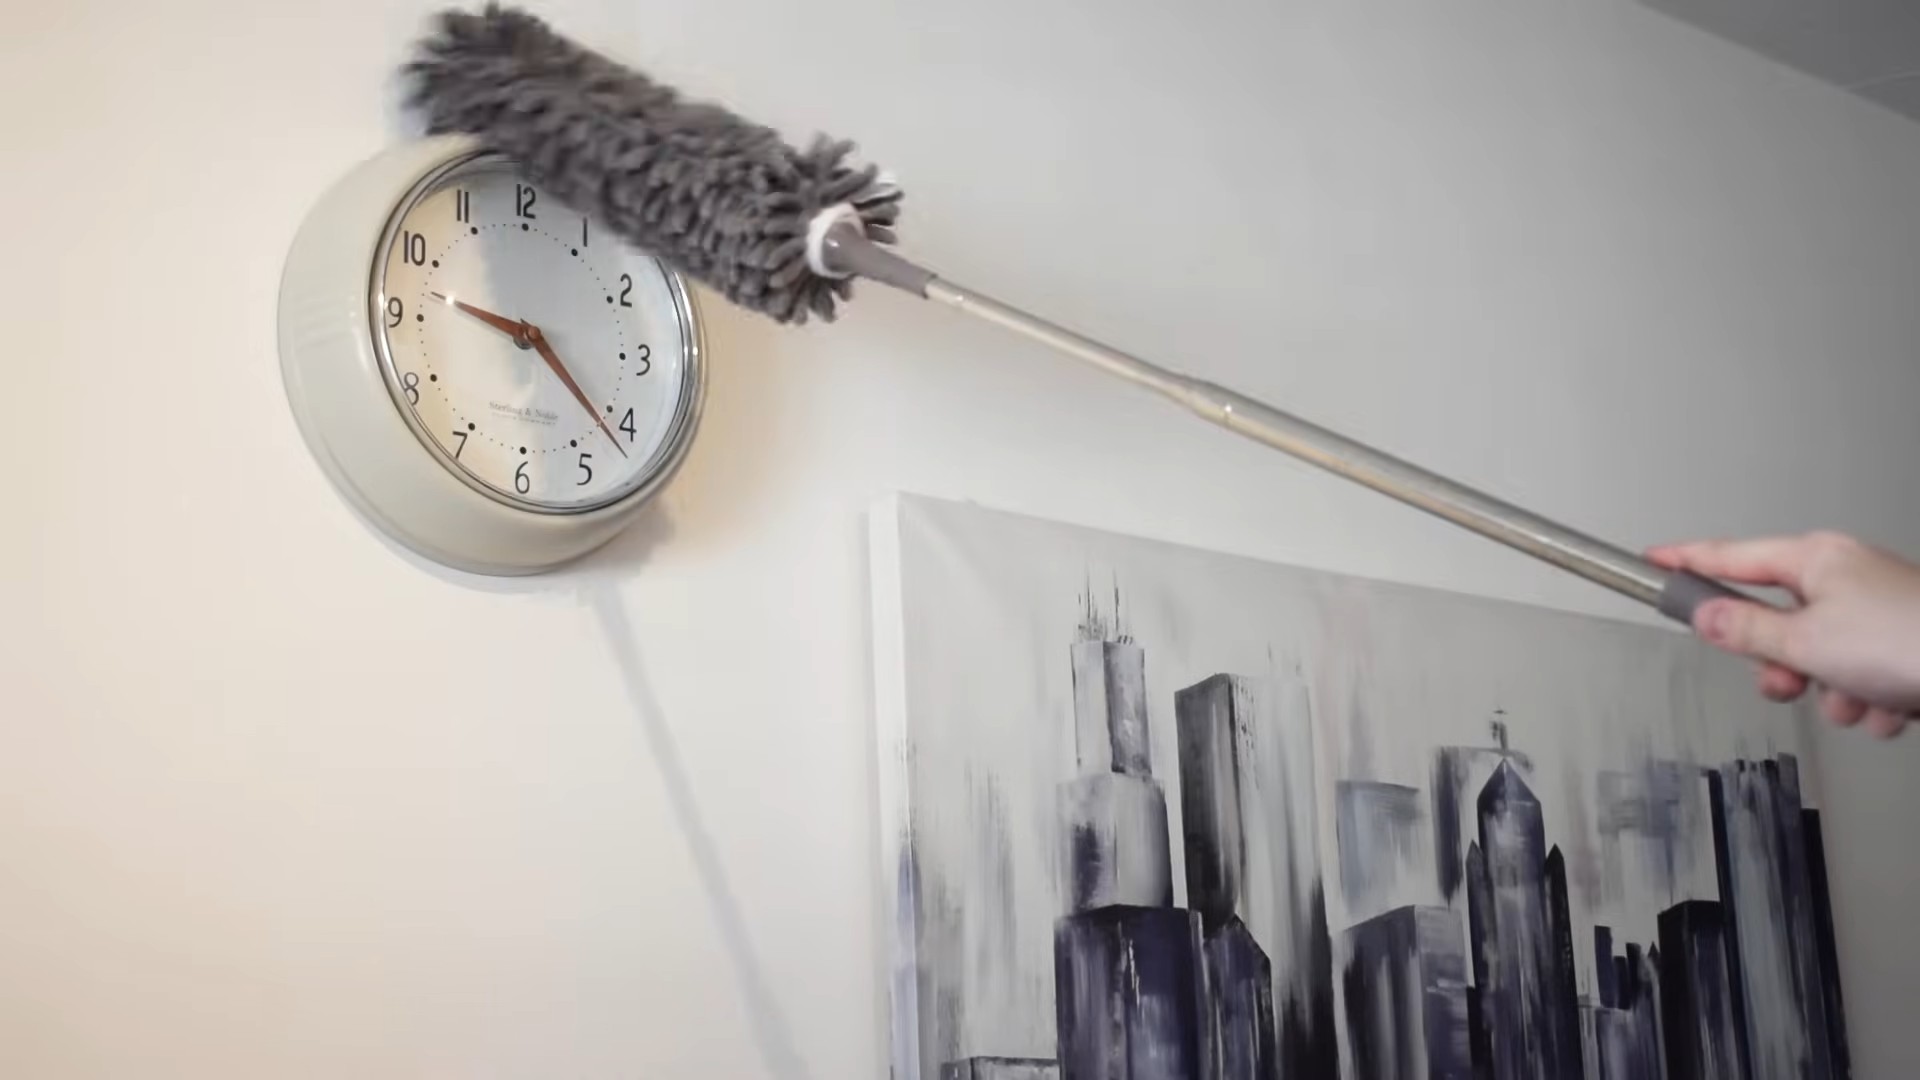
Hack #3: Conquering Hard-to-Reach Places
Dust loves to hide in those hard-to-reach places, like ceiling fans, blinds, and baseboards. Here are some tricks for tackling these areas:
Ceiling Fans
* The Pillowcase Trick: Slide an old pillowcase over each fan blade, trapping the dust inside as you wipe. This prevents dust from raining down on you and the furniture below.
1. Grab an old pillowcase.
2. Carefully slide the pillowcase over one fan blade, encasing it completely.
3. Gently wipe the blade, pulling the pillowcase towards you. The dust will be trapped inside the pillowcase.
4. Repeat for each blade.
5. Empty the pillowcase outside or into a trash bag.
6. Wash the pillowcase.
Blinds
* The Sock Puppet Method: Put an old sock on your hand, dampen it slightly, and use it to wipe each slat of the blinds. For extra cleaning power, spray the sock with your DIY dusting spray.
1. Find an old sock (a clean one, of course!).
2. Slightly dampen the sock with water or your DIY dusting spray.
3. Put the sock on your hand like a puppet.
4. Pinch each slat of the blinds between your thumb and fingers, using the sock to wipe away the dust.
5. Repeat for each slat.
6. Wash the sock.
Baseboards
* The Dryer Sheet Secret: Attach a dryer sheet to a Swiffer duster or wrap it around a ruler. The dryer sheet’s static cling will attract dust and leave a fresh scent.
1. Grab a dryer sheet (used or new).
2. Attach the dryer sheet to a Swiffer duster or wrap it around a ruler and secure it with a rubber band.
3. Run the duster along the baseboards, collecting dust as you go.
4. Replace the dryer sheet as needed.
Hack #4: Dust-Proofing Your Home
Prevention is key! Here are some tips for reducing dust buildup in your home:
* Use Doormats: Place doormats at all entrances to trap dirt and debris before they enter your home.
* Change Air Filters Regularly: Replace your HVAC air filters every 1-3 months to remove dust and allergens from the air.
* Vacuum Frequently: Vacuum carpets and rugs at least once a week, and more often in high-traffic areas.
* Wash Bedding Regularly: Wash your bedding (sheets, pillowcases, blankets) weekly in hot water to kill dust mites.
* Declutter: The less stuff you have, the less dust can accumulate.
* Control Humidity: Maintain a humidity level between 40-50% to discourage dust mite growth. Use a dehumidifier if necessary.
* Dust High to Low: Always dust from the highest surfaces down to the floor to avoid re-dusting areas you’ve already cleaned.
* Seal Cracks and Crevices: Seal any cracks or crevices in walls, floors, and windows to prevent dust from entering.
* Upholstery Care: Vacuum upholstered furniture regularly to remove dust and pet dander. Consider using upholstery cleaner periodically.
* Pet Grooming: Regularly groom your pets to reduce shedding and dander.
Hack #5: Electronic Dusting
Electronics are dust magnets! Here’s how to keep them clean:
* Unplug First: Always unplug electronics before cleaning them.
* Compressed Air: Use compressed air to blow dust out of keyboards, vents, and other hard-to-reach areas.
* Microfiber Cloth: Gently wipe screens and surfaces with a dry microfiber cloth. Avoid using harsh chemicals or abrasive cleaners.
* Cotton Swabs: Use cotton swabs to clean around buttons and ports.
* Screen Cleaner: For stubborn smudges, use a screen cleaner specifically designed for electronics.
Hack #6: Plant Dusting
Yes, even your plants need dusting! Dust can block sunlight and hinder their growth.
* Wipe with a Damp Cloth: Gently wipe the leaves of your plants with a damp microfiber cloth.
* Rinse in the Shower: For larger plants, you can rinse them in the shower with lukewarm water.
* Leaf Shine (Optional): Use a commercial leaf shine product to add luster to your plants’ leaves.
Hack #7: The Power of Scheduling
The key to a consistently dust-
Conclusion
So, there you have it! Mastering these simple yet effective dusting tricks is a game-changer for anyone seeking a cleaner, healthier, and more inviting home. We’ve explored how to move beyond the basic swipe and truly conquer dust, reaching those often-neglected nooks and crannies where allergens and grime love to accumulate. From the ingenious use of microfiber cloths and old socks to the power of homemade dusting sprays and the strategic application of dryer sheets, these techniques are designed to make your dusting routine more efficient and, dare we say, even enjoyable.
But why is this DIY approach a must-try? Because it empowers you to take control of your cleaning process, using readily available materials and avoiding harsh chemicals often found in commercial products. It’s cost-effective, environmentally friendly, and allows you to customize your cleaning solutions to suit your specific needs and preferences. Plus, the satisfaction of knowing you’re creating a healthier living environment for yourself and your loved ones is truly priceless.
Consider these variations to further personalize your dusting experience:
* **Scented Dusting Spray:** Add a few drops of your favorite essential oil (lavender, lemon, or eucalyptus are excellent choices) to your homemade dusting spray for a refreshing aroma that lingers long after you’ve finished cleaning.
* **Furniture Polish Boost:** For wooden furniture, incorporate a small amount of olive oil or beeswax into your dusting spray to nourish and protect the wood while removing dust.
* **Allergy-Friendly Options:** If you have allergies, opt for fragrance-free dusting sprays and focus on using microfiber cloths, which trap dust effectively without releasing it back into the air. Regularly wash your cloths in hot water to eliminate allergens.
* **Electronic Dusting:** When dusting electronics, always ensure they are turned off and unplugged. Use a can of compressed air to dislodge dust from hard-to-reach areas like keyboards and vents. Follow up with a slightly damp microfiber cloth to wipe down surfaces.
We firmly believe that incorporating these **dusting tricks** into your regular cleaning routine will significantly improve the air quality and overall cleanliness of your home. It’s not just about aesthetics; it’s about creating a healthier and more comfortable living space for you and your family.
Now, it’s your turn! We encourage you to try these DIY dusting tricks and see the difference they can make. Experiment with different variations, find what works best for you, and share your experiences with us. Let us know in the comments below which tips you found most helpful, any modifications you made, or any other dusting secrets you’ve discovered along the way. Together, we can create a community of clean-home enthusiasts, sharing knowledge and inspiring each other to achieve a dust-free paradise. Don’t hesitate to share before and after photos – we’d love to see your amazing results! Happy dusting!
Frequently Asked Questions (FAQ)
1. How often should I be dusting my home?
The frequency of dusting depends on several factors, including the number of occupants, the presence of pets, and the level of outdoor air pollution. As a general guideline, aim to dust high-traffic areas like living rooms and bedrooms at least once a week. Less frequently used rooms can be dusted every two weeks. However, if you have allergies or pets, you may need to dust more frequently, perhaps every other day or even daily in certain areas. Pay close attention to dust-collecting surfaces like shelves, furniture, and window sills.
2. What are the best tools for dusting?
Microfiber cloths are undoubtedly the best all-around tool for dusting. They are highly effective at trapping dust and dirt without scratching surfaces. Other useful tools include:
* **Feather dusters:** Good for light dusting and reaching high areas, but they don’t trap dust as effectively as microfiber cloths.
* **Dusting wands:** Ideal for reaching under furniture and cleaning blinds.
* **Vacuum cleaner with attachments:** Essential for dusting upholstery, carpets, and hard-to-reach areas like ceiling fans.
* **Old socks:** Perfect for dusting blinds and polishing furniture.
* **Paintbrushes:** Useful for dusting intricate details and tight spaces.
3. Is it better to dust before or after vacuuming?
It’s generally recommended to dust before vacuuming. Dusting stirs up particles that settle on the floor, which can then be easily vacuumed up. If you vacuum first, you risk redistributing dust into the air when you start dusting.
4. How do I make a homemade dusting spray?
A simple and effective homemade dusting spray can be made with the following ingredients:
* 1 cup of water
* 1/4 cup of white vinegar
* 2 tablespoons of olive oil (optional, for wooden furniture)
* A few drops of essential oil (optional, for fragrance)
Combine all ingredients in a spray bottle and shake well before each use. Always test the spray on an inconspicuous area first to ensure it doesn’t damage the surface.
5. How can I prevent dust from accumulating so quickly?
While you can’t completely eliminate dust, there are several things you can do to minimize its accumulation:
* **Use air purifiers:** Air purifiers with HEPA filters can effectively remove dust and allergens from the air.
* **Change air filters regularly:** Replace your HVAC system’s air filters every 1-3 months to trap dust and other particles.
* **Wash bedding frequently:** Wash your sheets, pillowcases, and blankets at least once a week to remove dust mites and allergens.
* **Declutter:** The less clutter you have, the less dust will accumulate.
* **Use doormats:** Place doormats at all entrances to trap dirt and dust before it enters your home.
* **Control humidity:** High humidity can promote dust mite growth. Use a dehumidifier to keep humidity levels below 50%.
* **Seal cracks and crevices:** Seal any cracks or crevices in walls, floors, and windows to prevent dust from entering.
6. How do I dust delicate items like artwork or antiques?
When dusting delicate items, use a soft-bristled brush or a microfiber cloth dampened with distilled water. Avoid using harsh chemicals or abrasive cleaners. For valuable antiques, consider consulting with a professional conservator for cleaning advice.
7. Can dryer sheets really help repel dust?
Yes, dryer sheets can help repel dust due to their antistatic properties. Wipe down surfaces with a dryer sheet to create a barrier that prevents dust from clinging. However, be cautious when using dryer sheets on dark surfaces, as they may leave a residue.
8. How do I dust blinds effectively?
There are several ways to dust blinds effectively:
* **Use a dusting wand with a microfiber sleeve:** This allows you to reach between the slats easily.
* **Use an old sock:** Slip an old sock over your hand and use it to wipe down each slat.
* **Use a vacuum cleaner with a brush attachment:** Gently vacuum each slat to remove dust.
9. What about dusting electronics?
Always turn off and unplug electronics before dusting. Use a can of compressed air to dislodge dust from hard-to-reach areas like keyboards and vents. Follow up with a slightly damp microfiber cloth to wipe down surfaces. Avoid spraying liquids directly onto electronics.
10. How do I deal with dust mites?
Dust mites are microscopic creatures that thrive in warm, humid environments and feed on dead skin cells. To control dust mites:
* **Wash bedding frequently in hot water (at least 130°F).**
* **Use allergen-proof mattress and pillow covers.**
* **Maintain low humidity levels (below 50%).**
* **Vacuum carpets and upholstery regularly.**
* **Consider replacing carpets with hard flooring.**

Leave a Comment