

Banana plant propagation methods might sound intimidating, but trust me, it’s easier than you think! Have you ever looked at a lush banana plant and wished you could have a whole grove of your own, without breaking the bank? Well, you’re in the right place. For centuries, banana plants have been a symbol of abundance and prosperity in many cultures, providing not just delicious fruit but also valuable fibers and leaves. From Southeast Asia to South America, these plants have been integral to local economies and traditions.
But why should you bother with banana plant propagation methods? Well, imagine having a constant supply of fresh bananas right in your backyard! More practically, propagating your own banana plants is a fantastic way to expand your garden without spending a fortune on new plants. Plus, it’s incredibly rewarding to watch a tiny offshoot grow into a thriving plant. In this article, I’ll walk you through simple, effective DIY tricks and hacks to successfully propagate your banana plants, ensuring you have a flourishing banana patch in no time. Let’s get started and unlock the secrets to multiplying your banana bounty!
Propagating Banana Plants: A DIY Guide to Growing Your Own Tropical Paradise
Hey there, fellow plant enthusiasts! Ever looked at your banana plant and thought, “I wish I had more of these!”? Well, you’re in luck! Propagating banana plants is totally doable at home, and I’m here to walk you through a few different methods. Get ready to expand your banana family!
Understanding Banana Plant Propagation
Before we dive in, it’s helpful to understand how banana plants grow. They don’t actually grow from seeds (unless you’re dealing with a wild variety). Instead, they primarily reproduce through rhizomes, which are underground stems that send up new shoots, called “pups” or “suckers.” These pups are basically baby banana plants just waiting to be separated and grown on their own. We’ll also touch on tissue culture, which is a more advanced method, but I’ll keep it simple!
Method 1: Separating Banana Pups (The Easiest Way!)
This is by far the most common and easiest way to propagate banana plants. It involves carefully separating the pups from the mother plant.
What You’ll Need:
* A healthy banana plant with pups (at least 1 foot tall is ideal)
* A sharp, clean knife or pruning saw
* Gloves (optional, but recommended to avoid skin irritation)
* Potting mix suitable for banana plants (well-draining is key!)
* Pots (one for each pup you plan to separate)
* Watering can or hose
* Rooting hormone (optional, but can help with root development)
Step-by-Step Instructions:
1. Prepare Your Pots: Fill your pots with the potting mix, leaving about an inch of space at the top. Water the soil thoroughly to moisten it. This will help settle the soil and provide a good environment for the pup’s roots.
2. Identify Suitable Pups: Look for pups that are at least 1 foot tall and have several leaves. These are more likely to survive the separation process. Avoid pups that are very small or appear weak. The bigger the pup, the better its chances!
3. Dig Around the Pup: Carefully dig around the base of the pup you want to separate. You’ll need to expose the rhizome connecting the pup to the mother plant. Be gentle to avoid damaging the roots of either plant. I usually use a small trowel for this.
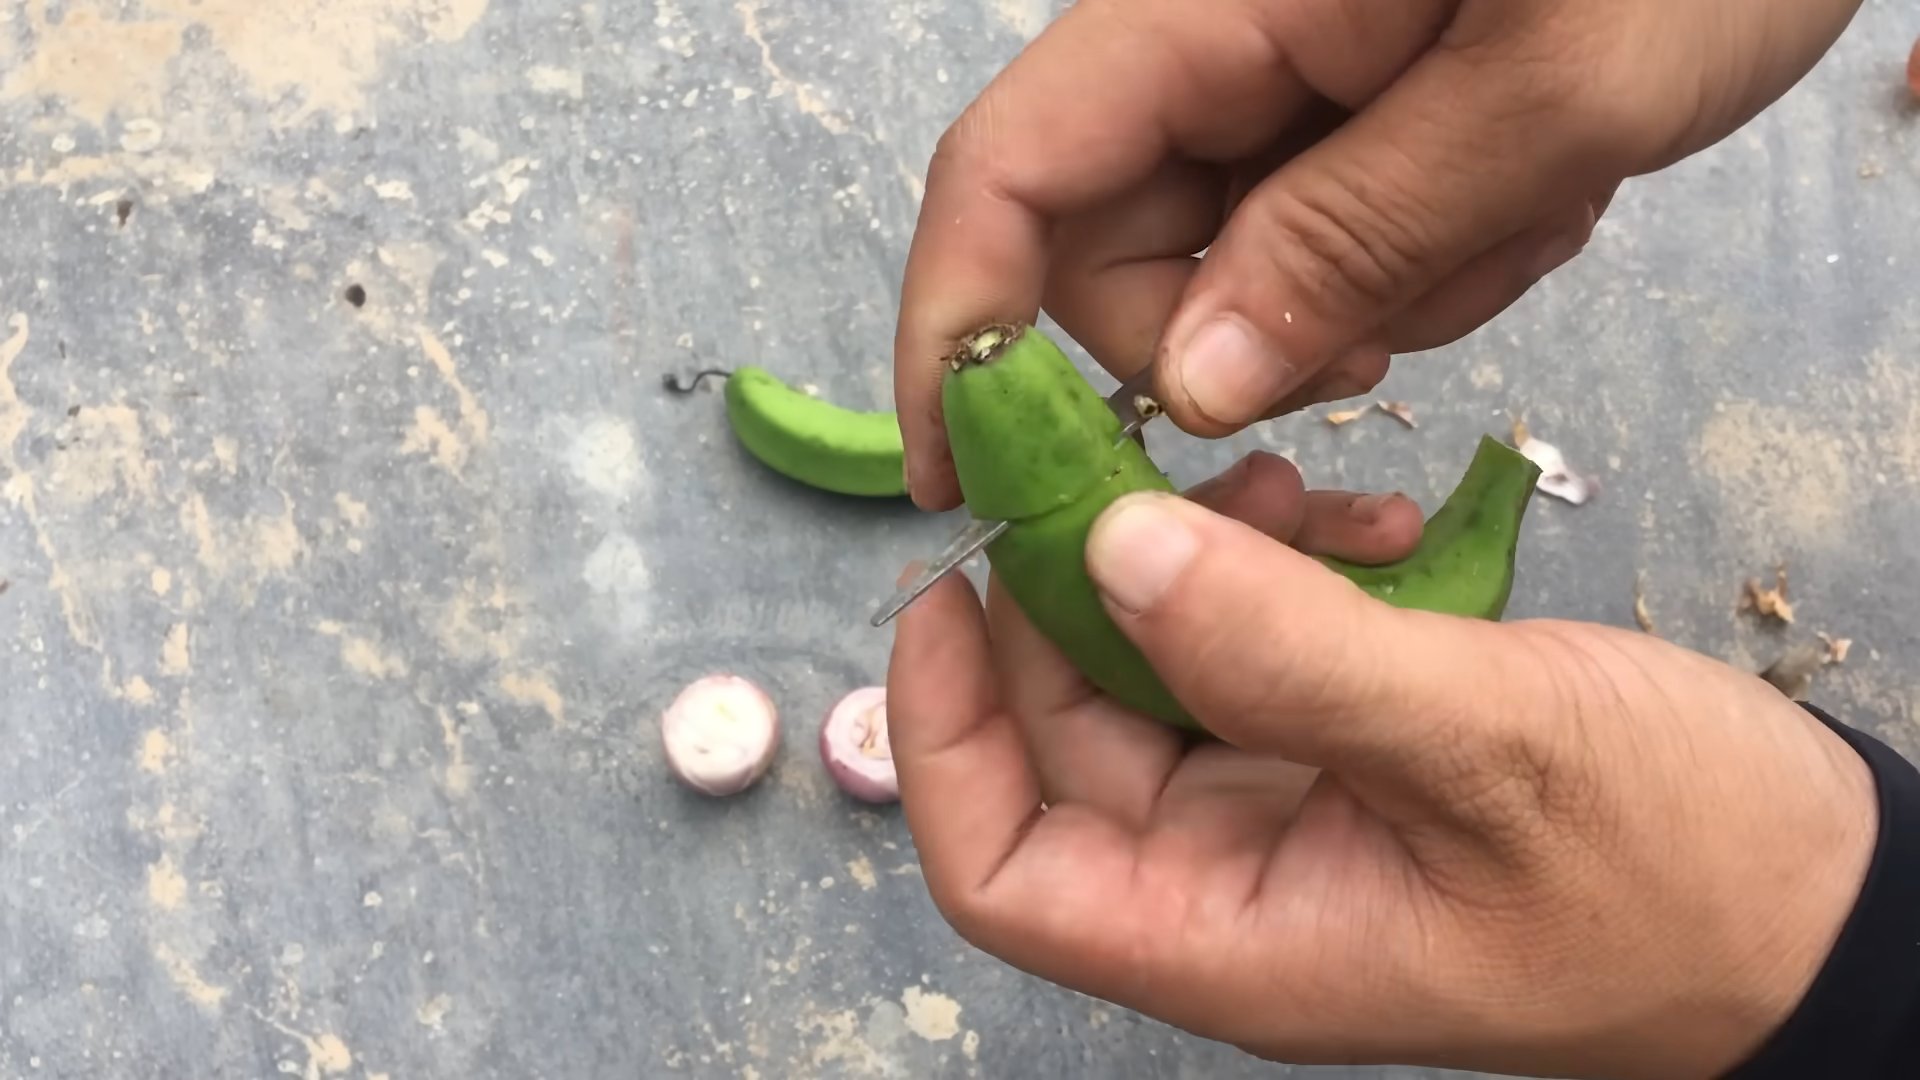
4. Sever the Connection: This is the crucial step! Using your sharp knife or pruning saw, carefully sever the rhizome connecting the pup to the mother plant. Make sure you get as much of the pup’s root system as possible. A clean cut is important to prevent disease. I like to angle the cut slightly away from the mother plant to avoid damaging it.
5. Remove the Pup: Gently lift the pup out of the ground. If it’s stuck, try wiggling it back and forth to loosen the roots. Be careful not to break the roots.
6. Inspect the Roots: Once the pup is removed, inspect its roots. Trim any damaged or rotten roots with your clean knife or pruning shears. This will encourage new root growth.
7. Apply Rooting Hormone (Optional): If you’re using rooting hormone, dip the cut end of the rhizome into the powder or liquid. This will help stimulate root development and increase the chances of success.
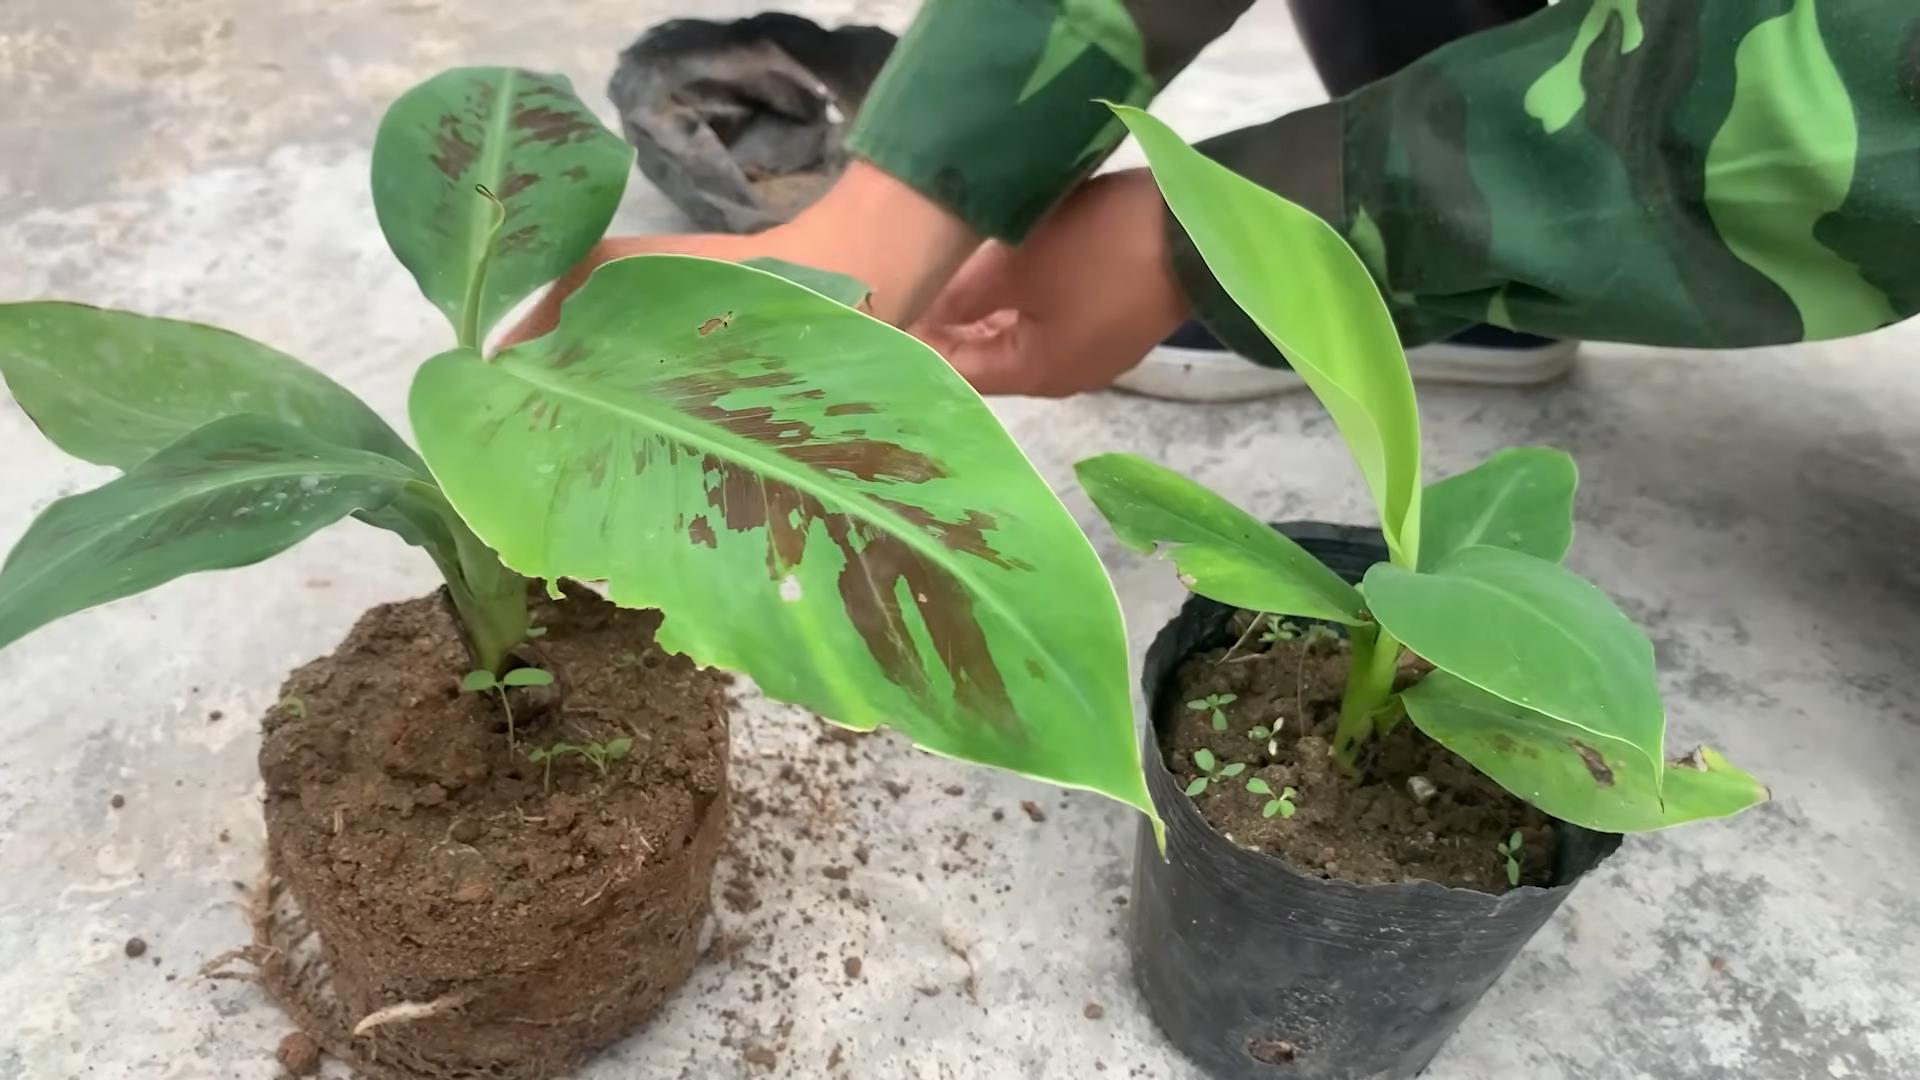
8. Plant the Pup: Plant the pup in the prepared pot, making sure the rhizome is buried in the soil and the leaves are above the surface. Gently pat the soil around the base of the pup to secure it.
9. Water Thoroughly: Water the newly planted pup thoroughly to help settle the soil and provide moisture.
10. Provide Proper Care: Place the potted pup in a warm, bright location, but avoid direct sunlight, which can scorch the leaves. Keep the soil consistently moist, but not soggy. You should start to see new growth in a few weeks.
Method 2: Rhizome Division (For Established Plants)
This method is best for established banana plants that have a large rhizome with multiple growing points. It involves dividing the rhizome into several pieces, each with its own growing point.
What You’ll Need:
* A mature banana plant with a large rhizome
* A sharp, clean knife or pruning saw
* Gloves (optional)
* Potting mix suitable for banana plants
* Pots (one for each division)
* Watering can or hose
* Fungicide (optional, to prevent rot)
Step-by-Step Instructions:
1. Unearth the Rhizome: Carefully dig around the base of the banana plant to expose the rhizome. You may need to remove some of the surrounding soil to get a good view.
2. Identify Growing Points: Look for distinct growing points on the rhizome. These are the areas where new shoots will emerge. Each division should have at least one healthy growing point.
3. Divide the Rhizome: Using your sharp knife or pruning saw, carefully divide the rhizome into sections, ensuring that each section has at least one growing point and some roots. Make clean cuts to minimize the risk of infection.
4. Treat with Fungicide (Optional): To prevent rot, you can dip the cut ends of the rhizome divisions in a fungicide solution. Follow the instructions on the fungicide label.
5. Plant the Divisions: Plant each rhizome division in a prepared pot, making sure the growing point is facing upwards and the roots are buried in the soil. Gently pat the soil around the base of the division to secure it.
6. Water Thoroughly: Water the newly planted divisions thoroughly to help settle the soil and provide moisture.
7. Provide Proper Care: Place the potted divisions in a warm, bright location, but avoid direct sunlight. Keep the soil consistently moist, but not soggy. New growth should emerge in a few weeks.
Method 3: Tissue Culture (A More Advanced Approach)
Tissue culture is a more advanced method of banana plant propagation that involves growing new plants from small pieces of plant tissue in a sterile laboratory environment. While it’s not something most people can do at home, I wanted to mention it for completeness. You can often purchase tissue-cultured banana plants from nurseries.
Why Tissue Culture?
* Disease-Free Plants: Tissue culture allows for the production of disease-free plants, which is especially important for commercial banana growers.
* Rapid Propagation: It allows for the rapid multiplication of plants, producing large numbers of identical clones in a short period of time.
* Genetic Uniformity: Tissue-cultured plants are genetically identical to the mother plant, ensuring consistent fruit quality.
Where to Find Tissue-Cultured Plants:
Look for reputable nurseries or garden centers that specialize in banana plants. They will often offer tissue-cultured plants for sale.
Caring for Tissue-Cultured Plants:
Tissue-cultured plants are often more delicate than plants propagated from pups or rhizome divisions. Be sure to provide them with proper care, including:
* Well-draining soil: Use a potting mix that is specifically formulated for banana plants.
* Adequate sunlight: Provide bright, indirect sunlight.
* Consistent moisture: Keep the soil consistently moist, but not soggy.
* Fertilization: Fertilize regularly with a balanced fertilizer.
General Tips for Successful Banana Plant Propagation
No matter which method you choose, here are some general tips to help you succeed:
* Use Clean Tools: Always use clean, sharp tools to prevent the spread of disease. Sterilize your tools with rubbing alcohol or a bleach solution before and after each use.
* Choose Healthy Plants: Start with healthy, vigorous plants. Avoid plants that show signs of disease or pest infestation.
* Provide Proper Drainage: Banana plants need well-draining soil to prevent root rot. Make sure your pots have drainage holes.
* Water Regularly: Banana plants need consistent moisture, but avoid overwatering. Water when the top inch of soil feels dry to the touch.
* Fertilize Regularly: Banana plants are heavy feeders and need regular fertilization. Use a balanced fertilizer that is specifically formulated for banana plants.
* Protect from Frost: Banana plants are sensitive to frost. If you live in an area with cold winters, bring your plants indoors or provide them with adequate protection.
* Be Patient: It can take several weeks or even months for new growth to emerge after propagation. Be patient and continue to provide proper care.
* Observe Carefully: Regularly inspect your plants for signs of disease or pests. Take action immediately if you notice any problems.
* Don’t Give Up: Not all propagation attempts are successful. Don’t be discouraged if you lose a few plants along the way. Keep trying, and you’ll eventually get the hang of it!
I hope this guide has been helpful! With a little patience and effort, you can easily
Conclusion
So, there you have it! Mastering banana plant propagation is not only achievable but also incredibly rewarding. Forget expensive nursery plants and embrace the satisfaction of expanding your banana family with your own two hands. This DIY trick, whether you choose the rhizome division, sucker separation, or even the more adventurous seed germination route, opens up a world of possibilities for your garden and your palate.
Why is this a must-try? Because it’s economical, sustainable, and deeply satisfying. You’re taking control of your plant’s destiny, ensuring you have a continuous supply of these tropical beauties. Plus, imagine the bragging rights when you tell your friends you grew those bananas from a single plant!
Don’t be afraid to experiment with variations. For rhizome division, try using different sizes of rhizomes to see which establishes the fastest. With sucker separation, observe the parent plant closely to identify the healthiest and most vigorous suckers for propagation. If you’re feeling particularly adventurous, explore different soil mixes and watering schedules to optimize growth. Consider using a rooting hormone to give your new banana plants an extra boost, especially if you’re working with less-than-ideal conditions. You can also try different types of containers, from traditional pots to raised beds, to see what works best for your climate and space.
Remember, patience is key. Banana plant propagation takes time, but the results are well worth the wait. Picture yourself harvesting your own homegrown bananas, knowing you nurtured them from the very beginning. It’s a feeling that’s hard to beat.
We wholeheartedly encourage you to give this DIY banana plant propagation trick a try. It’s easier than you might think, and the rewards are immense. Don’t be intimidated by the process; start small, learn as you go, and most importantly, have fun!
Once you’ve successfully propagated your banana plants, we’d love to hear about your experience. Share your tips, tricks, and triumphs in the comments below. Let’s create a community of banana-loving gardeners who are passionate about sharing their knowledge and helping each other grow. Your insights could be invaluable to someone just starting out on their banana propagation journey. So, get your hands dirty, embrace the challenge, and let’s grow some bananas together!
Frequently Asked Questions (FAQ)
What is the best time of year to propagate banana plants?
The ideal time for banana plant propagation is during the warmer months, typically spring or early summer. This is when the plants are actively growing and can recover more quickly from the stress of being divided or separated. The warmer temperatures and longer days provide the optimal conditions for root development and overall growth. However, if you live in a tropical or subtropical climate with consistently warm temperatures, you can propagate banana plants year-round. Just be sure to provide adequate water and protection from extreme heat or cold.
How long does it take for a propagated banana plant to produce fruit?
The time it takes for a propagated banana plant to produce fruit depends on several factors, including the variety of banana, the size of the sucker or rhizome used for propagation, and the growing conditions. Generally, it can take anywhere from 9 months to 2 years for a newly propagated banana plant to bear fruit. Dwarf varieties tend to fruit sooner than taller varieties. Providing optimal growing conditions, such as well-draining soil, adequate sunlight, regular watering, and fertilization, can help to speed up the fruiting process.
What type of soil is best for propagating banana plants?
Banana plants thrive in well-draining, fertile soil that is rich in organic matter. A good soil mix for propagating banana plants should consist of equal parts of potting soil, compost, and perlite or sand. The potting soil provides a base for the plant to grow in, the compost adds nutrients and improves soil structure, and the perlite or sand helps to improve drainage and prevent the soil from becoming waterlogged. You can also add a slow-release fertilizer to the soil mix to provide the plant with a steady supply of nutrients.
How often should I water my newly propagated banana plant?
Newly propagated banana plants need consistent moisture to establish their roots and grow. Water the plant thoroughly whenever the top inch of soil feels dry to the touch. Avoid overwatering, as this can lead to root rot. The frequency of watering will depend on the climate, the type of soil, and the size of the pot. In hot, dry weather, you may need to water the plant more frequently. During the cooler months, you can reduce the frequency of watering.
What kind of fertilizer should I use for banana plants?
Banana plants are heavy feeders and require regular fertilization to produce healthy growth and abundant fruit. Use a balanced fertilizer with a ratio of 10-10-10 or 15-15-15, or a fertilizer specifically formulated for banana plants. Apply the fertilizer according to the instructions on the label. You can also supplement with organic fertilizers, such as compost tea or fish emulsion. Fertilize the plant regularly during the growing season, from spring to fall. Reduce or stop fertilizing during the winter months when the plant is dormant.
Can I propagate banana plants from seeds?
Yes, you can propagate banana plants from seeds, but it is a more challenging and time-consuming process than propagating from suckers or rhizomes. Banana seeds have a hard seed coat that needs to be scarified or soaked in water to improve germination. The seeds can take several weeks or even months to germinate. Seed-grown banana plants may also not be true to type, meaning that they may not produce fruit that is identical to the parent plant. However, propagating from seeds can be a fun and rewarding experiment for experienced gardeners.
What are some common problems I might encounter when propagating banana plants?
Some common problems you might encounter when propagating banana plants include root rot, fungal diseases, and pest infestations. Root rot can occur if the soil is too wet or poorly drained. Fungal diseases can be prevented by providing good air circulation and avoiding overhead watering. Pests, such as aphids and spider mites, can be controlled with insecticidal soap or neem oil. Regularly inspect your banana plants for signs of problems and take action promptly to prevent them from spreading.
How do I protect my newly propagated banana plant from frost?
Banana plants are sensitive to frost and can be damaged or killed by freezing temperatures. If you live in an area with cold winters, you will need to protect your newly propagated banana plant from frost. You can do this by moving the plant indoors to a warm, sunny location, or by covering it with a frost blanket or burlap sack. You can also wrap the trunk of the plant with insulation to protect it from freezing. If the plant is in the ground, you can mulch around the base of the plant to help insulate the roots.
Leave a Comment