

Bathroom cleaning tips – are you ready to transform your bathroom from a breeding ground for grime to a sparkling sanctuary? Let’s face it, cleaning the bathroom is nobody’s favorite chore. It’s right up there with doing taxes and visiting the dentist! But what if I told you there were simple, effective, and even *enjoyable* ways to tackle this task? This DIY article is your secret weapon against soap scum, mildew, and that mysterious gunk that seems to appear overnight.
Historically, cleanliness has been linked to both physical and spiritual well-being across cultures. From ancient Roman bathhouses to Japanese onsen, the act of cleansing has always held significance. While we might not be building elaborate bathhouses, maintaining a clean bathroom is still essential for our health and peace of mind. A clean bathroom is a happy bathroom, and a happy bathroom contributes to a happy home!
Why do you need these bathroom cleaning tips and DIY hacks? Because life’s too short to spend hours scrubbing! These methods are designed to save you time, money, and elbow grease. We’ll explore natural cleaning solutions, clever organizational tricks, and preventative measures to keep your bathroom looking its best with minimal effort. I’m excited to share these tips with you, so let’s dive in and make your bathroom shine!
DIY Bathroom Cleaning Hacks: Sparkling Clean Without Breaking the Bank
Okay, let’s face it, cleaning the bathroom is nobody’s favorite chore. But a sparkling clean bathroom is a happy bathroom, and it doesn’t have to involve harsh chemicals or a huge dent in your wallet. I’m going to share some of my favorite DIY bathroom cleaning hacks that use common household ingredients. Get ready to say goodbye to grime and hello to a fresh, clean space!
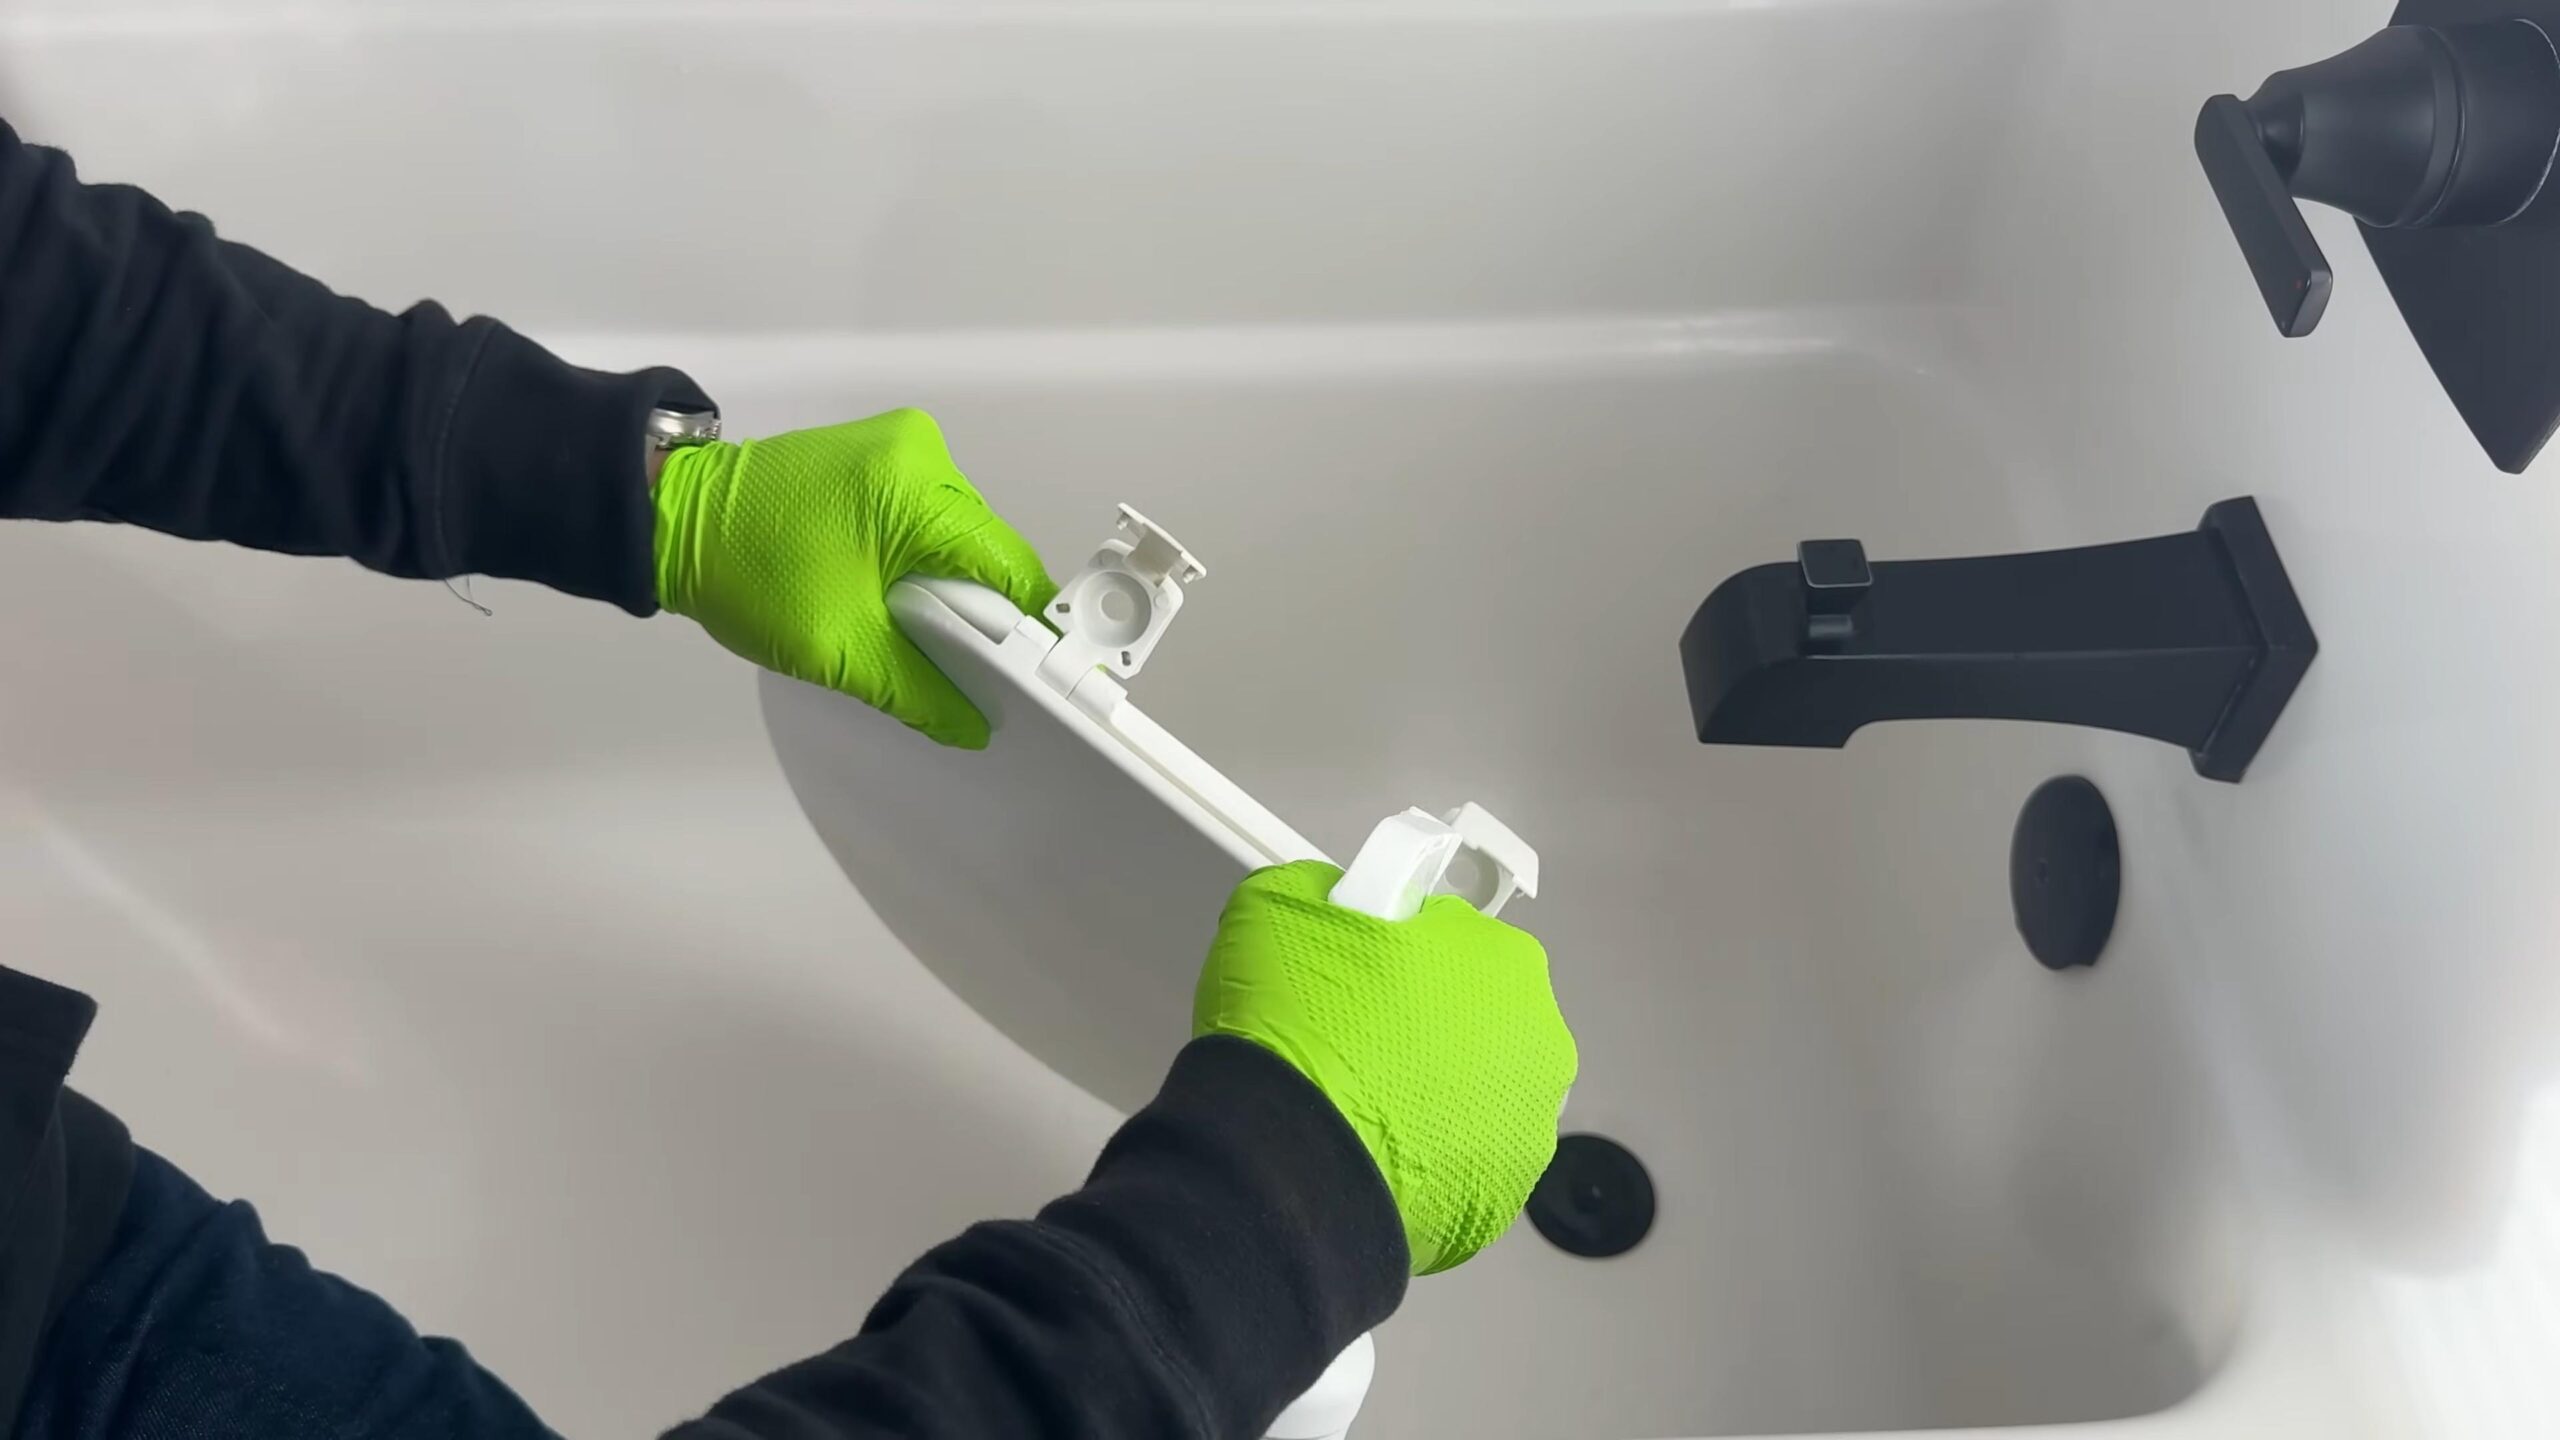
Cleaning the Shower and Tub
This is often the biggest challenge, right? Soap scum, mildew, hard water stains – it’s a battle. But fear not, I’ve got some effective solutions.
* The Power of Vinegar and Baking Soda: This dynamic duo is a natural cleaning powerhouse. Vinegar’s acidity cuts through grime, while baking soda acts as a gentle abrasive.
* Lemon Power: Lemons aren’t just for lemonade! Their citric acid is a natural disinfectant and deodorizer.
* Dish Soap Magic: Don’t underestimate the cleaning power of good old dish soap. It’s great for cutting through grease and soap scum.
Step-by-Step Shower and Tub Cleaning
1. Vinegar Shower Spray: Fill a spray bottle with equal parts white vinegar and water. For a more pleasant scent, add a few drops of your favorite essential oil (tea tree, eucalyptus, or lavender are great choices). Warm the vinegar slightly in the microwave (be careful not to boil it!) before mixing it with the water. This helps it work even better. Spray the mixture liberally all over the shower and tub surfaces. Let it sit for at least 30 minutes, or even better, overnight for tough stains.
2. Baking Soda Scrub: Make a paste of baking soda and water (or vinegar for extra cleaning power). Apply the paste to stubborn stains, soap scum buildup, and grout lines. Let it sit for about 15-20 minutes.
3. Scrub-a-dub-dub: Using a scrub brush, sponge, or even an old toothbrush for tight corners, scrub the shower and tub surfaces thoroughly. Pay extra attention to areas with heavy buildup. I find that a grout brush is essential for getting into those narrow grout lines.
4. Rinse and Repeat (if needed): Rinse everything thoroughly with warm water. If you still see some stubborn stains, repeat steps 2 and 3.
5. Lemon Shine (Optional): Cut a lemon in half and rub it directly onto chrome fixtures like showerheads and faucets. The citric acid will help remove water spots and leave them sparkling. Rinse with water.
6. Dish Soap for Glass Doors: For glass shower doors, a simple solution of dish soap and water can work wonders. Apply the solution with a sponge, let it sit for a few minutes, and then rinse thoroughly. Use a squeegee to prevent water spots.
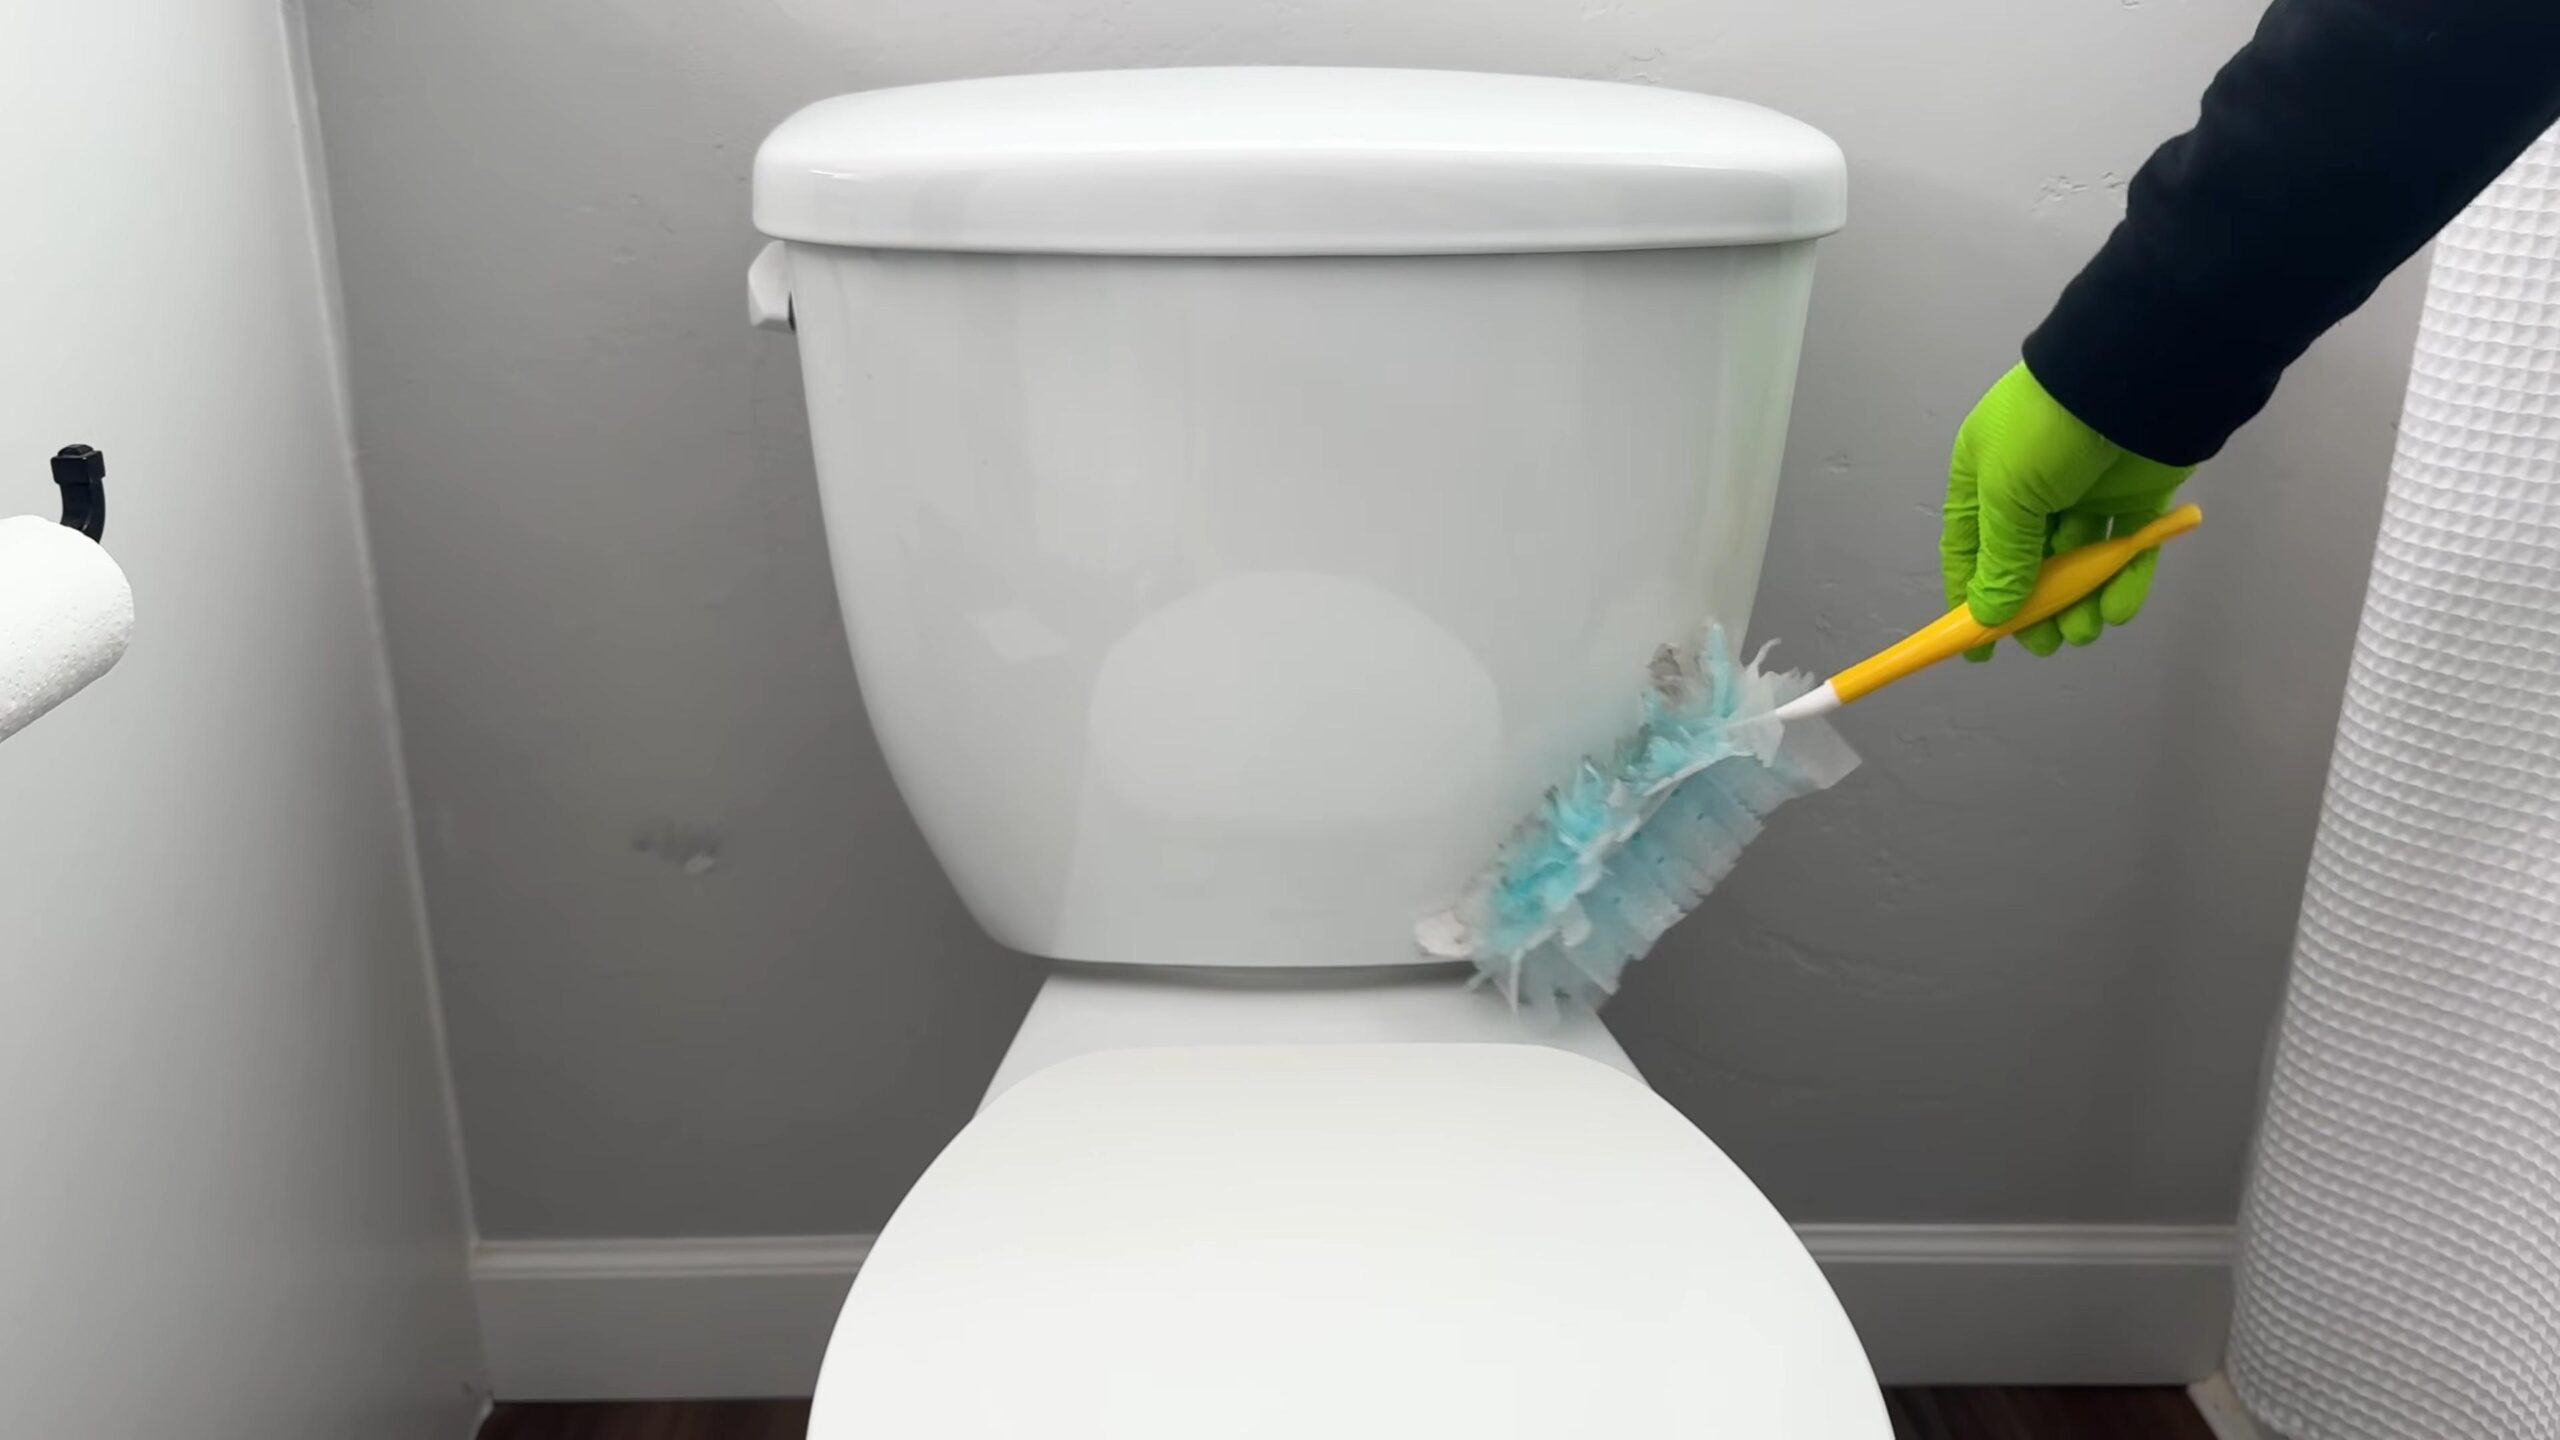
Tackling the Toilet
The toilet – another area we all dread. But with these simple hacks, you can keep it clean and fresh.
* Baking Soda and Vinegar Fizz: This is a classic for a reason. The fizzing action helps loosen stains and deodorize.
* Borax Power: Borax is a natural mineral with cleaning and disinfecting properties.
* Toilet Bowl Cleaner Tablets (DIY): You can easily make your own toilet bowl cleaner tablets using simple ingredients.
Step-by-Step Toilet Cleaning
1. Baking Soda Sprinkle: Sprinkle about a cup of baking soda into the toilet bowl.
2. Vinegar Pour: Slowly pour about two cups of white vinegar into the bowl. Let the mixture fizz for about 30 minutes.
3. Scrub-a-dub-dub (Again!): Use a toilet brush to scrub the bowl thoroughly, paying attention to the waterline and any stains.
4. Flush: Flush the toilet to rinse away the cleaning solution.
5. Borax Boost (Optional): For extra cleaning power, add a half cup of borax to the bowl after flushing. Let it sit for a few hours or overnight before flushing again.
6. DIY Toilet Bowl Cleaner Tablets:
* **Ingredients:** 1 cup baking soda, 1/4 cup citric acid (available online or at some health food stores), 1/4 cup borax, a few drops of your favorite essential oil (optional).
* **Instructions:** Combine all ingredients in a bowl and mix well. Slowly add a few drops of water at a time until the mixture is slightly damp and holds its shape when pressed together. Pack the mixture into silicone molds (ice cube trays or small candy molds work well). Let the tablets dry completely for at least 24 hours. Store them in an airtight container. To use, simply drop a tablet into the toilet bowl and let it fizz. Scrub and flush as usual.
Cleaning the Sink and Countertop
These surfaces are prone to toothpaste splatters, water spots, and general grime. Here’s how to keep them looking their best.
* Vinegar and Water Spray: A simple solution for everyday cleaning.
* Baking Soda Paste: For stubborn stains and toothpaste buildup.
* Hydrogen Peroxide: A natural disinfectant for countertops.
Step-by-Step Sink and Countertop Cleaning
1. Vinegar Spray: Fill a spray bottle with equal parts white vinegar and water. Spray the sink and countertop surfaces.
2. Wipe Down: Wipe the surfaces clean with a microfiber cloth.
3. Baking Soda Scrub (for stains): For stubborn stains, make a paste of baking soda and water. Apply the paste to the stains, let it sit for a few minutes, and then scrub gently. Rinse with water.
4. Hydrogen Peroxide Disinfectant: For disinfecting countertops (especially if you’ve been handling raw meat or poultry), spray them with hydrogen peroxide. Let it sit for about 10 minutes, and then wipe clean with a damp cloth.
5. Shine the Faucet: Use a clean, dry microfiber cloth to polish the faucet and other chrome fixtures. This will remove water spots and leave them sparkling.
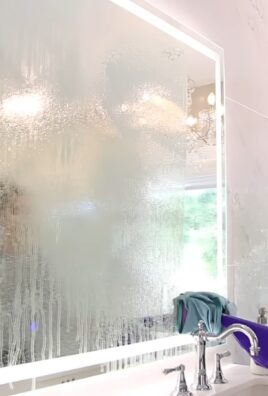
Cleaning the Mirror
Streaky mirrors are a pet peeve of mine! Here’s how to get a streak-free shine.
* Vinegar and Water Spray: The classic solution.
* Newspaper or Microfiber Cloth: The key to a streak-free finish.
Step-by-Step Mirror Cleaning
1. Vinegar Spray: Fill a spray bottle with equal parts white vinegar and water. Spray the mirror lightly.
2. Wipe Clean: Wipe the mirror clean with a crumpled piece of newspaper or a clean microfiber cloth. The newspaper helps to prevent streaks.
3. Buff to Shine: Buff the mirror with a dry microfiber cloth to remove any remaining streaks and leave it sparkling.
Cleaning the Floor
Don’t forget the floor! It can accumulate dirt, dust, and spills.
* Vinegar and Water Mop: A simple and effective way to clean most bathroom floors.
* Baking Soda Paste (for grout): For cleaning grout lines.
Step-by-Step Floor Cleaning
1. Sweep or Vacuum: Start by sweeping or vacuuming the floor to remove any loose dirt and debris.
2. Vinegar Mop: Mix equal parts white vinegar and warm water in a bucket. Mop the floor with the solution.
3. Rinse (if needed): If your floor is particularly dirty, you may want to rinse it with clean water after mopping with the vinegar solution.
4. Baking Soda Grout Cleaning: For cleaning grout lines, make a paste of baking soda and water. Apply the paste to the grout lines, let it sit for a few minutes, and then scrub with a grout brush. Rinse with water.
5. Dry the Floor: Allow the floor to air dry or use a clean towel to dry it.
Preventative Measures for a Cleaner Bathroom
Okay, so cleaning is inevitable, but here are some things I do to keep my bathroom cleaner for longer:
* Ventilate: Always run the exhaust fan during and after showers to prevent moisture buildup and mildew growth.
* Squeegee Shower Doors: After each shower, use a squeegee to remove water from the shower doors and walls. This will help prevent water spots and soap scum buildup.
* Wipe Down Surfaces: Wipe down the sink and countertop after each use to prevent toothpaste splatters and water spots from drying.
* Regular Cleaning: Don’t let the grime build up! A quick weekly cleaning will prevent the need for deep cleaning later.
* Declutter: A cluttered bathroom is harder to clean. Keep surfaces clear of unnecessary items.
With these DIY bathroom cleaning hacks, you can keep your bathroom sparkling clean without spending a fortune on harsh chemicals. Happy cleaning!
Conclusion
So, there you have it! Transforming your bathroom cleaning routine with these simple, yet incredibly effective DIY tricks is not just about saving money; it’s about reclaiming your time and creating a healthier, more pleasant environment. We’ve explored how readily available ingredients can tackle everything from stubborn soap scum to grimy grout, leaving your bathroom sparkling without the harsh chemicals often found in commercial cleaners.
Why is this a must-try? Because it’s empowering! You’re taking control of what goes into your home and onto your surfaces. You’re reducing your exposure to potentially harmful substances while achieving professional-level results. Plus, the satisfaction of knowing you’ve created a powerful cleaner with your own two hands is truly rewarding.
But the beauty of these DIY bathroom cleaning solutions lies in their adaptability. Feel free to experiment with different essential oils to customize the scent of your cleaners. Lavender, tea tree, eucalyptus, and lemon are all excellent choices for their antibacterial and antifungal properties, as well as their refreshing aromas. For tougher stains, consider adding a bit of borax to your cleaning paste for an extra boost of cleaning power. If you prefer a spray bottle application, dilute your vinegar solution further with water and a few drops of dish soap for enhanced cleaning action.
Don’t be afraid to adjust the ratios of ingredients to suit your specific needs and preferences. A little experimentation can go a long way in finding the perfect formula for your bathroom. Remember to always test any new cleaning solution in an inconspicuous area first to ensure it doesn’t damage the surface.
We’ve focused on creating effective and safe cleaning solutions, but the most important ingredient is consistency. Incorporating these DIY bathroom cleaning tricks into your regular routine will prevent grime and buildup from accumulating, making your cleaning tasks much easier in the long run. A quick wipe-down after each shower can significantly reduce the need for deep cleaning later on.
Ultimately, the goal is to create a bathroom that is not only clean but also a sanctuary – a place where you can relax and rejuvenate. By embracing these DIY bathroom cleaning methods, you’re taking a step towards a healthier, happier home.
Now, it’s your turn! We wholeheartedly encourage you to try these DIY bathroom cleaning tricks and experience the difference for yourself. We’re confident that you’ll be amazed by the results. And most importantly, we want to hear about your experiences! Share your tips, variations, and success stories in the comments below. Let’s build a community of DIY cleaning enthusiasts and inspire each other to create cleaner, healthier homes. What worked best for you? Did you discover any new combinations or techniques? Your feedback is invaluable and will help others on their DIY cleaning journey. Let’s make bathroom cleaning less of a chore and more of a rewarding experience!
Frequently Asked Questions (FAQs)
1. Are these DIY bathroom cleaning solutions safe for all bathroom surfaces?
While most of these DIY solutions are generally safe for common bathroom surfaces like tile, porcelain, and glass, it’s always best to test them in an inconspicuous area first. This is especially important for more delicate surfaces like natural stone (marble, granite), which can be sensitive to acidic cleaners like vinegar. Avoid using abrasive scrubbers on easily scratched surfaces. For natural stone, consider using a pH-neutral cleaner specifically designed for those materials. When in doubt, consult the manufacturer’s recommendations for your specific bathroom fixtures and surfaces.
2. Can I use these DIY cleaners on mold and mildew?
Yes, some of these DIY cleaners can be effective against mold and mildew, particularly vinegar and hydrogen peroxide. Vinegar’s acidity helps to kill mold spores, while hydrogen peroxide acts as a bleaching agent and disinfectant. However, for severe mold infestations, it’s crucial to address the underlying moisture problem that’s causing the mold growth. Ensure proper ventilation in your bathroom and fix any leaks or water damage promptly. For extensive mold problems, it’s best to consult with a professional mold remediation service. Remember to always wear gloves and a mask when dealing with mold to protect yourself from inhaling spores.
3. How often should I use these DIY bathroom cleaning solutions?
The frequency of cleaning depends on how often your bathroom is used and how quickly it gets dirty. For general cleaning, aim to wipe down surfaces like countertops, sinks, and mirrors at least once a week. Deep cleaning tasks like scrubbing the shower and toilet can be done every two weeks or monthly, depending on your needs. Incorporating a quick daily wipe-down after showering can significantly reduce the buildup of soap scum and grime, making your cleaning tasks much easier in the long run.
4. What essential oils are best to use in DIY bathroom cleaners?
Many essential oils have antibacterial, antifungal, and antiviral properties, making them excellent additions to DIY bathroom cleaners. Some popular choices include:
* **Tea Tree Oil:** Known for its strong antiseptic and antifungal properties.
* **Lavender Oil:** Offers a calming scent and has antibacterial benefits.
* **Eucalyptus Oil:** Provides a refreshing aroma and helps to disinfect surfaces.
* **Lemon Oil:** Has a bright, citrusy scent and is a natural degreaser.
* **Peppermint Oil:** Offers a cooling sensation and can help to deter pests.
When using essential oils, always dilute them properly with water or another carrier oil. A few drops are usually sufficient for a cleaning solution. Be cautious when using essential oils around pets and children, as some can be toxic if ingested.
5. Can I mix vinegar and baking soda for cleaning?
While vinegar and baking soda can create a fizzing reaction that can help to loosen dirt and grime, it’s generally not recommended to mix them in a closed container. The reaction produces carbon dioxide gas, which can build up pressure and potentially cause the container to explode. It’s safer to use them separately. For example, you can sprinkle baking soda on a surface and then spray it with vinegar to create a fizzing action. Once the fizzing subsides, scrub the surface and rinse with water.
6. How do I remove hard water stains from my showerhead?
Hard water stains can be a common problem in bathrooms. To remove them from your showerhead, you can soak it in a solution of vinegar and water. Simply remove the showerhead (if possible) and submerge it in a bowl or bag filled with equal parts vinegar and water. Let it soak for at least 30 minutes, or even overnight for stubborn stains. After soaking, scrub the showerhead with a brush to remove any remaining mineral deposits. Rinse thoroughly with water and reattach the showerhead. For showerheads that cannot be removed, you can fill a plastic bag with the vinegar solution and secure it around the showerhead with a rubber band, ensuring that the showerhead is fully submerged.
7. What’s the best way to clean grout with DIY solutions?
Grout can be a breeding ground for dirt and grime, making it difficult to clean. A paste made from baking soda and water can be effective for cleaning grout. Apply the paste to the grout lines and let it sit for a few minutes. Then, scrub the grout with a stiff-bristled brush, such as an old toothbrush. Rinse with water. For tougher stains, you can add a bit of hydrogen peroxide to the baking soda paste. Alternatively, you can spray the grout with vinegar and then sprinkle it with baking soda. Let the mixture fizz for a few minutes, then scrub and rinse.
8. Are these DIY cleaners septic-safe?
Generally, these DIY cleaners are considered septic-safe, as they are made from natural ingredients that break down easily. However, it’s important to use them in moderation. Avoid pouring large amounts of vinegar or baking soda down the drain at once, as this could potentially disrupt the balance of bacteria in your septic system. If you have any concerns, consult with a septic system professional.
9. How can I make my bathroom smell fresh naturally?
Besides using essential oils in your cleaning solutions, there are other ways to freshen up your bathroom naturally. You can place a small bowl of baking soda in the bathroom to absorb odors. Alternatively, you can create a DIY air freshener by filling a spray bottle with water and adding a few drops of your favorite essential oils. You can also place a few drops of essential oil on cotton balls and hide them in discreet locations around the bathroom. Fresh flowers or plants can also add a pleasant scent and visual appeal to your bathroom.
10. How do I prevent soap scum buildup in my shower?
Preventing soap scum buildup is key to keeping your shower clean. Switch to using liquid soap instead of bar soap, as bar soap tends to leave more residue. After each shower, use a squeegee to wipe down the walls and glass door to remove excess water and soap residue. You can also spray the shower with a vinegar and water solution after each use to help prevent soap scum from sticking to the surfaces. Regularly cleaning your shower with these DIY solutions will also help to keep soap scum at bay.

Leave a Comment