

Effective bathroom cleaning hacks are the secret weapon you need to reclaim your weekends! Let’s face it, nobody enjoys scrubbing toilets and battling soap scum. But what if I told you there were simple, ingenious ways to make this dreaded chore faster, easier, and even… dare I say… enjoyable?
For generations, keeping a clean home has been a sign of prosperity and well-being. While the tools and products have evolved, the underlying desire for a sparkling bathroom remains constant. Think back to your grandmother’s cleaning rituals – often relying on natural ingredients and clever techniques passed down through the family. We’re taking that spirit of resourcefulness and combining it with modern knowledge to bring you the ultimate guide to bathroom bliss.
Why do you need these effective bathroom cleaning hacks? Because your time is precious! Spending hours wrestling with stubborn stains is a waste when you could be relaxing, pursuing hobbies, or simply enjoying life. This article is packed with DIY solutions and clever shortcuts that will transform your bathroom cleaning routine from a dreaded task into a quick and satisfying accomplishment. Get ready to say goodbye to harsh chemicals and hello to a sparkling, fresh bathroom with minimal effort!
DIY Bathroom Cleaning Hacks That Will Save You Time and Money!
Okay, let’s face it, cleaning the bathroom is nobody’s favorite chore. But a sparkling clean bathroom is a happy bathroom! I’m going to share some of my favorite DIY cleaning hacks that are not only super effective but also use ingredients you probably already have in your pantry. Get ready to ditch those harsh chemicals and embrace a cleaner, fresher bathroom the natural way!
Hack 1: Sparkling Clean Showerhead with Vinegar
Hard water deposits can really gunk up your showerhead, reducing water pressure and making it look pretty gross. This vinegar trick is a game-changer!
What you’ll need:
* White vinegar
* Plastic bag (a sandwich bag works great)
* Rubber band or twist tie
* Old toothbrush
Step-by-step instructions:
1. Prepare the vinegar bath: Pour enough white vinegar into the plastic bag to fully submerge your showerhead.
2. Secure the bag: Carefully position the bag over the showerhead, ensuring the showerhead is completely immersed in the vinegar. Use a rubber band or twist tie to tightly secure the bag to the shower arm. You want to make sure it’s sealed well so the vinegar doesn’t leak.
3. Soak overnight: Let the showerhead soak in the vinegar overnight (at least 8 hours). This gives the vinegar plenty of time to dissolve the mineral deposits.
4. Remove and scrub: The next morning, remove the bag and discard the vinegar. Use an old toothbrush to scrub away any remaining mineral deposits. You might need to scrub a little harder in areas with heavy buildup.
5. Rinse thoroughly: Turn on the shower and let the water run for a few minutes to thoroughly rinse away any remaining vinegar and loosened debris.
6. Admire your sparkling showerhead: Enjoy your shower with improved water pressure and a showerhead that looks brand new!
Hack 2: Grout Cleaning Power with Baking Soda and Vinegar
Grime and mildew love to hide in grout lines, making your bathroom look dingy. This baking soda and vinegar paste is a powerful, natural grout cleaner.
What you’ll need:
* Baking soda
* White vinegar
* Old toothbrush or grout brush
* Spray bottle (optional)
* Water
Step-by-step instructions:
1. Create the baking soda paste: In a small bowl, mix baking soda with just enough water to form a thick paste. The consistency should be similar to toothpaste.
2. Apply the paste to the grout: Using your fingers or a small spatula, apply the baking soda paste liberally to the grout lines you want to clean. Make sure to cover the entire area.
3. Spray with vinegar (optional): For extra cleaning power, pour white vinegar into a spray bottle and lightly spray the baking soda-covered grout lines. You’ll see a fizzing reaction, which helps to loosen the grime. If you don’t have a spray bottle, you can simply drizzle the vinegar over the baking soda.
4. Let it sit: Allow the baking soda and vinegar mixture to sit on the grout for at least 30 minutes. For heavily soiled grout, you can let it sit for up to an hour.
5. Scrub, scrub, scrub: Using an old toothbrush or a grout brush, scrub the grout lines vigorously. The baking soda acts as a mild abrasive, helping to remove dirt and mildew.
6. Rinse thoroughly: Rinse the grout lines with clean water. You can use a damp sponge or cloth to wipe away any remaining baking soda residue.
7. Dry and admire: Dry the grout lines with a clean towel. You’ll be amazed at how much brighter and cleaner your grout looks!
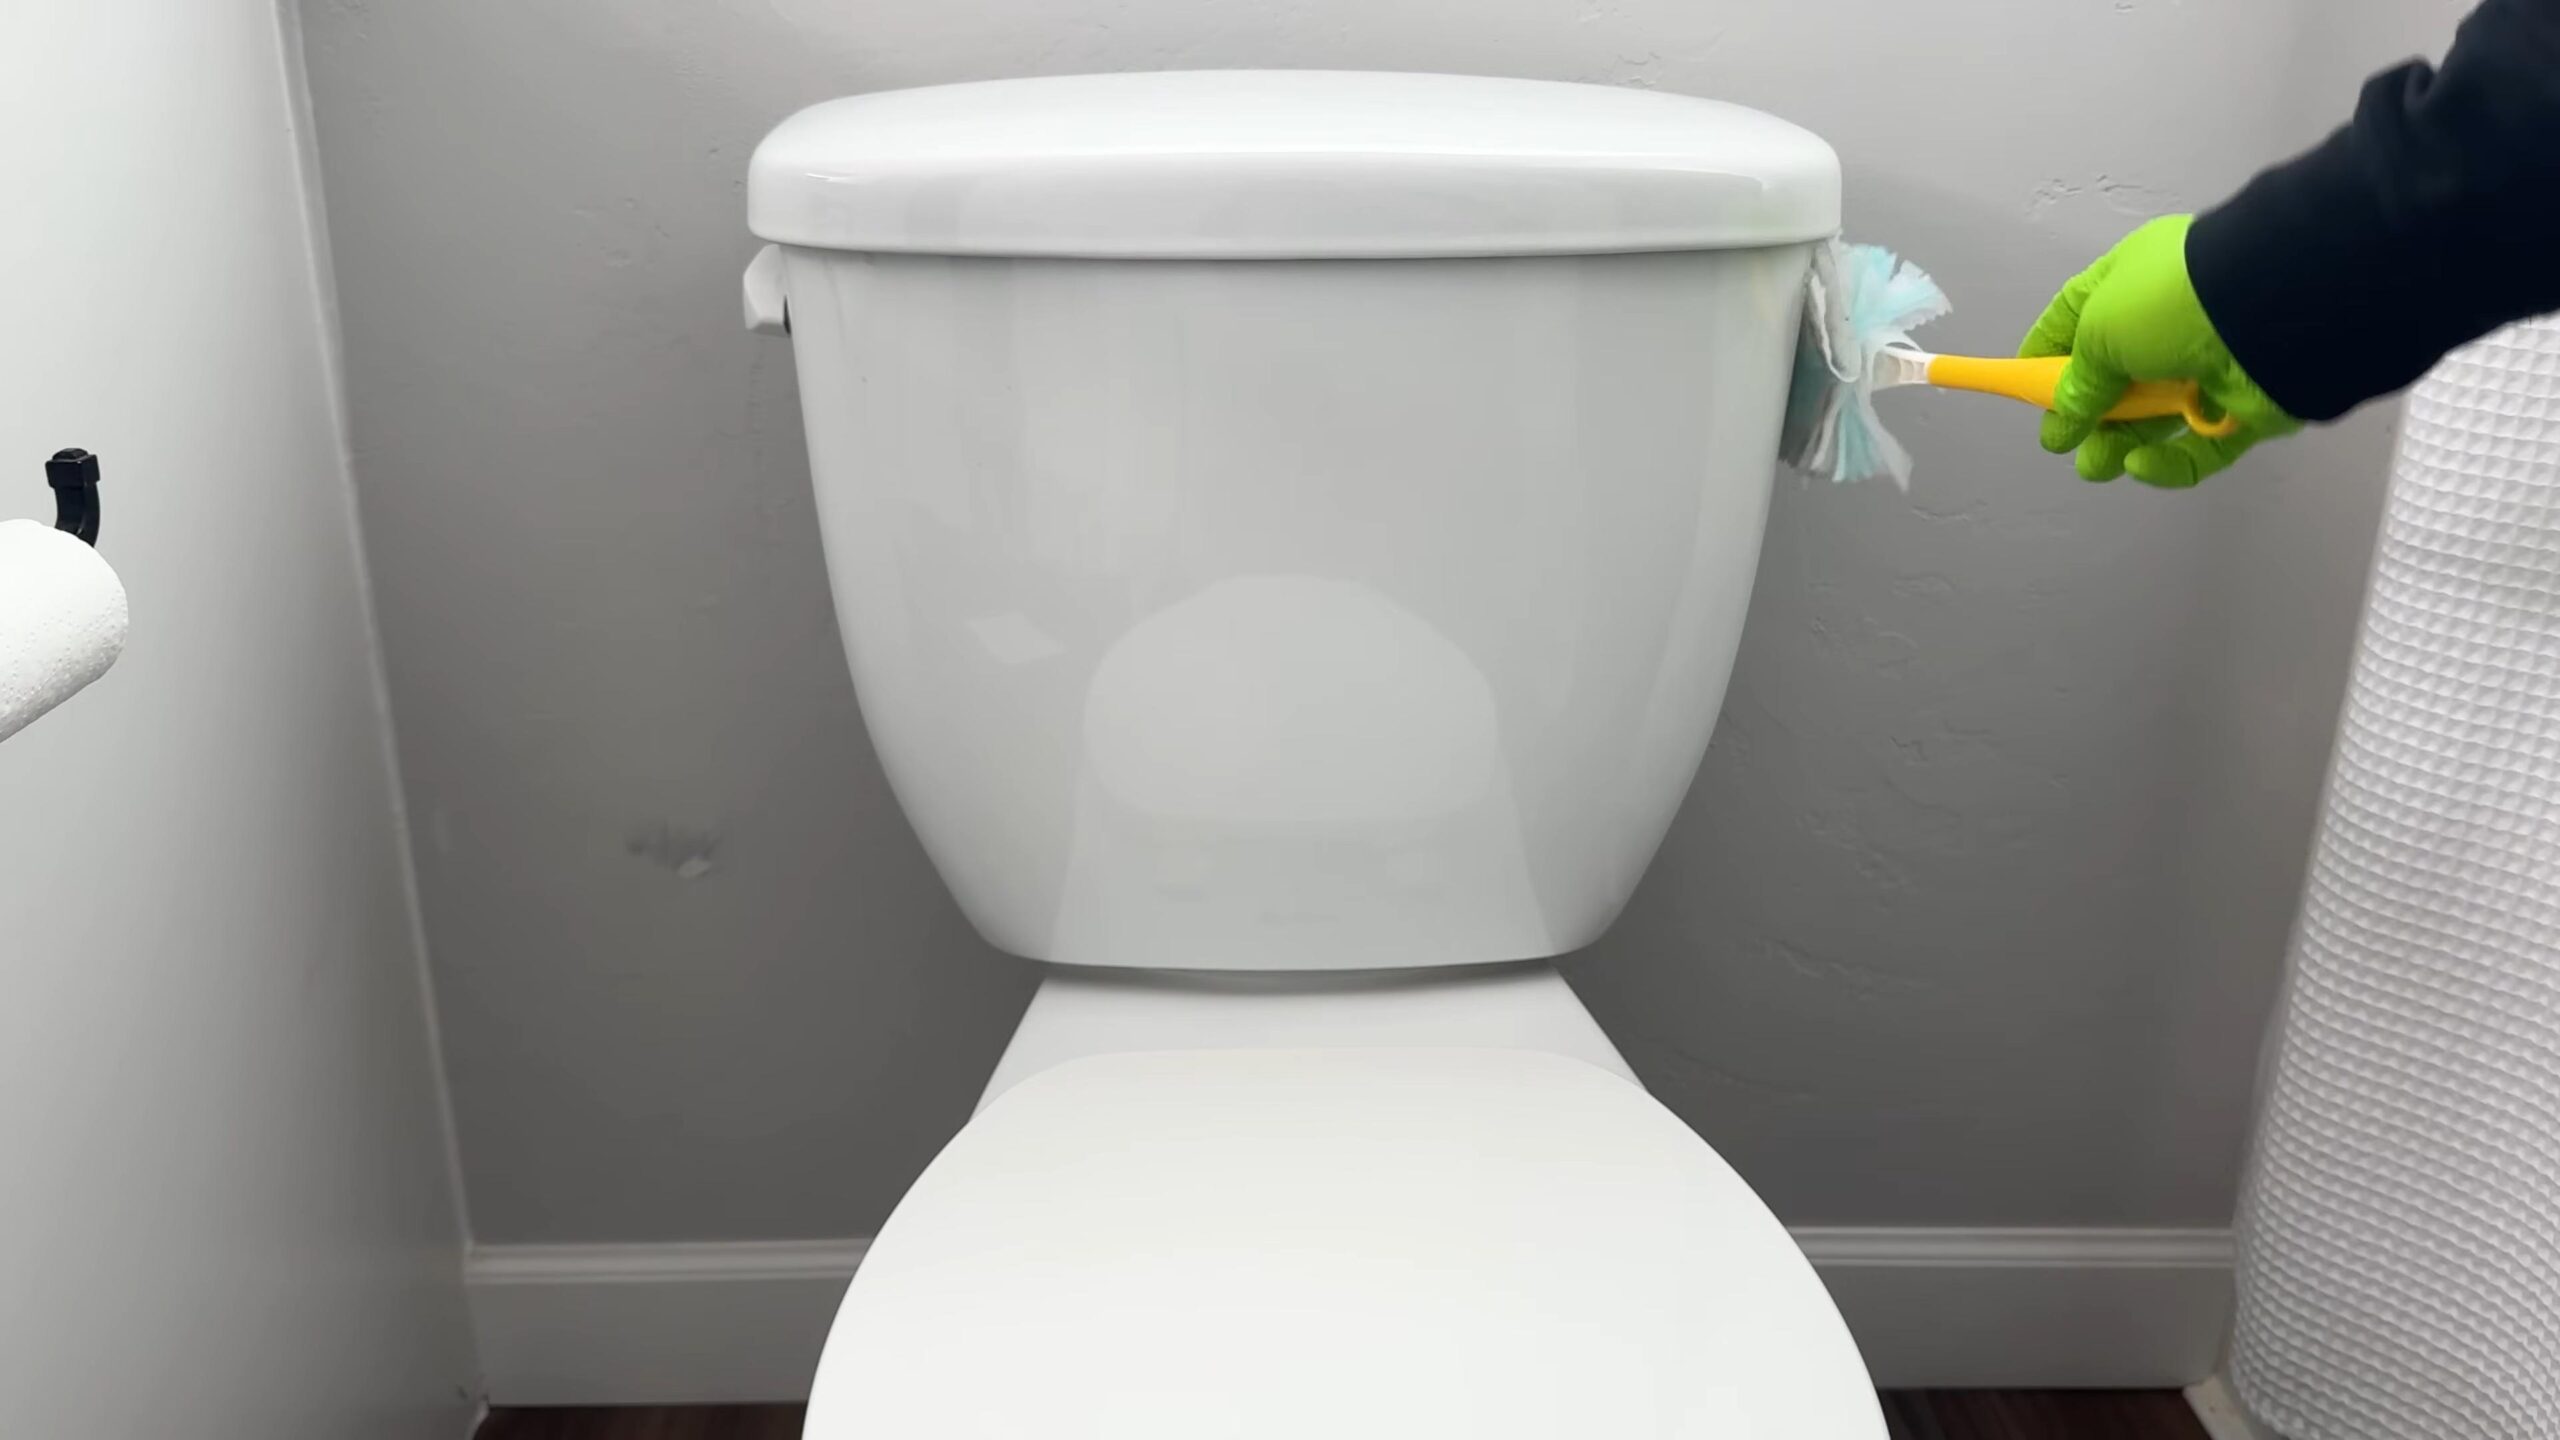
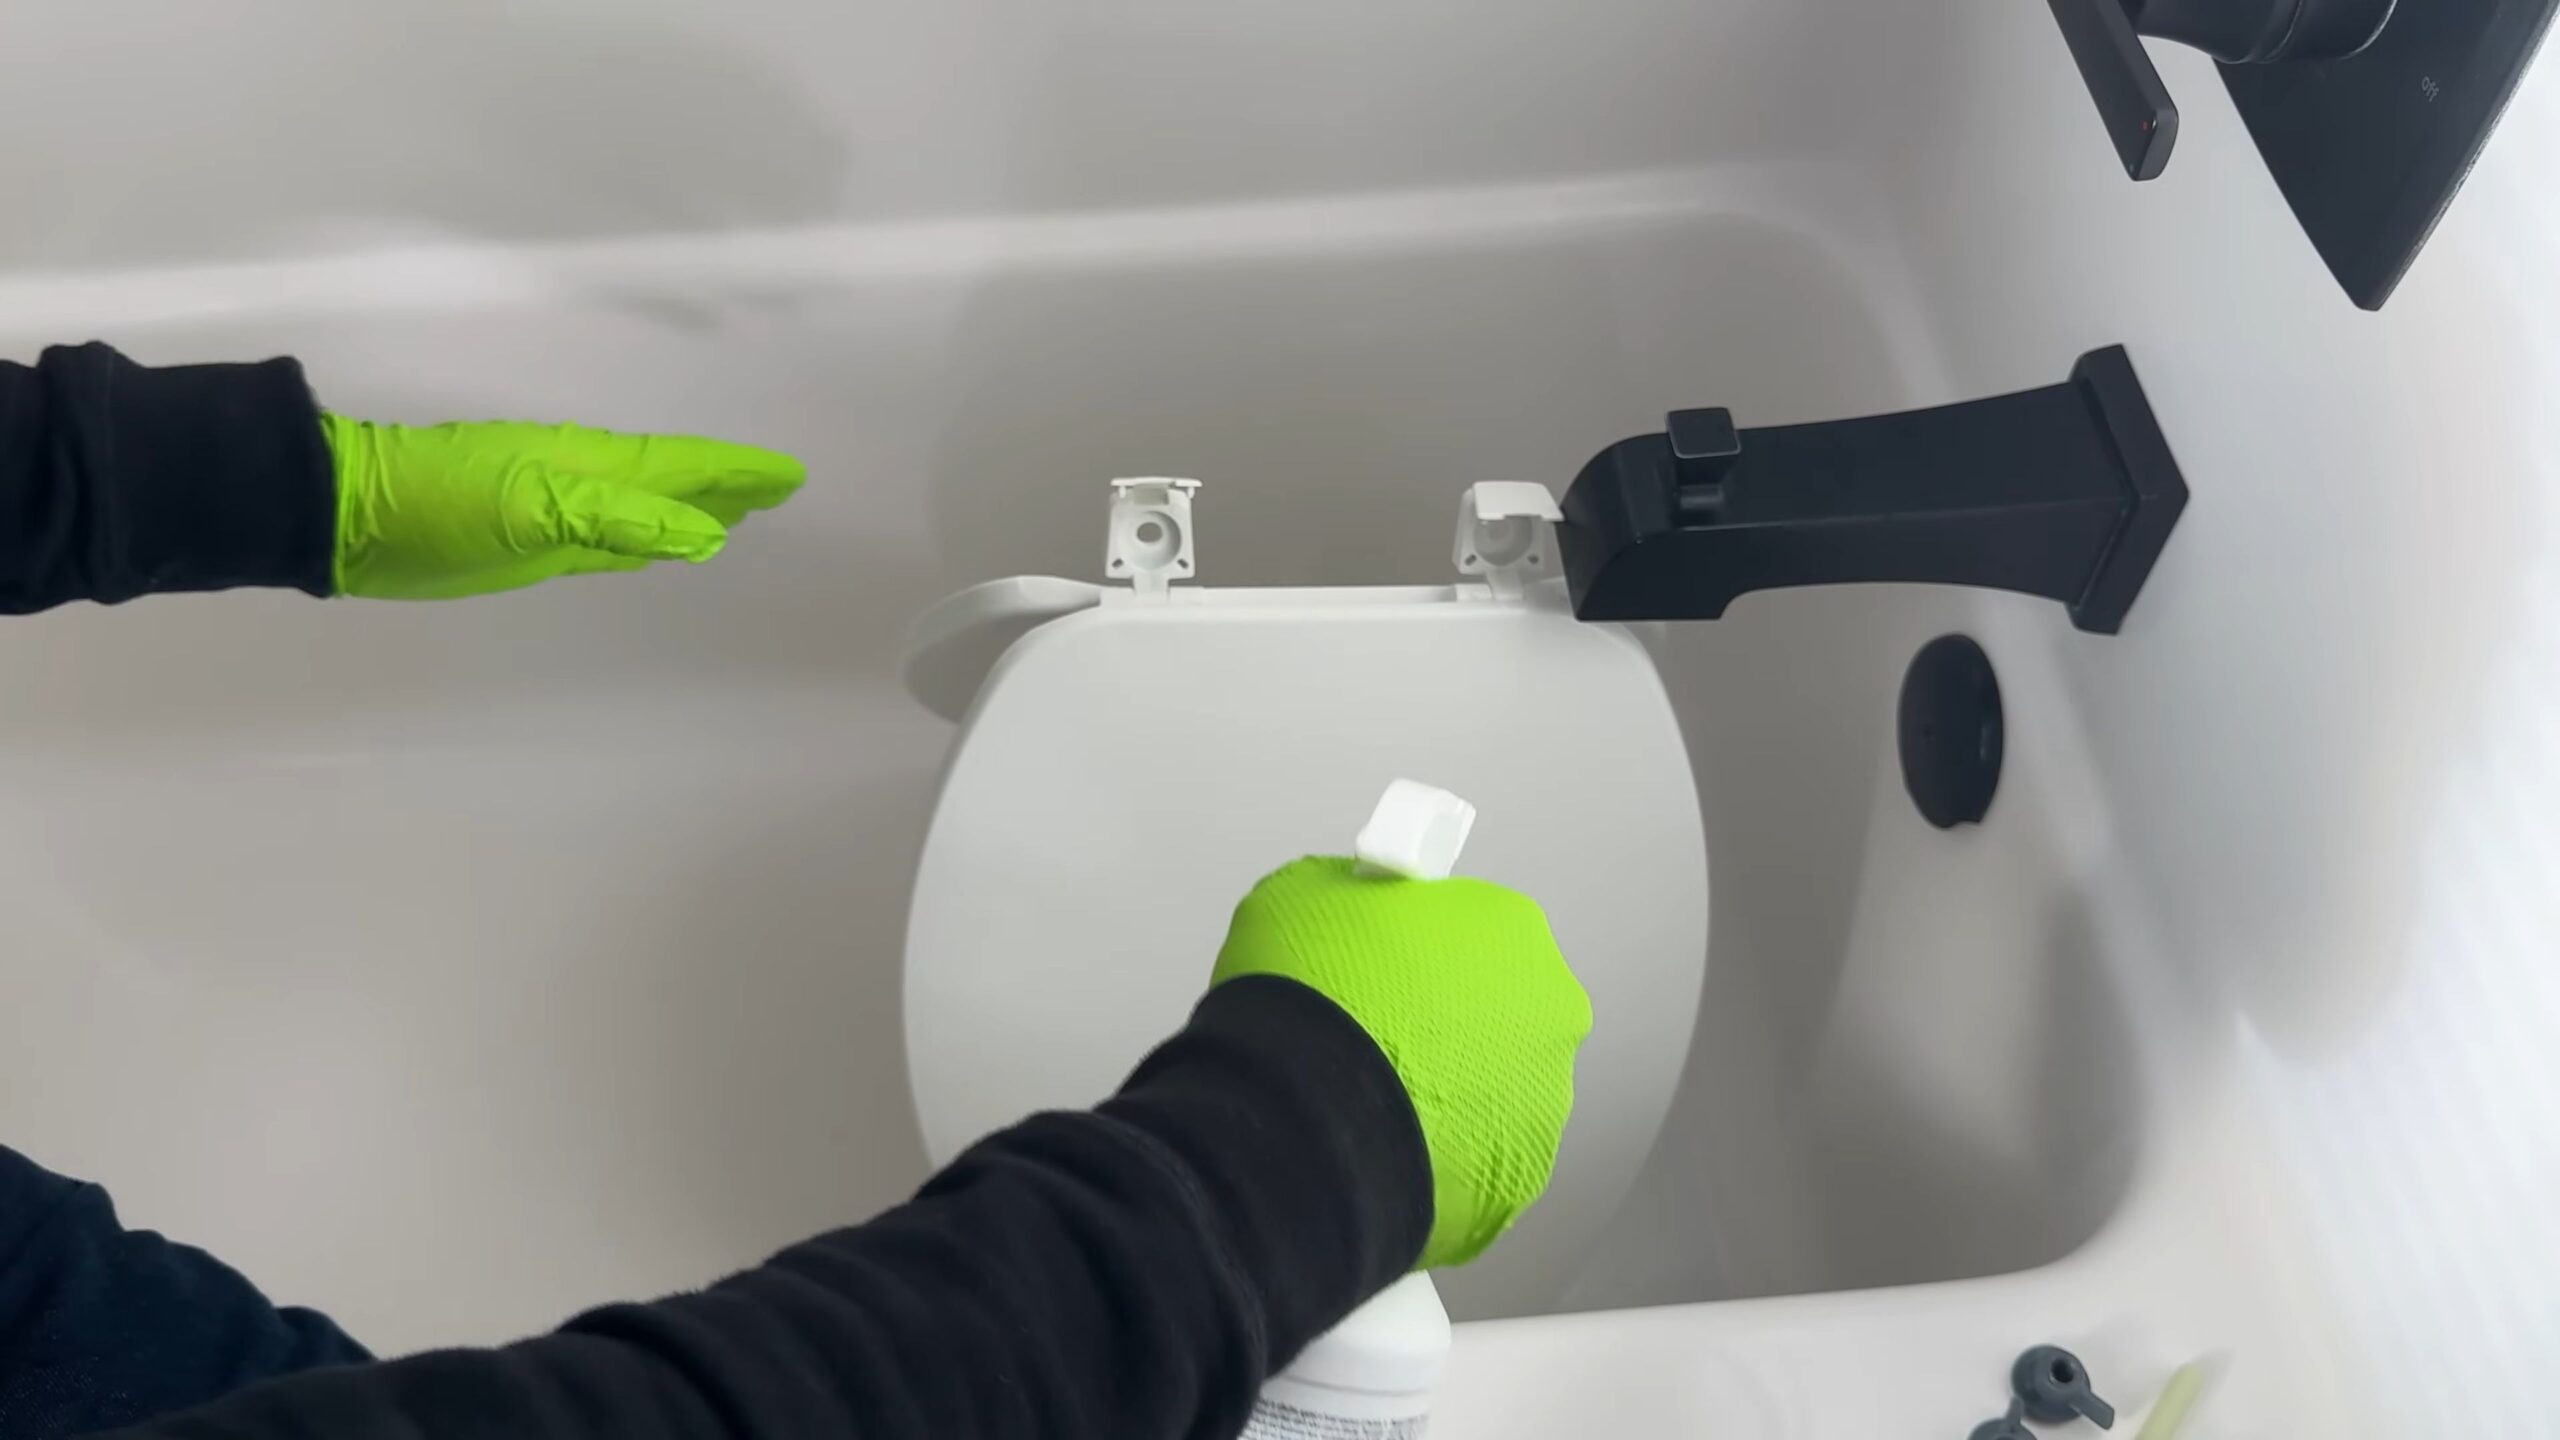
Hack 3: Toilet Bowl Cleaning with Baking Soda and Vinegar (Again!)
Yes, baking soda and vinegar are bathroom cleaning superheroes! This method is a great alternative to harsh chemical toilet bowl cleaners.
What you’ll need:
* 1 cup baking soda
* 2 cups white vinegar
* Toilet brush
Step-by-step instructions:
1. Pour in the baking soda: Pour one cup of baking soda into the toilet bowl. Try to distribute it evenly around the bowl.
2. Add the vinegar: Slowly pour two cups of white vinegar into the toilet bowl. You’ll see a fizzing reaction as the baking soda and vinegar combine.
3. Let it fizz and sit: Allow the mixture to fizz and sit for at least 30 minutes. For stubborn stains, you can let it sit for several hours or even overnight.
4. Scrub the bowl: After the soaking time, use a toilet brush to scrub the entire bowl, paying extra attention to any stains or rings.
5. Flush: Flush the toilet to rinse away the baking soda and vinegar.
6. Repeat if necessary: If you still see stains, repeat the process. For really tough stains, you can try adding a little borax to the baking soda before adding the vinegar.
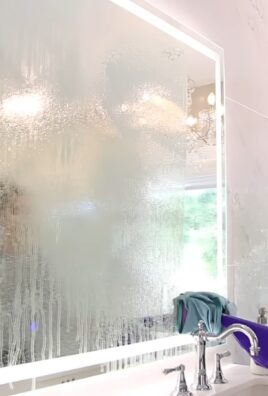
Hack 4: Streak-Free Mirror Cleaning with Vinegar and Water
Say goodbye to streaks and hello to a crystal-clear mirror with this simple vinegar and water solution.
What you’ll need:
* Spray bottle
* White vinegar
* Water
* Microfiber cloth
Step-by-step instructions:
1. Mix the cleaning solution: In the spray bottle, mix equal parts white vinegar and water. For example, you could use 1 cup of vinegar and 1 cup of water.
2. Spray the mirror: Lightly spray the mirror with the vinegar and water solution. Don’t over-saturate the mirror, as this can leave streaks.
3. Wipe with a microfiber cloth: Using a clean microfiber cloth, wipe the mirror in a circular motion, starting from the top and working your way down. Make sure to wipe the entire surface of the mirror.
4. Buff dry: If you see any streaks, use a dry portion of the microfiber cloth to buff the mirror until it’s streak-free.
5. Enjoy your sparkling mirror: Admire your reflection in your newly cleaned, streak-free mirror!
Hack 5: Drain De-clogging with Baking Soda and Vinegar (The Trilogy!)
Clogged drains are a common bathroom problem. This baking soda and vinegar method is a safe and effective way to clear minor clogs.
What you’ll need:
* 1 cup baking soda
* 2 cups white vinegar
* Hot water
Step-by-step instructions:
1. Pour in the baking soda: Pour one cup of baking soda down the clogged drain.
2. Add the vinegar: Immediately follow with two cups of white vinegar. You’ll hear a fizzing sound as the baking soda and vinegar react.
3. Let it fizz and sit: Allow the mixture to fizz and sit for at least 30 minutes. This will help to break down the clog. For stubborn clogs, you can let it sit for several hours or even overnight.
4. Flush with hot water: After the soaking time, flush the drain with hot water. Let the hot water run for several minutes to help clear away any remaining debris.
5. Repeat if necessary: If the drain is still clogged, repeat the process. For very stubborn clogs, you may need to use a plunger or a drain snake.
Hack 6: Freshen Up Your Toilet with Essential Oil Toilet Paper Rolls
This is a super simple way to keep your bathroom smelling fresh!
What you’ll need:
* Essential oil (lavender, eucalyptus, tea tree, or your favorite scent)
* Toilet paper roll
Step-by-step instructions:
1. Apply essential oil: Place a few drops (3-5) of your favorite essential oil onto the inside of the cardboard toilet paper roll. Be careful not to saturate the cardboard.
2. Replace the roll: Place the toilet paper roll back on the holder.
3. Enjoy the fresh scent: Every time someone uses the toilet paper, the movement will release a subtle, pleasant scent into the bathroom. You’ll need to reapply the essential oil every few days to maintain the fragrance.
Hack 7: Cleaning Faucets and Fixtures with Lemon
Lemon juice is a natural cleaner and disinfectant that can help remove hard water stains and soap scum from faucets and fixtures.
What you’ll need:
* Lemon (cut in half)
* Soft cloth
Step-by-step instructions:
1. Rub with lemon: Take a lemon half and rub it directly onto the faucets and fixtures, focusing on areas with hard water stains or soap scum.
2. Let it sit: Allow the lemon juice to sit on the fixtures for about 5-10 minutes. This gives the
Conclusion
So, there you have it! These aren’t just bathroom cleaning hacks; they’re game-changers that will transform your cleaning routine from a dreaded chore into a surprisingly satisfying task. We’ve explored simple, effective, and budget-friendly ways to tackle common bathroom grime, from stubborn soap scum to mildew lurking in the corners. The beauty of these DIY solutions lies in their accessibility. You likely already have most, if not all, of the ingredients in your pantry or cleaning cabinet.
Why is this a must-try? Because it’s about more than just a clean bathroom. It’s about reclaiming your time, saving money on expensive commercial cleaners, and creating a healthier environment for yourself and your family. Many commercial cleaners are packed with harsh chemicals that can irritate your skin, eyes, and respiratory system. By opting for these natural alternatives, you’re reducing your exposure to these potentially harmful substances.
But the benefits don’t stop there. These hacks are incredibly versatile. For instance, the vinegar and baking soda paste isn’t just for grout; it can also be used to clean shower doors, sinks, and even toilet bowls. The lemon and salt scrub is perfect for removing hard water stains from faucets and showerheads, leaving them sparkling like new.
Ready to take your bathroom cleaning to the next level?
Here are a few variations to consider:
* Essential Oil Boost: Add a few drops of your favorite essential oil to your cleaning solutions for a pleasant aroma and added antibacterial properties. Lavender, tea tree, and eucalyptus are excellent choices.
* Citrus Power: Don’t throw away those citrus peels! Infuse vinegar with orange or lemon peels for a more potent cleaning solution with a refreshing scent. Simply place the peels in a jar, cover them with vinegar, and let it steep for a few weeks before straining and using.
* Borax Alternative: If you’re not a fan of borax, try using washing soda instead. It’s a similar alkaline cleaner that can help boost the effectiveness of your cleaning solutions.
We’re confident that these bathroom cleaning hacks will revolutionize your cleaning routine. They’re simple, effective, and environmentally friendly. But don’t just take our word for it. Try them out for yourself and see the amazing results firsthand.
We encourage you to experiment with these techniques and find what works best for you. Every bathroom is different, and what works for one person may not work for another. The key is to be patient, persistent, and willing to try new things.
Once you’ve tried these hacks, we’d love to hear about your experience. Share your before-and-after photos, your favorite variations, and any tips or tricks you’ve discovered along the way. Let’s create a community of clean bathroom enthusiasts who are passionate about sharing their knowledge and helping others achieve a sparkling clean bathroom without breaking the bank or harming the environment.
So, grab your supplies, roll up your sleeves, and get ready to transform your bathroom into a sparkling oasis. You’ll be amazed at how easy and rewarding it is to achieve a clean and healthy bathroom using these simple DIY solutions. Remember, a clean bathroom is a happy bathroom, and a happy bathroom leads to a happy home.
Now, go forth and conquer that grime! We can’t wait to hear about your success stories.
Frequently Asked Questions (FAQ)
1. Are these bathroom cleaning hacks safe for all surfaces?
While most of these hacks are safe for common bathroom surfaces like tile, porcelain, and glass, it’s always a good idea to test them in an inconspicuous area first, especially on delicate surfaces like natural stone or painted walls. Vinegar, in particular, can be acidic and may damage certain materials. Avoid using abrasive scrub brushes on easily scratched surfaces. Always read the manufacturer’s instructions for your specific bathroom fixtures and surfaces before using any cleaning product, DIY or commercial.
2. How often should I use these bathroom cleaning hacks?
The frequency of cleaning depends on how often your bathroom is used and how quickly it gets dirty. For general cleaning, once a week is usually sufficient. However, high-traffic areas like the shower and toilet may require more frequent attention. Spot cleaning can be done as needed to address spills, stains, or mildew growth. Regular maintenance will prevent grime from building up and make cleaning easier in the long run.
3. Can I use these bathroom cleaning hacks if I have allergies or sensitivities?
If you have allergies or sensitivities, it’s essential to be cautious when using any cleaning product, including DIY solutions. Always wear gloves to protect your skin and consider wearing a mask to avoid inhaling fumes. If you’re sensitive to vinegar, you can try using lemon juice or baking soda as an alternative. If you experience any adverse reactions, discontinue use immediately and consult with a doctor. It’s also a good idea to ventilate the bathroom well while cleaning.
4. What’s the best way to prevent mildew growth in the bathroom?
Mildew thrives in damp, humid environments, so the key to preventing its growth is to keep your bathroom as dry and well-ventilated as possible. After showering or bathing, open a window or turn on the exhaust fan to remove excess moisture. Wipe down wet surfaces, such as shower walls and doors, with a towel or squeegee. Regularly clean your shower curtain or door with a mildew-resistant cleaner. You can also use a dehumidifier to reduce humidity levels in the bathroom.
5. How do I get rid of stubborn hard water stains in my bathroom?
Hard water stains are caused by mineral deposits left behind when water evaporates. To remove them, you’ll need an acidic cleaner that can dissolve the minerals. Vinegar is a great option for this. Soak a cloth or paper towel in vinegar and apply it to the stained area. Let it sit for several minutes, then scrub with a non-abrasive sponge or brush. For tougher stains, you can make a paste of baking soda and vinegar and apply it to the area. Let it sit for a few hours or overnight, then scrub and rinse. Lemon juice and salt can also be effective for removing hard water stains.
6. Can I mix different cleaning solutions together?
It’s generally not a good idea to mix different cleaning solutions together, as this can create dangerous fumes or chemical reactions. For example, mixing bleach with ammonia can produce toxic chloramine gas, which can be fatal. Always use cleaning solutions separately and follow the manufacturer’s instructions carefully. If you’re unsure about whether it’s safe to mix two cleaning solutions, err on the side of caution and avoid doing so.
7. How do I clean a toilet bowl effectively using these hacks?
For a sparkling clean toilet bowl, try this simple hack: Pour a cup of baking soda into the toilet bowl, followed by two cups of vinegar. Let the mixture fizz for about 30 minutes, then scrub with a toilet brush and flush. For tougher stains, you can add a few drops of tea tree oil to the mixture for its antibacterial properties. You can also use a pumice stone to gently scrub away stubborn stains, but be careful not to scratch the porcelain.
8. What are some eco-friendly alternatives to commercial bathroom cleaners?
Besides the DIY solutions mentioned in the article, there are many other eco-friendly alternatives to commercial bathroom cleaners. Look for products that are made with plant-based ingredients, biodegradable, and free of harsh chemicals like phosphates, chlorine, and ammonia. You can also make your own cleaning solutions using ingredients like castile soap, essential oils, and water. Consider using reusable cleaning cloths and sponges instead of disposable paper towels.
9. How can I make my bathroom smell fresh and clean naturally?
There are several ways to freshen up your bathroom naturally. You can place a bowl of baking soda in the bathroom to absorb odors. You can also diffuse essential oils like lavender, eucalyptus, or lemon to create a pleasant aroma. Another option is to make a DIY air freshener by mixing water with a few drops of your favorite essential oil in a spray bottle. You can also place a few drops of essential oil on a cotton ball and tuck it behind the toilet or in a drawer.
10. What if these bathroom cleaning hacks don’t work for me?
While these bathroom cleaning hacks are effective for most people, they may not work for everyone. If you’re not seeing the results you want, try experimenting with different variations or combinations of ingredients. You may also need to adjust the amount of time you let the cleaning solution sit on the surface before scrubbing. If all else fails, you may need to resort to commercial cleaners, but be sure to choose products that are safe for your surfaces and the environment. Remember, consistency is key. Regular cleaning and maintenance will prevent grime from building up and make it easier to keep your bathroom sparkling clean.
Leave a Comment