

Spring cleaning living and dining rooms can feel like a Herculean task, right? I get it! After a long winter of cozy nights in, our living and dining spaces often bear the brunt of accumulated clutter and dust. But what if I told you that tackling these rooms could be surprisingly rewarding, even… dare I say… enjoyable? This isn’t just about tidying up; it’s about breathing new life into the heart of your home, creating spaces where you truly love to spend time.
The tradition of spring cleaning itself has deep roots, stretching back to ancient cultures who associated the season with renewal and purification. Think of the Persian Nowruz, the Jewish Passover cleaning, or even the Catholic tradition of cleaning the altar before Easter. These practices highlight a universal human desire to refresh our surroundings and start anew.
And that’s precisely what this DIY guide is all about! We’re not just talking about dusting shelves (though we’ll cover that too!). We’re diving into clever hacks and simple DIY projects that will transform your living and dining rooms from drab to fab. From decluttering strategies that actually work to easy-to-make cleaning solutions, I’m going to share my favorite tips and tricks to make spring cleaning living and dining rooms a breeze. So, grab your gloves, put on some music, and let’s get started on creating spaces you’ll be proud to show off!

Spring Cleaning Your Living and Dining Rooms: A DIY Deep Dive
Okay, friends, let’s tackle the heart of the home – the living and dining rooms! Spring cleaning these spaces can feel daunting, but I promise, with a little planning and elbow grease, we can transform them into sparkling sanctuaries. I’m going to walk you through my tried-and-true method, breaking it down into manageable steps. Get ready to roll up your sleeves!
Phase 1: Prepping for the Purge
Before we even think about dusting, we need to get organized. This phase is all about setting the stage for success.
* Gather Your Supplies: Nothing’s worse than getting halfway through a task and realizing you’re missing something. Here’s my go-to list:
* Microfiber cloths (lots of them!)
* All-purpose cleaner
* Glass cleaner
* Wood polish (if you have wood furniture)
* Upholstery cleaner (or a DIY solution – more on that later!)
* Vacuum cleaner with attachments
* Dustpan and brush
* Buckets (at least two – one for cleaning solution, one for rinsing)
* Rubber gloves (protect those hands!)
* Trash bags
* Boxes or bins for sorting items
* Ladder or step stool (for reaching high places)
* Magic Eraser (for stubborn marks)
* Old toothbrush (for cleaning grout and tight spaces)
* Declutter Like a Pro: Be ruthless! This is the time to get rid of anything you don’t love, use, or need. I like to use the “four-box method”:
* Keep: Items you use regularly and love.
* Donate: Items in good condition that you no longer need.
* Trash: Items that are broken, stained, or beyond repair.
* Relocate: Items that belong in another room.
* Protect Your Floors: Lay down drop cloths or old towels, especially if you’re using harsh cleaning chemicals. This will save you from potential damage and extra cleanup later.
* Open Windows: Fresh air is your friend! Ventilation is key when using cleaning products.
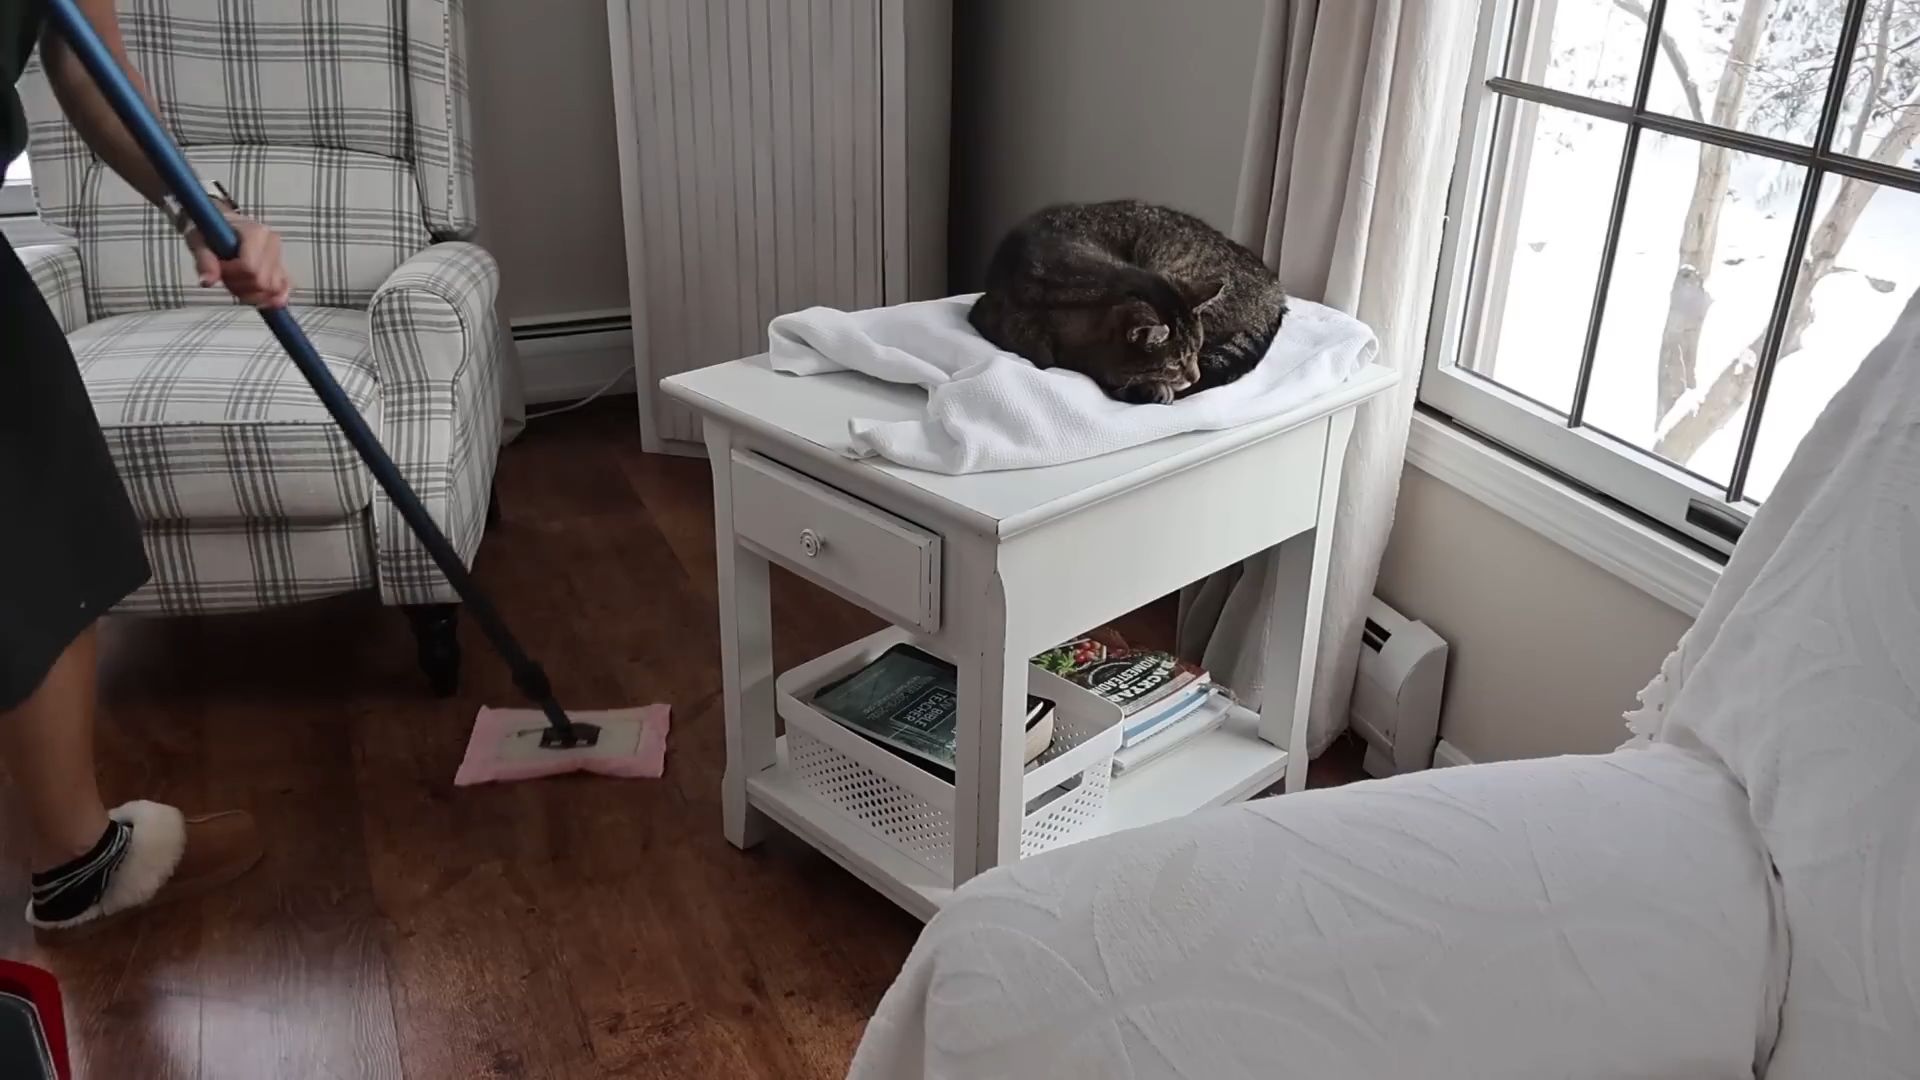
Phase 2: High to Low – The Cleaning Cascade
We’re going to work from the top down, letting gravity do some of the work for us. This prevents dust and debris from falling onto already cleaned surfaces.
1. Dust Ceiling Fans and Light Fixtures:
* Safety First: Turn off the power to the fixture before you start.
* Ceiling Fans: Use a microfiber duster with a long handle to reach the blades. You can also use an old pillowcase – slip it over each blade and wipe to trap dust inside.
* Light Fixtures: Carefully remove any glass shades or globes and wash them with warm, soapy water. Dry thoroughly before reattaching. Dust the fixture itself with a microfiber cloth.
2. Clean Walls and Trim:
* Dust the Walls: Use a microfiber duster or a vacuum cleaner with a brush attachment to remove dust and cobwebs from the walls.
* Wash the Walls: Fill a bucket with warm water and a small amount of all-purpose cleaner. Dip a sponge or microfiber cloth into the solution, wring it out well, and gently wash the walls. Rinse with clean water and dry with a clean cloth.
* Clean the Trim: Pay special attention to baseboards, door frames, and window sills. Use the same cleaning solution as you used for the walls, but you may need to use a Magic Eraser for stubborn scuff marks.
3. Window Washing Wonders:
* Inside and Out: Use a glass cleaner and microfiber cloths to clean both the inside and outside of your windows. I like to use one cloth to apply the cleaner and another to dry.
* Clean the Tracks: Use an old toothbrush and a small amount of cleaning solution to scrub the window tracks. You can also use a vacuum cleaner with a crevice tool to remove debris.
* Don’t Forget the Curtains/Blinds: Dust or vacuum curtains and blinds regularly. For curtains, check the care label for washing instructions. For blinds, you can use a damp cloth or a blind cleaner.
4. Furniture Facelift:
* Vacuum Upholstery: Use a vacuum cleaner with an upholstery attachment to remove dust and crumbs from sofas, chairs, and other upholstered furniture.
* Spot Clean Stains: Address any stains with an upholstery cleaner or a DIY solution. For a simple DIY solution, mix equal parts white vinegar and water in a spray bottle. Spray the stain, let it sit for a few minutes, and then blot with a clean cloth.
* Wood Furniture Polish: Use a wood polish to clean and protect wood furniture. Follow the instructions on the product label.
* Leather Furniture Care: Use a leather cleaner and conditioner to keep leather furniture looking its best.
5. Deep Clean Rugs and Carpets:
* Vacuum Thoroughly: Vacuum rugs and carpets thoroughly to remove dirt and debris.
* Spot Treat Stains: Address any stains with a carpet cleaner.
* Steam Clean (Optional): If you have a carpet cleaner, consider steam cleaning your rugs and carpets for a deeper clean. You can rent these from most hardware stores.
* Air it Out: After cleaning, make sure the rugs and carpets are completely dry before placing furniture back on them.
Phase 3: The Details – Making it Shine
This is where we focus on the little things that make a big difference.
1. Dust and Polish Surfaces:
* Coffee Tables, End Tables, and Shelves: Dust all surfaces with a microfiber cloth. Use wood polish on wood surfaces.
* Decorative Items: Dust picture frames, vases, and other decorative items.
2. Clean Electronics:
* TV Screens: Use a microfiber cloth specifically designed for cleaning screens. Avoid using harsh chemicals.
* Remote Controls: Wipe down remote controls with a damp cloth.
* Speakers: Dust speakers with a microfiber cloth.
3. Organize Bookshelves and Cabinets:
* Remove Everything: Take everything off the shelves and out of the cabinets.
* Dust and Clean: Dust the shelves and cabinets with a microfiber cloth.
* Organize and Declutter: Get rid of any books or items you no longer need. Arrange the remaining items in an organized and visually appealing way.
4. Clean and Polish Metal Fixtures:
* Doorknobs, Light Switches, and Hardware: Use a metal polish to clean and polish doorknobs, light switches, and other metal hardware.
5. Floor Finale:
* Sweep or Vacuum: Sweep or vacuum the floors to remove any remaining dust and debris.
* Mop: Mop the floors with a floor cleaner. Follow the instructions on the product label.
Phase 4: Dining Room Specifics
Let’s give the dining room some extra love.
1. Dining Table Deep Clean:
* Remove Everything: Clear the table completely.
* Clean the Surface: Use a cleaner appropriate for your table’s material (wood polish for wood, glass cleaner for glass, etc.).
* Clean the Legs and Base: Don’t forget to clean the legs and base of the table.
2. Chairs and Seating:
* Vacuum or Wipe Down: Vacuum upholstered chairs or wipe down wooden or plastic chairs.
* Spot Clean Stains: Address any stains on upholstered chairs.
* Tighten Screws: Check and tighten any loose screws on the chairs.
3. Buffet and Sideboard:
* Remove Everything: Take everything off the buffet and sideboard.
* Dust and Clean: Dust the surfaces and clean the inside of the cabinets and drawers.
* Organize Contents: Organize the contents of the cabinets and drawers.
4. China Cabinet (If Applicable):
* Carefully Remove Items: Carefully remove all items from the china cabinet.
* Dust and Clean: Dust the shelves and clean the glass doors.
* Arrange Items: Arrange the items back in the china cabinet in an organized and visually appealing way.
Phase 5: The Finishing Touches
Almost there! These final steps will bring it all together.
1. Replace Curtains and Blinds: Hang your freshly cleaned curtains or blinds.
2. Arrange Furniture: Arrange the furniture back in its original position
Conclusion
So, there you have it! Transforming your living and dining rooms into sparkling, refreshed spaces doesn’t require expensive professional services or harsh chemicals. This simple, effective DIY spring cleaning trick is a game-changer, offering a cost-effective and environmentally friendly way to revitalize your home. We’ve shown you how to tackle dust, grime, and lingering odors with readily available ingredients and a little elbow grease.
But why is this DIY approach a must-try? Beyond the cost savings and eco-consciousness, it’s about taking control of your living environment. You know exactly what’s going into your cleaning solutions, avoiding potentially harmful chemicals that can irritate allergies or sensitivities. Plus, there’s a certain satisfaction in knowing you’ve created a clean and inviting space with your own two hands.
This isn’t just about cleaning; it’s about creating a healthier and happier home.
Looking for variations? Absolutely! For wood furniture, consider adding a few drops of lemon essential oil to your cleaning solution for a natural polish and a refreshing scent. If you have stubborn stains on upholstery, create a paste of baking soda and water, apply it to the stain, let it sit for a few minutes, and then gently scrub with a soft brush. For a deeper clean on carpets, sprinkle baking soda liberally, let it sit for at least 30 minutes (or even overnight), and then vacuum thoroughly. Remember to always test any cleaning solution on an inconspicuous area first to ensure it doesn’t damage the surface.
Don’t be afraid to experiment and adapt this DIY spring cleaning trick to suit your specific needs and preferences. The key is to find a routine that works for you and that you can maintain throughout the year. A little bit of regular cleaning is always easier than tackling a massive buildup of dirt and grime.
We’re confident that this DIY spring cleaning trick will make a noticeable difference in the cleanliness and freshness of your living and dining rooms. But don’t just take our word for it – try it out for yourself! We encourage you to give it a go and see the amazing results firsthand.
And most importantly, we want to hear about your experience! Share your before-and-after photos, your favorite variations, and any tips or tricks you discover along the way. Let’s create a community of DIY cleaning enthusiasts who are passionate about creating clean, healthy, and happy homes. Use the hashtag #DIYSpringCleaning on social media to share your results and connect with others. We can’t wait to see what you create! Let us know if this **spring cleaning** trick worked for you!
FAQ
What exactly is the “DIY spring cleaning trick” you’re referring to?
The DIY spring cleaning trick we’ve been discussing involves using readily available household ingredients like vinegar, baking soda, and water to create effective and eco-friendly cleaning solutions for your living and dining rooms. It’s a cost-effective and healthier alternative to commercial cleaning products. The specific steps will vary depending on the surface you’re cleaning, but the general principle is to use these natural ingredients to loosen dirt and grime, then wipe or vacuum it away.
Is vinegar safe to use on all surfaces?
While vinegar is a fantastic cleaning agent, it’s not suitable for all surfaces. Avoid using vinegar on marble, granite, or other natural stone surfaces, as the acidity can etch and damage them. It’s also best to avoid using vinegar on waxed wood furniture, as it can strip the wax finish. Always test any cleaning solution, including vinegar, on an inconspicuous area first to ensure it doesn’t cause any damage or discoloration. For delicate surfaces, consider diluting the vinegar with more water or using a gentler cleaning solution altogether.
How often should I perform this DIY spring cleaning?
The frequency of your spring cleaning depends on your lifestyle and how much use your living and dining rooms get. A thorough spring cleaning once or twice a year is a good starting point. However, regular maintenance cleaning, such as dusting, vacuuming, and wiping down surfaces, should be done more frequently – ideally weekly or bi-weekly – to prevent dirt and grime from building up. This will make your spring cleaning efforts much easier and more effective.
What if I have pets or children? Are these DIY cleaning solutions safe for them?
One of the biggest advantages of using DIY cleaning solutions made with vinegar, baking soda, and water is that they are generally much safer for pets and children than commercial cleaning products, which often contain harsh chemicals. However, it’s still important to exercise caution. Keep cleaning solutions out of reach of children and pets, and ensure that surfaces are completely dry before allowing them to come into contact with them. While these ingredients are generally safe, ingestion of large quantities could still cause discomfort. If you’re concerned, you can also explore other natural cleaning alternatives, such as lemon juice or essential oils (used sparingly and with proper dilution).
I have allergies. Will these DIY cleaning solutions trigger them?
DIY cleaning solutions made with vinegar, baking soda, and water are often a better choice for people with allergies than commercial cleaning products, which can contain fragrances and other irritants. However, it’s still possible to be allergic to natural ingredients. If you have known allergies, test the cleaning solution on a small area of skin before using it extensively. If you experience any irritation, discontinue use. You can also try using hypoallergenic cleaning alternatives or wearing gloves and a mask while cleaning to minimize exposure.
Can I add essential oils to these cleaning solutions?
Yes, you can absolutely add essential oils to your DIY cleaning solutions! Essential oils can provide a pleasant scent and may also have antibacterial or antifungal properties. However, it’s important to use essential oils sparingly and to choose oils that are safe for your family and pets. Some popular choices for cleaning include lemon, lavender, tea tree, and eucalyptus. Add just a few drops of essential oil to your cleaning solution and always test it on an inconspicuous area first to ensure it doesn’t damage the surface.
What’s the best way to remove stubborn stains from upholstery?
For stubborn stains on upholstery, create a paste of baking soda and water. Apply the paste to the stain, let it sit for 15-30 minutes, and then gently scrub with a soft brush or cloth. Blot the area with a clean, damp cloth to remove the baking soda residue. You can also try using a mixture of vinegar and water (1:1 ratio) to spot clean stains. Always test any cleaning solution on an inconspicuous area of the upholstery first to ensure it doesn’t cause any discoloration or damage. For particularly difficult stains, you may need to consult a professional upholstery cleaner.
My living room has a strong odor. Will this DIY spring cleaning trick help?
Yes, this DIY spring cleaning trick can definitely help to eliminate odors in your living room. Vinegar is a natural deodorizer that can neutralize a wide range of smells. Baking soda is also effective at absorbing odors. In addition to cleaning surfaces with vinegar and baking soda solutions, you can also place a bowl of baking soda in the room to absorb lingering odors. For a refreshing scent, you can add a few drops of essential oils to your cleaning solutions or use an essential oil diffuser. Make sure to identify and address the source of the odor, such as pet accidents or mold growth, for a long-term solution.


Leave a Comment