

Bathroom cleaning tips – let’s be honest, nobody *loves* cleaning the bathroom, right? But what if I told you I have some DIY tricks that can transform this dreaded chore into a breeze? Imagine stepping into a sparkling clean bathroom, the air fresh and invigorating, all thanks to your own clever hacks. Sounds good, doesn’t it?
For centuries, maintaining hygiene in our personal spaces has been a cornerstone of healthy living. From ancient Roman bathhouses to the meticulously cleaned homes of Victorian England, a clean bathroom has always been associated with well-being and social standing. While the tools and techniques have evolved, the underlying principle remains the same: a clean bathroom is a happy bathroom (and a happy you!).
In today’s busy world, who has time to spend hours scrubbing away at stubborn stains and grime? That’s where these bathroom cleaning tips come in! I’m going to share some simple, effective, and often surprising DIY solutions that will save you time, money, and a whole lot of elbow grease. We’ll tackle everything from removing hard water stains to banishing mildew, all with ingredients you probably already have in your pantry. Get ready to say goodbye to bathroom cleaning blues and hello to a sparkling sanctuary!
DIY Bathroom Cleaning Hacks: Sparkling Clean on a Budget!
Okay, let’s face it, cleaning the bathroom is nobody’s favorite chore. But a sparkling clean bathroom is so much more inviting! I’m going to share some of my favorite DIY bathroom cleaning hacks that are not only effective but also budget-friendly and use ingredients you probably already have in your pantry. Get ready to ditch those harsh chemicals and embrace a naturally clean bathroom!
Tackling Grimy Grout
Grout can be a real pain. It’s porous, so it absorbs all sorts of grime and mildew, turning from a bright white to a dingy gray (or worse!). But don’t despair, I’ve got a few tricks up my sleeve.
Hack 1: Baking Soda Paste Power
This is my go-to for light to moderate grout stains.
* What you’ll need: Baking soda, water, an old toothbrush, and a sponge.
Step-by-step instructions:
1. Make the paste: In a small bowl, mix baking soda with just enough water to form a thick paste. You want it to be spreadable but not runny.
2. Apply the paste: Using your fingers or a small spatula, apply the baking soda paste generously to the grout lines. Make sure you really get it in there.
3. Scrub-a-dub-dub: Grab your old toothbrush and start scrubbing! Use firm, circular motions to work the baking soda into the grout. You’ll start to see the grime lifting.
4. Rinse and repeat (if needed): Rinse the area with clean water. If the grout is still stained, repeat the process. For stubborn stains, let the paste sit for 15-20 minutes before scrubbing.
5. Wipe clean: Use a damp sponge to wipe away any remaining baking soda residue.
Hack 2: Vinegar and Baking Soda Volcano (for tougher stains)
This is where things get a little more exciting (and fizzy!). This method is great for tackling more stubborn stains and mildew.
* What you’ll need: Baking soda, white vinegar, an old toothbrush, a spray bottle, and a sponge.
Step-by-step instructions:
1. Sprinkle the baking soda: Generously sprinkle baking soda over the grout lines you want to clean.
2. Vinegar time! Pour or spray white vinegar onto the baking soda. It will fizz! This is the chemical reaction working its magic.
3. Let it fizz: Allow the mixture to fizz and sit for about 5-10 minutes. This gives the vinegar time to break down the grime.
4. Scrub, scrub, scrub: Grab your trusty toothbrush and scrub the grout lines. The fizzing action will help loosen the dirt, making it easier to remove.
5. Rinse thoroughly: Rinse the area with plenty of clean water to remove all traces of baking soda and vinegar.
6. Wipe dry: Use a clean cloth or sponge to wipe the area dry.
Hack 3: Hydrogen Peroxide Power
Hydrogen peroxide is a natural bleaching agent and a great alternative to harsh chlorine bleach.
* What you’ll need: Hydrogen peroxide (3% solution), a spray bottle, an old toothbrush, and a sponge.
Step-by-step instructions:
1. Spray it on: Pour the hydrogen peroxide into a spray bottle and spray it directly onto the grout lines.
2. Let it sit: Allow the hydrogen peroxide to sit for at least 10-15 minutes. This gives it time to penetrate and disinfect the grout.
3. Scrub if needed: For stubborn stains, scrub the grout lines with an old toothbrush.
4. Rinse well: Rinse the area thoroughly with clean water.
5. Dry it up: Wipe the area dry with a clean cloth or sponge.
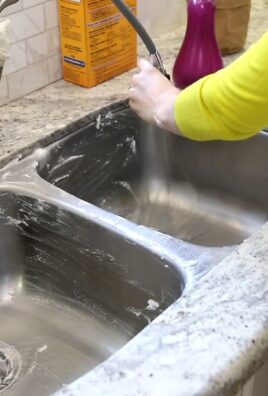
Shining Up Shower Doors and Walls
Soap scum and water spots can make shower doors and walls look dull and grimy. Here’s how to get them sparkling again:
Hack 1: Vinegar Spray Magic
Vinegar is a natural descaler and works wonders on soap scum.
* What you’ll need: White vinegar, a spray bottle, a microfiber cloth, and optionally, a few drops of essential oil (for scent).
Step-by-step instructions:
1. Prepare the vinegar solution: Fill a spray bottle with equal parts white vinegar and water. You can add a few drops of your favorite essential oil (like lavender or tea tree) to mask the vinegar smell.
2. Spray it down: Generously spray the shower doors and walls with the vinegar solution.
3. Let it soak: Allow the solution to sit for about 15-20 minutes. This gives the vinegar time to loosen the soap scum.
4. Wipe it clean: Use a microfiber cloth to wipe down the shower doors and walls. You may need to scrub a little in areas with heavy soap scum buildup.
5. Rinse thoroughly: Rinse the shower doors and walls with clean water to remove any remaining vinegar residue.
6. Dry and shine: Use a clean, dry microfiber cloth to dry the surfaces. This will prevent water spots and leave your shower doors and walls sparkling.
Hack 2: Baking Soda Paste for Stubborn Spots
For those extra stubborn spots of soap scum, a baking soda paste can do the trick.
* What you’ll need: Baking soda, water, a sponge or scrub brush.
Step-by-step instructions:
1. Make the paste: Mix baking soda with just enough water to form a thick paste.
2. Apply and scrub: Apply the paste to the stubborn soap scum spots and scrub gently with a sponge or scrub brush.
3. Rinse well: Rinse the area thoroughly with clean water.
4. Wipe dry: Wipe the area dry with a clean cloth.
Cleaning the Toilet Bowl
Let’s be honest, cleaning the toilet is the least glamorous part of bathroom cleaning. But it’s essential!
Hack 1: Vinegar and Baking Soda Bomb
This is a powerful combination for cleaning and deodorizing your toilet bowl.
* What you’ll need: Baking soda, white vinegar.
Step-by-step instructions:
1. Baking soda first: Pour about one cup of baking soda into the toilet bowl.
2. Vinegar chaser: Slowly pour about two cups of white vinegar into the bowl. It will fizz!
3. Let it sit: Allow the mixture to fizz and sit for at least 30 minutes, or even overnight for really tough stains.
4. Scrub-a-dub-dub: Use a toilet brush to scrub the bowl thoroughly, paying attention to any stains or mineral deposits.
5. Flush it away: Flush the toilet to rinse away the baking soda and vinegar.
Hack 2: Borax Power
Borax is a natural mineral that’s great for cleaning and disinfecting.
* What you’ll need: Borax, toilet brush.
Step-by-step instructions:
1. Sprinkle it in: Sprinkle about 1/2 cup of borax into the toilet bowl.
2. Let it sit: Allow the borax to sit for at least 30 minutes, or overnight for tough stains.
3. Scrub and flush: Use a toilet brush to scrub the bowl thoroughly and then flush.
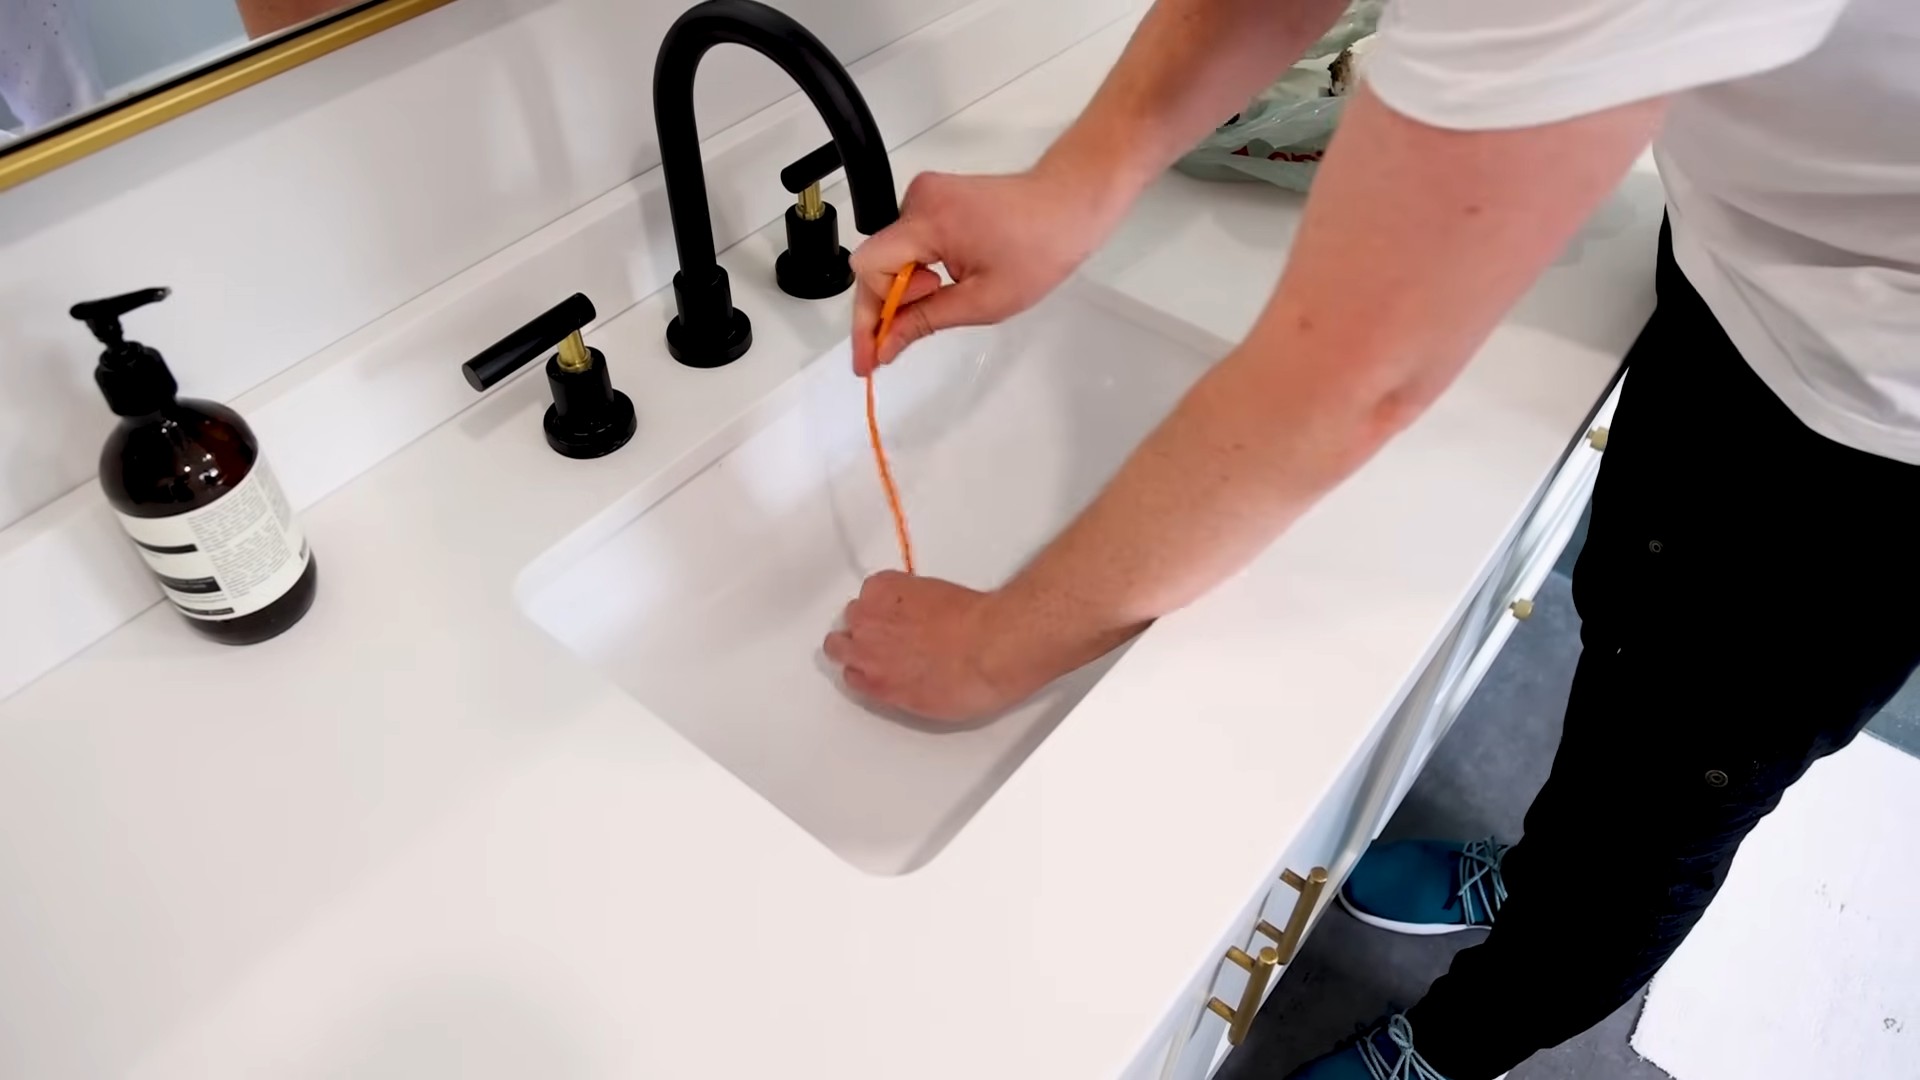
Shining Faucets and Fixtures
Water spots and mineral deposits can make faucets and fixtures look dull. Here’s how to bring back the shine:
Hack 1: Vinegar Soak
This is a simple and effective way to remove mineral deposits.
* What you’ll need: White vinegar, a plastic bag or bowl, rubber bands (if using a bag), a microfiber cloth.
Step-by-step instructions:
1. Prepare the vinegar: Pour white vinegar into a plastic bag or bowl.
2. Soak the fixtures: If cleaning a faucet, fill a plastic bag with vinegar and secure it around the faucet head with rubber bands, ensuring the faucet is submerged in the vinegar. For other fixtures, you can soak them in a bowl of vinegar.
3. Let it soak: Allow the fixtures to soak for at least 30 minutes, or even longer for heavy mineral buildup.
4. Scrub gently (if needed): If there are still mineral deposits after soaking, gently scrub them with a soft cloth or sponge.
5. Rinse and dry: Rinse the fixtures thoroughly with clean water and dry them with a microfiber cloth.
Hack 2: Lemon Power
Lemon juice is a natural acid that can help dissolve mineral deposits and leave a fresh scent.
*

Conclusion
So, there you have it! This DIY bathroom cleaning trick isn’t just another cleaning hack; it’s a game-changer. We’ve all been there, staring down a grimy shower, a stained toilet bowl, or a dull, soap-scum-covered sink, dreading the elbow grease required to restore them to their former glory. But with this simple, cost-effective, and surprisingly powerful method, those days are over.
Why is this a must-try? Because it’s effective, economical, and eco-friendlier than many commercial cleaners. You’re likely already have the ingredients in your pantry, saving you a trip to the store and money in your wallet. More importantly, you’re reducing your exposure to harsh chemicals that can irritate your skin and lungs. This DIY approach allows you to control exactly what goes into your cleaning solution, ensuring a safer and healthier environment for you and your family.
Beyond the basic recipe, there’s plenty of room for customization. For a refreshing scent, add a few drops of your favorite essential oil, like lavender, tea tree, or eucalyptus. Tea tree oil, in particular, boasts antibacterial properties, making it a great addition for extra cleaning power. If you’re dealing with particularly stubborn stains, consider adding a tablespoon of borax to the mixture. Borax is a natural mineral that acts as a powerful cleaning agent and deodorizer. For hard water stains, a little extra vinegar can work wonders. Remember to always test any new cleaning solution in an inconspicuous area first to ensure it doesn’t damage the surface.
This DIY bathroom cleaning solution is incredibly versatile. Use it on your shower tiles, glass shower doors, sinks, toilets, and even your bathroom floors (just be sure to dilute it properly for delicate surfaces like marble). The possibilities are endless!
But the real magic happens when you try it for yourself. We’re confident that you’ll be amazed by the results. The satisfaction of transforming a grimy bathroom into a sparkling oasis with a simple, homemade solution is truly rewarding.
So, ditch the harsh chemicals and embrace the power of DIY. Give this bathroom cleaning trick a try, and we promise you won’t be disappointed. And most importantly, we want to hear about your experience! Share your before-and-after photos, your variations on the recipe, and any tips or tricks you discover along the way. Let’s build a community of DIY cleaning enthusiasts who are passionate about creating clean, healthy, and happy homes. Head over to the comments section and tell us all about it! Your insights could help others discover the joy of DIY cleaning and transform their bathrooms into sparkling sanctuaries. We can’t wait to see your results!
Frequently Asked Questions (FAQ)
1. Is this DIY bathroom cleaner safe for all surfaces?
While this DIY bathroom cleaner is generally safe and effective, it’s crucial to test it on an inconspicuous area first, especially on delicate surfaces like marble, granite, or certain types of tile. The acidity of vinegar can etch or damage some natural stones. Always dilute the solution appropriately, and avoid prolonged contact with sensitive materials. For surfaces you’re unsure about, a milder solution of baking soda and water is a safer alternative. If you have any doubts, consult the manufacturer’s recommendations for cleaning specific surfaces in your bathroom.
2. Can I use this cleaner on mold and mildew?
Yes, this DIY cleaner can be effective against mild mold and mildew. The vinegar in the solution has antifungal properties that can help kill mold spores. However, for severe mold infestations, it’s best to consult a professional mold remediation service. To use this cleaner on mold, spray the affected area thoroughly and let it sit for at least 30 minutes before scrubbing with a brush or sponge. Rinse well with water and dry the area completely. Proper ventilation is essential when dealing with mold, so open windows or use a fan to circulate air. Repeat the process as needed until the mold is gone.
3. How often should I use this DIY bathroom cleaner?
The frequency of cleaning depends on how often your bathroom is used and how quickly it gets dirty. For most households, cleaning the bathroom once a week is sufficient. However, high-traffic bathrooms may require more frequent cleaning. You can also use this cleaner for spot cleaning as needed to address spills, stains, or soap scum buildup. Regular cleaning will prevent grime from accumulating and make your bathroom easier to maintain.
4. Can I store the leftover DIY bathroom cleaner?
Yes, you can store the leftover DIY bathroom cleaner in a spray bottle for future use. Be sure to label the bottle clearly to avoid confusion. Store the cleaner in a cool, dark place away from direct sunlight and heat. While the ingredients are natural, it’s still best to keep it out of reach of children and pets. The shelf life of the cleaner is typically several weeks, but it’s best to use it within a month for optimal effectiveness. If you notice any changes in color, odor, or consistency, discard the cleaner and make a fresh batch.
5. What essential oils are best to add to this cleaner?
The best essential oils to add to this cleaner depend on your personal preferences and the desired benefits. Lavender oil has a calming scent and antibacterial properties. Tea tree oil is a powerful antiseptic and antifungal agent. Eucalyptus oil has a refreshing scent and can help clear congestion. Lemon oil has a bright, citrusy scent and is a natural degreaser. Peppermint oil has a cooling effect and can help freshen the air. When adding essential oils, start with a few drops and adjust the amount to your liking. Always use pure, therapeutic-grade essential oils for the best results.
6. What if I don’t have vinegar? Can I substitute it with something else?
Vinegar is a key ingredient in this DIY bathroom cleaner due to its acidity and cleaning properties. However, if you don’t have vinegar on hand, you can try substituting it with lemon juice. Lemon juice is also acidic and has natural cleaning and deodorizing properties. Use an equal amount of lemon juice in place of vinegar in the recipe. Keep in mind that lemon juice may not be as effective as vinegar for removing tough stains or killing mold. Another alternative is citric acid, which is a powdered form of citric acid found in lemons and other citrus fruits. Dissolve citric acid in water according to the package directions and use it in place of vinegar.
7. My bathroom has a strong odor. Will this cleaner help?
Yes, this DIY bathroom cleaner can help eliminate odors in your bathroom. The vinegar and baking soda in the solution work together to neutralize odors and freshen the air. The essential oils you add can also contribute to a pleasant scent. To address strong odors, spray the cleaner liberally throughout the bathroom, paying attention to areas where odors tend to linger, such as the toilet, shower, and drain. Let the cleaner sit for a few minutes before wiping it down. You can also place a small bowl of baking soda in the bathroom to absorb odors continuously.
8. Can I use this cleaner on my shower curtain?
Yes, you can use this DIY cleaner on your shower curtain, whether it’s made of fabric or plastic. For fabric shower curtains, spray the cleaner on the curtain and let it sit for a few minutes before washing it in the washing machine with a mild detergent. For plastic shower curtains, spray the cleaner on the curtain and wipe it down with a sponge or cloth. Rinse the curtain thoroughly with water and hang it up to dry. Regular cleaning will prevent mildew from forming on your shower curtain.
9. Is this cleaner safe for septic systems?
Yes, this DIY bathroom cleaner is generally safe for septic systems. The ingredients are natural and biodegradable, so they won’t harm the beneficial bacteria in your septic tank. However, it’s always a good idea to use cleaning products sparingly, even those that are considered septic-safe. Avoid pouring large amounts of cleaner down the drain at once, and flush the toilet regularly to keep the septic system functioning properly.
10. What if the baking soda leaves a residue?
Sometimes, baking soda can leave a white residue on surfaces after cleaning. This is usually due to using too much baking soda or not rinsing the surface thoroughly enough. To remove the residue, simply wipe the surface with a damp cloth or sponge. You can also spray the surface with a solution of vinegar and water to dissolve the baking soda. Be sure to rinse the surface well with water after cleaning. To prevent residue from forming in the first place, use baking soda sparingly and rinse surfaces thoroughly after cleaning.
Leave a Comment