

Bathroom cleaning guide: Let’s face it, tackling the bathroom is nobody’s favorite chore, right? But what if I told you that sparkling clean bathroom is achievable without spending hours scrubbing with harsh chemicals? This isn’t just another cleaning article; it’s your passport to a fresh, hygienic, and even enjoyable bathroom experience!
For centuries, cultures around the globe have valued cleanliness as a cornerstone of health and well-being. From ancient Roman bathhouses to traditional Japanese onsen, the act of cleansing has always been deeply intertwined with our physical and mental state. Today, maintaining a clean bathroom is more important than ever, not just for aesthetics, but for preventing the spread of germs and creating a sanctuary of relaxation within our homes.
In this DIY guide, I’m going to share some of my favorite bathroom cleaning tricks and hacks that will transform your cleaning routine. We’ll explore natural cleaning solutions, time-saving techniques, and clever ways to keep your bathroom sparkling between deep cleans. Whether you’re battling stubborn soap scum, tackling toilet stains, or simply looking for a more efficient way to maintain a fresh bathroom, this bathroom cleaning guide has got you covered. Get ready to say goodbye to bathroom blues and hello to a sparkling oasis!
DIY Bathroom Cleaning Power-Up: From Grime to Gleam!
Okay, friends, let’s face it: cleaning the bathroom is nobody’s favorite chore. But a sparkling clean bathroom? That’s something we can all get behind! I’m going to walk you through my tried-and-true method for tackling even the grimiest bathrooms, using simple DIY solutions that are both effective and budget-friendly. Get ready to transform your bathroom into a spa-like sanctuary!
Gather Your Arsenal: The Cleaning Supplies Checklist
Before we dive in, let’s make sure we have everything we need. Trust me, having all your supplies ready will make the whole process so much smoother. Here’s what I recommend:
* White Vinegar: This is my secret weapon! It’s a natural disinfectant and descaler, perfect for tackling hard water stains and soap scum.
* Baking Soda: Another powerhouse ingredient! Baking soda is a gentle abrasive that’s great for scrubbing away grime without scratching surfaces.
* Dish Soap: A little dish soap goes a long way in cutting through grease and grime.
* Hydrogen Peroxide: Excellent for disinfecting and whitening. Use it with caution on colored surfaces, though!
* Spray Bottles (at least 2): One for vinegar and one for your DIY cleaning solutions.
* Microfiber Cloths: These are my go-to for wiping down surfaces. They’re super absorbent and won’t leave streaks.
* Scrub Brush: For tackling tough stains and grout. An old toothbrush works great for tight corners!
* Squeegee: Essential for keeping your shower doors and walls sparkling clean.
* Rubber Gloves: Protect your hands from harsh chemicals and grime.
* Toilet Bowl Cleaner: Your favorite brand will do!
* Toilet Brush: For scrubbing the toilet bowl.
* Old Rags or Paper Towels: For those extra-dirty jobs.
* Optional: Essential Oils: A few drops of your favorite essential oil (like lemon, tea tree, or lavender) can add a fresh, clean scent to your bathroom.
Phase 1: Prepping the Battlefield (aka, the Bathroom)
Before we start spraying and scrubbing, let’s get the bathroom ready for its makeover.
1. Clear the Clutter: Remove everything from the counters, shelves, and shower. This includes toiletries, decorations, and anything else that’s in the way. This will give you a clear surface to work on and prevent you from accidentally spraying cleaning solution on your belongings.
2. Ventilate the Area: Open a window or turn on the exhaust fan to ensure proper ventilation. This is especially important when using vinegar or other strong-smelling cleaning solutions.
3. Dry Dust: Use a dry microfiber cloth or duster to remove any loose dust or debris from surfaces. This will prevent you from just smearing the dirt around when you start cleaning.
4. Pre-Soak the Shower/Tub: Fill a spray bottle with white vinegar and generously spray down the shower walls, tub, and shower door. Let it sit for at least 15-20 minutes to loosen soap scum and hard water stains. This is a crucial step for making the scrubbing process much easier.
Phase 2: Conquering the Toilet
Let’s start with the toilet, since it’s often the dirtiest part of the bathroom.
1. Apply Toilet Bowl Cleaner: Squirt your favorite toilet bowl cleaner under the rim of the toilet bowl, making sure to coat the entire surface. Let it sit for the recommended time on the bottle (usually around 10-15 minutes).
2. Clean the Exterior: While the toilet bowl cleaner is working its magic, use a disinfecting wipe or a spray bottle filled with a mixture of water and a few drops of dish soap to clean the exterior of the toilet. Pay attention to the handle, seat, lid, and base.
3. Scrub the Bowl: After the toilet bowl cleaner has had time to sit, use a toilet brush to scrub the inside of the bowl thoroughly. Pay special attention to any stains or buildup.
4. Flush and Rinse: Flush the toilet to rinse away the cleaner and any loosened debris. If there are still stains, repeat steps 1-3.
5. Wipe Down Again: Give the exterior of the toilet one final wipe down with a clean microfiber cloth to remove any lingering cleaner or water spots.
Phase 3: Shower Power: Tackling Soap Scum and Grime
Now for the shower, where soap scum and hard water stains love to party. Remember that vinegar soak we did earlier? It’s about to pay off!
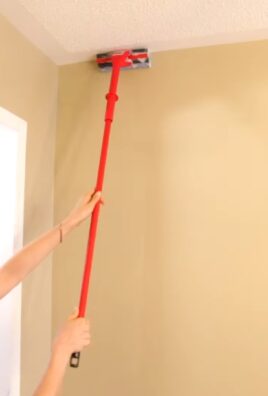
1. Scrub the Walls and Tub: Using a scrub brush or a sponge, scrub the shower walls, tub, and shower door. If you’re dealing with stubborn soap scum, make a paste of baking soda and water and apply it to the affected areas. Let it sit for a few minutes before scrubbing.
2. Clean the Showerhead: Hard water can clog showerheads, reducing water pressure. To clean your showerhead, fill a plastic bag with white vinegar and secure it around the showerhead with a rubber band. Make sure the showerhead is fully submerged in the vinegar. Let it soak for at least an hour, or even overnight for heavily clogged showerheads. Remove the bag and run the shower to flush out any remaining vinegar and debris.
3. Clean the Grout: Grout can be a breeding ground for mold and mildew. To clean grout, mix equal parts baking soda and hydrogen peroxide to form a paste. Apply the paste to the grout lines and let it sit for 5-10 minutes. Then, use a scrub brush or an old toothbrush to scrub the grout clean. Rinse with water.
4. Rinse Thoroughly: Rinse the shower walls, tub, and shower door thoroughly with water to remove any remaining cleaning solution and debris.
5. Squeegee the Surfaces: Use a squeegee to remove excess water from the shower walls and door. This will help prevent water spots and soap scum buildup.
Phase 4: Sink and Countertop Sparkle
Let’s move on to the sink and countertops. These areas tend to accumulate toothpaste splatters, hairspray residue, and other daily grime.
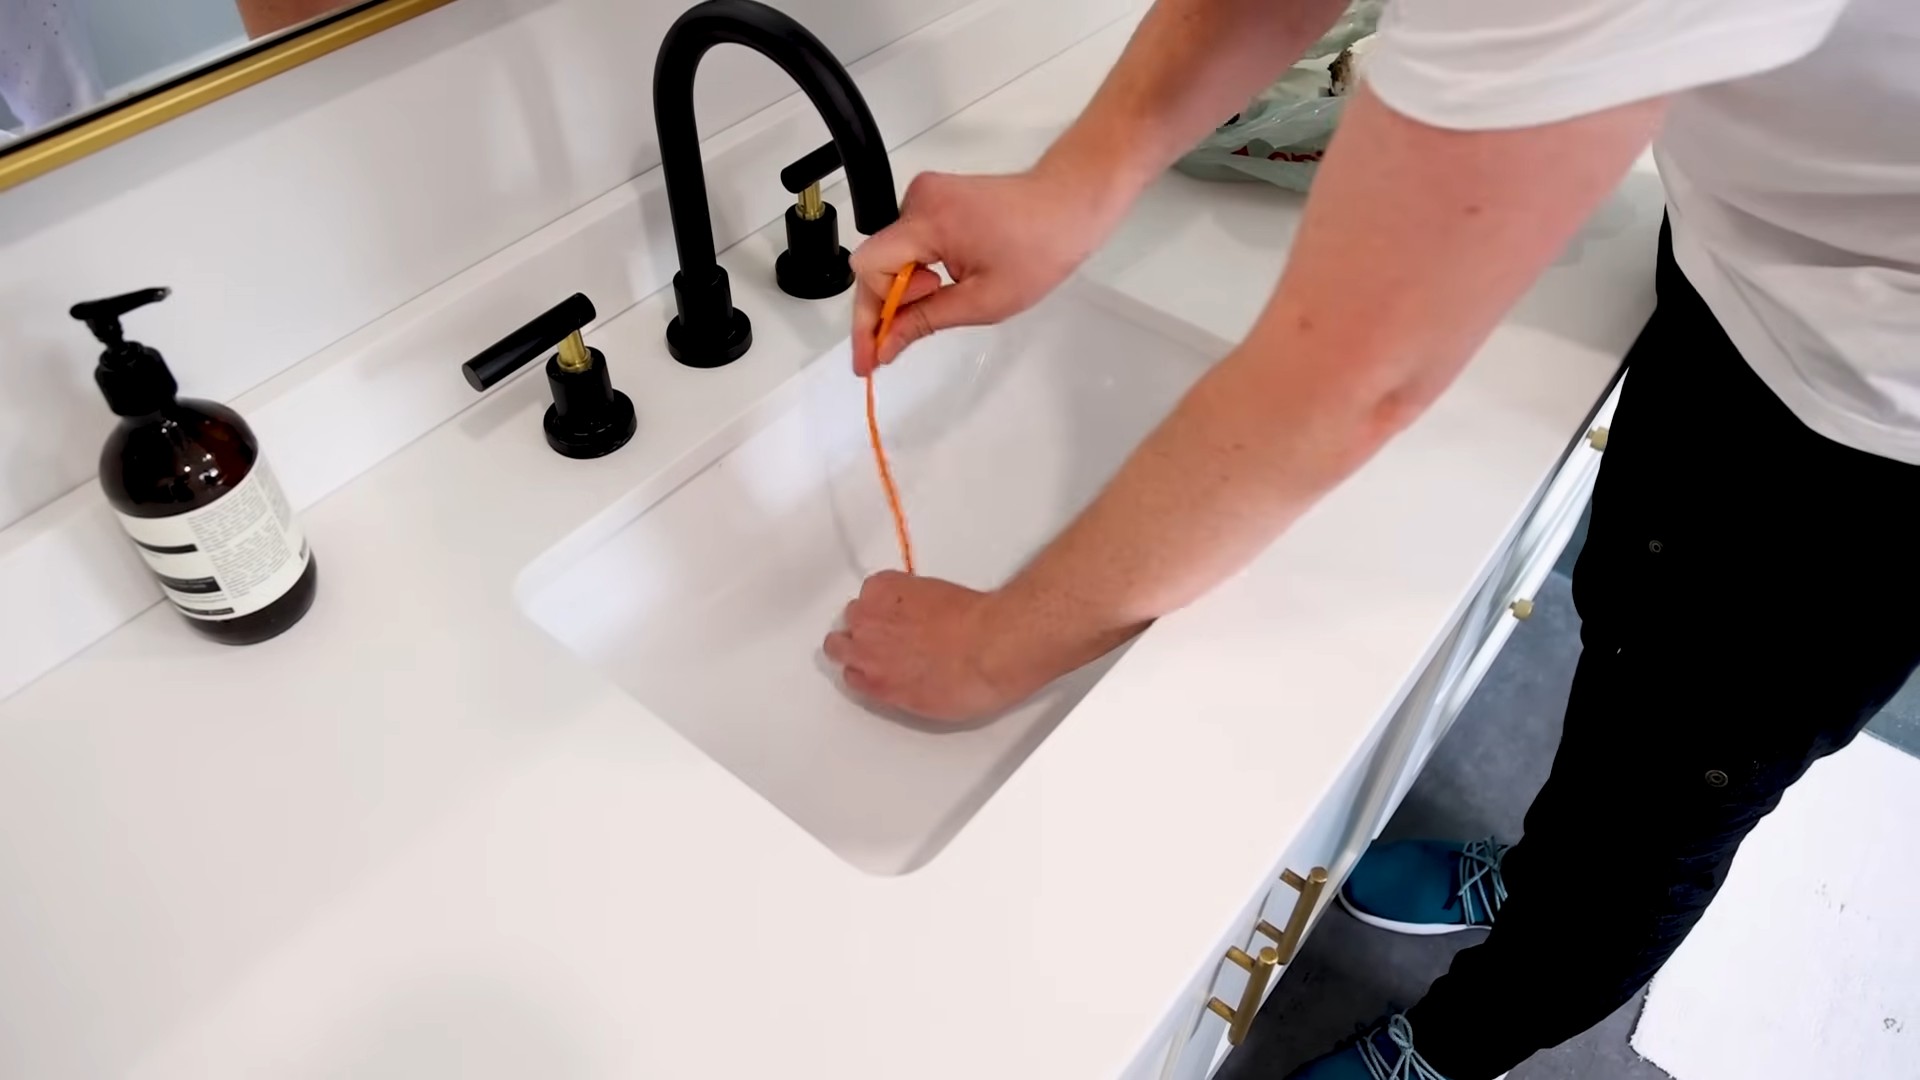
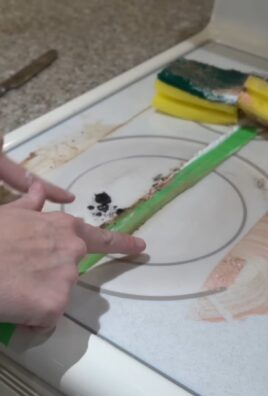
1. Clean the Sink: Sprinkle baking soda into the sink and use a damp sponge or cloth to scrub the surface. Pay attention to the faucet and drain. Rinse thoroughly with water.
2. Clean the Countertops: Use a spray bottle filled with a mixture of water and a few drops of dish soap to clean the countertops. Wipe down the surface with a microfiber cloth. For stubborn stains, try using a paste of baking soda and water.
3. Polish the Faucet and Fixtures: Use a clean, dry microfiber cloth to polish the faucet and other fixtures. This will remove water spots and leave them sparkling.
4. Clean the Mirror: Spray a glass cleaner onto a microfiber cloth and wipe down the mirror. Avoid spraying the cleaner directly onto the mirror, as this can cause streaks.
Phase 5: Floor to Glory: Cleaning the Bathroom Floor
Finally, let’s tackle the bathroom floor. This area can accumulate dirt, dust, and spills.
1. Sweep or Vacuum: Start by sweeping or vacuuming the floor to remove any loose dirt or debris.
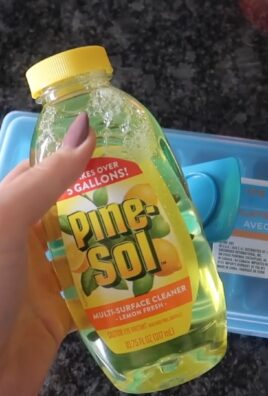
2. Mop the Floor: Fill a bucket with warm water and a few drops of dish soap or your favorite floor cleaner. Mop the floor thoroughly, paying attention to corners and edges.
3. Rinse (if necessary): If your floor cleaner leaves a residue, rinse the floor with clean water.
4. Dry the Floor: Allow the floor to air dry or use a clean towel to dry it.
Bonus Tip: Preventing Future Grime
The best way to keep your bathroom clean is to prevent grime from building up in the first place. Here are a few tips:
* Wipe Down Surfaces Regularly: Wipe down the shower walls and door after each shower to prevent soap scum buildup.
* Use a Squeegee: Keep a squeegee in the shower and use it to remove excess water from the walls and door after each shower.
* Ventilate the Bathroom: Always turn on the exhaust fan or open a window when showering or bathing to prevent moisture buildup.
* Clean Spills Immediately: Clean up any spills or splatters as soon as they happen to prevent them from staining or becoming sticky.
* Regular Deep Cleaning: Schedule a deep cleaning of your bathroom at least once a month to keep it in tip-top shape.
And there you have it! A sparkling clean bathroom, achieved with simple DIY solutions and a little elbow grease. Now, go enjoy your fresh, clean space! You deserve it!

Conclusion
So, there you have it! This DIY bathroom cleaning trick isn’t just a shortcut; it’s a game-changer for anyone who wants a sparkling clean bathroom without spending hours scrubbing or relying on harsh chemicals. We’ve walked you through a simple, effective method that utilizes ingredients you likely already have in your pantry. The beauty of this approach lies in its simplicity and adaptability.
Why is this a must-try? Because it saves you time, money, and effort. Commercial bathroom cleaners can be expensive and often contain ingredients that are harmful to both your health and the environment. This DIY solution offers a safer, more sustainable alternative that’s just as effective, if not more so, at tackling soap scum, hard water stains, and general grime. Imagine reclaiming your weekends from endless cleaning chores and instead enjoying a pristine bathroom that practically cleans itself!
But the benefits don’t stop there. This method is incredibly versatile. Feel free to experiment with different essential oils to customize the scent and add extra cleaning power. Lavender, tea tree, and eucalyptus are all excellent choices for their antibacterial and antifungal properties. You can also adjust the ratios of ingredients to suit the specific needs of your bathroom. For particularly stubborn stains, try letting the solution sit for a longer period before wiping it away.
Consider these variations to personalize your cleaning routine:
* For a deeper clean: Add a tablespoon of borax to the mixture for extra scrubbing power. Borax is a natural mineral that helps to break down tough stains and disinfect surfaces.
* For a fresh scent: Infuse your vinegar with citrus peels for a few days before using it in the cleaning solution. This will add a pleasant, natural fragrance to your bathroom.
* For grout cleaning: Create a paste of baking soda and water and apply it to the grout lines. Let it sit for a few minutes, then scrub with a brush and rinse with water.
* For shower doors: Use a squeegee after each shower to prevent water spots and soap scum buildup. This will significantly reduce the amount of cleaning required.
We are confident that once you try this DIY bathroom cleaning trick, you’ll never go back to store-bought cleaners. It’s a simple, effective, and eco-friendly way to keep your bathroom sparkling clean.
Now, it’s your turn! We encourage you to give this DIY method a try and see the amazing results for yourself. Don’t be afraid to experiment with different variations and find what works best for your bathroom. And most importantly, we want to hear about your experience! Share your tips, tricks, and before-and-after photos in the comments below. Let’s create a community of clean bathroom enthusiasts and help each other discover the best ways to keep our bathrooms sparkling! We believe in the power of shared knowledge and experiences, so please don’t hesitate to contribute your insights. Your feedback will not only help other readers but also inspire us to continue creating helpful and informative content. So, grab your ingredients, get cleaning, and let us know how it goes! Happy cleaning!
Frequently Asked Questions (FAQ)
1. Is this DIY bathroom cleaning solution safe for all bathroom surfaces?
Generally, yes, this DIY solution is safe for most bathroom surfaces, including tile, porcelain, glass, and stainless steel. However, it’s always a good idea to test it on a small, inconspicuous area first, especially if you have delicate or unusual surfaces like natural stone (marble, granite) or certain types of painted finishes. Vinegar, while effective, can be acidic and may etch or dull some surfaces over time. If you’re unsure, dilute the vinegar further or use a different cleaning agent altogether, such as a mild dish soap solution. For natural stone, specifically, consider using a pH-neutral cleaner designed for those materials. Avoid using abrasive scrubbers on delicate surfaces, as they can scratch the finish.
2. How often should I use this DIY bathroom cleaning solution?
The frequency of cleaning depends on how often your bathroom is used and how quickly it gets dirty. For a bathroom used daily by multiple people, a weekly cleaning is recommended. For less frequently used bathrooms, you may only need to clean every two weeks or even once a month. Regular maintenance, such as wiping down surfaces after each use and ventilating the bathroom to prevent moisture buildup, can help to extend the time between cleanings. Remember, prevention is key!
3. Can I store the leftover DIY bathroom cleaning solution?
Yes, you can store the leftover cleaning solution in a spray bottle for future use. However, it’s best to use it within a few weeks, as the ingredients may start to separate or lose their effectiveness over time. Be sure to label the bottle clearly to avoid any confusion. Store it in a cool, dark place away from direct sunlight and heat. If you notice any changes in the appearance or smell of the solution, it’s best to discard it and make a fresh batch.
4. What if I don’t have vinegar? Can I use something else?
Vinegar is a key ingredient in this DIY bathroom cleaning solution due to its acidity, which helps to dissolve soap scum and hard water stains. However, if you don’t have vinegar on hand, you can try using lemon juice as a substitute. Lemon juice also contains citric acid, which has similar cleaning properties. Use the same amount of lemon juice as you would vinegar in the recipe. Another alternative is to use a commercial bathroom cleaner that is specifically designed for the surfaces you are cleaning. However, be sure to read the label carefully and follow the instructions to avoid damaging your bathroom fixtures.
5. How do I get rid of stubborn mold and mildew in my bathroom?
Mold and mildew thrive in damp environments, so it’s important to address the underlying cause of the problem, such as poor ventilation or leaky pipes. To remove mold and mildew, you can use a solution of bleach and water (1 part bleach to 10 parts water). Apply the solution to the affected area, let it sit for a few minutes, and then scrub with a brush. Be sure to wear gloves and eye protection when working with bleach, and ventilate the area well. Alternatively, you can use a commercial mold and mildew remover. For a more natural approach, try using tea tree oil. Mix a few drops of tea tree oil with water in a spray bottle and spray it on the mold and mildew. Let it sit for a few minutes, then wipe it away. Tea tree oil has natural antifungal properties that can help to kill mold and mildew.
6. My bathroom has a strong odor. Will this DIY cleaning solution help?
Yes, this DIY cleaning solution can help to eliminate bathroom odors. Vinegar is a natural deodorizer that can neutralize unpleasant smells. Baking soda also helps to absorb odors. In addition to cleaning with this solution, you can also try placing a small bowl of baking soda in your bathroom to absorb odors. Another tip is to ventilate your bathroom regularly by opening a window or turning on the exhaust fan. You can also use essential oils to add a pleasant fragrance to your bathroom. Lavender, eucalyptus, and tea tree oil are all good choices for their antibacterial and deodorizing properties.
7. Can I use this DIY bathroom cleaning solution on my toilet?
Yes, you can use this DIY cleaning solution on your toilet. Simply spray the solution inside the bowl and around the rim, let it sit for a few minutes, and then scrub with a toilet brush. Flush the toilet to rinse. For a deeper clean, you can also add a cup of baking soda to the toilet bowl and let it sit for a few hours or overnight before scrubbing and flushing. This will help to remove stains and odors.
8. What kind of essential oils are best to use in this DIY bathroom cleaning solution?
The best essential oils to use in this DIY bathroom cleaning solution are those with antibacterial, antifungal, and deodorizing properties. Some popular choices include:
* Tea tree oil: Known for its powerful antibacterial and antifungal properties.
* Lavender oil: Has a calming scent and also possesses antibacterial properties.
* Eucalyptus oil: Has a refreshing scent and is known for its antiseptic and decongestant properties.
* Lemon oil: Has a bright, citrusy scent and is a natural degreaser.
* Peppermint oil: Has a refreshing scent and can help to deter pests.
When using essential oils, be sure to use pure, therapeutic-grade oils. Add a few drops of your chosen essential oil to the cleaning solution for added fragrance and cleaning power.
9. How can I prevent soap scum buildup in my shower?
Preventing soap scum buildup is much easier than removing it. Here are a few tips:
* Use liquid soap instead of bar soap: Bar soap contains talc, which contributes to soap scum buildup.
* Squeegee your shower walls and door after each use: This will remove excess water and soap residue.
* Ventilate your bathroom: Run the exhaust fan during and after showering to reduce moisture buildup.
* Wipe down your shower walls and door regularly: Use a microfiber cloth or sponge to wipe down the surfaces after each shower.
* Consider using a water softener: Hard water contributes to soap scum buildup.
By following these tips, you can significantly reduce the amount of soap scum buildup in your shower and make cleaning much easier.
Leave a Comment