

Forgotten cleaning spots – we all have them! Those little nooks and crannies in our homes that somehow escape our regular cleaning routine. Maybe it’s the top of the refrigerator, the inside of the dishwasher, or even the grout between your tiles. Let’s be honest, life gets busy, and sometimes these areas just get overlooked. But fear not, fellow cleaning enthusiasts! This article is your ultimate guide to tackling those neglected areas and bringing a fresh sparkle back to your home.
Throughout history, maintaining a clean home has been more than just aesthetics. In many cultures, cleanliness is associated with health, prosperity, and even spiritual well-being. While our modern cleaning products are a far cry from the natural remedies used by our ancestors, the underlying principle remains the same: a clean home is a happy home.
Why is it so important to address these forgotten cleaning spots? Well, for starters, they can harbor dust, allergens, and even bacteria, impacting your indoor air quality and potentially affecting your health. Plus, letting grime build up over time can make these areas much harder to clean later on. I’m here to share some simple yet effective DIY tricks and hacks that will help you conquer those overlooked areas and create a healthier, more inviting living space. Get ready to roll up your sleeves and rediscover the joy of a truly clean home!
DIY Deep Clean: Conquering Those Forgotten Cleaning Spots
Okay, let’s be honest, we all have those spots in our homes that we conveniently “forget” to clean. You know, the ones that are out of sight, out of mind… until they’re not. Well, today, we’re tackling those neglected areas head-on! I’m going to walk you through a deep clean of those forgotten zones, leaving your house feeling fresher and cleaner than ever. Get ready to roll up your sleeves – it’s cleaning time!
Phase 1: Kitchen Deep Dive
The kitchen, the heart of the home, is often a breeding ground for forgotten grime. Let’s get started!
Cleaning the Dishwasher
Yes, the machine that cleans our dishes needs cleaning too!
1. Empty the Dishwasher: Make sure your dishwasher is completely empty. No stray forks or rogue coffee mugs allowed!
2. Clean the Filter: This is where all the food particles accumulate. Locate the filter (usually at the bottom of the dishwasher) and remove it. Rinse it thoroughly under hot water, scrubbing away any debris with an old toothbrush. If it’s particularly grimy, soak it in a solution of warm water and dish soap for about 30 minutes before scrubbing.
3. Vinegar Wash: Place a dishwasher-safe cup filled with one cup of white vinegar on the top rack of the dishwasher. Run the dishwasher on the hottest cycle. The vinegar will help to dissolve grease and grime and eliminate odors.
4. Baking Soda Boost: After the vinegar cycle, sprinkle one cup of baking soda on the bottom of the dishwasher. Run a short, hot cycle. The baking soda will further deodorize and freshen the dishwasher.
5. Wipe Down the Door and Seals: Use a damp cloth with a little dish soap to wipe down the dishwasher door, paying special attention to the seals. These areas can trap food and mildew.
Tackling the Microwave
Microwave splatters are the bane of my existence! Here’s how to make quick work of them:
1. Steam Clean: Fill a microwave-safe bowl with one cup of water and a few tablespoons of white vinegar or lemon juice. Microwave on high for 5-7 minutes, or until the water boils and the microwave is filled with steam.
2. Let it Sit: Leave the door closed for another 2-3 minutes to allow the steam to loosen the grime.
3. Wipe Clean: Carefully remove the bowl (it will be hot!). Use a damp cloth or sponge to easily wipe away the loosened food splatters. The steam should have made them incredibly easy to remove.
4. Clean the Turntable: Remove the turntable and wash it with warm, soapy water.
5. Wipe Down the Exterior: Finish by wiping down the exterior of the microwave with a damp cloth.
Oven Cleaning (Without Harsh Chemicals!)
Nobody likes cleaning the oven, but it’s a must. This method uses natural ingredients and avoids harsh chemicals.
1. Remove Racks: Take out the oven racks and soak them in a sink or tub filled with hot, soapy water.
2. Baking Soda Paste: Mix ½ cup of baking soda with a few tablespoons of water to create a paste.
3. Apply the Paste: Spread the baking soda paste all over the interior surfaces of the oven, avoiding the heating elements.
4. Let it Sit: Let the paste sit for at least 12 hours, or even overnight. The longer it sits, the easier the grime will be to remove.
5. Scrub and Wipe: After the soaking time, use a damp sponge or cloth to scrub away the baking soda paste. You may need to use a little elbow grease for stubborn spots.
6. Vinegar Rinse: Fill a spray bottle with white vinegar and spray down the interior of the oven. The vinegar will react with any remaining baking soda, creating a fizzing action that helps to loosen any remaining grime.
7. Wipe Again: Wipe down the oven again with a clean, damp cloth to remove any remaining residue.
8. Clean the Racks: Scrub the oven racks with a sponge or brush to remove any baked-on food. Rinse them thoroughly and dry them before placing them back in the oven.
Cleaning the Range Hood Filter
This is one of the most forgotten spots! A greasy range hood filter is a fire hazard and reduces the hood’s effectiveness.
1. Remove the Filter: Carefully remove the range hood filter. Consult your owner’s manual if you’re unsure how to do this.
2. Soak in Hot, Soapy Water: Fill a sink or tub with hot water and add a generous amount of dish soap. Let the filter soak for at least 30 minutes to loosen the grease.
3. Scrub the Filter: Use a scrub brush or sponge to scrub away the grease and grime. You may need to use a degreaser for particularly stubborn areas.
4. Rinse Thoroughly: Rinse the filter thoroughly with hot water to remove all traces of soap and grease.
5. Dry Completely: Allow the filter to dry completely before replacing it in the range hood.
Phase 2: Bathroom Blitz
The bathroom can quickly accumulate soap scum, mildew, and other unpleasantness. Let’s get it sparkling!
Showerhead Deep Clean
Hard water deposits can clog your showerhead and reduce water pressure.
1. Vinegar Soak: Fill a plastic bag with white vinegar.
2. Secure the Bag: Place the bag over the showerhead, ensuring that the showerhead is completely submerged in the vinegar. Secure the bag with a rubber band or twist tie.
3. Soak Overnight: Let the showerhead soak in the vinegar overnight.
4. Remove and Rinse: Remove the bag and discard the vinegar. Run the shower for a few minutes to flush out any remaining vinegar and loosened deposits.
5. Scrub Stubborn Spots: If there are any stubborn deposits remaining, use an old toothbrush to scrub them away.
Toilet Tank Cleaning
A clean toilet tank means a cleaner toilet bowl!
1. Turn Off the Water: Turn off the water supply to the toilet.
2. Flush the Toilet: Flush the toilet to empty the tank.
3. Vinegar Power: Pour 2-3 cups of white vinegar into the tank.
4. Let it Sit: Let the vinegar sit for at least 12 hours, or even overnight.
5. Scrub the Tank: Use a toilet brush or sponge to scrub the inside of the tank, paying attention to any mineral deposits or stains.
6. Turn On the Water and Flush: Turn the water supply back on and allow the tank to fill. Flush the toilet several times to rinse out the vinegar and any loosened debris.
Grout Cleaning
Grimey grout can make even the cleanest bathroom look dirty.
1. Baking Soda Paste: Mix baking soda with a small amount of water to create a thick paste.
2. Apply the Paste: Apply the baking soda paste to the grout lines.
3. Let it Sit: Let the paste sit for 10-15 minutes.
4. Scrub the Grout: Use an old toothbrush or grout brush to scrub the grout lines.
5. Vinegar Rinse: Spray the grout lines with white vinegar. The vinegar will react with the baking soda, creating a fizzing action that helps to loosen any remaining grime.
6. Wipe Clean: Wipe the grout lines clean with a damp cloth or sponge.
Phase 3: Living Areas and Beyond
Let’s not forget the living areas and those often-overlooked spots throughout the house.
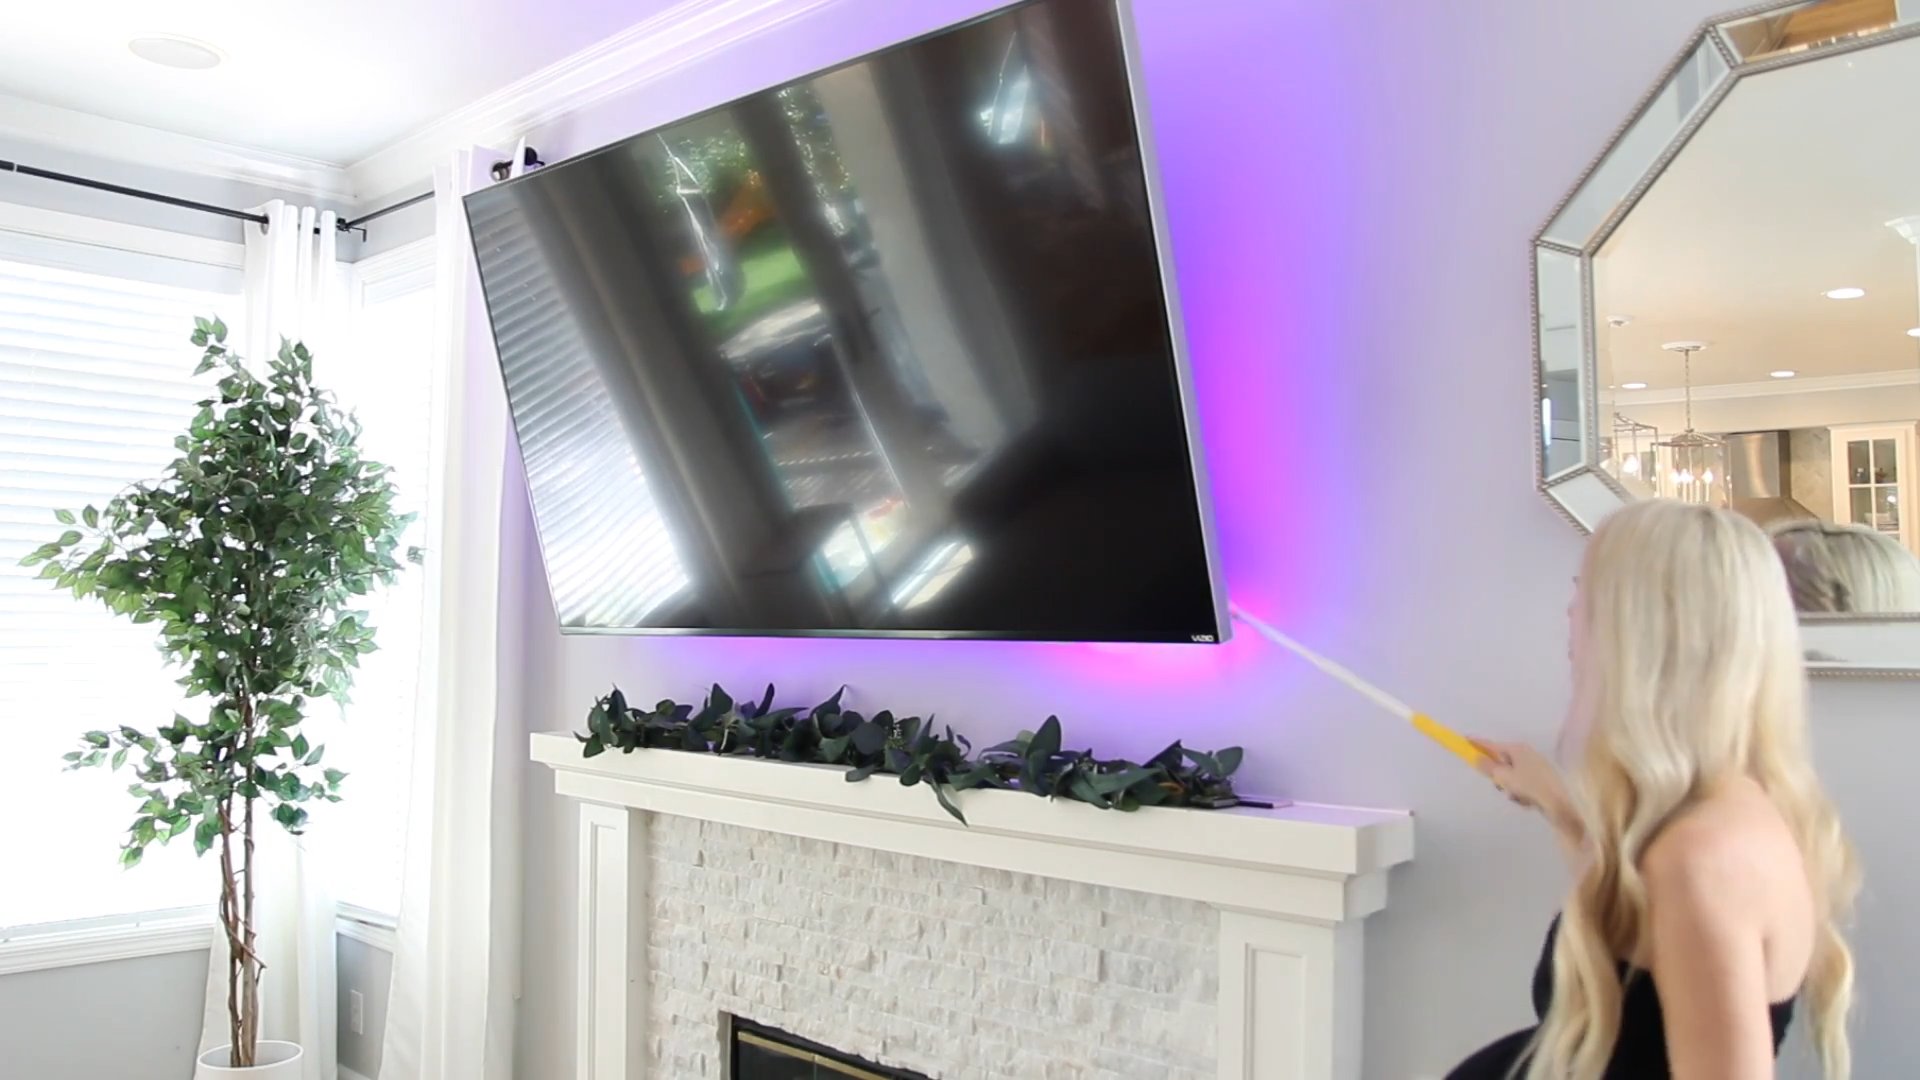
Cleaning Light Fixtures
Dusty light fixtures reduce brightness and can even be a fire hazard.
1. Turn Off the Power: Always turn off the power to the light fixture before cleaning it.
2. Dust the Fixture: Use a duster or vacuum with a brush attachment to remove loose dust and debris.
3. Wash Glass Components: Remove any glass components and wash them with warm, soapy water. Rinse them thoroughly and dry them before replacing them.
4. Wipe Down the Fixture: Use a damp cloth to wipe down the rest of the fixture. Be careful not to get any water inside the electrical components.
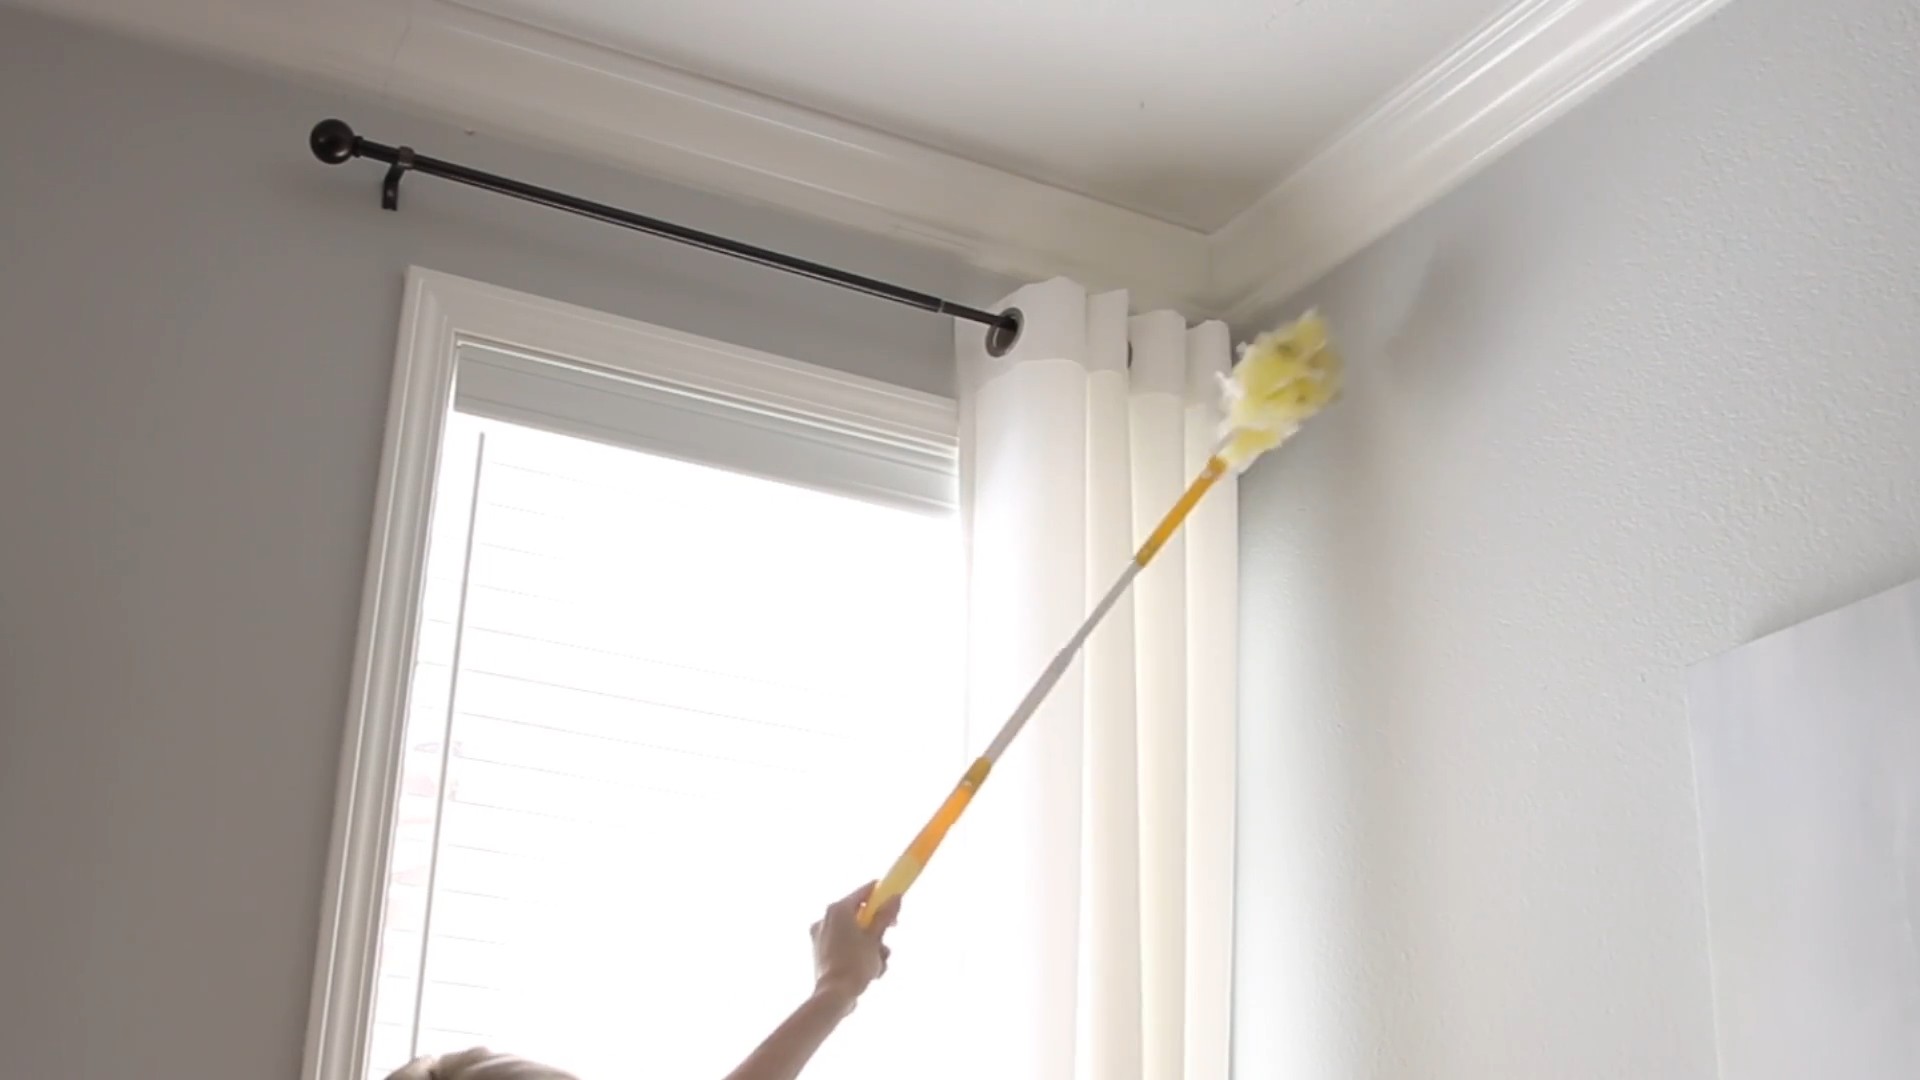
Dusting Baseboards and Trim
Baseboards and trim are dust magnets!
1. Dry Dusting: Use a duster or vacuum with a brush attachment to remove loose dust and debris.
2. Wipe with Damp Cloth: Use a damp cloth with a little dish soap to wipe down the baseboards and trim.
3. Dry Thoroughly: Dry the baseboards and trim with a clean cloth.
Cleaning Door Knobs and Light Switches
These high-touch
Conclusion
So, there you have it! No more battling those stubborn, forgotten cleaning spots that seem to mock your best efforts. This simple, yet incredibly effective, DIY cleaning trick is a game-changer for anyone who wants a truly sparkling home without spending hours scrubbing or resorting to harsh chemicals. It’s about working smarter, not harder, and reclaiming your precious time.
Why is this a must-try? Because it’s economical, environmentally friendly, and delivers results you can actually see. Think about all those overlooked areas – the grime buildup around your faucet bases, the stubborn stains on your shower grout, the sticky residue on your light switches. These are the places that often get neglected, but they contribute significantly to the overall cleanliness and freshness of your home. This DIY solution tackles them head-on, leaving them looking brand new.
But the beauty of this trick lies in its adaptability. Feel free to experiment with variations to suit your specific needs and preferences. For instance, if you’re dealing with particularly tough stains, consider adding a tablespoon of baking soda to the mixture for extra scrubbing power. For a more pleasant scent, a few drops of your favorite essential oil (lemon, lavender, or tea tree are excellent choices) can be incorporated. If you are dealing with mold or mildew, increase the concentration of vinegar in the solution. Always test in an inconspicuous area first, especially on delicate surfaces.
Don’t be afraid to adjust the consistency of the paste to your liking. A thicker paste is ideal for vertical surfaces, while a slightly thinner consistency might be better for soaking into porous materials. The key is to find what works best for you and the specific cleaning challenge you’re facing.
This DIY cleaning solution isn’t just about removing dirt and grime; it’s about creating a healthier and more inviting living space. By eliminating those forgotten cleaning spots, you’re reducing allergens, preventing the growth of mold and mildew, and creating a more pleasant environment for yourself and your family. It’s a small change that can make a big difference in the overall well-being of your home.
We are confident that once you try this DIY cleaning trick, you’ll be amazed by the results. It’s a simple, effective, and affordable way to tackle those often-overlooked areas and achieve a truly sparkling clean home. So, ditch the harsh chemicals and embrace this natural, eco-friendly solution.
Now, it’s your turn! We encourage you to give this DIY cleaning trick a try and see the difference it can make in your home. We’re eager to hear about your experiences. Share your before-and-after photos, your tips and tricks, and any variations you’ve discovered in the comments below. Let’s create a community of clean-home enthusiasts who are passionate about sharing their knowledge and helping each other achieve a sparkling clean living space. Your insights could be invaluable to others who are struggling with those same forgotten cleaning spots. Let us know how this DIY cleaning trick worked for you!
Frequently Asked Questions (FAQ)
What exactly are “forgotten cleaning spots”?
Forgotten cleaning spots are those areas in your home that often get overlooked during regular cleaning routines. These are typically the nooks and crannies, hard-to-reach places, and areas that accumulate grime and dirt over time without being regularly addressed. Examples include:
* Grout between tiles in bathrooms and kitchens
* Around faucet bases and drains
* Inside shower door tracks
* Light switches and door handles
* Baseboards and trim
* The tops of door frames and window sills
* Behind toilets and under sinks
* Inside appliances like dishwashers and washing machines (seals and dispensers)
What makes this DIY cleaning trick better than commercial cleaners?
This DIY cleaning trick offers several advantages over commercial cleaners:
* **Cost-effectiveness:** The ingredients (vinegar, baking soda, dish soap) are typically inexpensive and readily available in most households.
* **Eco-friendliness:** It avoids the use of harsh chemicals that can be harmful to the environment and your health.
* **Customizability:** You can adjust the ingredients and concentrations to suit your specific cleaning needs and preferences.
* **Reduced exposure to harmful chemicals:** Many commercial cleaners contain harsh chemicals that can irritate the skin, eyes, and respiratory system. This DIY solution is gentler and safer.
* **Effectiveness:** It effectively removes grime, dirt, and stains from various surfaces without leaving behind harsh chemical residues.
What surfaces can I safely use this DIY cleaning solution on?
This DIY cleaning solution is generally safe for use on a variety of surfaces, including:
* Tile (ceramic, porcelain)
* Grout
* Stainless steel
* Plastic
* Glass
* Painted surfaces (test in an inconspicuous area first)
* Sealed wood (test in an inconspicuous area first)
However, it’s important to exercise caution and test the solution in an inconspicuous area before applying it to the entire surface, especially on delicate materials like:
* Natural stone (marble, granite) – vinegar can etch these surfaces
* Unsealed wood
* Certain types of painted surfaces
Can I use this solution to clean mold or mildew?
Yes, vinegar is a natural disinfectant and can be effective in killing mold and mildew. However, for heavy mold infestations, you may need to increase the concentration of vinegar in the solution or use a dedicated mold and mildew cleaner. Always ensure proper ventilation when cleaning mold and mildew.
How often should I clean these “forgotten cleaning spots”?
The frequency of cleaning these spots depends on the level of use and exposure to dirt and grime. As a general guideline:
* **High-traffic areas (bathrooms, kitchens):** Clean these spots at least once a month.
* **Low-traffic areas (guest rooms, hallways):** Clean these spots every few months.
* **Areas prone to mold and mildew (showers, damp areas):** Clean these spots more frequently, perhaps every week or two.
Regular maintenance will prevent buildup and make cleaning easier in the long run.
What if the stains are really stubborn?
For stubborn stains, try these tips:
* **Increase the concentration of vinegar or baking soda:** Add more of the active ingredient to the paste.
* **Let the paste sit longer:** Allow the paste to sit on the stain for 15-30 minutes before scrubbing.
* **Use a scrub brush or old toothbrush:** These tools can help to dislodge stubborn dirt and grime.
* **Repeat the process:** You may need to repeat the cleaning process several times to fully remove the stain.
* **Consider a magic eraser:** For extremely stubborn marks on hard surfaces, a magic eraser can be effective, but use it sparingly as it can be abrasive.
Can I store the leftover cleaning paste?
While it’s best to use the cleaning paste fresh, you can store any leftover paste in an airtight container for a few days. However, the effectiveness of the paste may diminish over time, especially if it dries out. It’s generally recommended to make a fresh batch each time you clean.
What essential oils are best to add for scent?
Some popular and effective essential oils for cleaning include:
* **Lemon:** Has a fresh, citrusy scent and is known for its degreasing properties.
* **Lavender:** Has a calming scent and is known for its antibacterial properties.
* **Tea Tree:** Has a medicinal scent and is known for its antifungal and antibacterial properties.
* **Eucalyptus:** Has a refreshing scent and is known for its antiseptic properties.
* **Peppermint:** Has a invigorating scent and is known for its antimicrobial properties.
When adding essential oils, use only a few drops (5-10 drops per batch) to avoid overpowering the scent.
Is this DIY cleaning trick safe for pets and children?
This DIY cleaning trick is generally safer for pets and children than commercial cleaners, as it avoids the use of harsh chemicals. However, it’s still important to take precautions:
* Keep the cleaning paste out of reach of children and pets.
* Ensure proper ventilation when cleaning.
* Rinse surfaces thoroughly after cleaning to remove any residue.
* If your pet or child ingests the cleaning paste, contact a veterinarian or poison control center immediately.
What kind of dish soap should I use?
Any mild dish soap will work for this DIY cleaning trick. Choose a dish soap that is gentle on your hands and effective at cutting through grease. Avoid using dish soaps that contain harsh chemicals or fragrances, as these can irritate the skin and respiratory system.
How do I clean grout with this solution?
To clean grout, apply the paste generously to the grout lines. Let it sit for 10-15 minutes to allow the vinegar and baking soda to work their magic. Then, use a scrub brush or old toothbrush to scrub the grout lines thoroughly. Rinse with water and wipe clean. For stubborn grout stains, you may need to repeat the process or use a grout cleaner specifically designed for tough stains.


Leave a Comment