

Grow Fresh Thyme Kitchen: Imagine stepping into your kitchen, not just to cook, but to snip fresh, fragrant thyme directly from a thriving plant. Sounds dreamy, right? Well, it’s more achievable than you think! For centuries, cultivating herbs indoors has been a cherished practice, connecting us to nature even within the confines of our homes. From ancient Egyptians using herbs for medicinal purposes to medieval monks tending their monastery gardens, the desire to nurture plants close at hand is deeply ingrained in human history.
But let’s be honest, life gets busy. We often find ourselves reaching for dried herbs at the grocery store, sacrificing flavor and freshness. That’s where this DIY guide comes in! I’m going to share some simple, yet effective, tricks to help you grow fresh thyme kitchen, even if you don’t have a green thumb (yet!).
This isn’t just about having access to delicious thyme; it’s about bringing a touch of nature into your daily life, reducing your reliance on store-bought produce, and experiencing the joy of nurturing something from seed to harvest. Plus, a thriving thyme plant adds a beautiful, aromatic touch to your kitchen decor. So, are you ready to ditch the dried stuff and embark on a flavorful adventure? Let’s get started!
Grow Fresh Thyme Indoors: A Beginner’s Guide
Hey there, fellow herb enthusiasts! I’m so excited to share my secrets to growing fresh, fragrant thyme right in your kitchen. Forget those sad, dried-up jars from the supermarket – we’re talking vibrant, flavorful thyme at your fingertips, ready to elevate your culinary creations. Trust me, it’s easier than you think!
What You’ll Need
Before we dive in, let’s gather our supplies. Here’s a checklist to make sure you’re all set:
* Thyme Seeds or a Thyme Plant: You can start from seeds (more rewarding, but takes longer) or buy a small established plant (instant gratification!). I personally prefer starting from seeds, but both work great.
* Small Pots or Containers: Choose pots with drainage holes. Thyme doesn’t like soggy feet! I recommend 4-6 inch pots to start.
* Well-Draining Potting Mix: This is crucial! Regular garden soil is too heavy. Look for a mix specifically formulated for herbs or seedlings.
* Grow Lights (Optional, but Recommended): Especially if you don’t have a super sunny windowsill. Thyme needs lots of light.
* Watering Can or Spray Bottle: For gentle watering.
* Small Shovel or Trowel: For planting.
* Pebbles or Gravel (Optional): To improve drainage at the bottom of the pot.
* Seed Starting Tray (If starting from seeds): Makes the germination process easier.
* Clear Plastic Wrap or a Humidity Dome (If starting from seeds): To create a mini-greenhouse.
Starting from Seeds: The Patient Gardener’s Path
Okay, let’s get our hands dirty! Starting from seeds is a bit more involved, but the satisfaction of watching those tiny sprouts emerge is totally worth it.
1. Prepare Your Seed Starting Tray: Fill your seed starting tray with the well-draining potting mix. Gently press down to level the soil.
2. Sow the Seeds: Thyme seeds are tiny! Sprinkle them thinly over the surface of the soil. You don’t want to overcrowd them.
3. Cover Lightly: Gently cover the seeds with a very thin layer of potting mix. They need light to germinate, so don’t bury them too deep.
4. Water Gently: Use a spray bottle to mist the soil thoroughly. You want it moist, but not soaking wet.
5. Create a Mini-Greenhouse: Cover the seed starting tray with clear plastic wrap or a humidity dome. This will help retain moisture and warmth, which are essential for germination.
6. Find a Warm, Bright Spot: Place the tray in a warm location with bright, indirect light. A sunny windowsill or under grow lights works perfectly.
7. Maintain Moisture: Check the soil daily and mist with water as needed to keep it consistently moist.
8. Be Patient: Thyme seeds can take anywhere from 14 to 21 days to germinate. Don’t give up!
9. Remove the Cover: Once the seedlings emerge, remove the plastic wrap or humidity dome gradually over a few days to acclimate them to the drier air.
10. Thin the Seedlings: Once the seedlings have a few sets of true leaves (the leaves that look like thyme leaves, not the initial seed leaves), thin them out, leaving only the strongest seedlings. This gives them room to grow.
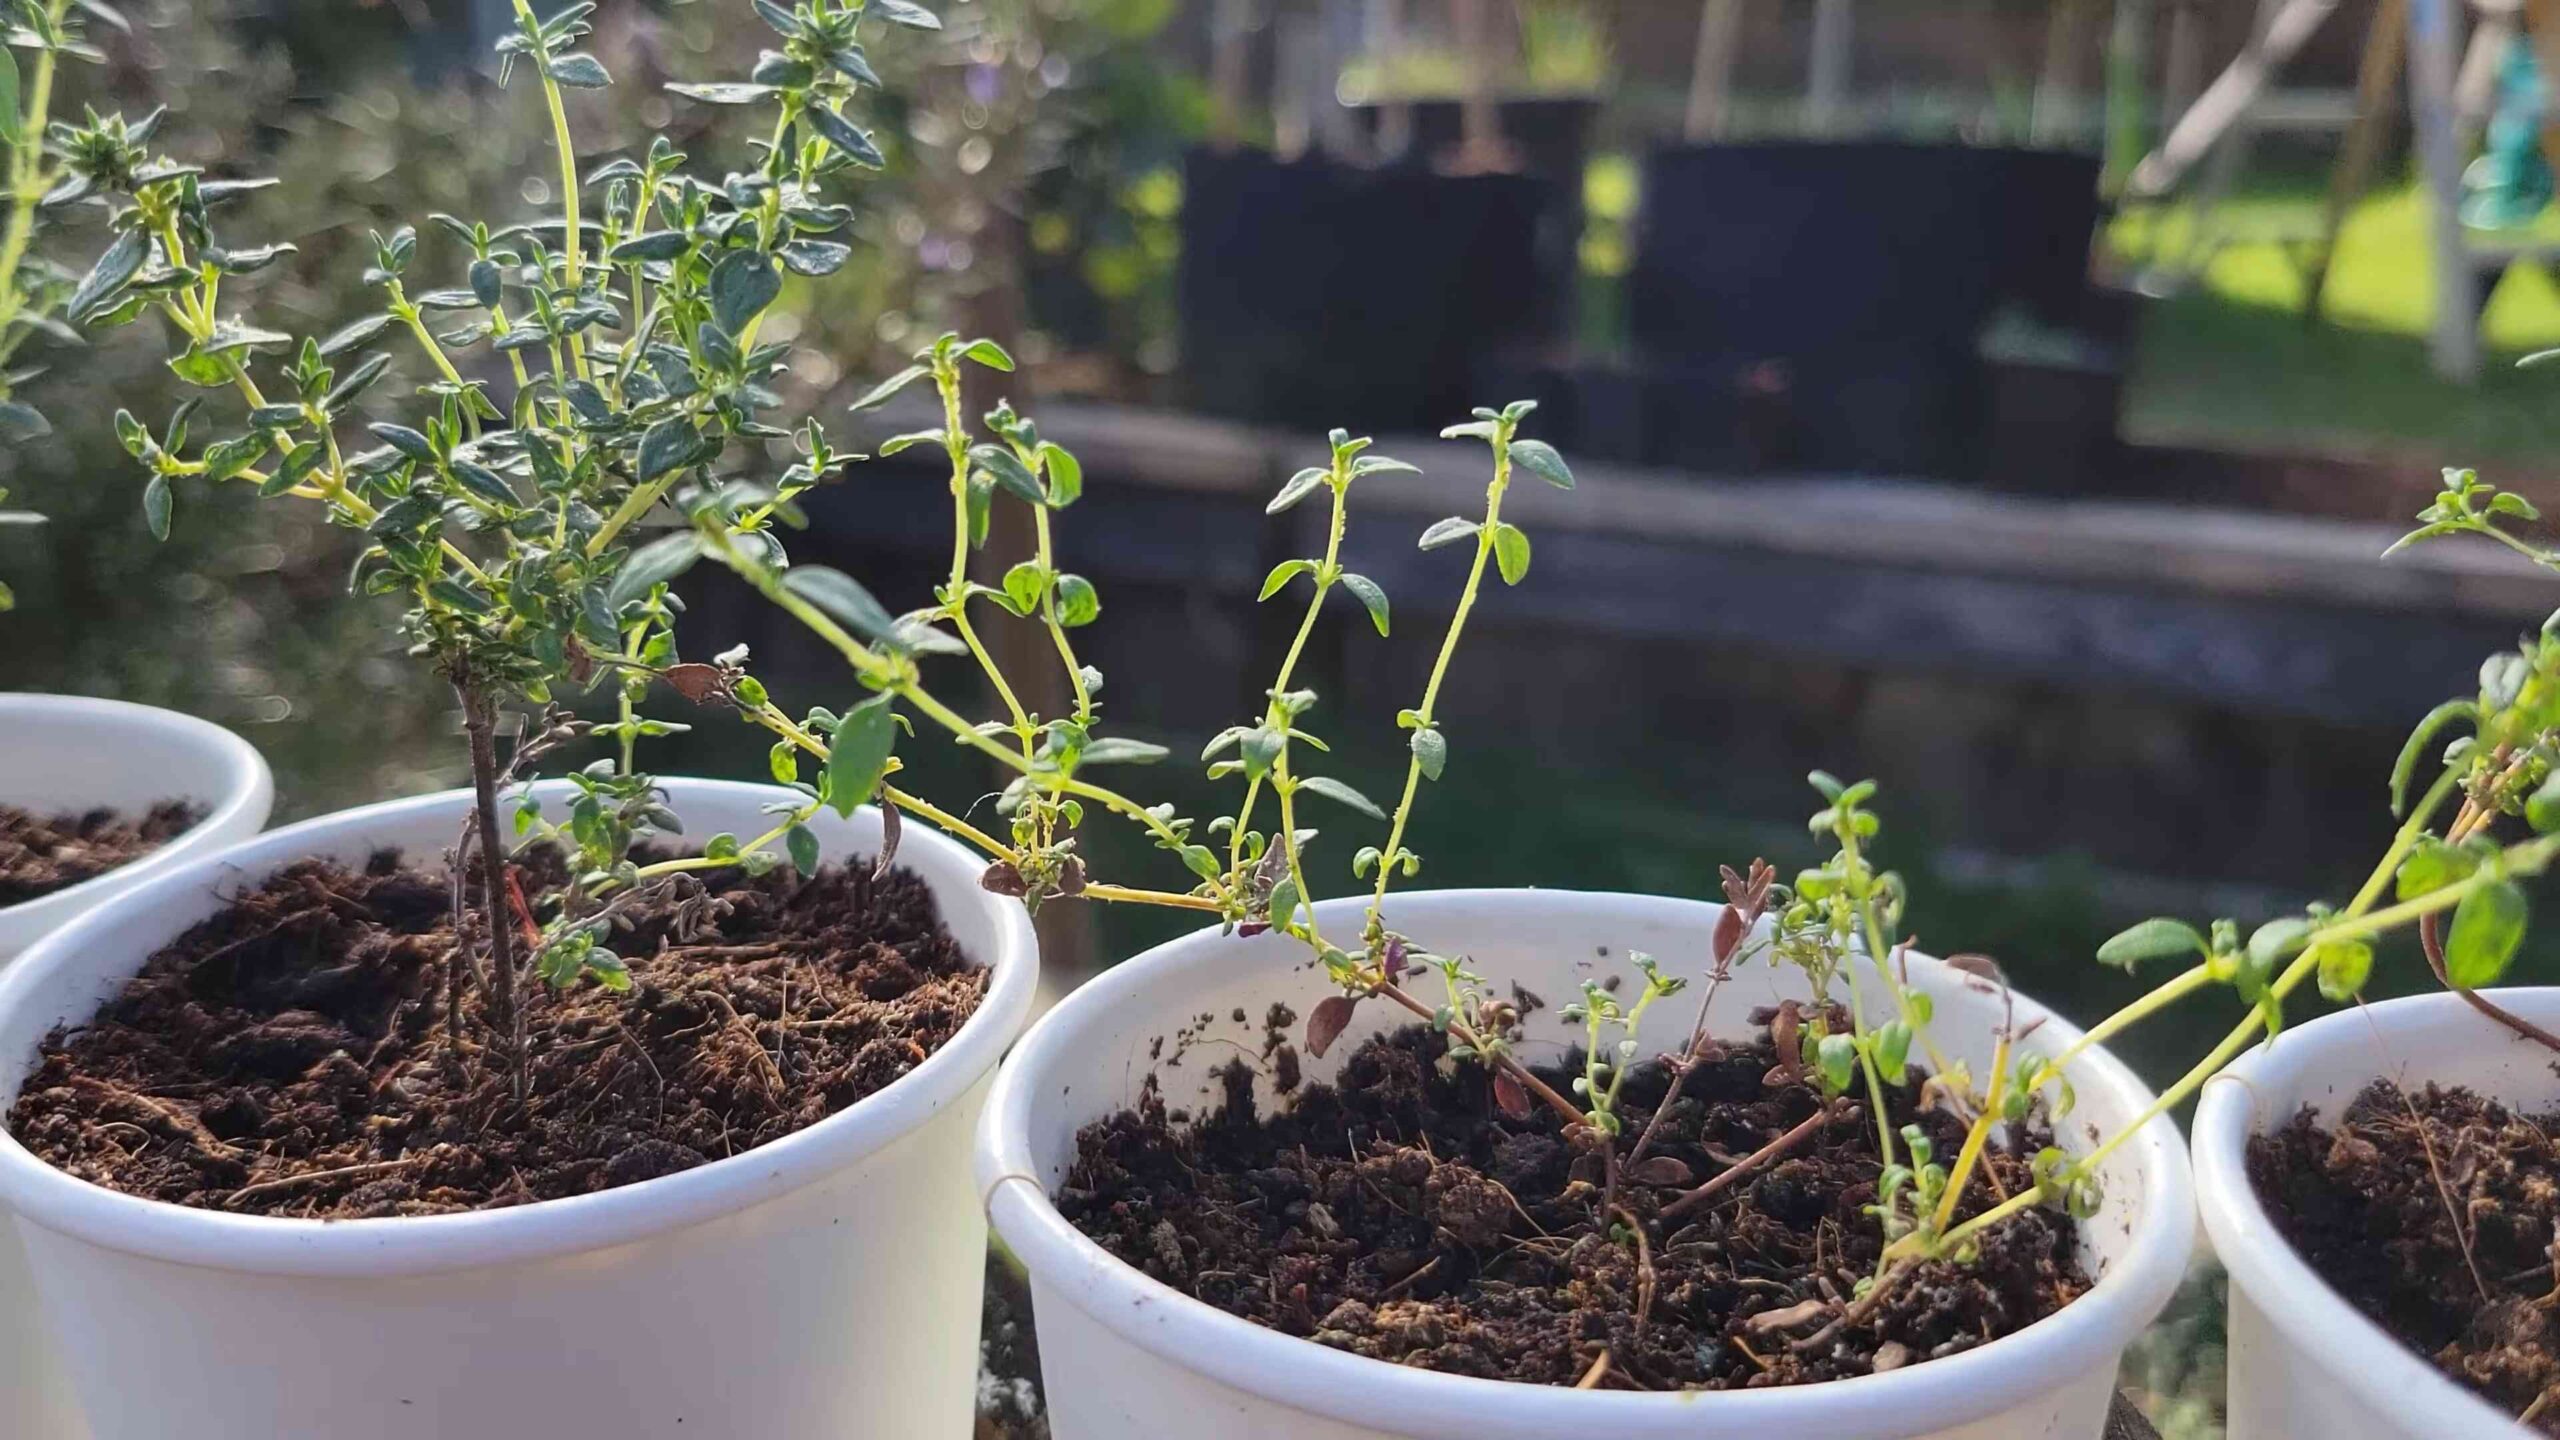
11. Transplant to Pots: When the seedlings are a few inches tall, carefully transplant them into individual pots filled with well-draining potting mix.
Planting a Thyme Plant: The Quick Start
If you opted for a thyme plant from a nursery, you’re already halfway there! This is a much faster way to get started.
1. Choose Your Pot: Select a pot that’s slightly larger than the container your thyme plant came in. Make sure it has drainage holes!
2. Prepare the Pot: Add a layer of pebbles or gravel to the bottom of the pot to improve drainage. This is optional, but I find it helps prevent root rot.
3. Add Potting Mix: Fill the pot with well-draining potting mix, leaving a few inches of space at the top.
4. Remove the Thyme Plant: Gently remove the thyme plant from its original container. Loosen the roots slightly with your fingers.
5. Plant the Thyme: Place the thyme plant in the center of the pot. Make sure the top of the root ball is level with the surrounding soil.
6. Fill with Soil: Fill in the remaining space around the plant with potting mix. Gently press down to secure the plant.
7. Water Thoroughly: Water the thyme plant thoroughly until water drains out of the drainage holes.
Caring for Your Thyme: The Key to Success
Now that your thyme is planted, it’s time to learn how to keep it happy and healthy.
1. Light: Thyme needs at least 6-8 hours of sunlight per day. If you don’t have a sunny windowsill, use grow lights. I use LED grow lights and they work wonders.
2. Watering: Water your thyme when the top inch of soil feels dry to the touch. Be careful not to overwater, as this can lead to root rot. Thyme prefers to be on the drier side.
3. Fertilizing: Feed your thyme with a diluted liquid fertilizer every few weeks during the growing season (spring and summer). I use a balanced fertilizer specifically formulated for herbs.
4. Pruning: Prune your thyme regularly to encourage bushier growth. Pinch off the tips of the stems to promote branching. Don’t be afraid to harvest! The more you harvest, the more it will grow.
5. Temperature: Thyme prefers temperatures between 60-70°F (15-21°C).
6. Air Circulation: Good air circulation is important to prevent fungal diseases. Make sure your thyme is not overcrowded and that there is good airflow around the plant.
7. Repotting: As your thyme plant grows, you may need to repot it into a larger container. Choose a pot that’s a few inches larger in diameter.
Harvesting Your Thyme: The Delicious Reward
The best part of growing your own thyme is, of course, harvesting it!
1. When to Harvest: You can start harvesting thyme once the plant is established and has grown several inches tall.
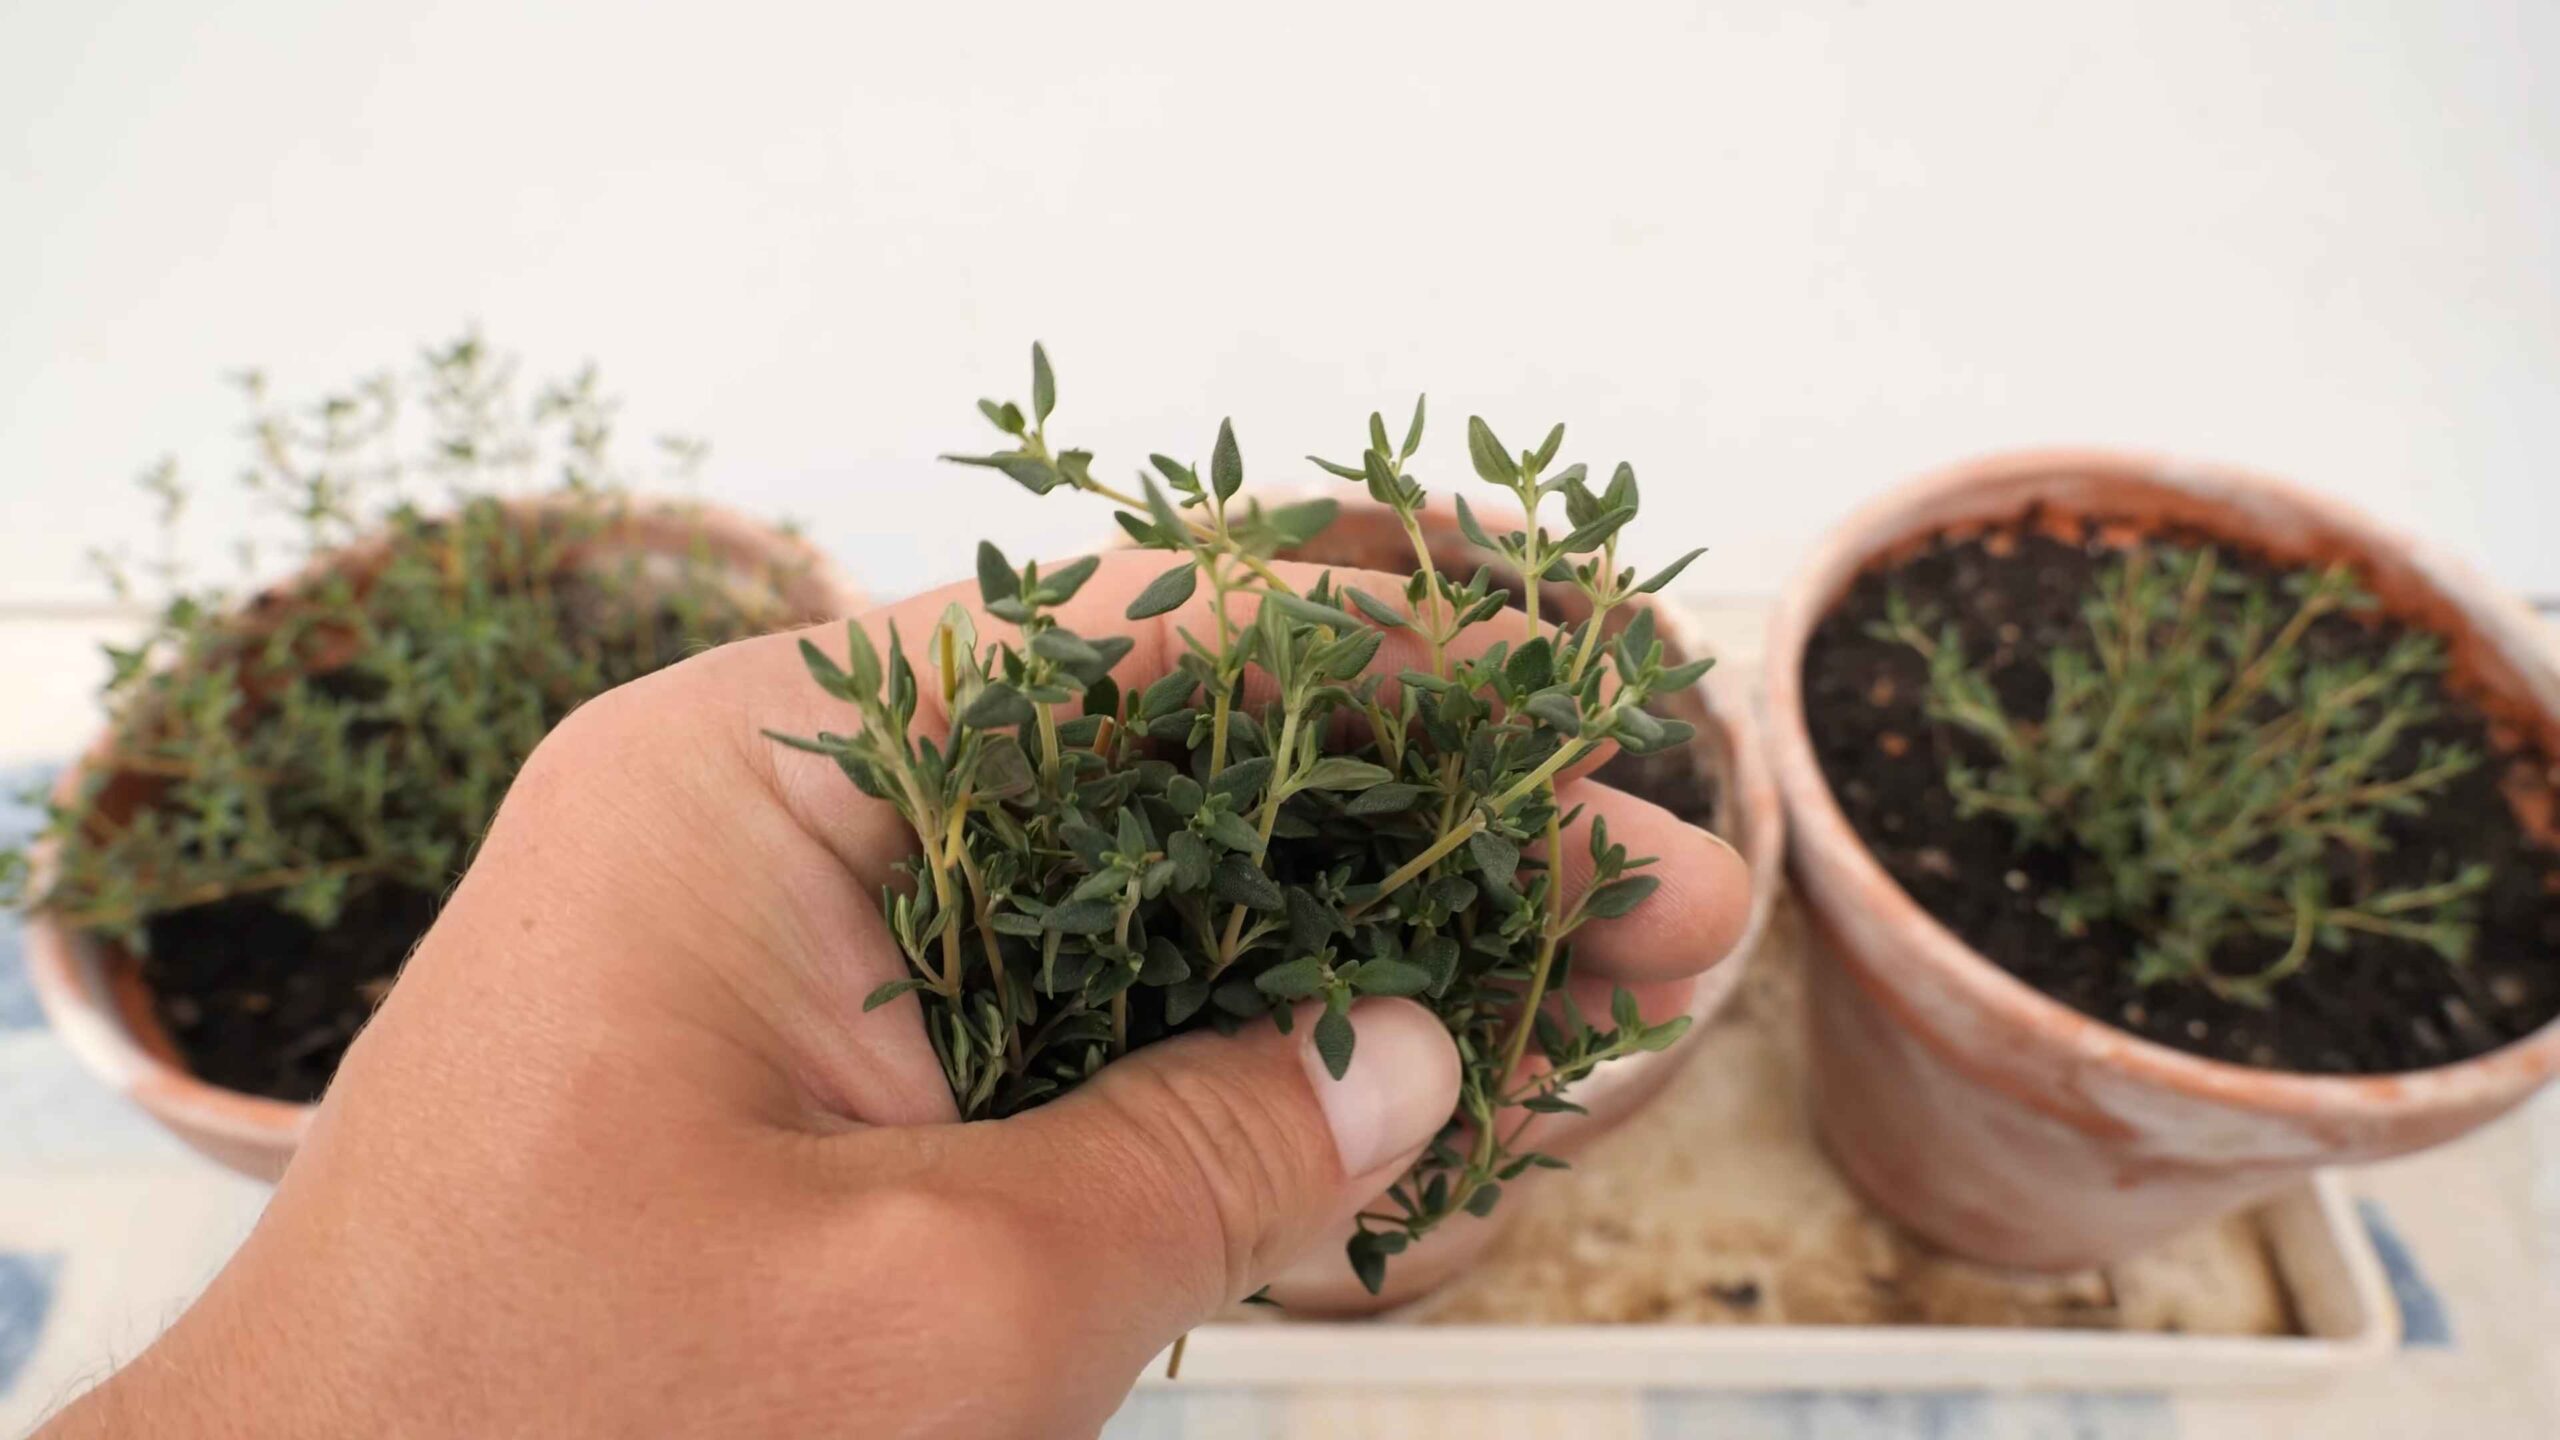
2. How to Harvest: Use scissors or pruning shears to cut off stems of thyme. Cut just above a leaf node (the point where leaves grow from the stem).
3. Harvesting Tips: Harvest in the morning, after the dew has dried. This is when the thyme’s essential oils are most concentrated.
4. Using Fresh Thyme: Fresh thyme can be used in a variety of dishes, from soups and stews to roasted vegetables and meats.
5. Drying Thyme: If you have more thyme than you can use fresh, you can dry it for later use. Tie the stems together and hang them upside down in a cool, dry place. Once the leaves are dry, crumble them and store them in an airtight container.
Troubleshooting: Common Thyme Problems
Even with the best care, you might encounter a few problems along the way. Here are some common issues and how to fix them:
* Yellowing Leaves: This could be a sign of overwatering, underwatering, or nutrient deficiency. Check the soil moisture and adjust your watering accordingly. If the soil is dry, water thoroughly. If the soil is soggy, let it dry out before watering again. You may also need to fertilize your thyme.
* Leggy Growth: This is usually caused by insufficient light. Move your thyme to a brighter location or use grow lights.
* Root Rot: This is caused by overwatering. Make sure your pot has drainage holes and that you’re not watering too frequently.
* Pests: Thyme is generally pest-resistant, but you may occasionally encounter aphids or spider mites. These can be treated with insecticidal soap.
Enjoy Your Homegrown Thyme!
Growing your own thyme is a rewarding experience that will add flavor and fragrance to your kitchen. With a little care and attention, you’ll be enjoying fresh thyme all year round. Happy gardening!
Conclusion
So, there you have it! Growing your own fresh thyme in the kitchen isn’t just a charming idea; it’s a game-changer for your culinary creations. Imagine the convenience of snipping off fragrant sprigs whenever a recipe calls for that distinctive, earthy flavor. No more last-minute trips to the grocery store or settling for dried thyme that simply can’t compare. This simple DIY trick empowers you to have a constant supply of fresh, vibrant thyme right at your fingertips.
But the benefits extend beyond mere convenience. Think about the cost savings! Over time, those small packets of fresh herbs from the supermarket can really add up. With a small investment in a thyme plant or even just a few cuttings, you can enjoy a continuous harvest for months, even years, to come. Plus, you’ll know exactly where your thyme is coming from and how it’s been grown – no pesticides, no questionable origins, just pure, unadulterated flavor.
And let’s not forget the sheer joy of nurturing something green and vibrant in your own home. Watching your thyme plant thrive is incredibly rewarding, adding a touch of nature and tranquility to your kitchen space. It’s a small but significant way to connect with the natural world, even in the midst of a busy urban life.
Ready to take your thyme game to the next level? Consider experimenting with different varieties! Lemon thyme offers a bright, citrusy twist, while creeping thyme is perfect for ground cover if you decide to transplant some of your kitchen thyme outdoors. You can also try propagating your thyme by taking cuttings and rooting them in water or soil, effectively multiplying your supply and sharing the bounty with friends and family.
Don’t be afraid to get creative with your thyme usage, too. Beyond the usual soups, stews, and roasted meats, try infusing olive oil with thyme for a flavorful drizzle, adding it to homemade bread or biscuits, or even using it to create a refreshing herbal tea. The possibilities are endless!
We wholeheartedly encourage you to give this DIY trick a try. It’s easy, affordable, and incredibly rewarding. You’ll be amazed at how much of a difference fresh thyme can make in your cooking. And once you’ve experienced the joy of growing your own, you’ll never want to go back to store-bought dried herbs again.
So, grab a thyme plant, find a sunny spot in your kitchen, and get ready to elevate your culinary creations. We’re confident that you’ll love the results. And most importantly, we want to hear about your experience! Share your photos, tips, and recipes with us in the comments below. Let’s create a community of thyme-loving home cooks! We can’t wait to see what you create with your homegrown fresh thyme.
Frequently Asked Questions (FAQ)
What kind of thyme should I grow in my kitchen?
The best type of thyme to grow indoors is generally common thyme (Thymus vulgaris) or English thyme. These varieties are relatively compact, easy to care for, and offer a classic thyme flavor that works well in a wide range of dishes. Lemon thyme (Thymus citriodorus) is another excellent choice if you enjoy a citrusy twist. Creeping thyme (Thymus serpyllum) can also be grown indoors, but it tends to spread more and may require a larger container. Ultimately, the best thyme for you depends on your personal preferences and the types of dishes you enjoy cooking.
How much sunlight does my thyme plant need?
Thyme thrives in bright, sunny conditions. Ideally, your thyme plant should receive at least 6-8 hours of direct sunlight per day. If you don’t have a south-facing window that provides enough sunlight, consider using a grow light to supplement the natural light. Without sufficient sunlight, your thyme plant may become leggy and produce less flavorful leaves. Rotate your plant regularly to ensure that all sides receive adequate light.
What kind of soil should I use for my thyme plant?
Thyme prefers well-draining soil that is slightly alkaline. A good potting mix for thyme should consist of a combination of potting soil, perlite, and sand. This will help to ensure that the soil doesn’t become waterlogged, which can lead to root rot. Avoid using heavy, clay-based soils, as these tend to retain too much moisture. You can also add a small amount of lime to the soil to increase its alkalinity.
How often should I water my thyme plant?
Thyme is relatively drought-tolerant and doesn’t like to be overwatered. Allow the soil to dry out completely between waterings. When you do water, water thoroughly until the water drains out of the bottom of the pot. Avoid getting the leaves wet, as this can promote fungal growth. In general, you’ll need to water your thyme plant more frequently during the warmer months and less frequently during the cooler months.
How do I harvest thyme from my plant?
To harvest thyme, simply snip off sprigs of thyme using scissors or pruning shears. Avoid cutting more than one-third of the plant at a time, as this can stress the plant. The best time to harvest thyme is in the morning, after the dew has dried. You can use the fresh thyme immediately, or you can dry it for later use. To dry thyme, simply hang the sprigs upside down in a cool, dry place until they are completely dry.
How do I propagate thyme?
Thyme can be easily propagated from cuttings. To propagate thyme, take a 4-6 inch cutting from a healthy stem. Remove the lower leaves from the cutting and dip the cut end in rooting hormone. Plant the cutting in a pot filled with well-draining potting mix. Water the cutting thoroughly and cover it with a plastic bag to create a humid environment. Keep the cutting in a warm, sunny location and water it regularly. After a few weeks, the cutting should develop roots and can be transplanted into a larger pot.
My thyme plant is turning yellow. What should I do?
Yellowing leaves on a thyme plant can be caused by a number of factors, including overwatering, underwatering, nutrient deficiencies, or pests. Check the soil moisture to determine if you are watering your plant correctly. If the soil is too wet, allow it to dry out completely before watering again. If the soil is too dry, water the plant thoroughly. You can also fertilize your thyme plant with a balanced fertilizer to correct any nutrient deficiencies. Inspect the plant for pests, such as aphids or spider mites, and treat accordingly.
Can I grow thyme outdoors after starting it indoors?
Yes, absolutely! Once your thyme plant has established itself indoors, you can transplant it outdoors in the spring or summer. Choose a sunny location with well-draining soil. Before transplanting, harden off the plant by gradually exposing it to outdoor conditions over a period of a week or two. This will help to prevent transplant shock. Space the plants about 12-18 inches apart.
How do I keep my thyme plant from getting leggy?
Leggy growth in thyme is often caused by insufficient sunlight. Ensure that your thyme plant is receiving at least 6-8 hours of direct sunlight per day. You can also prune your thyme plant regularly to encourage bushier growth. Simply snip off the tips of the stems to promote branching. Avoid over-fertilizing your thyme plant, as this can also contribute to leggy growth.
Is growing fresh thyme kitchen a good idea for beginners?
Yes! Growing fresh thyme in the kitchen is an excellent project for beginners. It’s a relatively low-maintenance herb that doesn’t require a lot of space or specialized equipment. With a little bit of sunlight, well-draining soil, and regular watering, you can easily grow your own fresh thyme and enjoy its delicious flavor in your cooking. It’s a rewarding and satisfying experience that will inspire you to grow more herbs and vegetables in your own home.
Leave a Comment