

Toothpaste faucet cleaning hack: Sounds a little crazy, right? But trust me, you’re about to discover a game-changer for sparkling clean faucets without harsh chemicals! I know, I know, you’re probably thinking, “Toothpaste? For cleaning? Seriously?” But before you dismiss it, let me tell you, this simple DIY trick will leave your faucets gleaming like never before.
Believe it or not, using unconventional methods for cleaning isn’t exactly new. Throughout history, people have relied on readily available natural ingredients to keep their homes tidy. Think about it – vinegar, baking soda, and lemon juice have been cleaning staples for generations. This toothpaste faucet cleaning hack simply adds another surprisingly effective tool to that arsenal.
Why do you need this hack? Well, let’s face it, nobody enjoys scrubbing stubborn water spots and grime off faucets. And those commercial cleaners can be expensive and full of harsh chemicals that you might not want around your family or pets. This DIY solution is not only cost-effective and eco-friendly, but it’s also incredibly easy. I’m going to show you how to achieve a brilliant shine with just a tube of toothpaste and a little elbow grease. Get ready to say goodbye to dull, grimy faucets and hello to a sparkling clean bathroom or kitchen!
DIY Toothpaste Faucet Cleaning Hack: Sparkle Like New!
Hey everyone! Are you tired of looking at a dull, stained faucet? I know I was! Hard water stains, soap scum, and general grime can really take a toll on your bathroom and kitchen fixtures. But don’t worry, you don’t need harsh chemicals or expensive cleaners to get that sparkle back. I’m going to share my favorite DIY hack using something you probably already have in your bathroom: toothpaste! Yes, you read that right. Toothpaste is a surprisingly effective and gentle cleaner for faucets. Let’s get started!
Why Toothpaste?
You might be wondering, “Why toothpaste?” Well, toothpaste contains mild abrasives that help to gently scrub away stains and buildup without scratching the surface of your faucet. It also has detergents that help to dissolve grease and grime. Plus, the minty scent leaves your faucet smelling fresh and clean!
What You’ll Need:
Before we dive in, let’s gather our supplies. This is a super simple project, so you won’t need much:
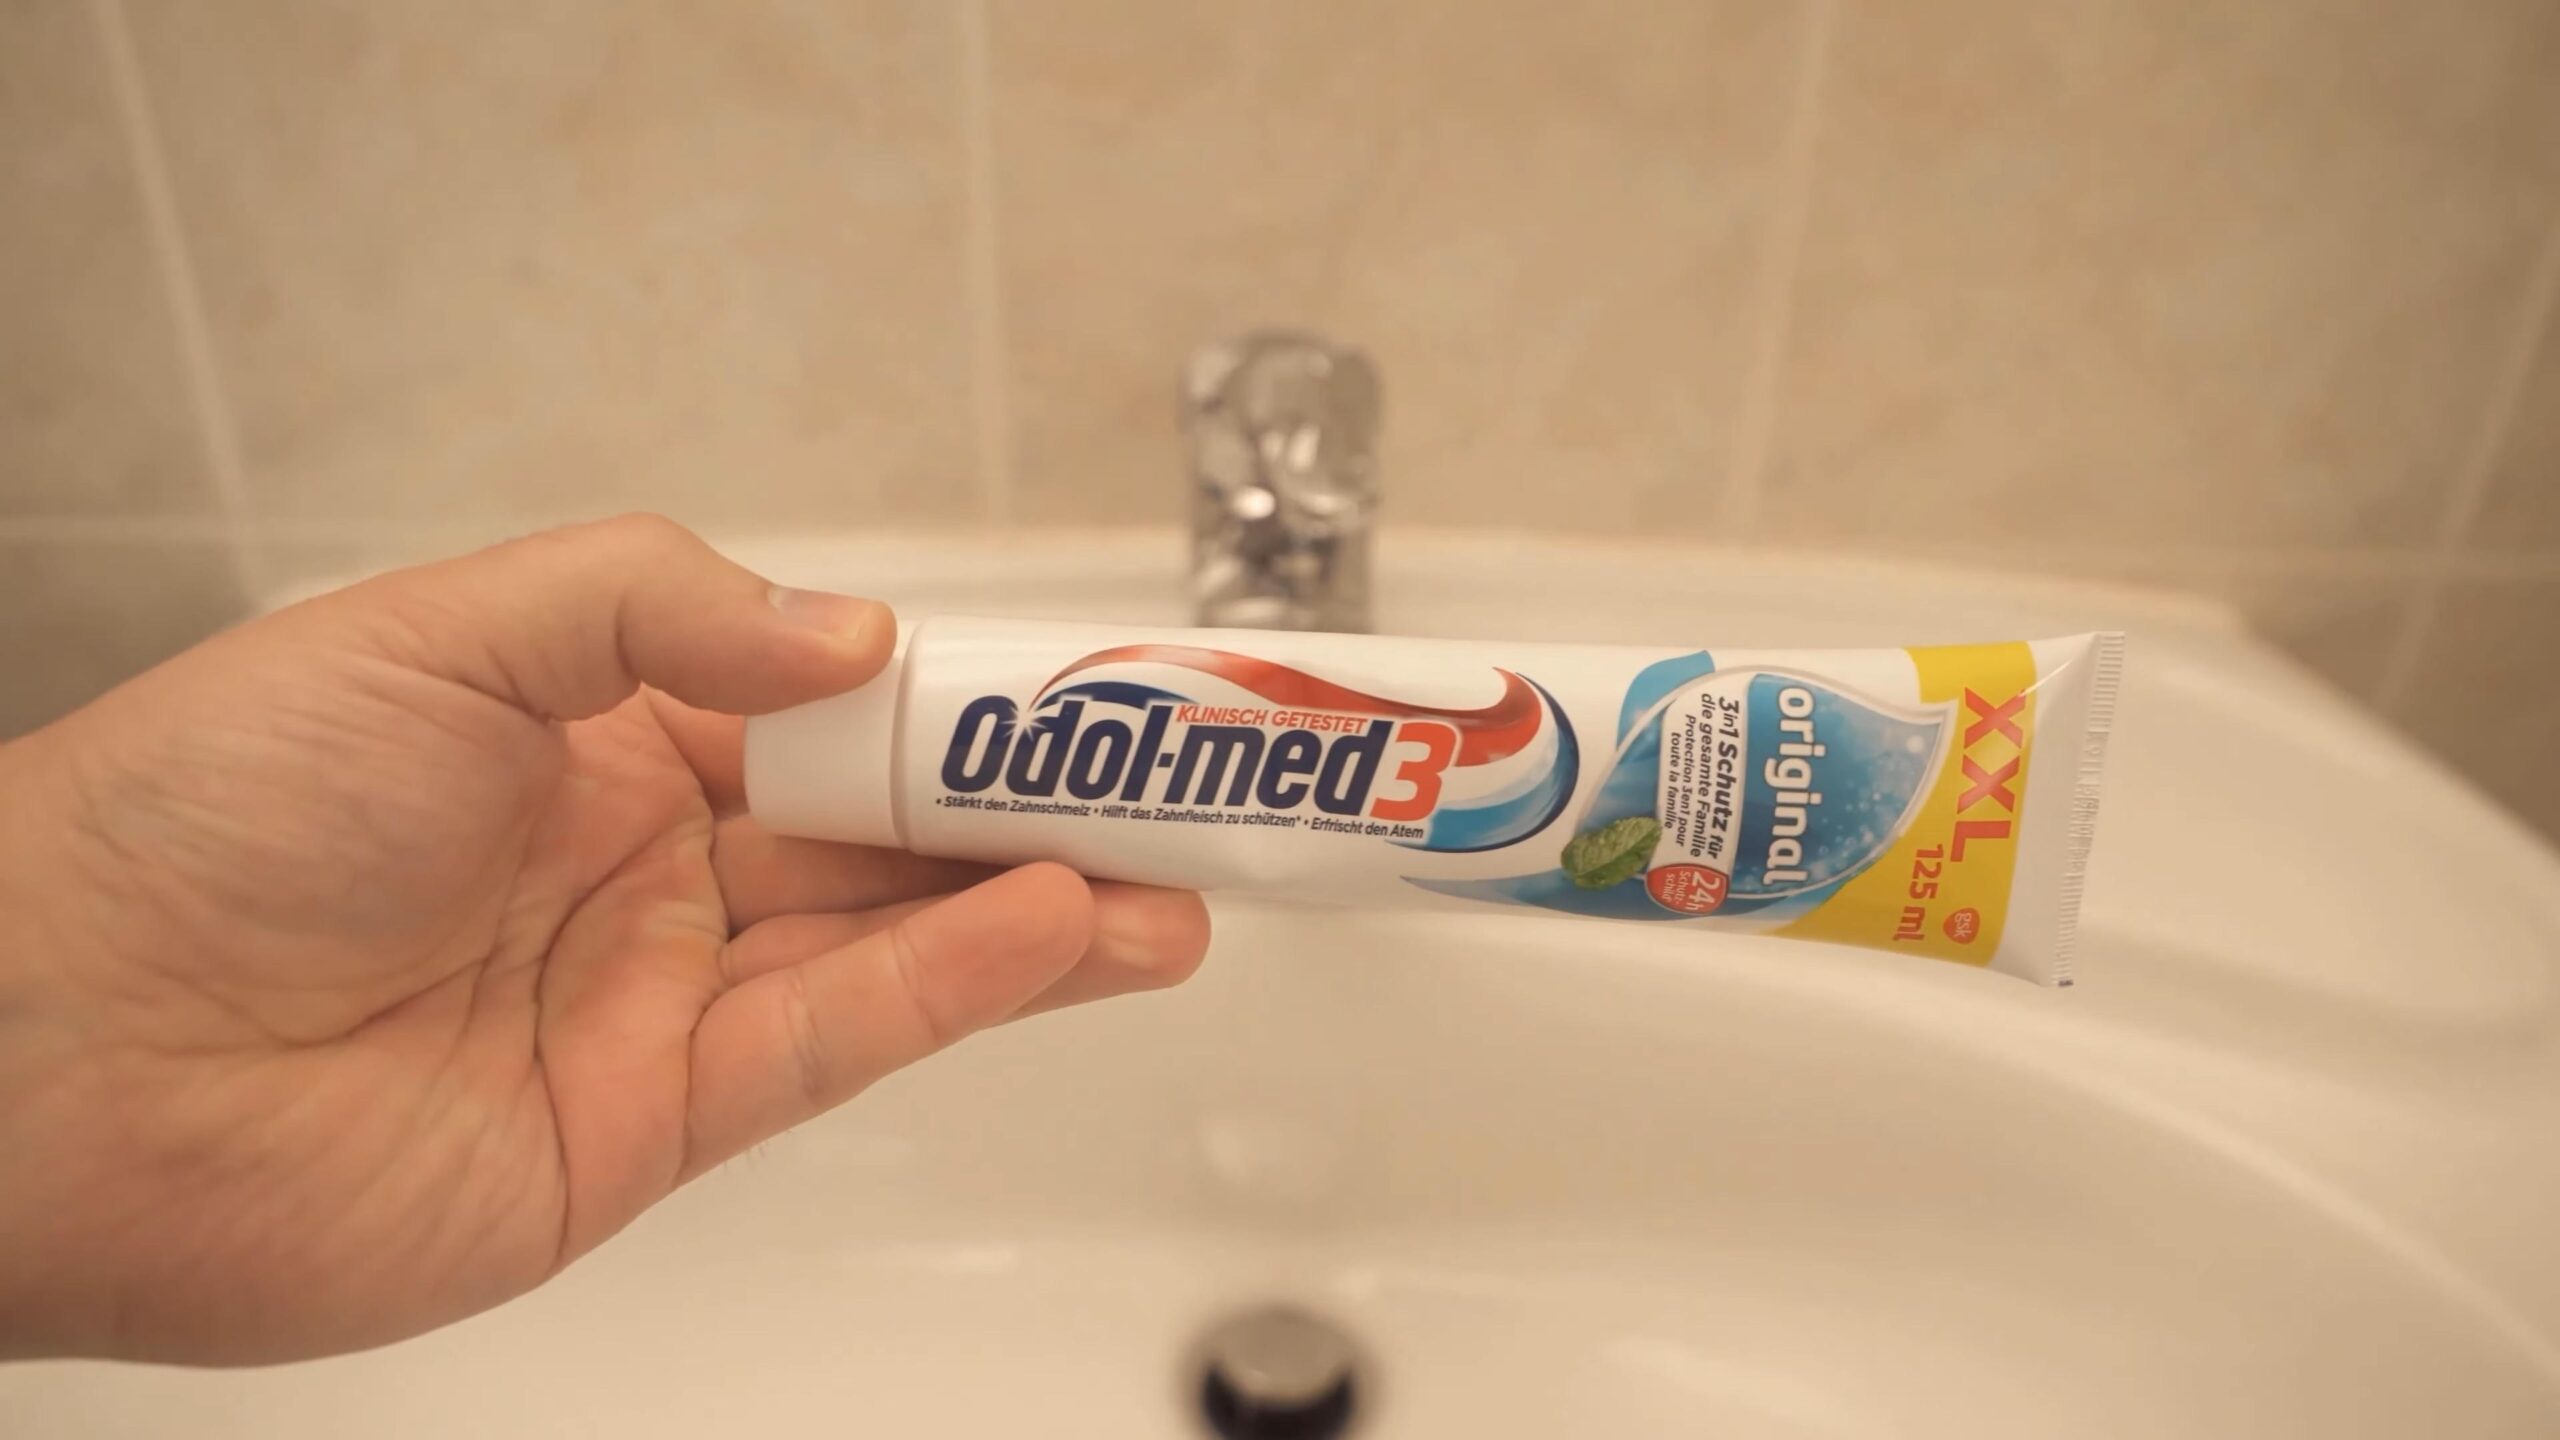
* Toothpaste (plain white toothpaste works best – avoid gel toothpastes or those with added colors or glitter)
* Soft-bristled toothbrush (an old one is perfect!)
* Microfiber cloth or soft sponge
* Water
* Optional: White vinegar (for stubborn stains)
* Optional: Baking soda (for extra cleaning power)
* Optional: Small bowl (for mixing baking soda paste)
Step-by-Step Instructions:
Okay, let’s get those faucets sparkling! Here’s how I do it:
1. Prepare the Faucet: Start by rinsing your faucet with water to remove any loose dirt or debris. This will help the toothpaste work more effectively.
2. Apply the Toothpaste: Squeeze a small amount of toothpaste (about the size of a pea) onto your toothbrush. You don’t need a lot!
3. Scrub the Faucet: Gently scrub the entire faucet with the toothbrush. Pay special attention to areas with visible stains, water spots, or soap scum buildup. Use small, circular motions to work the toothpaste into the grime. Don’t forget to scrub around the base of the faucet, the handle(s), and the spout.
4. Reach Those Tricky Spots: The toothbrush is your best friend for getting into those hard-to-reach areas, like around the base of the faucet and the edges of the handles. Take your time and make sure you’re getting all the nooks and crannies.
5. Let it Sit (Optional): For tougher stains, let the toothpaste sit on the faucet for a few minutes (5-10 minutes should do the trick). This will give the abrasives and detergents more time to work their magic.
6. Rinse Thoroughly: After scrubbing (and letting it sit, if you chose to), rinse the faucet thoroughly with water. Make sure to remove all traces of toothpaste. You can use your fingers or a sponge to help remove any stubborn residue.
7. Dry and Shine: Use a clean, dry microfiber cloth to dry the faucet completely. This is important because water droplets can leave new water spots. Buff the faucet with the cloth to bring out its shine.
8. Admire Your Work! Step back and admire your sparkling clean faucet! You’ll be amazed at the difference.
Dealing with Stubborn Stains:
Sometimes, toothpaste alone isn’t enough to tackle really tough stains. Don’t worry, I’ve got a few extra tricks up my sleeve!
White Vinegar Power:
White vinegar is a natural acid that can help dissolve hard water stains and mineral deposits.
1. Soak a Cloth: Soak a microfiber cloth in white vinegar.
2. Apply to Stain: Wrap the vinegar-soaked cloth around the stained area of the faucet.
3. Let it Sit: Let it sit for 15-30 minutes.
4. Scrub and Rinse: Remove the cloth, scrub the area with your toothbrush and toothpaste, and rinse thoroughly.
Baking Soda Boost:
Baking soda is a mild abrasive that can help scrub away stubborn grime.
1. Make a Paste: Mix baking soda with a little water to form a paste.
2. Apply the Paste: Apply the paste to the stained area of the faucet.
3. Scrub Gently: Gently scrub the area with your toothbrush.
4. Rinse Thoroughly: Rinse thoroughly with water.
Combining Forces: Vinegar and Baking Soda
For really tough stains, you can even combine the power of vinegar and baking soda!
1. Apply Baking Soda: Sprinkle baking soda onto the stained area.
2. Drizzle with Vinegar: Drizzle white vinegar over the baking soda. It will fizz!
3. Let it Sit: Let the mixture sit for a few minutes.
4. Scrub and Rinse: Scrub the area with your toothbrush and rinse thoroughly with water.
Important Note: When using vinegar and baking soda together, be aware that the fizzing reaction can release carbon dioxide gas. Make sure you’re working in a well-ventilated area.
Preventing Future Buildup:
Now that your faucet is sparkling clean, let’s talk about how to keep it that way! Here are a few tips to prevent future buildup:
* Wipe Down Regularly: After each use, wipe down your faucet with a dry cloth to remove water droplets and prevent water spots.
* Use a Water Softener: If you have hard water, consider installing a water softener to reduce mineral buildup.
* Clean Regularly: Clean your faucets regularly (at least once a week) with toothpaste or another mild cleaner to prevent grime from accumulating.
* Avoid Harsh Cleaners: Avoid using harsh chemicals or abrasive cleaners, as they can damage the finish of your faucet.
Choosing the Right Toothpaste:
As I mentioned earlier, plain white toothpaste works best for this hack. Avoid gel toothpastes, colored toothpastes, or toothpastes with added glitter or abrasive particles, as these can potentially scratch the surface of your faucet. Look for a toothpaste that contains fluoride, as this can also help protect the finish of your faucet.
Testing on a Small Area:
Before cleaning your entire faucet with toothpaste, it’s always a good idea to test it on a small, inconspicuous area first. This will help you ensure that the toothpaste doesn’t damage the finish of your faucet. Apply a small amount of toothpaste to the test area, scrub gently, rinse, and dry. If you don’t see any damage or discoloration, you can proceed with cleaning the entire faucet.
Different Faucet Finishes:
This toothpaste cleaning hack generally works well on most faucet finishes, including chrome, stainless steel, and brushed nickel. However, it’s always a good idea to be cautious, especially if you have a more delicate or antique faucet finish. For antique or specialty finishes, you may want to consult with a professional cleaner before using any DIY cleaning methods.
Beyond Faucets: Other Uses for Toothpaste Cleaning
The cleaning power of toothpaste isn’t limited to just faucets! I’ve found it useful for cleaning other things around the house too. Here are a few ideas:
* Sinks: Toothpaste can help remove stains and grime from sinks, especially porcelain sinks.
* Chrome Fixtures: Use toothpaste to clean other chrome fixtures in your bathroom, such as showerheads and towel racks.
* Jewelry: Toothpaste can help polish silver jewelry and remove tarnish. Just be sure to use a soft cloth and rinse thoroughly.
* Shoes: Toothpaste can help clean white sneakers and remove scuff marks.
* Iron: You can use toothpaste to clean the soleplate of your iron. Make sure the iron is cool and unplugged before cleaning.
A Note on Safety:
While toothpaste is generally safe to use for cleaning, it’s always a good idea to take a few precautions:
* Avoid Contact with Eyes: Avoid getting toothpaste in your eyes. If you do, rinse thoroughly with water.
* Keep Out of Reach of Children: Keep toothpaste out of reach of children.
* Don’t Ingest: Don’t ingest toothpaste.
Final Thoughts:
I hope you found this DIY toothpaste faucet cleaning hack helpful! It’s a simple, affordable, and effective way to keep your faucets sparkling clean. Give it a try and let me know what you think! Happy cleaning!

Conclusion
So, there you have it! This simple yet incredibly effective toothpaste faucet cleaning hack is a game-changer for anyone looking to restore the sparkle to their bathroom or kitchen fixtures without resorting to harsh chemicals or expensive cleaning products. We’ve walked you through the process, highlighting just how easy it is to achieve professional-looking results with an item you likely already have in your bathroom.
Why is this a must-try? Because it’s efficient, economical, and environmentally conscious. Think about it: you’re repurposing a product you already use, minimizing waste, and avoiding the potentially harmful effects of strong chemical cleaners. Plus, the results speak for themselves. Say goodbye to stubborn water spots, soap scum, and dull finishes, and hello to gleaming faucets that look brand new.
But the beauty of this DIY trick lies in its adaptability. While we’ve focused on standard chrome or stainless steel faucets, you can experiment with different types of toothpaste to see what works best for your specific fixtures. For instance, a whitening toothpaste might provide an extra boost for removing discoloration, while a gel toothpaste could be gentler on more delicate finishes. Always test a small, inconspicuous area first to ensure compatibility.
Consider these variations to personalize your cleaning routine:
* For heavily soiled faucets: Let the toothpaste sit for a longer period, perhaps 15-20 minutes, before scrubbing. This allows the mild abrasives to penetrate and loosen stubborn grime.
* For hard-to-reach areas: Use an old toothbrush or cotton swab to apply the toothpaste and scrub crevices around the base of the faucet or handles.
* For added shine: After rinsing and drying, buff the faucet with a microfiber cloth for an extra layer of brilliance. You can even add a tiny dab of olive oil to the cloth for a truly dazzling finish.
We are confident that once you try this toothpaste faucet cleaning hack, you’ll be amazed by the results. It’s a simple, effective, and satisfying way to maintain the beauty and hygiene of your home.
Now, we want to hear from you! Give this DIY trick a try and share your experience in the comments below. Did it work as well for you as it did for us? Did you discover any helpful variations or tips? Your feedback is invaluable and helps us create even better content for our community. Let’s work together to make our homes cleaner and brighter, one faucet at a time! Don’t forget to share this article with your friends and family who might also benefit from this easy and effective cleaning solution. Let’s spread the word about the power of toothpaste!
Frequently Asked Questions (FAQs)
1. What kind of toothpaste is best for cleaning faucets?
Generally, any standard toothpaste will work for cleaning faucets. However, consider the type of faucet you’re cleaning. For heavily tarnished faucets, a whitening toothpaste with mild abrasives might be more effective. For delicate finishes, a gel toothpaste or a toothpaste specifically designed for sensitive teeth might be a gentler option. Always test a small, hidden area first to ensure the toothpaste doesn’t damage the finish. Avoid using highly abrasive toothpastes, especially on plated or painted faucets, as they could scratch the surface.
2. Can I use this toothpaste cleaning hack on all types of faucets?
This hack is generally safe for most common faucet types, including chrome, stainless steel, and brushed nickel. However, it’s crucial to exercise caution when cleaning faucets with more delicate finishes, such as gold-plated, oil-rubbed bronze, or painted faucets. The abrasives in toothpaste, even mild ones, could potentially scratch or damage these finishes. Always test a small, inconspicuous area before applying toothpaste to the entire faucet. If you’re unsure, consult the manufacturer’s instructions for cleaning recommendations.
3. How often should I clean my faucets with toothpaste?
The frequency of cleaning depends on how often the faucets are used and how quickly they accumulate dirt and grime. For faucets in high-traffic areas like the kitchen or main bathroom, cleaning once a week might be necessary. For less frequently used faucets, cleaning every two weeks or once a month might suffice. Regular cleaning will prevent the buildup of stubborn water spots and soap scum, making the cleaning process easier and more effective.
4. What if the toothpaste doesn’t remove all the stains?
If the toothpaste alone isn’t enough to remove stubborn stains, try letting it sit on the faucet for a longer period, perhaps 15-20 minutes, before scrubbing. You can also try using a slightly more abrasive scrubbing tool, such as a non-scratch scouring pad or an old toothbrush with stiffer bristles. For particularly tough stains, consider using a specialized cleaning product designed for faucets, but always follow the manufacturer’s instructions and test in an inconspicuous area first.
5. Is toothpaste safe to use on faucets that come into contact with drinking water?
Yes, toothpaste is generally safe to use on faucets that come into contact with drinking water, as long as you rinse the faucet thoroughly after cleaning. Ensure that all traces of toothpaste are removed before using the faucet for drinking water or food preparation. Running the water for a minute or two after cleaning should be sufficient to flush away any remaining residue.
6. Can I use this method to clean other bathroom fixtures besides faucets?
Yes, the toothpaste cleaning hack can be used on other bathroom fixtures, such as showerheads, sink basins, and even toilet handles. The same principles apply: test in an inconspicuous area first, use a gentle scrubbing tool, and rinse thoroughly after cleaning. Toothpaste can be particularly effective for removing water spots and soap scum from these fixtures.
7. What are some alternative cleaning solutions for faucets?
If you prefer not to use toothpaste, several alternative cleaning solutions can be used to clean faucets. These include:
* Vinegar and water solution: Mix equal parts white vinegar and water in a spray bottle and apply to the faucet. Let it sit for a few minutes before scrubbing and rinsing.
* Baking soda paste: Mix baking soda with a small amount of water to create a paste. Apply the paste to the faucet, scrub gently, and rinse thoroughly.
* Lemon juice: Apply lemon juice to the faucet, let it sit for a few minutes, and then scrub and rinse. The citric acid in lemon juice can help dissolve mineral deposits.
* Commercial faucet cleaners: Numerous commercial faucet cleaners are available in stores. Always follow the manufacturer’s instructions and test in an inconspicuous area first.
8. How can I prevent water spots and soap scum from building up on my faucets?
Preventing water spots and soap scum buildup is key to keeping your faucets clean and shiny. Here are some tips:
* Wipe down faucets after each use: This will prevent water from drying on the surface and leaving behind mineral deposits.
* Use a water softener: If you have hard water, a water softener can help reduce the mineral content of your water, minimizing water spots.
* Apply a protective coating: Some products are designed to create a protective coating on faucets, making them more resistant to water spots and soap scum.
* Ventilate the bathroom: Proper ventilation can help reduce humidity, which can contribute to the buildup of soap scum.
9. My faucet has a white, chalky buildup. Will toothpaste remove this?
The white, chalky buildup you’re describing is likely limescale, which is a mineral deposit caused by hard water. While toothpaste can help remove some limescale, it might not be effective for heavy buildup. For more stubborn limescale, try using a vinegar and water solution or a commercial limescale remover. Let the solution sit on the affected area for a longer period to dissolve the mineral deposits. You may need to scrub vigorously with a non-scratch scouring pad or an old toothbrush.
10. Is there a specific type of cloth I should use for cleaning and polishing faucets?
Yes, using the right type of cloth can make a big difference in the cleaning and polishing process. Microfiber cloths are ideal for cleaning and polishing faucets because they are soft, absorbent, and non-abrasive. They effectively remove dirt and grime without scratching the surface. Avoid using abrasive cloths or paper towels, as they can scratch the finish of your faucets. For polishing, a clean, dry microfiber cloth is best for achieving a brilliant shine.
Leave a Comment