

Acai Berry Garden DIY: Ever dreamed of harvesting your own superfood right in your backyard? I know I have! Imagine stepping outside and plucking fresh, antioxidant-rich acai berries straight from the vine. It sounds like a tropical fantasy, right? Well, it’s more achievable than you might think, and this DIY guide is your passport to making that dream a reality.
While acai berries are native to the Amazon rainforest and have been a staple in indigenous diets for centuries, prized for their nutritional benefits and energy-boosting properties, cultivating them at home requires a little ingenuity and understanding of their specific needs. But don’t let that intimidate you!
In today’s world, where healthy eating and sustainable living are more important than ever, growing your own food is a rewarding and empowering experience. Store-bought acai can be expensive and may not always be the freshest. With this Acai Berry Garden DIY guide, you’ll learn simple yet effective tricks and hacks to create the perfect environment for your acai plants to thrive, even if you don’t live in the tropics. We’ll cover everything from selecting the right variety and preparing the soil to providing adequate sunlight and humidity. Get ready to embark on a fun and fruitful gardening adventure!
Creating Your Own Thriving Acai Berry Garden: A DIY Guide
Hey there, fellow plant enthusiasts! Ever dreamt of harvesting your own antioxidant-rich acai berries right in your backyard? While it’s true that acai palms are native to the Amazon rainforest, with a little know-how and dedication, you can absolutely cultivate them in suitable climates or even indoors! This guide will walk you through everything you need to know to create your own acai berry garden. It’s a bit of a project, but trust me, the reward of fresh, homegrown acai is totally worth it.
Understanding Acai Berry Needs
Before we dive into the nitty-gritty, let’s talk about what acai palms need to thrive. This will help you determine if you can realistically grow them in your area and what adjustments you might need to make.
* Climate: Acai palms are tropical plants, meaning they need warm temperatures year-round. Ideally, temperatures should be between 65°F (18°C) and 85°F (29°C). They can tolerate short periods of cooler temperatures, but frost will definitely damage them. If you live in a colder climate, growing them in containers that can be moved indoors during winter is your best bet.
* Sunlight: These palms love bright, indirect sunlight. Direct sunlight, especially during the hottest part of the day, can scorch their leaves. If you’re growing them indoors, a spot near a sunny window with a sheer curtain is perfect. Outdoors, partial shade is ideal.
* Water: Acai palms need consistently moist soil. They don’t like to dry out, but they also don’t want to sit in standing water. Regular watering is key, especially during the growing season.
* Soil: Well-draining, slightly acidic soil is what acai palms prefer. A mix of potting soil, peat moss, and perlite works well. Good drainage is crucial to prevent root rot.
* Humidity: High humidity is another must-have for acai palms. If you live in a dry climate, you’ll need to increase the humidity around your plants. Misting them regularly, using a humidifier, or placing them on a pebble tray filled with water can help.
* Space: Acai palms can grow quite large, so you’ll need to consider the space they’ll eventually require. If you’re growing them in containers, you’ll need to repot them as they grow.
Gathering Your Supplies
Okay, now that we know what acai palms need, let’s gather the supplies we’ll need for our DIY garden.
* Acai Palm Seeds or Seedlings: You can purchase acai palm seeds online or from specialty nurseries. Seedlings are a bit more expensive, but they’ll give you a head start.
* Pots or Containers (if growing in containers): Choose pots that are large enough to accommodate the root system of your acai palms. Make sure they have drainage holes.
* Potting Soil: A well-draining potting mix is essential. You can buy a pre-made mix or create your own by combining potting soil, peat moss, and perlite.
* Peat Moss: This helps retain moisture in the soil.
* Perlite: This improves drainage and aeration.
* Fertilizer: A slow-release fertilizer formulated for palms is ideal.
* Watering Can or Hose: For watering your plants.
* Spray Bottle: For misting your plants to increase humidity.
* Gloves: To protect your hands.
* Trowel or Shovel: For planting.
* pH Meter (optional): To test the pH of your soil.
* Humidifier (optional): To increase humidity, especially indoors.
Starting from Seed: A Patient Approach
Growing acai palms from seed requires patience, as germination can take several months. But it’s a rewarding process!
1. Soaking the Seeds: Soak the acai palm seeds in warm water for 24-48 hours. This helps soften the seed coat and encourages germination.
2. Preparing the Seedling Tray: Fill a seedling tray with a well-draining potting mix. Moisten the soil thoroughly.
3. Planting the Seeds: Plant the seeds about 1 inch deep in the soil. Space them a few inches apart.
4. Creating a Humid Environment: Cover the seedling tray with a plastic dome or plastic wrap to create a humid environment. This will help the seeds germinate.
5. Providing Warmth: Place the seedling tray in a warm location, ideally between 80°F (27°C) and 85°F (29°C). A heat mat can help maintain the proper temperature.
6. Maintaining Moisture: Keep the soil consistently moist, but not soggy. Mist the soil regularly to prevent it from drying out.
7. Waiting for Germination: Germination can take anywhere from 2 to 6 months, so be patient!
8. Transplanting Seedlings: Once the seedlings have developed a few leaves, you can transplant them into individual pots. Choose pots that are large enough to accommodate the root system.
Planting Acai Palm Seedlings or Transplants
If you’re starting with seedlings or transplants, the process is much faster.
1. Choosing the Right Pot (if growing in containers): Select a pot that is at least 12 inches in diameter and has drainage holes. The size will depend on the size of the seedling you purchased.
2. Preparing the Potting Mix: Mix together potting soil, peat moss, and perlite in a ratio of 2:1:1. This will create a well-draining, slightly acidic soil that acai palms love.
3. Filling the Pot: Fill the pot with the potting mix, leaving a few inches of space at the top.
4. Removing the Seedling from its Container: Gently remove the seedling from its container, being careful not to damage the roots. If the roots are pot-bound, gently loosen them before planting.
5. Planting the Seedling: Place the seedling in the center of the pot and fill in around it with the potting mix. Make sure the top of the root ball is level with the soil surface.
6. Watering Thoroughly: Water the seedling thoroughly after planting. This will help settle the soil and encourage root growth.
7. Adding Fertilizer: Apply a slow-release fertilizer formulated for palms according to the package directions.
8. Choosing the Right Location: Place the pot in a location that receives bright, indirect sunlight. Avoid direct sunlight, especially during the hottest part of the day.
Caring for Your Acai Berry Garden
Now that your acai palms are planted, it’s time to provide them with the care they need to thrive.
1. Watering: Water your acai palms regularly, keeping the soil consistently moist but not soggy. Check the soil moisture regularly and water when the top inch of soil feels dry.
2. Fertilizing: Fertilize your acai palms every few months with a slow-release fertilizer formulated for palms. Follow the package directions carefully.
3. Providing Humidity: Acai palms need high humidity to thrive. If you live in a dry climate, you’ll need to increase the humidity around your plants. Mist them regularly with a spray bottle, use a humidifier, or place them on a pebble tray filled with water.
4. Pruning: Prune away any dead or damaged leaves. This will help keep your plants healthy and attractive.
5. Repotting (if growing in containers): As your acai palms grow, you’ll need to repot them into larger containers. Repot them every year or two, or when the roots start to outgrow the pot.
6. Pest and Disease Control: Keep an eye out for pests and diseases. Common pests that can affect acai palms include spider mites, aphids, and scale. Treat infestations promptly with insecticidal soap or neem oil. Root rot can be a problem if the soil is not well-draining.
7. Overwintering (if growing in containers in colder climates): If you live in a colder climate, you’ll need to bring your acai palms indoors during the winter. Place them in a bright, sunny location and reduce watering.
Harvesting Your Acai Berries
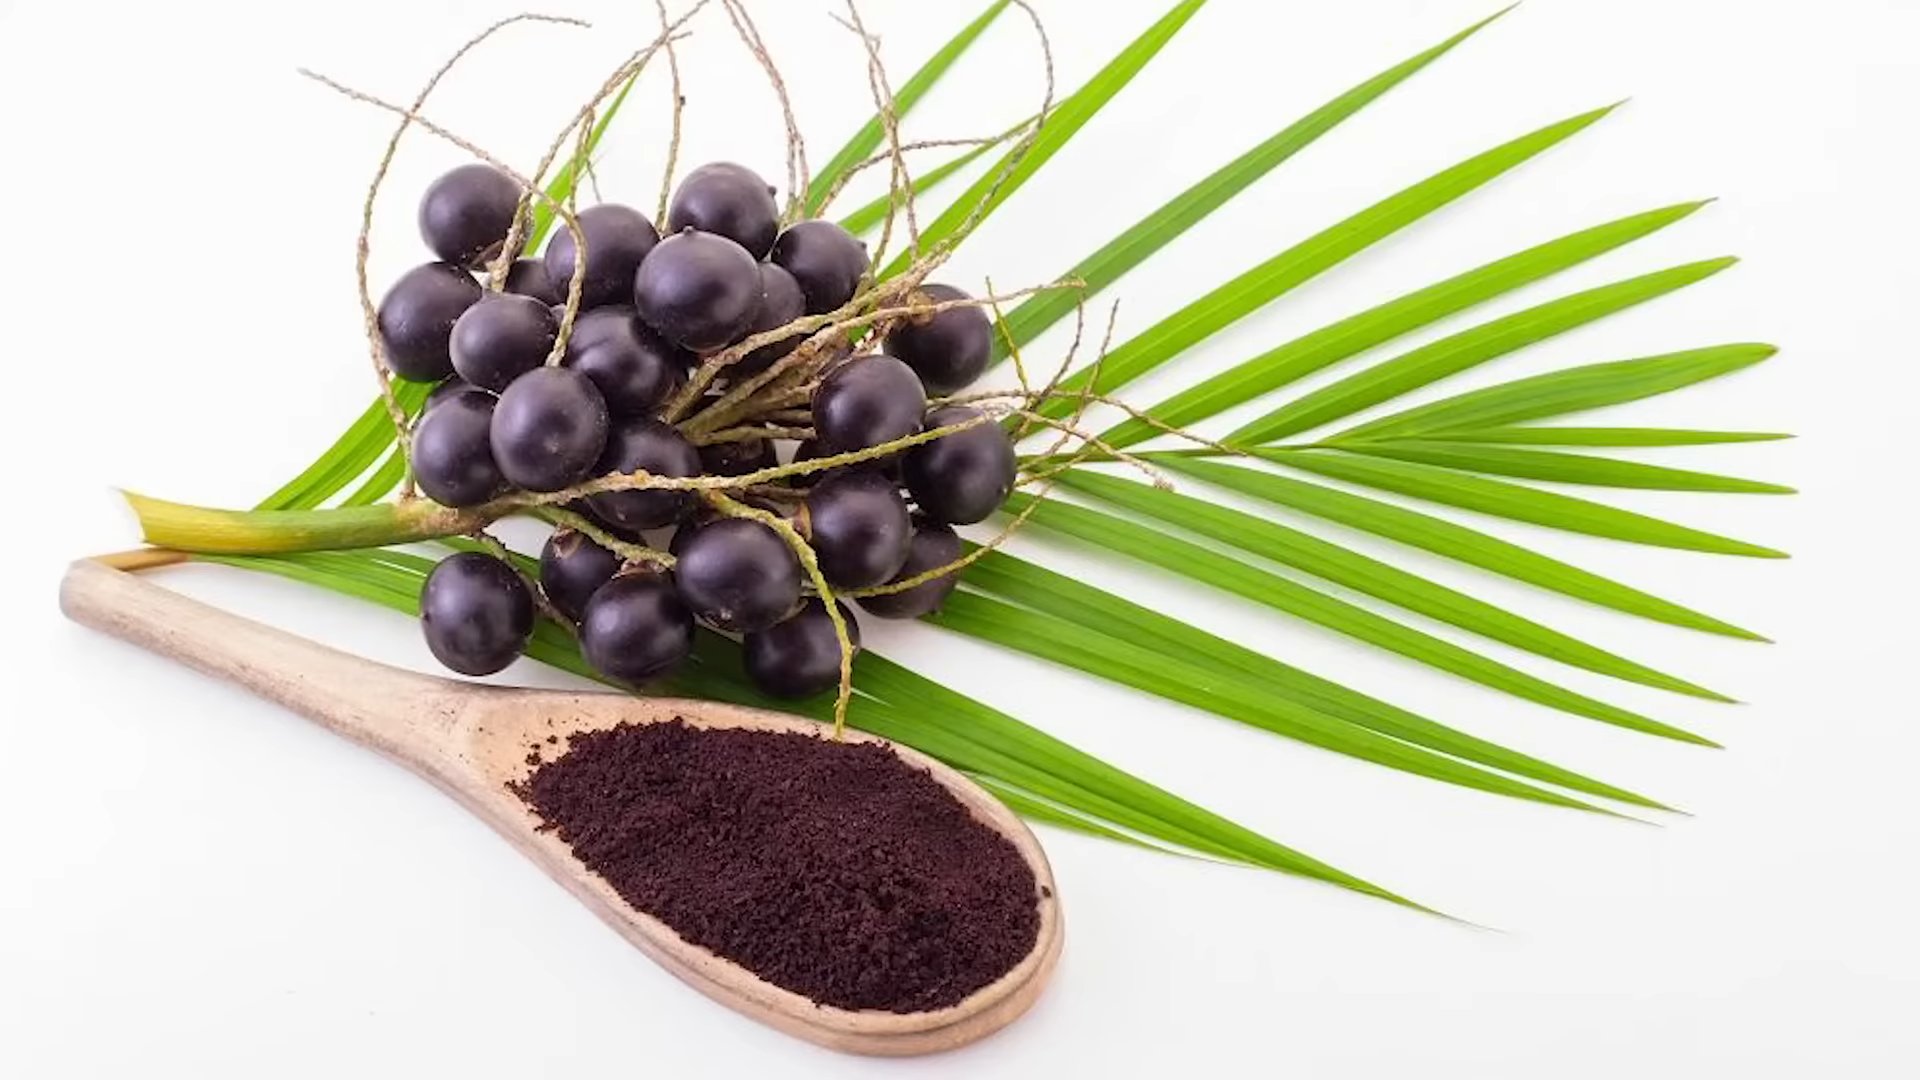
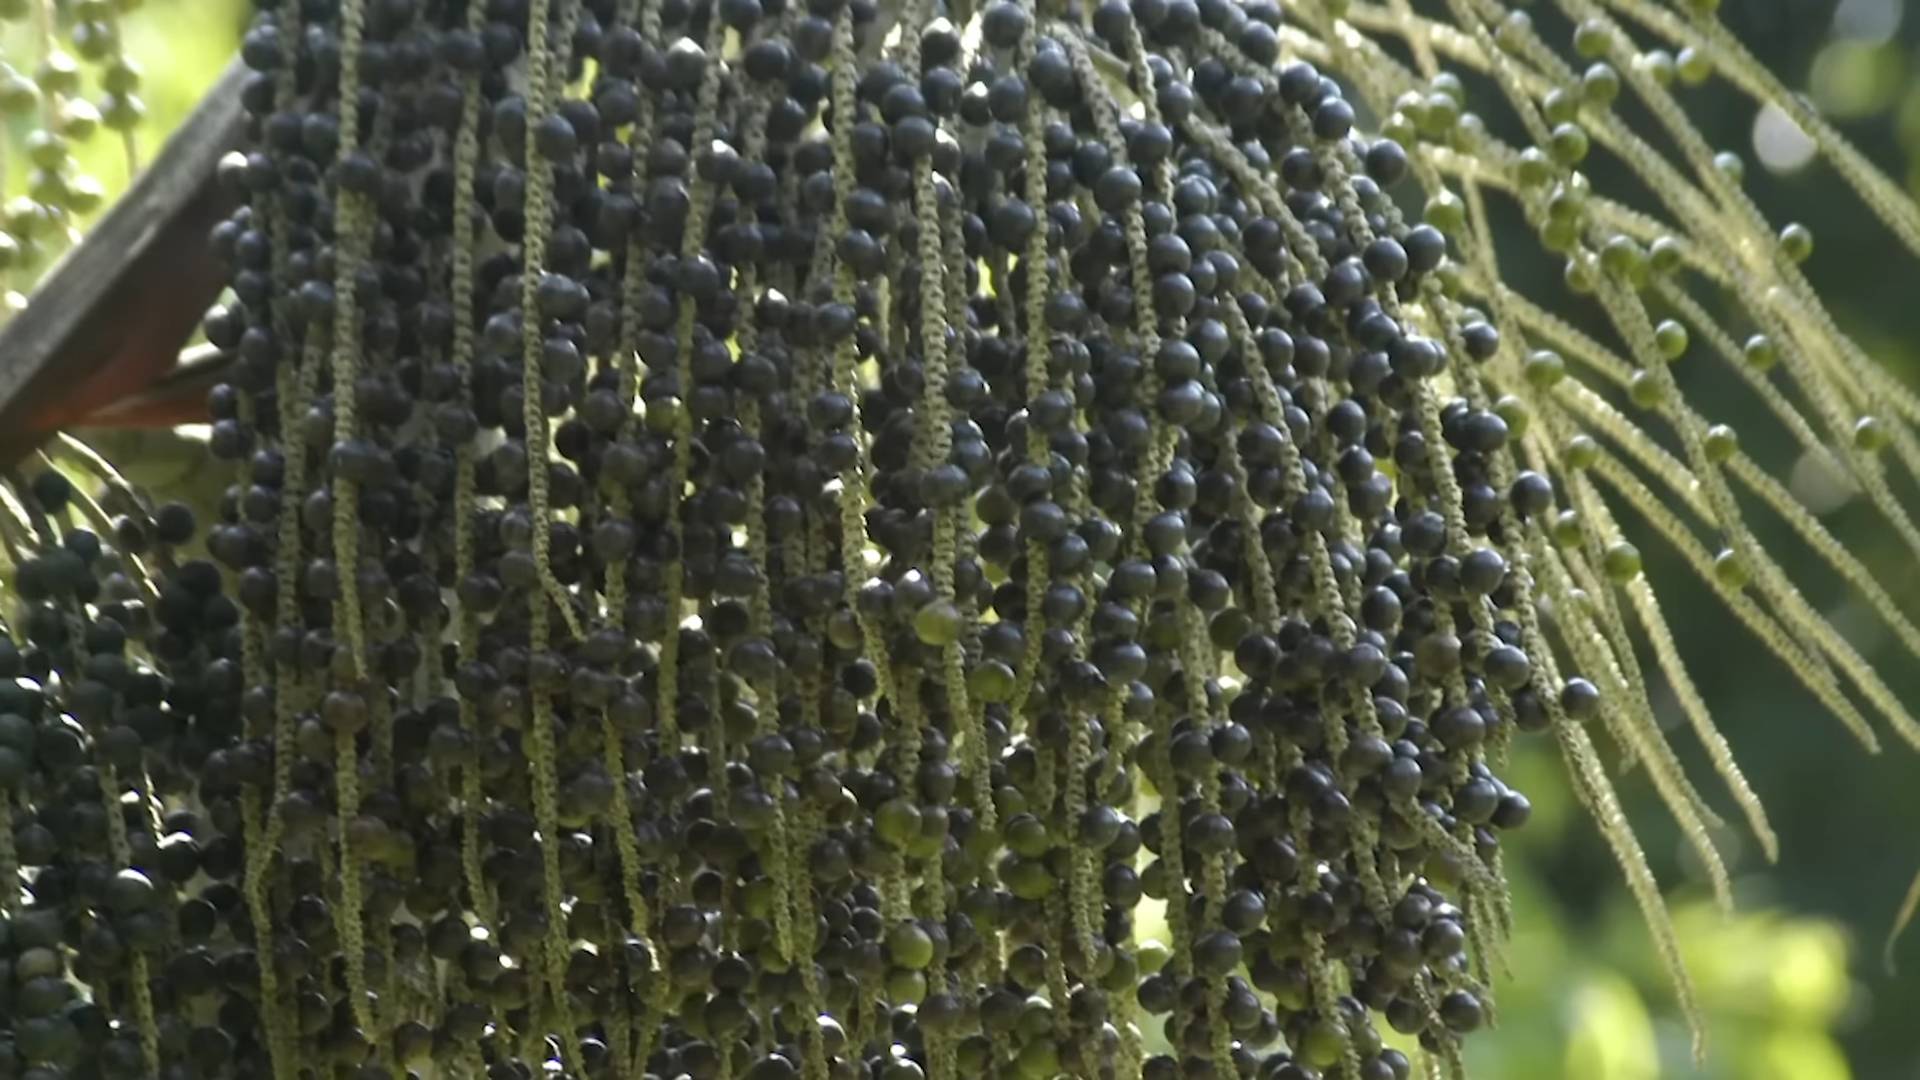
It typically takes 3-5 years for acai palms to start producing fruit. Once they do, you’ll be rewarded with clusters of small, dark purple berries.
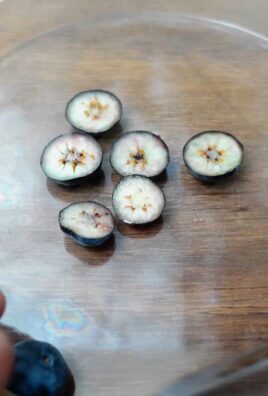
1. Identifying Ripe Berries: Acai berries are ripe when they are a deep purple color and slightly soft to the touch.
2. Harvesting the Berries: Cut the entire fruit cluster from the palm.
3. Processing the Berries: Acai berries are highly perishable and need to be processed
Conclusion
So, there you have it! Creating your own Acai Berry Garden DIY isn’t just a fun project; it’s a gateway to enjoying the freshest, most vibrant acai berries right from your backyard (or balcony!). Imagine the satisfaction of harvesting your own superfood, knowing exactly where it came from and how it was grown. Forget the expensive trips to the grocery store or the uncertainty of imported berries – with a little effort and the right setup, you can have a sustainable source of this antioxidant powerhouse at your fingertips.
But why is this DIY approach a must-try? Beyond the cost savings and the guarantee of freshness, it’s about connecting with nature and understanding the journey of your food. You’ll gain a deeper appreciation for the acai berry and the environment it thrives in. Plus, it’s a fantastic conversation starter and a unique addition to any garden or patio.
Don’t be afraid to experiment! While we’ve outlined a basic method, there’s plenty of room for customization. Consider these variations:
* Hydroponic Acai: For those with limited space or a penchant for modern gardening, explore hydroponic systems for growing your acai berries. This method can be incredibly efficient and allows for precise control over nutrient delivery.
* Container Gardening with a Twist: Instead of standard pots, try using repurposed materials like old tires or wooden crates for a rustic and eco-friendly look. Just ensure proper drainage!
* Companion Planting: Research plants that thrive alongside acai berries and incorporate them into your garden. This can help improve soil health, attract beneficial insects, and even enhance the flavor of your berries. Consider planting nitrogen-fixing plants nearby.
* Acai Berry Varieties: While the most common variety is *Euterpe oleracea*, explore other species or cultivars that might be better suited to your local climate or offer unique flavor profiles. Consult with local nurseries or gardening experts for recommendations.
Ultimately, the success of your Acai Berry Garden DIY hinges on your dedication and willingness to learn. Don’t be discouraged by initial setbacks – gardening is a journey of trial and error. Embrace the process, adapt to your environment, and most importantly, have fun!
We’re confident that you’ll find this DIY project incredibly rewarding. The taste of freshly harvested acai berries is simply unmatched, and the satisfaction of growing them yourself is even sweeter.
So, what are you waiting for? Gather your supplies, prepare your space, and embark on your Acai Berry Garden DIY adventure today! We can’t wait to hear about your experiences. Share your photos, tips, and challenges in the comments below. Let’s build a community of acai berry enthusiasts and inspire others to grow their own superfoods! Let us know what worked for you and what didn’t. Your insights could be invaluable to fellow gardeners.
Frequently Asked Questions (FAQ)
1. Is it really possible to grow acai berries at home?
Yes, it is absolutely possible to grow acai berries at home, although it requires careful attention to their specific needs. Acai palms thrive in warm, humid climates, so if you live in a region with similar conditions, you’re already off to a good start. Even if you don’t live in a tropical area, you can still grow acai berries in a greenhouse or indoors with proper temperature and humidity control. The key is to mimic their natural environment as closely as possible. Remember that patience is key, as it can take several years for acai palms to mature and produce fruit.
2. What are the ideal growing conditions for acai berries?
Acai palms need warm temperatures (ideally between 75°F and 85°F), high humidity (around 70-80%), and plenty of sunlight. They also require well-draining soil that is rich in organic matter. Regular watering is essential, but avoid overwatering, which can lead to root rot. If you’re growing acai berries indoors, consider using a humidifier to maintain the proper humidity levels and grow lights to supplement natural sunlight. Proper air circulation is also important to prevent fungal diseases.
3. How long does it take for an acai palm to produce fruit?
It typically takes 3-5 years for an acai palm to mature and begin producing fruit. This timeframe can vary depending on the growing conditions, the variety of acai palm, and the overall health of the plant. Be patient and consistent with your care, and you’ll eventually be rewarded with delicious, homegrown acai berries.
4. What kind of soil is best for growing acai berries?
Acai palms prefer well-draining soil that is rich in organic matter. A slightly acidic soil pH (around 6.0-6.5) is ideal. You can improve the soil quality by adding compost, peat moss, or other organic amendments. Avoid heavy clay soils, as they can retain too much water and lead to root rot. Consider using a potting mix specifically formulated for palms or tropical plants.
5. How often should I water my acai palm?
Water your acai palm regularly, especially during the growing season. The soil should be kept consistently moist, but not waterlogged. Check the soil moisture level regularly and water when the top inch or two feels dry. Reduce watering during the winter months when the plant is not actively growing. Ensure proper drainage to prevent root rot.
6. Do acai palms need fertilizer?
Yes, acai palms benefit from regular fertilization. Use a balanced fertilizer specifically formulated for palms or tropical plants. Apply the fertilizer according to the manufacturer’s instructions, typically during the growing season (spring and summer). Avoid over-fertilizing, as this can damage the plant. Consider using a slow-release fertilizer for a steady supply of nutrients.
7. Are there any pests or diseases that affect acai palms?
Acai palms can be susceptible to certain pests and diseases, such as spider mites, scale insects, and fungal infections. Regularly inspect your plants for any signs of infestation or disease. Treat any problems promptly with appropriate insecticides or fungicides. Proper air circulation and drainage can help prevent many common diseases.
8. Can I grow acai berries in a container?
Yes, you can grow acai berries in a container, especially if you live in a region with a colder climate. Choose a large container with good drainage holes. Use a potting mix specifically formulated for palms or tropical plants. Be sure to provide adequate sunlight, humidity, and warmth. You may need to repot the plant as it grows larger.
9. How do I harvest acai berries?
Acai berries grow in clusters on the palm. Harvest the berries when they are ripe and dark purple in color. Use a sharp knife or pruning shears to cut the entire cluster from the palm. The berries are highly perishable, so it’s best to process them as soon as possible after harvesting.
10. What can I do with my homegrown acai berries?
The possibilities are endless! You can use your homegrown acai berries to make smoothies, bowls, juices, jams, and other delicious treats. You can also freeze the berries for later use. Acai berries are a nutritional powerhouse, packed with antioxidants, vitamins, and minerals. Enjoy the health benefits and delicious flavor of your homegrown superfood!


Leave a Comment