

Baking Soda Rust Removal: Is your garden plagued by unsightly rust on your tools, furniture, or even your beloved plants? Don’t despair! I know how frustrating it can be to see your hard work marred by that orange menace. Before you resign yourself to replacing everything, let me share a simple, effective, and surprisingly eco-friendly solution: baking soda.
For generations, baking soda has been a household staple, used for everything from baking (obviously!) to cleaning. But did you know its mild abrasive properties make it a fantastic rust remover? Think of it as a gentle giant, tackling tough rust without harsh chemicals that could harm your garden or your health.
Rust not only looks bad, but it can also weaken metal, making your tools less effective and potentially dangerous. Plus, rust on plant supports can even contaminate the soil. That’s why mastering baking soda rust removal is a game-changer for any home gardener. I’m going to show you easy, step-by-step methods to banish rust from your garden, saving you money and keeping your green space looking its best. Let’s get started!
DIY Baking Soda Rust Removal: A Comprehensive Guide
Hey there, fellow DIY enthusiasts! Rust, that pesky orange menace, can attack our beloved tools, garden furniture, and even our cars. But don’t despair! Before you rush out to buy expensive rust removers, let’s try a simple, effective, and budget-friendly solution: baking soda! I’ve personally used this method countless times, and I’m excited to share my tried-and-true techniques with you.
What You’ll Need
Before we dive in, let’s gather our supplies. This is a pretty straightforward project, so you probably have most of these items already:
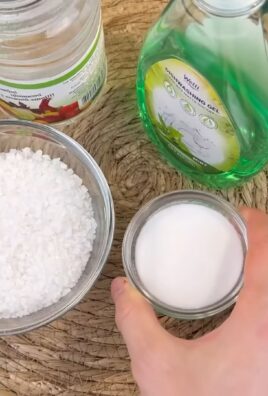
* Baking Soda (the star of the show!)
* Water (or vinegar for tougher rust)
* A container for mixing (a bowl or cup will do)
* A toothbrush or scrubbing brush (an old one is perfect)
* Gloves (to protect your hands)
* A clean cloth or paper towels
* Safety glasses (especially if using vinegar)
* Optional: Sandpaper (for heavy rust)
* Optional: Wire brush (for stubborn spots)
* Optional: Rust converter primer (for long-term protection)
Understanding the Science (Just a Little Bit!)
Baking soda, also known as sodium bicarbonate, is a mild alkali. It works by neutralizing the acidic nature of rust (iron oxide). When mixed with water (or vinegar), it forms a paste that gently lifts the rust from the metal surface. It’s not as aggressive as some commercial rust removers, which is why it’s a great option for delicate items or when you want a more controlled approach.
Mixing the Baking Soda Paste
This is where the magic begins! The consistency of the paste is key to its effectiveness.
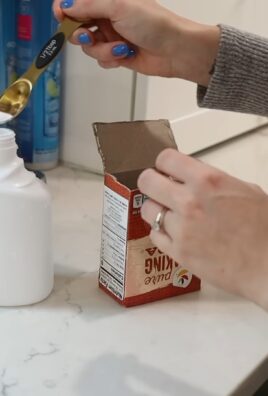
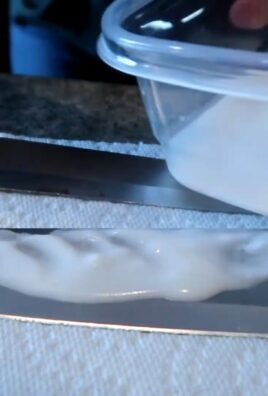
1. Start with Baking Soda: Place about 2-3 tablespoons of baking soda into your mixing container. The amount you need will depend on the size of the rusted area. You can always make more if you run out.
2. Add Water (or Vinegar): Slowly add water (or vinegar) to the baking soda, a little at a time. Stir continuously until you form a thick paste. The consistency should be similar to toothpaste. If it’s too runny, add more baking soda. If it’s too thick, add more water (or vinegar).
3. Mix Thoroughly: Make sure there are no lumps in the paste. A smooth, consistent paste will adhere better to the rusted surface.
Applying the Baking Soda Paste
Now for the fun part – tackling that rust!
1. Prepare the Surface: Before applying the paste, clean the rusted area with a clean cloth or paper towel. Remove any loose dirt, debris, or flaking rust. This will help the baking soda paste make better contact with the rust.
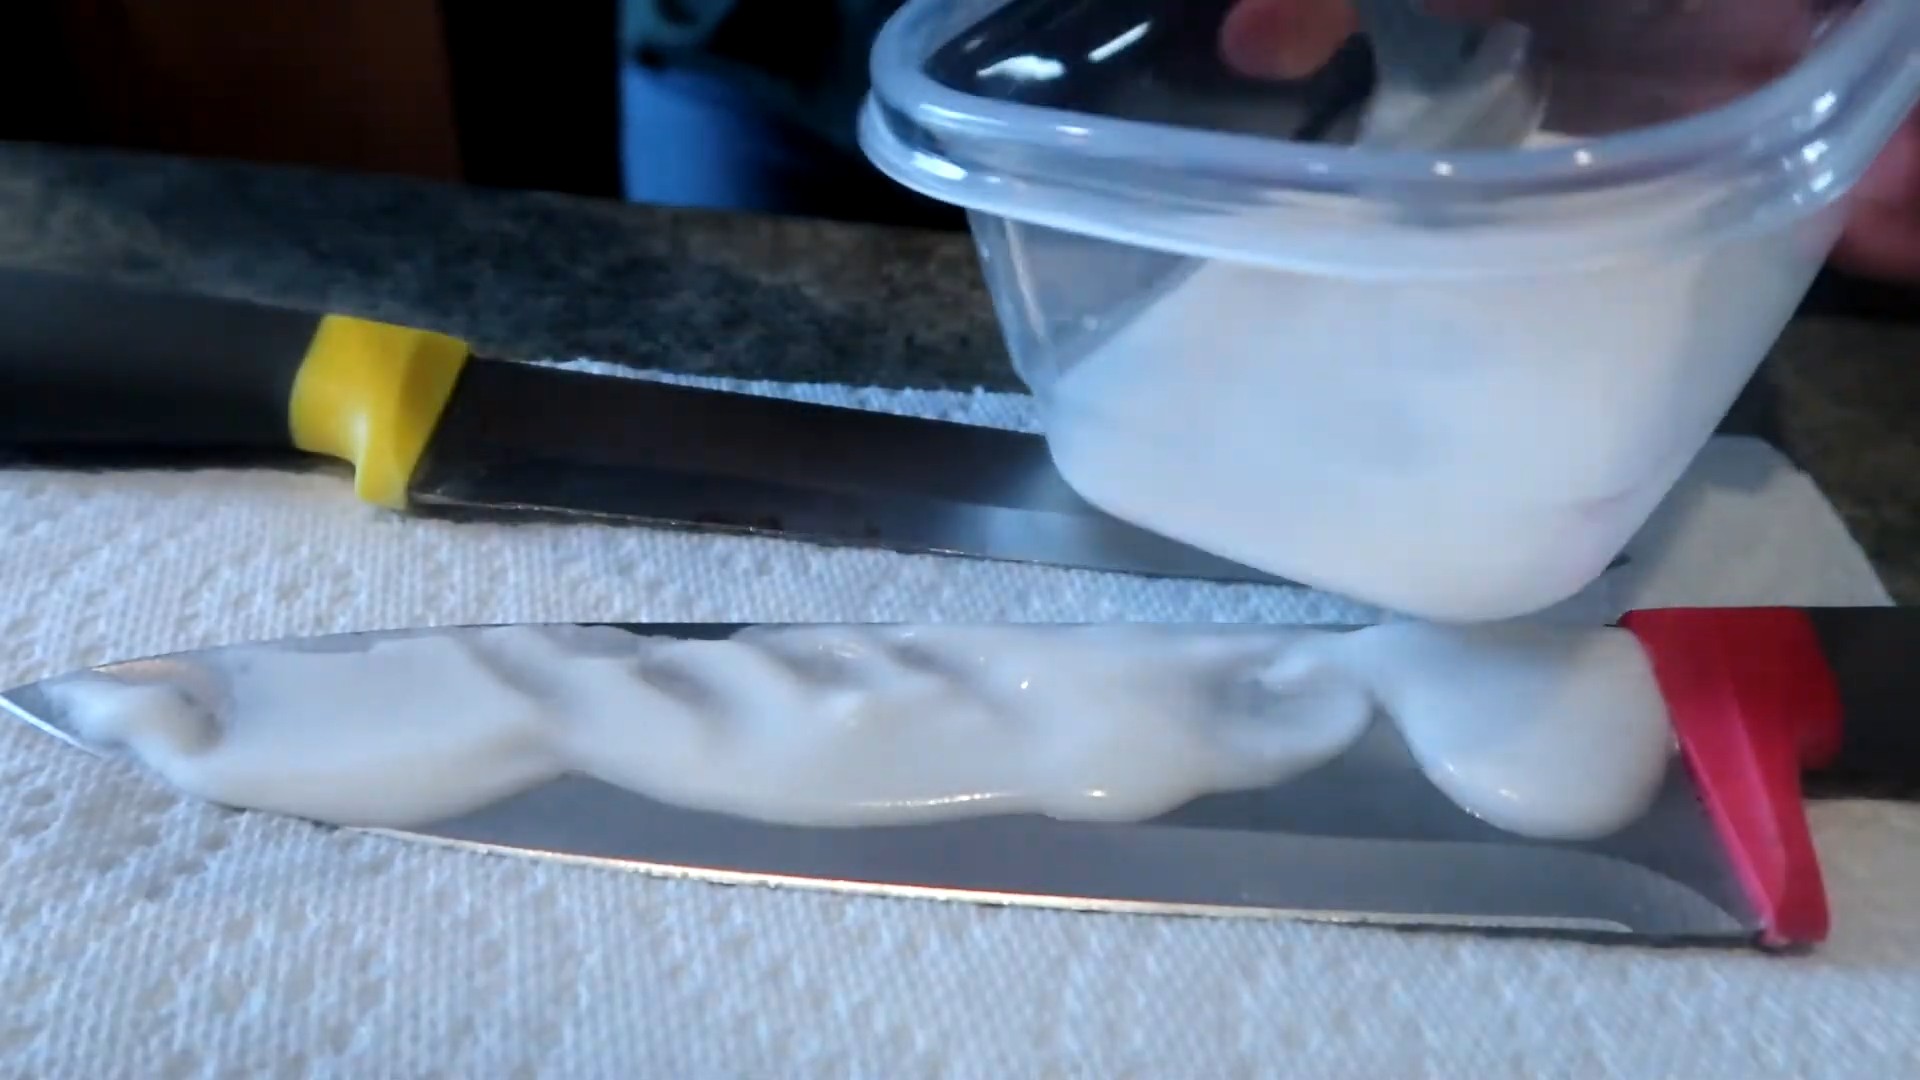
2. Apply the Paste Generously: Using your fingers (with gloves on!), a toothbrush, or a small spatula, apply a thick layer of the baking soda paste to the rusted area. Make sure to cover the entire affected surface completely. Don’t be shy – the more paste, the better!
3. Let it Sit: This is where patience comes in. Allow the baking soda paste to sit on the rust for at least 30 minutes. For heavier rust, you can let it sit for several hours, or even overnight. The longer it sits, the more time it has to work its magic. I often leave it overnight for really stubborn rust.
4. Scrub Away the Rust: After the soaking time, grab your toothbrush or scrubbing brush and start scrubbing the rusted area. Apply firm, but not excessive, pressure. You should see the rust starting to lift and come away from the metal surface.
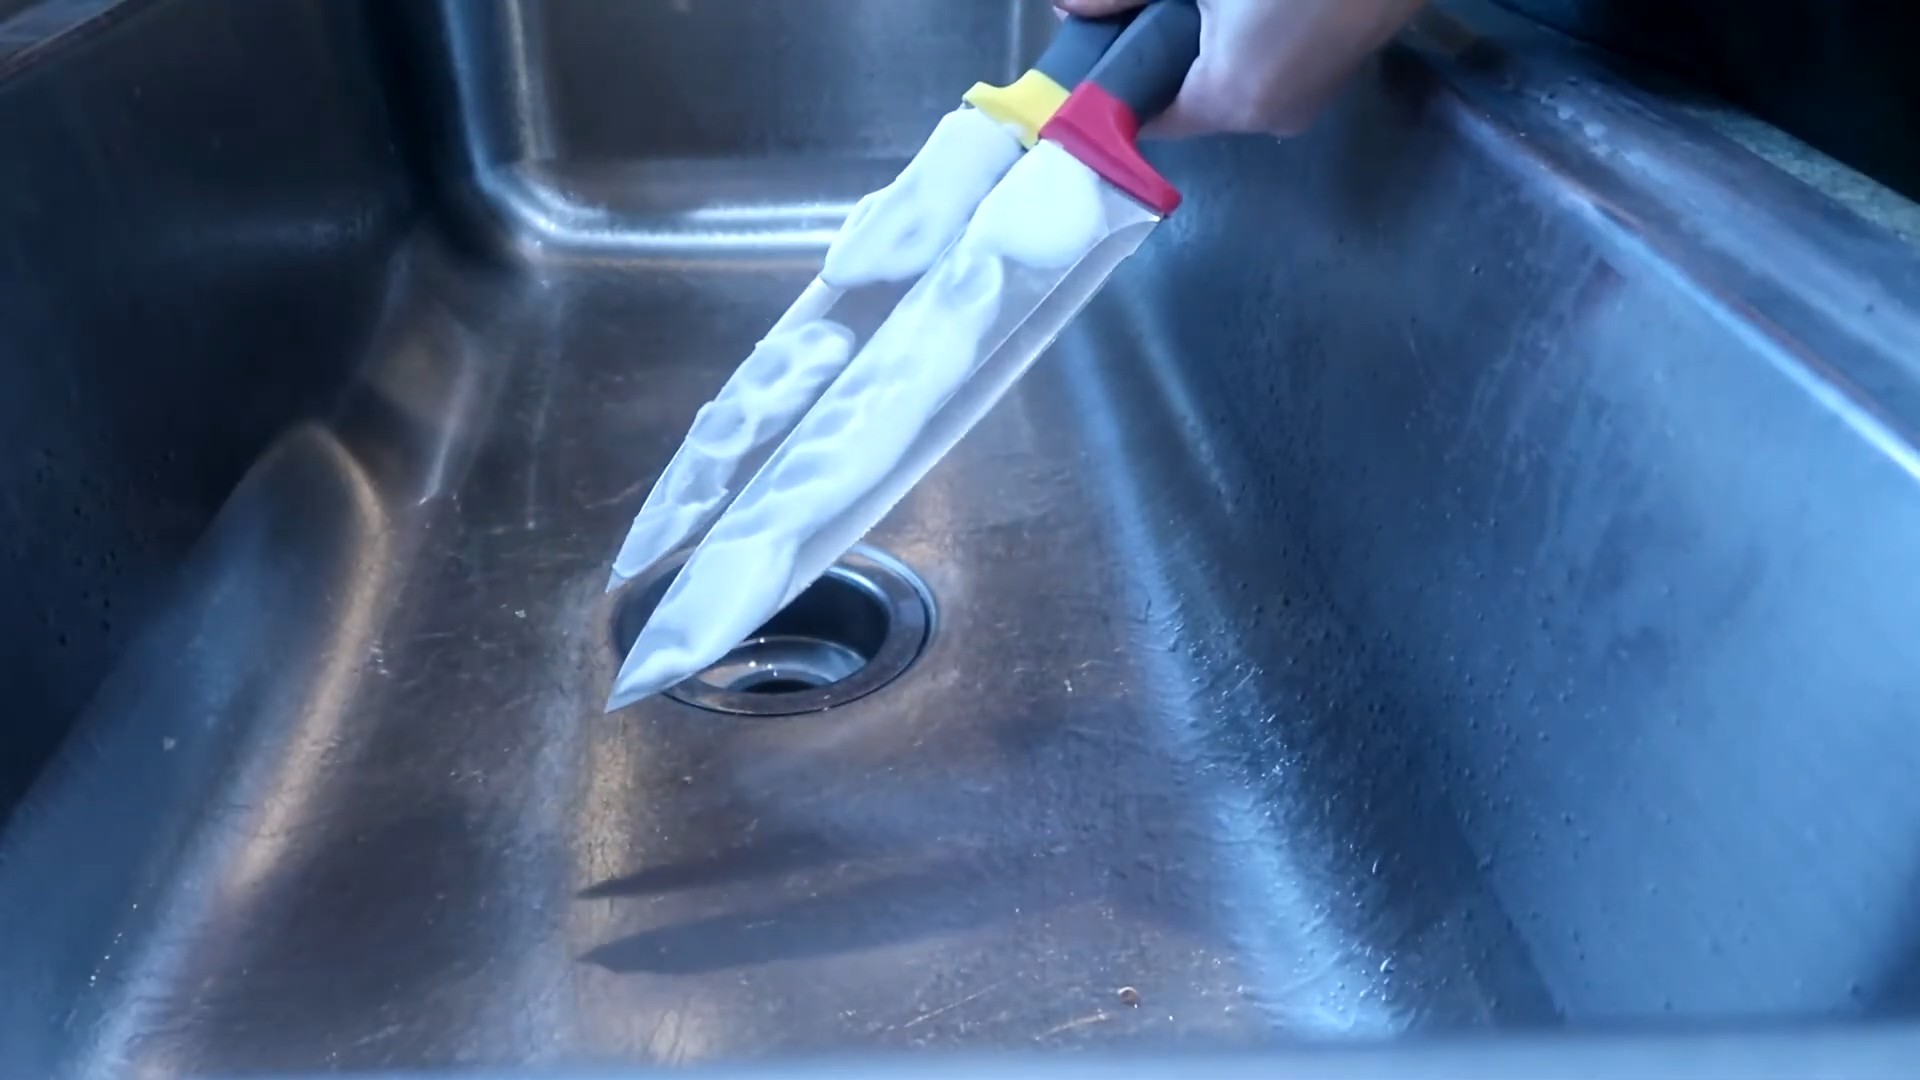
5. Rinse and Repeat (If Necessary): Rinse the area with water to remove the baking soda paste and loosened rust. Inspect the surface to see if any rust remains. If so, repeat the process – apply fresh paste, let it sit, and scrub again. Sometimes, it takes a few applications to completely remove the rust.
Dealing with Stubborn Rust
Sometimes, baking soda alone isn’t enough to tackle really stubborn rust. Here are a few extra tricks I’ve learned over the years:
* Vinegar Power: As mentioned earlier, vinegar is a stronger acid than water. Using vinegar instead of water to make the baking soda paste can significantly boost its rust-removing power. Be careful when using vinegar, as it can be corrosive to some metals. Always test it in an inconspicuous area first.
* Sandpaper Assistance: For heavy rust, you can use sandpaper to gently remove the top layer of rust before applying the baking soda paste. Start with a coarse grit sandpaper (e.g., 80 grit) and gradually move to a finer grit (e.g., 220 grit) to smooth the surface. Be careful not to scratch the metal underneath.
* Wire Brush Action: A wire brush can be very effective for removing stubborn rust, especially in hard-to-reach areas. Use a wire brush with caution, as it can scratch the metal surface.
* Heat it Up (Carefully!): Applying heat to the rusted area can sometimes help loosen the rust. You can use a heat gun or a hairdryer, but be careful not to overheat the metal, especially if it’s thin or delicate.
Protecting Your Metal After Rust Removal
Removing the rust is only half the battle. To prevent it from coming back, you need to protect the metal surface.
1. Thorough Drying: After rinsing away the baking soda paste, make sure the metal surface is completely dry. Use a clean cloth or paper towel to dry it thoroughly. You can also use a hairdryer to speed up the drying process.
2. Rust Converter Primer: Applying a rust converter primer is a great way to prevent rust from returning. Rust converter primers contain chemicals that react with any remaining rust, converting it into a stable, protective layer. Follow the manufacturer’s instructions for application.
3. Paint or Sealant: After applying the rust converter primer, you can paint or seal the metal surface to provide further protection. Choose a paint or sealant that is specifically designed for metal and is suitable for the intended use of the item.
4. Regular Maintenance: The best way to prevent rust is to regularly maintain your metal items. Clean them regularly, apply a protective coating of oil or wax, and store them in a dry place.
Specific Applications and Tips
Here are some specific applications and tips based on my experience:
* Tools: For rusted tools, I often soak them in a baking soda and water solution overnight before scrubbing. This helps to loosen the rust and make it easier to remove.
* Garden Furniture: For rusted garden furniture, I use a wire brush to remove any loose rust before applying the baking soda paste. I also make sure to apply a rust-resistant paint or sealant after removing the rust.
* Cars: For small rust spots on cars, I use a cotton swab to apply the baking soda paste. This allows me to target the rust without damaging the surrounding paint. Be sure to research proper car rust repair techniques before attempting this.
* Cast Iron: For cast iron cookware, I use a combination of baking soda and vinegar to remove rust. After removing the rust, I re-season the cast iron to protect it from further rusting.
Safety First!
Before I forget, let’s talk about safety. While baking soda is generally safe, it’s still important to take precautions:
* Wear Gloves: Always wear gloves when working with baking soda and vinegar, as they can irritate your skin.
* Protect Your Eyes: Wear safety glasses, especially when using vinegar, to protect your eyes from splashes.
* Work in a Well-Ventilated Area: If you’re using vinegar, work in a well-ventilated area to avoid inhaling the fumes.
* Keep Out of Reach of Children and Pets: Store baking soda and vinegar out of reach of children and pets.
Troubleshooting
* Paste Dries Out Too Quickly: If the baking soda paste dries out too quickly, try adding a little more water or vinegar to keep it moist. You can also cover the area with plastic wrap to prevent it from drying out.
* Rust is Still Present After Multiple Applications: If the rust is still present after multiple applications, try using a stronger rust remover or consulting a professional.
* Metal is Discolored: If the metal is discolored after removing the rust, try polishing it with a metal polish to restore its shine.
And there you have it! A comprehensive guide to removing rust with baking soda. I hope you found this helpful. Remember, patience is key, and with a little elbow grease, you can restore your rusted items to their former glory. Happy DIY-ing!
Conclusion
So, there you have it! Baking soda rust removal isn’t just a clever hack; it’s a game-changer for anyone battling the relentless advance of rust. We’ve walked you through the simple steps, highlighting how this readily available, inexpensive ingredient can breathe new life into your rusty treasures. Forget harsh chemicals and expensive rust removers – baking soda offers a safe, effective, and environmentally friendly alternative.
Why is this DIY trick a must-try? Because it’s incredibly versatile. From revitalizing garden tools and restoring vintage finds to cleaning up automotive parts and rescuing household items, the applications are virtually endless. It’s also gentle enough to use on delicate surfaces, minimizing the risk of damage. Plus, the satisfaction of watching rust disappear with a little elbow grease and a common household item is immensely rewarding.
But the beauty of this method lies in its adaptability. Feel free to experiment with variations to suit your specific needs. For heavily rusted items, consider letting the baking soda paste sit for an extended period, even overnight, to allow it to penetrate the rust more effectively. You can also enhance the cleaning power by adding a squeeze of lemon juice or a splash of white vinegar to the baking soda paste. Just be mindful of the surface you’re working on, as these acidic additions may not be suitable for all materials. For intricate areas, use an old toothbrush or a small detailing brush to ensure thorough coverage and removal.
Don’t be afraid to get creative! Some users have reported success using a baking soda slurry with a wire brush for tougher rust spots, while others prefer a gentler approach with a soft cloth or sponge. The key is to find what works best for you and the specific item you’re trying to restore.
We’re confident that once you experience the transformative power of baking soda rust removal, you’ll be hooked. It’s a simple, cost-effective, and satisfying way to reclaim your belongings and extend their lifespan. So, gather your supplies, roll up your sleeves, and prepare to be amazed.
We wholeheartedly encourage you to try this DIY trick and witness the magic for yourself. And most importantly, we want to hear about your experiences! Share your before-and-after photos, tips, and variations in the comments below. Let’s build a community of rust-busting enthusiasts and help each other discover new and innovative ways to utilize the power of baking soda. Your insights could be invaluable to others embarking on their own rust removal journeys. Let us know what items you cleaned, what variations you tried, and any challenges you encountered. Together, we can unlock the full potential of this incredible DIY solution. Happy rust removal!
FAQ
What types of rust can baking soda remove?
Baking soda is most effective on light to moderate surface rust. It works by neutralizing the rust and loosening its grip on the metal. While it can tackle more stubborn rust with repeated applications and some elbow grease, extremely heavy or deeply embedded rust may require more aggressive methods. Think of it as a great starting point for most rust issues, but be prepared to explore other options if the rust is exceptionally severe.
Is baking soda safe to use on all metals?
Generally, baking soda is safe for use on most metals, including iron, steel, chrome, and stainless steel. However, it’s always a good idea to test it on an inconspicuous area first, especially if you’re working with delicate or antique items. Avoid using baking soda on aluminum, as it can cause discoloration or corrosion. Also, be cautious when using it on plated metals, as excessive scrubbing could potentially damage the plating.
How long should I leave the baking soda paste on the rust?
The ideal dwell time depends on the severity of the rust. For light rust, 30 minutes to an hour may be sufficient. For more stubborn rust, you can leave the paste on for several hours or even overnight. Just be sure to keep the paste moist by covering it with plastic wrap or reapplying it periodically. Check the progress regularly and reapply as needed until the rust is effectively loosened.
What’s the best way to apply the baking soda paste?
The best application method depends on the size and shape of the item you’re cleaning. For large, flat surfaces, you can use a sponge or cloth to spread the paste evenly. For smaller, more intricate areas, an old toothbrush or detailing brush works well. Be sure to apply the paste liberally and work it into the rust thoroughly.
What kind of brush should I use for scrubbing?
For most rust removal tasks, a soft-bristled brush or sponge is sufficient. However, for more stubborn rust, you may need to use a wire brush. Be careful when using a wire brush, as it can scratch the surface of the metal. Start with a gentle touch and gradually increase the pressure as needed. Always test the brush on an inconspicuous area first to ensure it doesn’t cause any damage.
Can I use baking soda to remove rust from fabric?
While baking soda is generally safe for fabrics, it’s not the most effective rust remover for textiles. There are specialized rust removers designed specifically for fabrics that are more likely to yield better results. If you do decide to try baking soda on fabric, test it on a hidden area first and use a gentle blotting motion rather than scrubbing.
How do I prevent rust from returning after cleaning?
Preventing rust from returning is crucial to maintaining the restored condition of your items. After cleaning, thoroughly dry the item to remove any moisture, which is a key catalyst for rust formation. Apply a protective coating, such as paint, sealant, or oil, to create a barrier against moisture and oxygen. Regularly inspect your items for any signs of rust and address them promptly. Store items in a dry, well-ventilated area to minimize exposure to moisture.
What if baking soda alone isn’t enough to remove the rust?
If baking soda alone isn’t sufficient, you can try combining it with other ingredients to boost its cleaning power. Adding lemon juice or white vinegar to the baking soda paste can create a more acidic solution that helps to dissolve rust more effectively. You can also try using a commercial rust remover in conjunction with baking soda. Apply the rust remover according to the manufacturer’s instructions, then use baking soda to neutralize the acid and remove any remaining residue.
Is it necessary to wear gloves when using baking soda for rust removal?
While baking soda is generally considered safe, it’s always a good idea to wear gloves when handling it, especially if you have sensitive skin. Prolonged exposure to baking soda can cause dryness or irritation. Gloves will also protect your hands from any sharp edges or rough surfaces on the items you’re cleaning.
How do I dispose of the used baking soda paste?
The used baking soda paste can be safely disposed of down the drain with plenty of water. Baking soda is a natural and biodegradable substance that won’t harm your plumbing or the environment. However, if you’ve added any harsh chemicals to the paste, such as commercial rust remover, dispose of it according to the manufacturer’s instructions.
Leave a Comment