

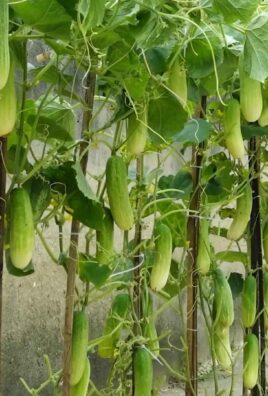
Best herbs for summer garden? Let’s face it, nothing beats the taste of fresh, homegrown herbs in your summer recipes. Imagine vibrant basil in your pesto, fragrant mint in your mojitos, and zesty cilantro sprinkled over your tacos – all picked straight from your backyard! But with so many options, choosing the right herbs for your summer garden can feel overwhelming.
For centuries, herbs have been cherished not only for their culinary uses but also for their medicinal and aromatic properties. From ancient Egyptians using herbs in embalming rituals to medieval monks cultivating herb gardens for healing, these plants have played a vital role in human history. Today, growing your own herbs is a fantastic way to connect with this rich tradition and enjoy the freshest flavors imaginable.
That’s why I’ve put together this guide to the best herbs for summer garden success! Whether you’re a seasoned gardener or just starting out, I’ll share my favorite easy-to-grow herbs that thrive in the summer heat. Plus, I’ll give you tips and tricks for planting, caring for, and harvesting your herbs so you can enjoy a bountiful harvest all season long. Get ready to transform your garden into a fragrant and flavorful oasis!
Creating Your Dream Summer Herb Garden: A DIY Guide
Hey there, fellow garden enthusiasts! I’m so excited to share my secrets for creating a thriving summer herb garden. Nothing beats the taste of fresh, homegrown herbs in your summer recipes, and trust me, it’s easier than you think! This guide will walk you through everything from choosing the right herbs to planting and caring for them. Let’s get our hands dirty!
Choosing the Right Herbs
Before we even think about planting, let’s talk about which herbs will flourish in your summer garden. Consider your climate, the amount of sunlight your garden receives, and, of course, your culinary preferences! Here are some of my absolute favorites:
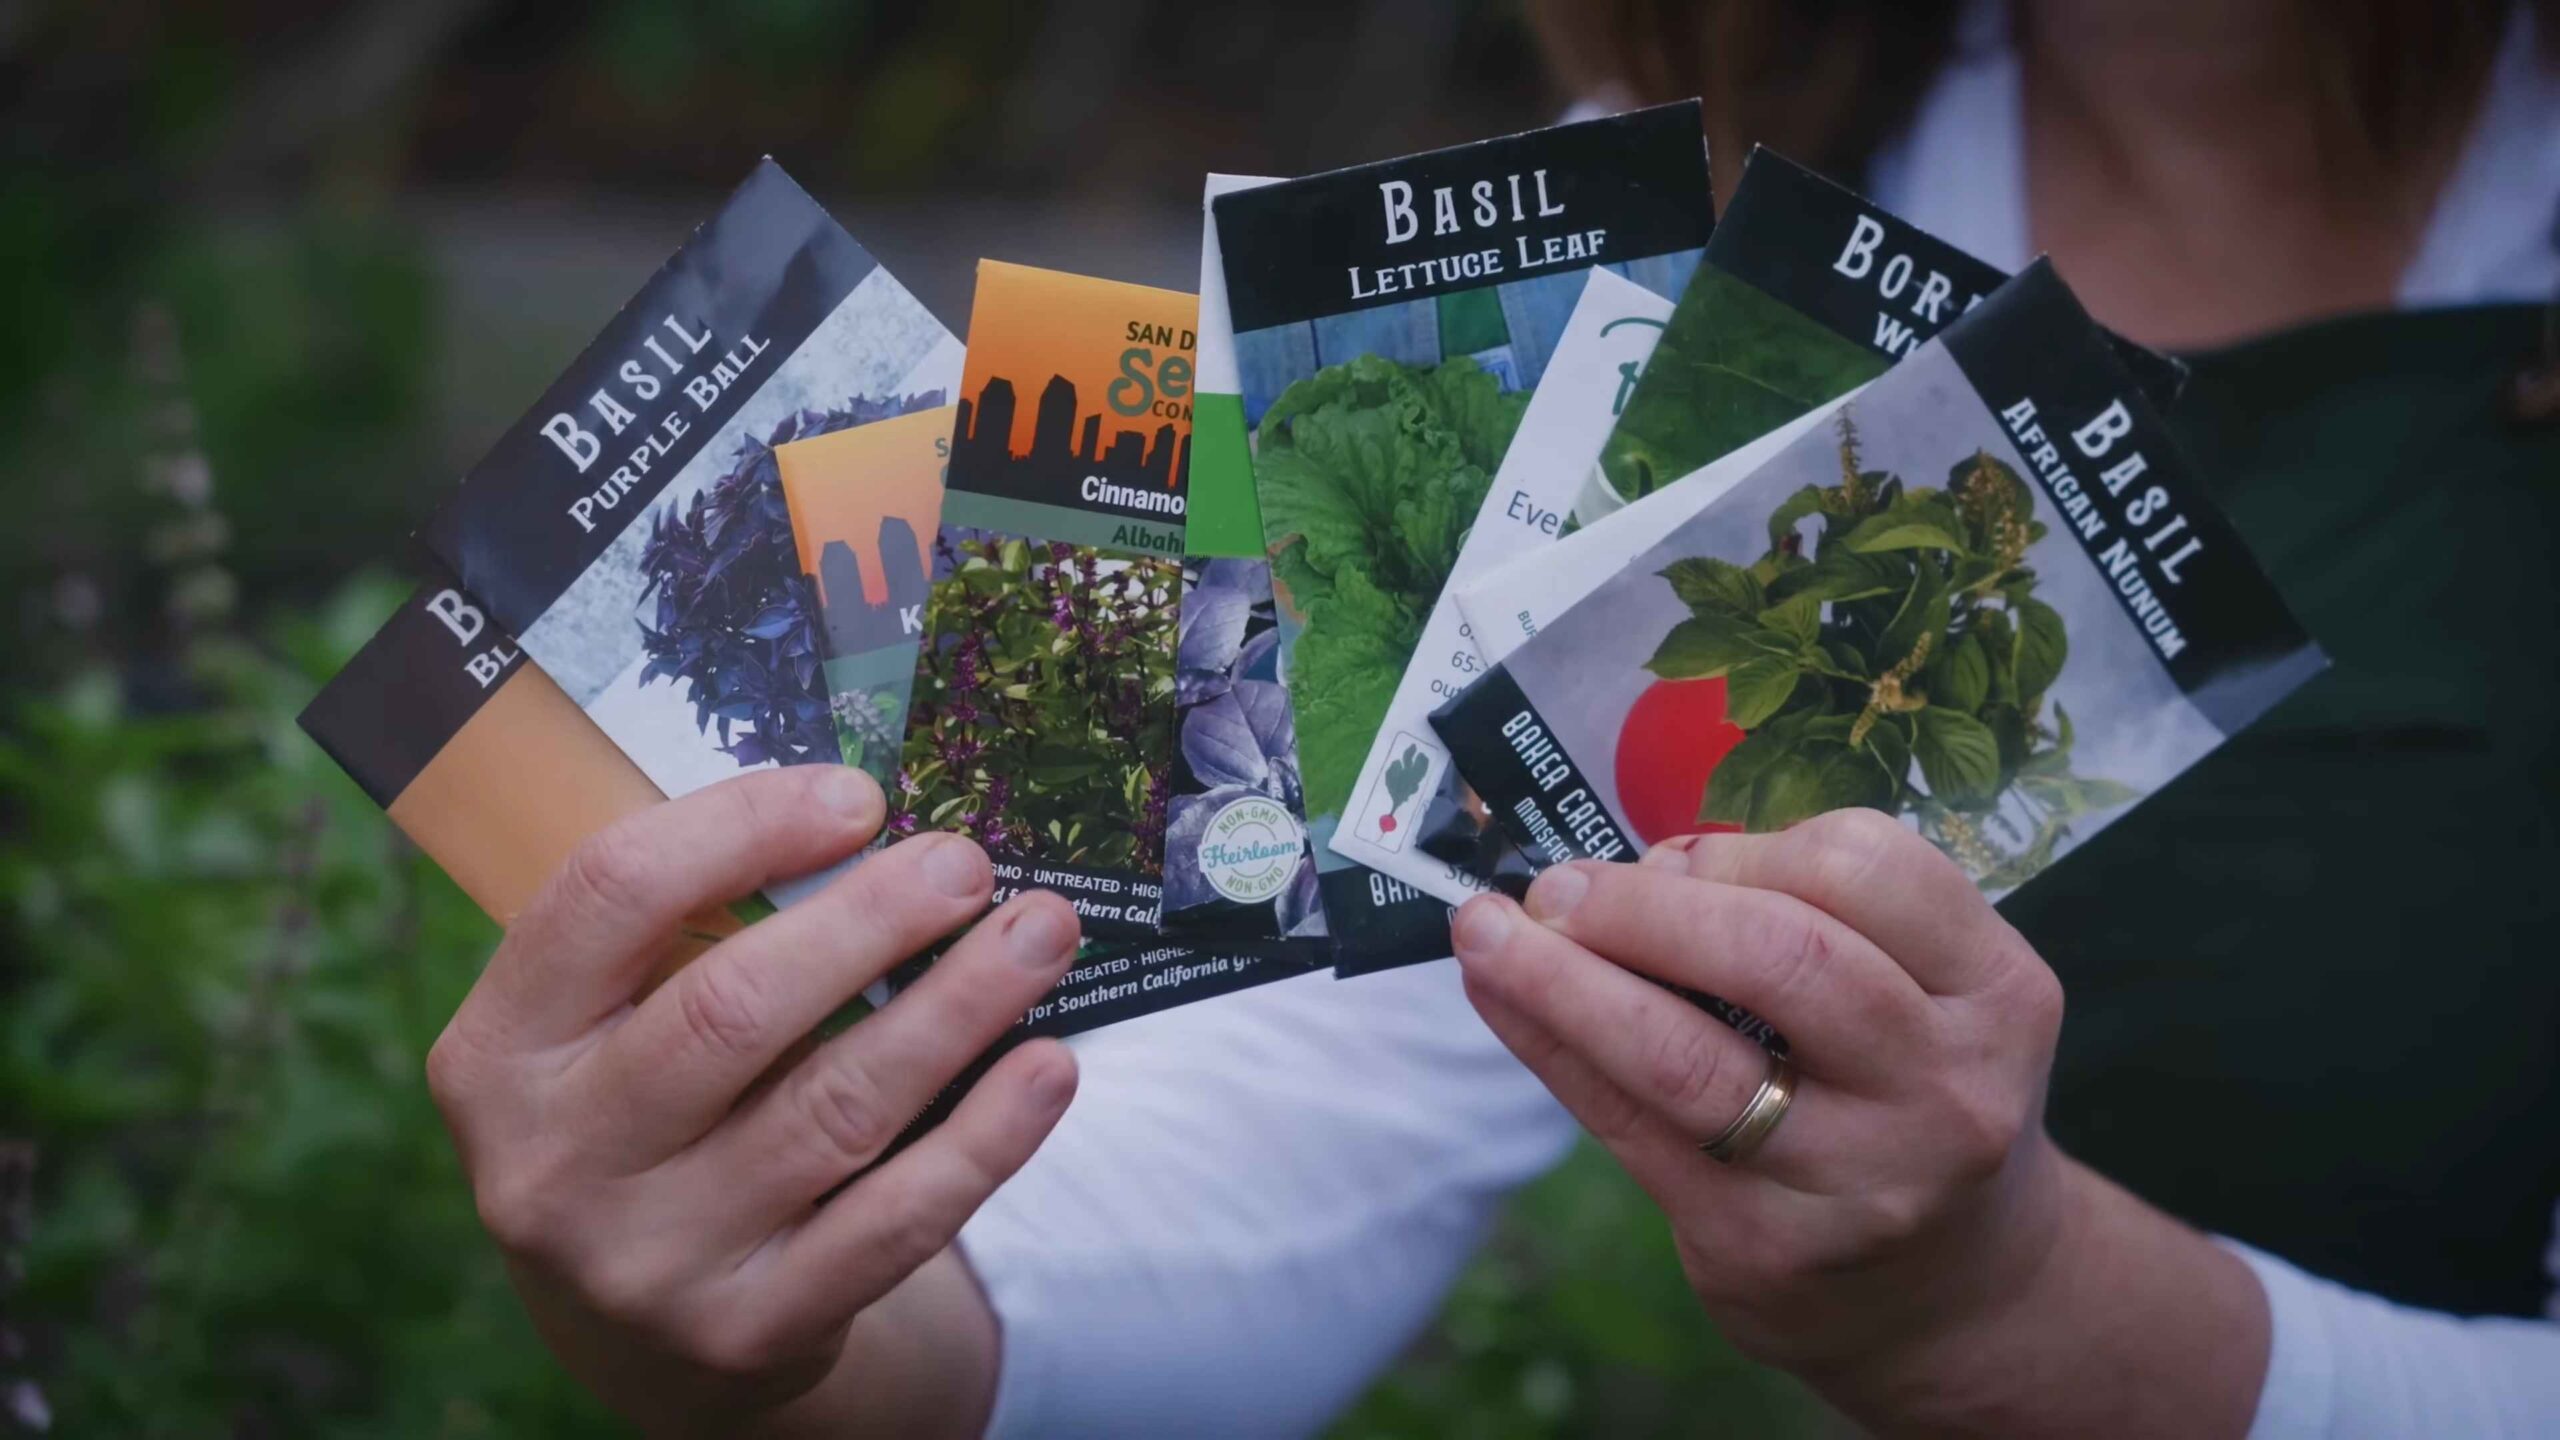
* Basil: A summer staple! Basil loves the sun and warm weather. It’s perfect for pesto, salads, and Italian dishes. There are so many varieties, from Genovese to Thai, so experiment and find your favorite!
* Mint: This one’s a powerhouse! Mint is incredibly versatile and easy to grow, but be warned – it can be invasive. I highly recommend planting it in a container to keep it under control. It’s fantastic in teas, cocktails, and desserts.
* Rosemary: A fragrant and woody herb that thrives in hot, dry conditions. Rosemary is great for roasting meats, flavoring olive oil, and adding a touch of elegance to your garden.
* Thyme: Another low-maintenance herb that loves the sun. Thyme is perfect for seasoning soups, stews, and roasted vegetables. It also comes in many varieties, each with its unique flavor profile.
* Oregano: A must-have for any Italian-inspired garden. Oregano is easy to grow and adds a robust flavor to pizzas, pasta sauces, and grilled meats.
* Chives: These onion-flavored herbs are incredibly easy to grow and add a delicate flavor to salads, dips, and omelets. They also produce beautiful purple flowers that attract pollinators.
* Parsley: A versatile herb that comes in two main varieties: curly and flat-leaf (Italian). Parsley is a great source of vitamins and adds a fresh, clean flavor to many dishes.
* Cilantro: A love-it-or-hate-it herb, but if you’re a fan, you know you need it! Cilantro prefers cooler temperatures and can bolt (go to seed) quickly in hot weather. Plant it in a partially shaded area and harvest frequently to encourage new growth.
Preparing Your Garden Bed or Containers
Now that we’ve chosen our herbs, it’s time to prepare their new home! Whether you’re using a raised garden bed, containers, or planting directly in the ground, proper preparation is key to success.
* Location, Location, Location: Most herbs need at least 6 hours of sunlight per day. Choose a location that receives plenty of sun, especially in the morning.
* Soil Matters: Herbs prefer well-draining soil that is rich in organic matter. If you’re planting in the ground, amend the soil with compost or aged manure. For containers, use a high-quality potting mix.
* Drainage is Crucial: Make sure your containers have drainage holes to prevent waterlogging. Soggy soil can lead to root rot, which is a death sentence for most herbs.
* Container Size: Choose containers that are large enough to accommodate the mature size of your herbs. A good rule of thumb is to use containers that are at least 12 inches in diameter.
Planting Your Herbs: Step-by-Step
Alright, let’s get planting! This is the fun part. You can start your herbs from seeds or purchase seedlings from a local nursery. I usually opt for seedlings because they give me a head start, but starting from seed can be very rewarding.
1. Gather Your Supplies: You’ll need your herb seedlings or seeds, potting mix or amended garden soil, gardening gloves, a trowel, and a watering can.
2. Prepare the Planting Hole: Dig a hole that is slightly larger than the root ball of your seedling. If you’re planting seeds, follow the instructions on the seed packet for planting depth.
3. Gently Remove the Seedling: Carefully remove the seedling from its container, gently loosening the roots if they are tightly bound.
4. Place the Seedling in the Hole: Position the seedling in the hole, ensuring that the top of the root ball is level with the surrounding soil.
5. Fill the Hole: Fill the hole with soil, gently patting it down around the base of the plant.
6. Water Thoroughly: Water the newly planted herb thoroughly, making sure the soil is evenly moist.
7. Mulch (Optional): Add a layer of mulch around the base of the plant to help retain moisture and suppress weeds. I like to use straw or wood chips.
8. Label Your Herbs: This is especially important if you’re planting multiple varieties of the same herb. You don’t want to accidentally use mint instead of basil!
Caring for Your Herb Garden
Planting is just the beginning! To keep your herb garden thriving, you’ll need to provide regular care.
* Watering: Water your herbs regularly, especially during hot, dry weather. Check the soil moisture by sticking your finger into the soil. If the top inch feels dry, it’s time to water. Avoid overwatering, as this can lead to root rot.
* Fertilizing: Herbs generally don’t need a lot of fertilizer, but a light feeding every few weeks can help them grow strong and healthy. Use a balanced organic fertilizer or compost tea.
* Pruning and Harvesting: Regular pruning and harvesting will encourage your herbs to produce more leaves. Pinch off the tips of the stems to promote bushier growth. Harvest herbs in the morning, after the dew has dried.
* Pest Control: Keep an eye out for pests like aphids, spider mites, and whiteflies. If you spot any pests, treat them with an organic insecticide like neem oil or insecticidal soap.
* Weed Control: Regularly remove weeds from your herb garden to prevent them from competing with your herbs for nutrients and water.
* Deadheading: Remove any dead or dying leaves or flowers to keep your herb garden looking its best.
Specific Herb Care Tips
Let’s dive into some specific care tips for the herbs we discussed earlier:
* Basil: Pinch off flower buds to encourage leaf production. Water regularly and fertilize every few weeks. Basil is sensitive to frost, so protect it if temperatures drop.
* Mint: As I mentioned before, plant mint in a container to prevent it from spreading. Water regularly and prune frequently to keep it from getting leggy.
* Rosemary: Rosemary prefers well-draining soil and doesn’t need a lot of water. Prune it regularly to maintain its shape.
* Thyme: Thyme is drought-tolerant and doesn’t need a lot of fertilizer. Prune it after flowering to encourage new growth.
* Oregano: Oregano is easy to grow and doesn’t require much maintenance. Prune it regularly to keep it from getting leggy.
* Chives: Chives are easy to grow and can be harvested frequently. Cut them back to the base of the plant after flowering to encourage new growth.
* Parsley: Parsley prefers moist soil and partial shade. Harvest the outer leaves first to encourage new growth.
* Cilantro: Cilantro prefers cooler temperatures and can bolt quickly in hot weather. Plant it in a partially shaded area and harvest frequently to encourage new growth. Consider succession planting, planting new seeds every few weeks, to ensure a continuous supply.
Troubleshooting Common Problems
Even with the best care, you might encounter some problems in your herb garden. Here are some common issues and how to address them:
* Yellowing Leaves: This could be a sign of overwatering, underwatering, or nutrient deficiency. Check the soil moisture and adjust your watering schedule accordingly. If the soil is dry, water thoroughly. If the soil is soggy, allow it to dry out before watering again. If the leaves are yellowing due to nutrient deficiency, fertilize with a balanced organic fertilizer.
* Leggy Growth: This is often caused by insufficient sunlight. Move your herbs to a sunnier location or provide supplemental lighting. Prune the leggy stems to encourage bushier growth.
* Pest Infestations: As mentioned earlier, keep an eye out for pests and treat them with an organic insecticide.
* Root Rot: This is caused by overwatering and poor drainage. Make sure your containers have drainage holes and avoid overwatering. If you suspect root rot, repot your herb in fresh potting mix.
* Bolting (Going to Seed): This is common in herbs like cilantro and basil, especially in hot weather. To prevent bolting, plant your herbs in a partially shaded area and harvest frequently. Pinch off flower buds as soon as they appear.
Conclusion
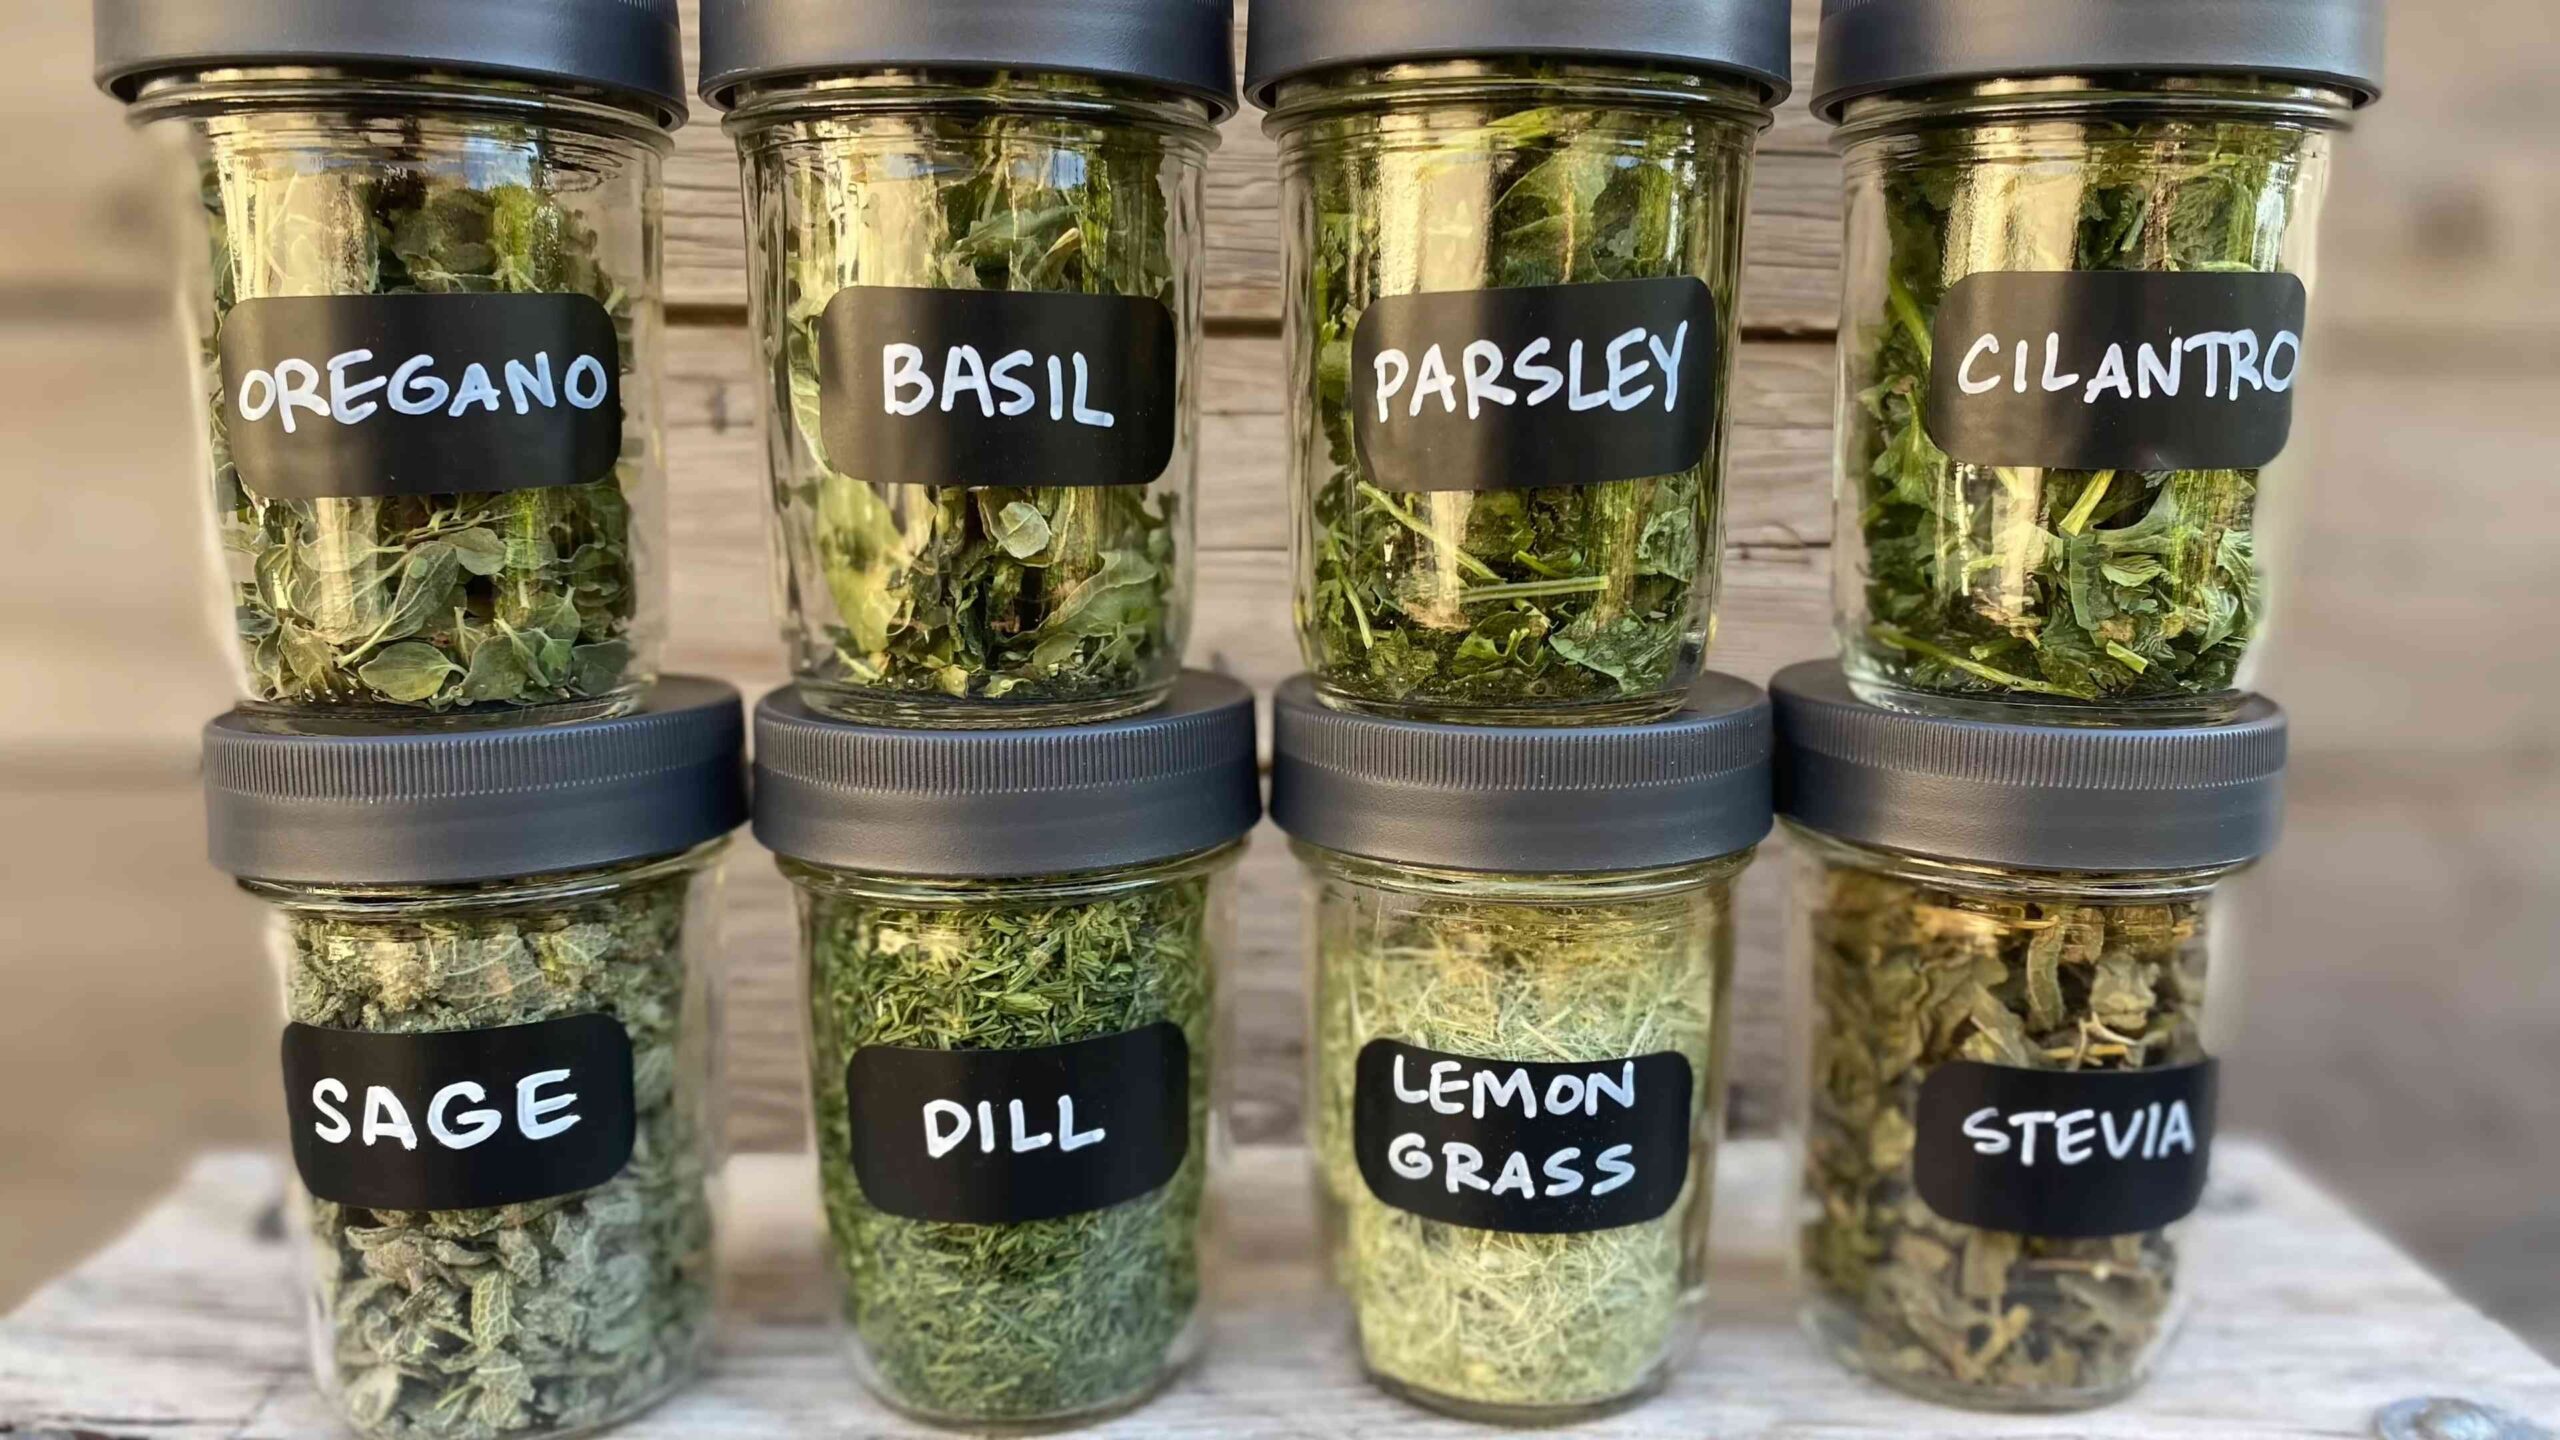
So, there you have it! Mastering this simple DIY trick for preserving your bounty of summer herbs is not just a good idea; it’s a game-changer. Imagine, even as the leaves begin to fall and the days grow shorter, you can still infuse your winter meals with the vibrant, sun-kissed flavors of your summer garden. No more bland, store-bought dried herbs that taste like dust! This method allows you to capture the true essence of your basil, mint, oregano, and thyme, locking in their aromatic oils and potent flavors for months to come.
Why is this a must-try? Because it’s economical, environmentally friendly, and, most importantly, it delivers superior results. Think about the money you’ll save by not having to purchase expensive, often lackluster, dried herbs from the grocery store. Consider the reduced waste from avoiding those plastic containers and packaging. And, most significantly, savor the unparalleled taste difference that freshly preserved herbs bring to your dishes.
But don’t stop there! This technique is incredibly versatile. Experiment with different herb combinations to create your own signature blends. Try infusing olive oil with your preserved herbs for a flavorful dipping oil or salad dressing. Add them to homemade spice rubs for grilling or roasting. The possibilities are truly endless.
Variations and Suggestions:
* Herb-Infused Oils: After drying your herbs, gently warm some olive oil in a saucepan (do not boil!). Add your dried herbs and let them steep for a few hours. Strain the oil and store it in a sterilized bottle. This is fantastic for drizzling over salads, pasta, or grilled vegetables.
* Herb Butters: Soften some unsalted butter and mix in your finely chopped, dried herbs. Add a pinch of salt and pepper. Roll the butter into a log, wrap it in parchment paper, and refrigerate. Slice off rounds of herb butter to top steaks, chicken, or fish.
* Herb Vinegars: Infuse white wine vinegar or apple cider vinegar with your dried herbs for a tangy and flavorful addition to salads and marinades.
* Spice Blends: Create your own custom spice blends by combining your dried herbs with other spices like garlic powder, onion powder, paprika, and chili powder.
This DIY herb preservation method is more than just a trick; it’s an investment in flavor, sustainability, and culinary creativity. It’s about taking control of your ingredients and enjoying the fruits (or rather, herbs!) of your labor all year round.
So, what are you waiting for? Gather your herbs, follow these simple steps, and prepare to be amazed by the difference that freshly preserved herbs can make. We are confident that you will be delighted with the results.
We encourage you to try this DIY trick and share your experience with us! Let us know what herbs you preserved, what variations you tried, and what delicious dishes you created. Share your photos and stories on social media using #DIYHerbs and #SummerGardenFlavors. We can’t wait to see what you come up with! Your feedback will help other gardeners and cooks discover the joy of preserving their own herbs and enjoying the taste of summer all year long. This simple method will allow you to enjoy the best herbs for your summer garden long after the season has ended.
Frequently Asked Questions (FAQ)
Q: What types of herbs are best suited for this DIY preservation method?
A: While this method works well for a wide variety of herbs, some herbs retain their flavor and aroma better than others when dried. Excellent choices include basil, oregano, thyme, rosemary, sage, mint, and parsley. Herbs with high moisture content, like chives, may not dry as effectively and may lose some of their flavor. However, you can still experiment with them! Just be sure to dry them thoroughly.
Q: How long will the preserved herbs last?
A: When stored properly in airtight containers in a cool, dark place, your DIY preserved herbs can last for up to a year, or even longer. However, their flavor and aroma will gradually diminish over time. It’s best to use them within 6-12 months for optimal flavor. Be sure to label your containers with the date of preservation so you can keep track of their freshness.
Q: What’s the best way to store the dried herbs?
A: The key to preserving the flavor and aroma of your dried herbs is proper storage. Use airtight containers, such as glass jars or resealable plastic bags. Make sure the herbs are completely dry before storing them to prevent mold growth. Store the containers in a cool, dark, and dry place, away from direct sunlight and heat. A pantry or cupboard is ideal. Avoid storing them near the stove or oven, as the heat can degrade their quality.
Q: Can I use a dehydrator instead of air-drying?
A: Yes, absolutely! A dehydrator can be a faster and more efficient way to dry your herbs. Follow the manufacturer’s instructions for drying herbs, typically setting the temperature to around 95-115°F (35-46°C). Check the herbs periodically and remove them when they are completely dry and brittle. The drying time will vary depending on the type of herb and the humidity level.
Q: How do I know when the herbs are completely dry?
A: The herbs are completely dry when they are brittle and crumble easily. They should not feel soft or pliable. If you’re air-drying, this can take several days or even a week, depending on the humidity. If you’re using a dehydrator, it will typically take a few hours. To test for dryness, take a few leaves and crush them in your hand. If they crumble easily, they’re ready. If they still feel slightly moist, continue drying them for a bit longer.
Q: Can I dry herbs in the oven?
A: Yes, you can dry herbs in the oven, but it requires careful monitoring to prevent them from burning. Spread the herbs in a single layer on a baking sheet lined with parchment paper. Set the oven to the lowest possible temperature (ideally below 170°F or 77°C) and leave the door slightly ajar to allow moisture to escape. Check the herbs frequently and turn them over occasionally to ensure even drying. This method can take several hours, so be patient and keep a close eye on them.
Q: My herbs turned brown during drying. What did I do wrong?
A: Browning can occur if the herbs are dried at too high a temperature or if they are exposed to direct sunlight. High heat can cause the herbs to lose their color and flavor. To prevent browning, dry the herbs in a cool, dark, and well-ventilated area. If you’re using a dehydrator or oven, make sure the temperature is set low enough.
Q: Can I use this method for preserving edible flowers?
A: Yes, you can use this method for preserving edible flowers like lavender, chamomile, and calendula. The process is the same as for herbs. Dry the flowers thoroughly and store them in airtight containers in a cool, dark place. Dried edible flowers can be used to make teas, infusions, and baked goods.
Q: What if my herbs get moldy during the drying process?
A: If your herbs get moldy, it means they were not dried thoroughly enough or they were exposed to too much moisture. Unfortunately, moldy herbs should be discarded. To prevent mold growth, make sure the herbs are completely dry before storing them. Also, ensure that the storage containers are airtight and that the storage area is cool and dry.
Q: How do I rehydrate dried herbs?
A: To rehydrate dried herbs, simply soak them in a small amount of warm water or broth for about 10-15 minutes. This will help to plump them up and release their flavor. You can also add them directly to soups, stews, and sauces, where they will rehydrate during cooking. Remember that dried herbs have a more concentrated flavor than fresh herbs, so you’ll typically need to use less.
Leave a Comment