

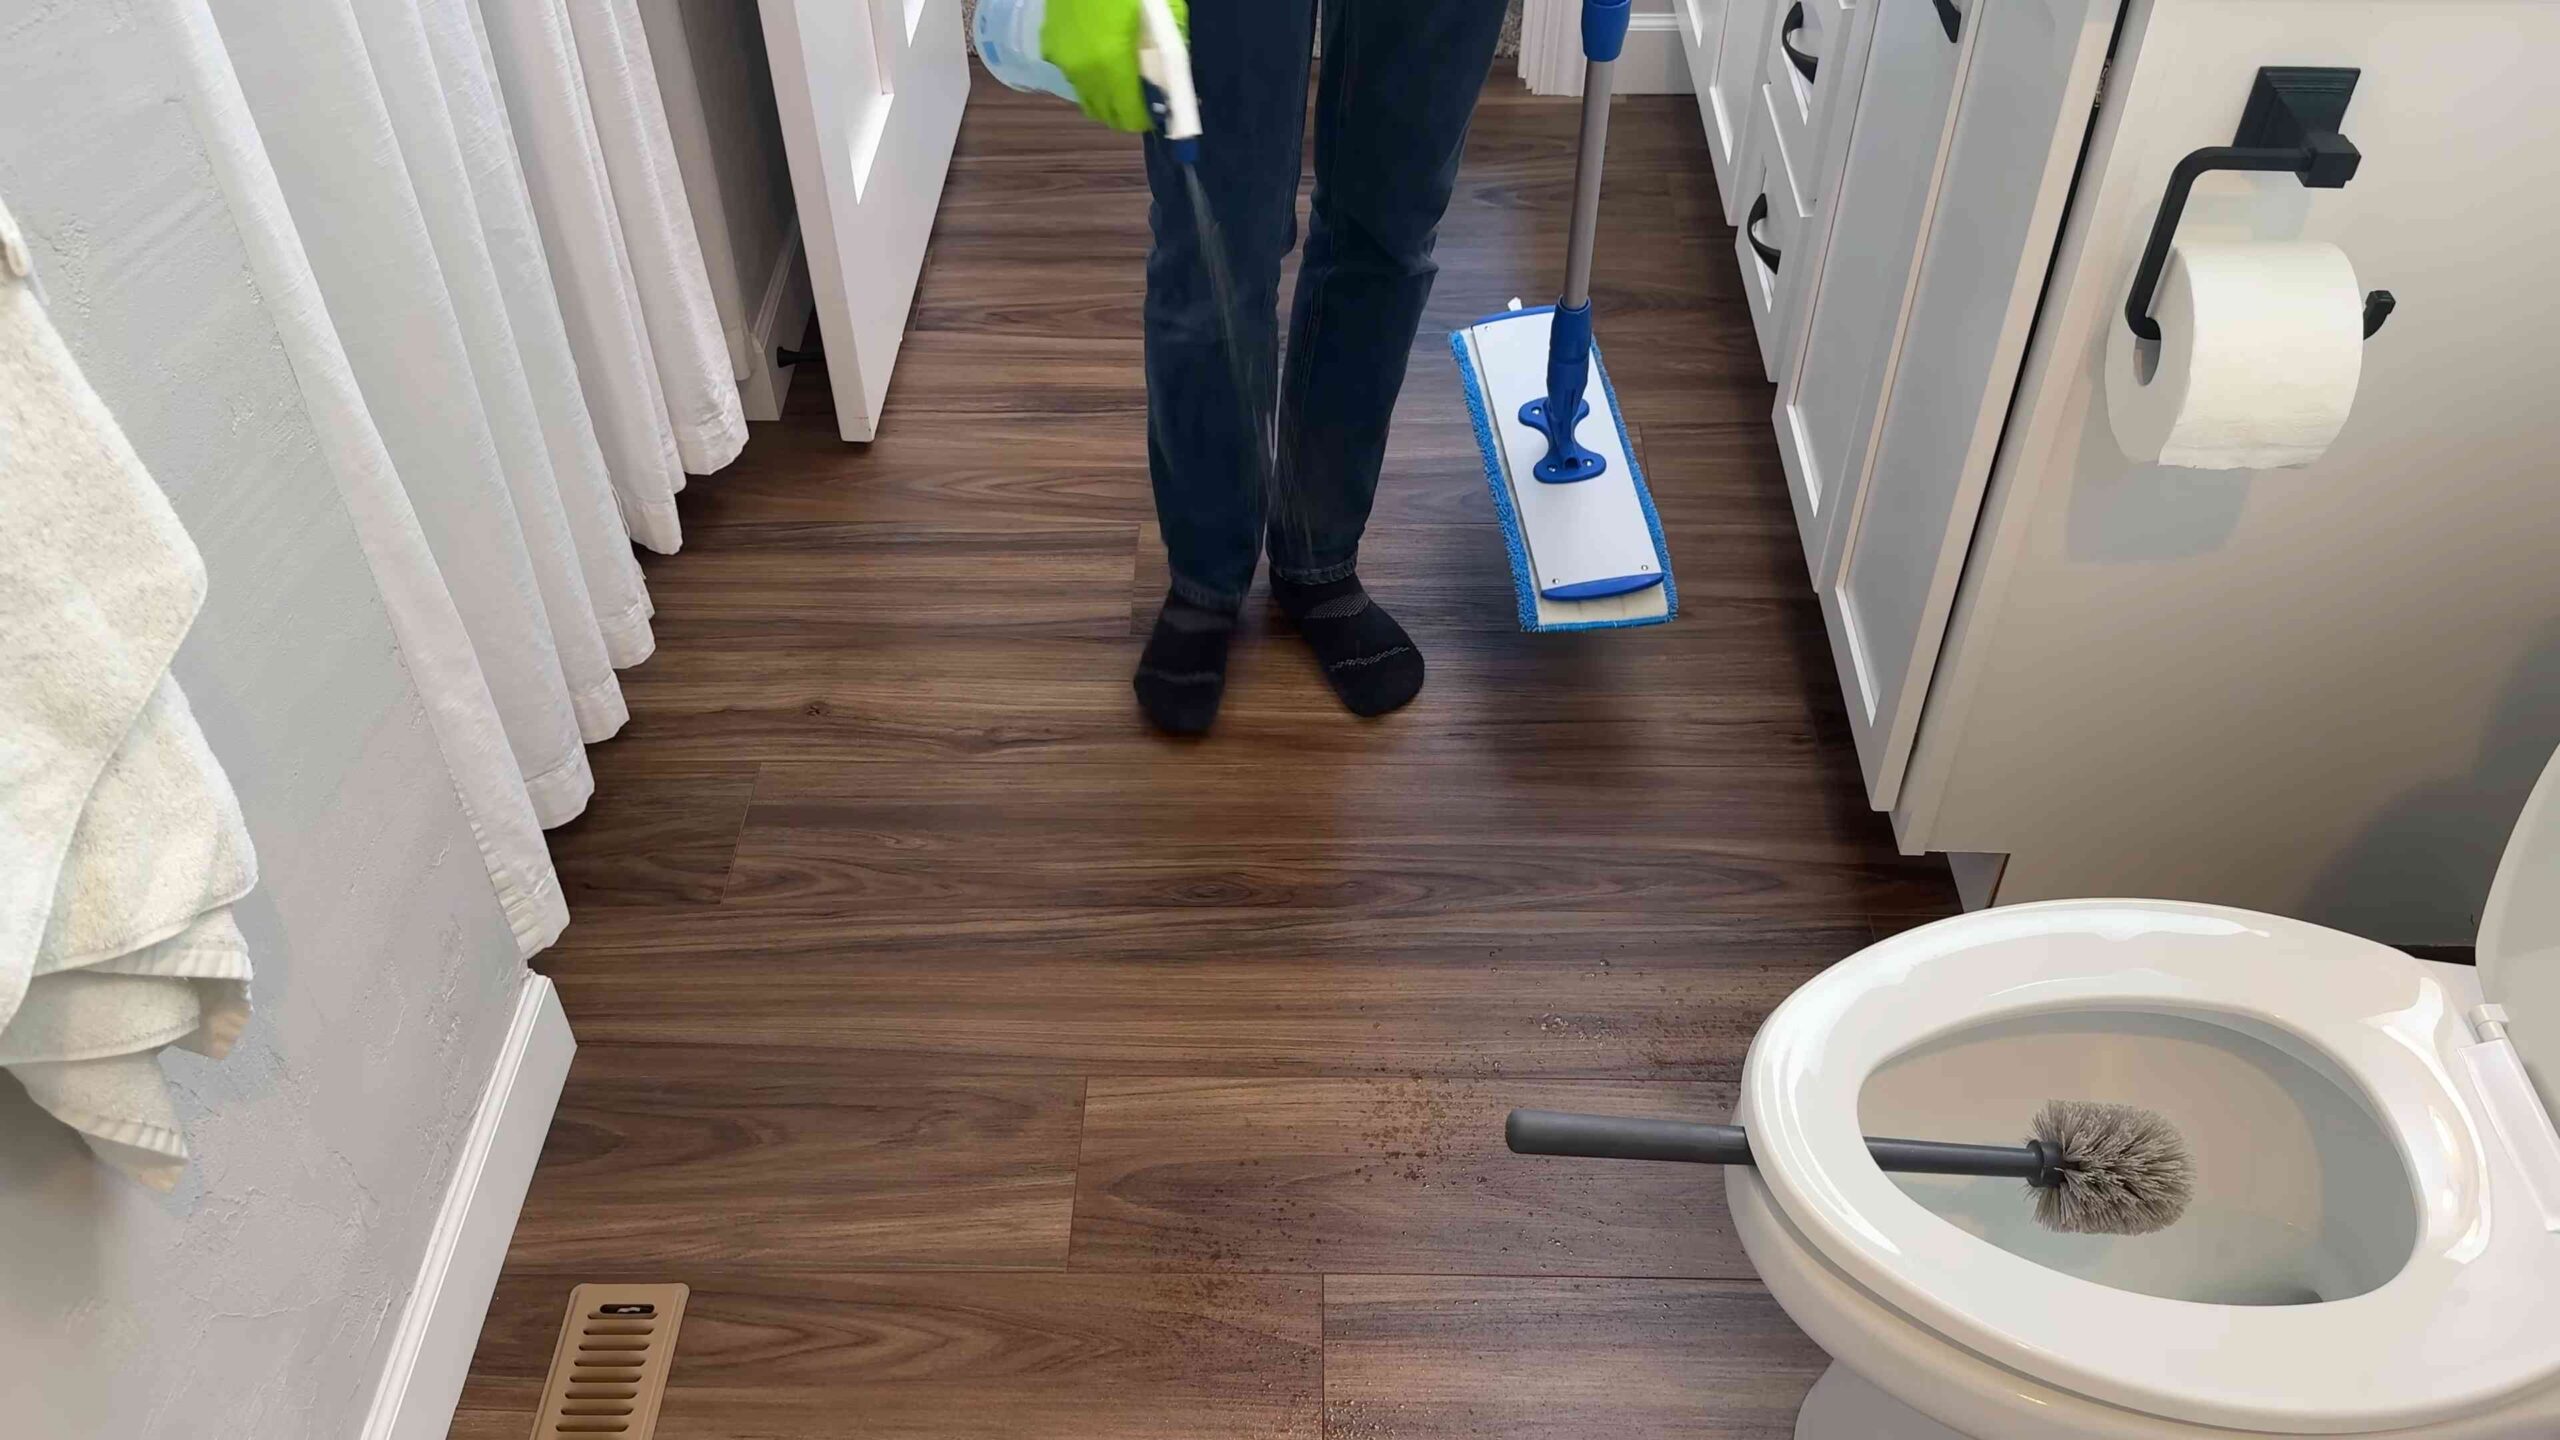
Clean bathroom, healthy home – it’s more than just a catchy phrase; it’s a fundamental truth! Let’s face it, nobody enjoys spending time in a grimy bathroom. But beyond the unpleasant aesthetics, a sparkling clean bathroom is crucial for maintaining a healthy living environment for you and your family. Think about it: bathrooms are breeding grounds for bacteria, mold, and mildew, which can trigger allergies, respiratory problems, and other health issues.
For centuries, cultures around the world have recognized the importance of cleanliness, often incorporating rituals and practices to maintain hygiene in their homes, especially in areas prone to moisture like bathrooms. From ancient Roman bathhouses to traditional Japanese ofuro, the concept of cleansing and purifying spaces has always been deeply ingrained in our societies.
But who has the time (or the budget!) for expensive cleaning services? That’s where this DIY guide comes in! I’m going to share some amazing, easy-to-implement tricks and hacks to help you achieve a clean bathroom, healthy home without breaking the bank. We’ll tackle everything from stubborn stains to lingering odors, using simple ingredients you probably already have in your pantry. Get ready to transform your bathroom into a sparkling sanctuary – your health (and your nose!) will thank you for it!
DIY Bathroom Cleaning Bombs: Sparkle and Sanitize!
Hey everyone! I’m so excited to share this super easy and effective DIY for making your own bathroom cleaning bombs. Not only are they a fun project, but they’re also a fantastic way to keep your bathroom sparkling clean and smelling fresh without harsh chemicals. Plus, you know exactly what’s going into them! Let’s get started!
What You’ll Need: The Arsenal of Clean
Before we dive in, let’s gather our supplies. This recipe is pretty flexible, so feel free to adjust the essential oils to your liking.
* Baking Soda: 1 cup. This is the workhorse of our cleaning bomb, acting as a mild abrasive and deodorizer.
* Citric Acid: 1/2 cup. This is what creates the fizzing action when it comes into contact with water, helping to loosen grime and dirt. You can usually find it in the baking aisle or online.
* Cornstarch: 1/2 cup. This helps bind the ingredients together and slows down the reaction, giving the cleaning bomb more time to work its magic.
* Essential Oils: 20-30 drops total. I love using a combination of tea tree (antiseptic), eucalyptus (disinfectant and refreshing scent), and lemon (degreasing and bright scent). But feel free to experiment! Lavender, peppermint, or orange are also great choices.
* Water: A spray bottle filled with water. We’ll use this sparingly to moisten the mixture.
* Spray Bottle with Witch Hazel (optional): Witch hazel helps bind the ingredients and is a natural disinfectant.
* Food Coloring (optional): Just a few drops to make your bombs look pretty! Gel food coloring works best.
* Silicone Molds: These are perfect for shaping your cleaning bombs. You can use muffin tins, ice cube trays, or even fun-shaped molds.
* Mixing Bowl: A large bowl to combine all the dry ingredients.
* Gloves (optional): To protect your hands from the essential oils and food coloring.
Step-by-Step Instructions: Bomb-Making Time!
Okay, let’s get down to business! Follow these steps carefully, and you’ll have a batch of sparkling cleaning bombs in no time.
1. Combine Dry Ingredients: In your mixing bowl, thoroughly combine the baking soda, citric acid, and cornstarch. Make sure there are no clumps. I like to use a whisk to really get everything mixed evenly.
2. Add Essential Oils and Food Coloring (Optional): Now, add your essential oils and food coloring (if using) to the dry mixture. Mix well with your hands or a spoon. If you’re using food coloring, be careful not to add too much, or it could stain your molds or your bathroom surfaces.
3. Moisten the Mixture: This is the trickiest part! You need to add just enough water to moisten the mixture so it holds its shape, but not so much that it starts to fizz prematurely. Using your spray bottle, spritz the mixture lightly with water, mixing constantly. Keep adding water a little at a time until the mixture feels like damp sand. It should clump together when you squeeze it in your hand, but still be crumbly. If you accidentally add too much water and it starts to fizz, don’t panic! Just add a little more baking soda and cornstarch to absorb the excess moisture.
4. Pack the Molds: Now, it’s time to pack the mixture into your silicone molds. Press the mixture firmly into each mold, making sure to fill it completely. You can even overfill them slightly, as the mixture will shrink a bit as it dries.
5. Let Them Dry: This is the hardest part – waiting! Let the cleaning bombs dry in the molds for at least 24 hours, or even longer if you live in a humid climate. You want them to be completely dry and hard before you try to remove them from the molds.
6. Remove from Molds: Once the cleaning bombs are completely dry, gently remove them from the molds. If they’re sticking, you can try tapping the molds on a hard surface or gently flexing them to loosen the bombs.
7. Store Properly: Store your cleaning bombs in an airtight container in a cool, dry place. This will prevent them from absorbing moisture and fizzing prematurely.
Using Your Cleaning Bombs: Time to Sparkle!
Now that you’ve made your cleaning bombs, it’s time to put them to work! Here’s how I use them to keep my bathroom sparkling clean:
* Toilet Cleaning: Drop one cleaning bomb into the toilet bowl and let it fizz for a few minutes. Then, scrub the bowl with a toilet brush and flush. The fizzing action helps to loosen stains and grime, and the essential oils leave a fresh, clean scent.
* Shower and Tub Cleaning: Wet the shower or tub surface, then drop a cleaning bomb onto the wet surface. Let it fizz for a few minutes, then scrub with a sponge or brush. Rinse thoroughly with water. These bombs are great for removing soap scum and hard water stains.
* Sink Cleaning: Place a cleaning bomb in the sink drain and run a little warm water over it. Let it fizz for a few minutes, then scrub the sink with a sponge or brush. Rinse thoroughly with water. This is a great way to freshen up your sink and clean the drain at the same time.
Troubleshooting Tips: Don’t Panic!
Sometimes, things don’t go exactly as planned. Here are a few common problems and how to fix them:
* Cleaning Bombs are Crumbly: This usually means you didn’t add enough water. Spritz the mixture with a little more water and mix well.
* Cleaning Bombs are Fizzing Prematurely: This means you added too much water. Add a little more baking soda and cornstarch to absorb the excess moisture.
* Cleaning Bombs are Sticking to the Molds: Make sure the cleaning bombs are completely dry before you try to remove them from the molds. If they’re still sticking, try tapping the molds on a hard surface or gently flexing them to loosen the bombs.
* Cleaning Bombs Aren’t Fizzing Enough: This could be due to a few reasons. Make sure you’re using fresh citric acid, and that your cleaning bombs are stored in an airtight container to prevent them from absorbing moisture.
Essential Oil Blends: Scent-sational Cleaning!
Here are a few of my favorite essential oil blends for bathroom cleaning bombs:
* The Disinfectant Duo: 15 drops tea tree oil + 15 drops eucalyptus oil. This blend is perfect for killing germs and leaving a refreshing, clean scent.
* The Citrus Burst: 10 drops lemon oil + 10 drops orange oil + 10 drops grapefruit oil. This blend is energizing and uplifting, and it’s great for cutting through grease and grime.
* The Calming Clean: 15 drops lavender oil + 10 drops chamomile oil + 5 drops tea tree oil. This blend is relaxing and soothing, and it’s perfect for creating a spa-like atmosphere in your bathroom.
* The Peppermint Powerhouse: 20 drops peppermint oil + 10 drops tea tree oil. This blend is invigorating and refreshing, and it’s great for clearing sinuses and freshening the air.
Safety First: A Few Words of Caution
While these cleaning bombs are made with natural ingredients, it’s still important to take a few precautions:
* Keep out of reach of children and pets.
* Avoid contact with eyes. If contact occurs, rinse thoroughly with water.
* Do not ingest.
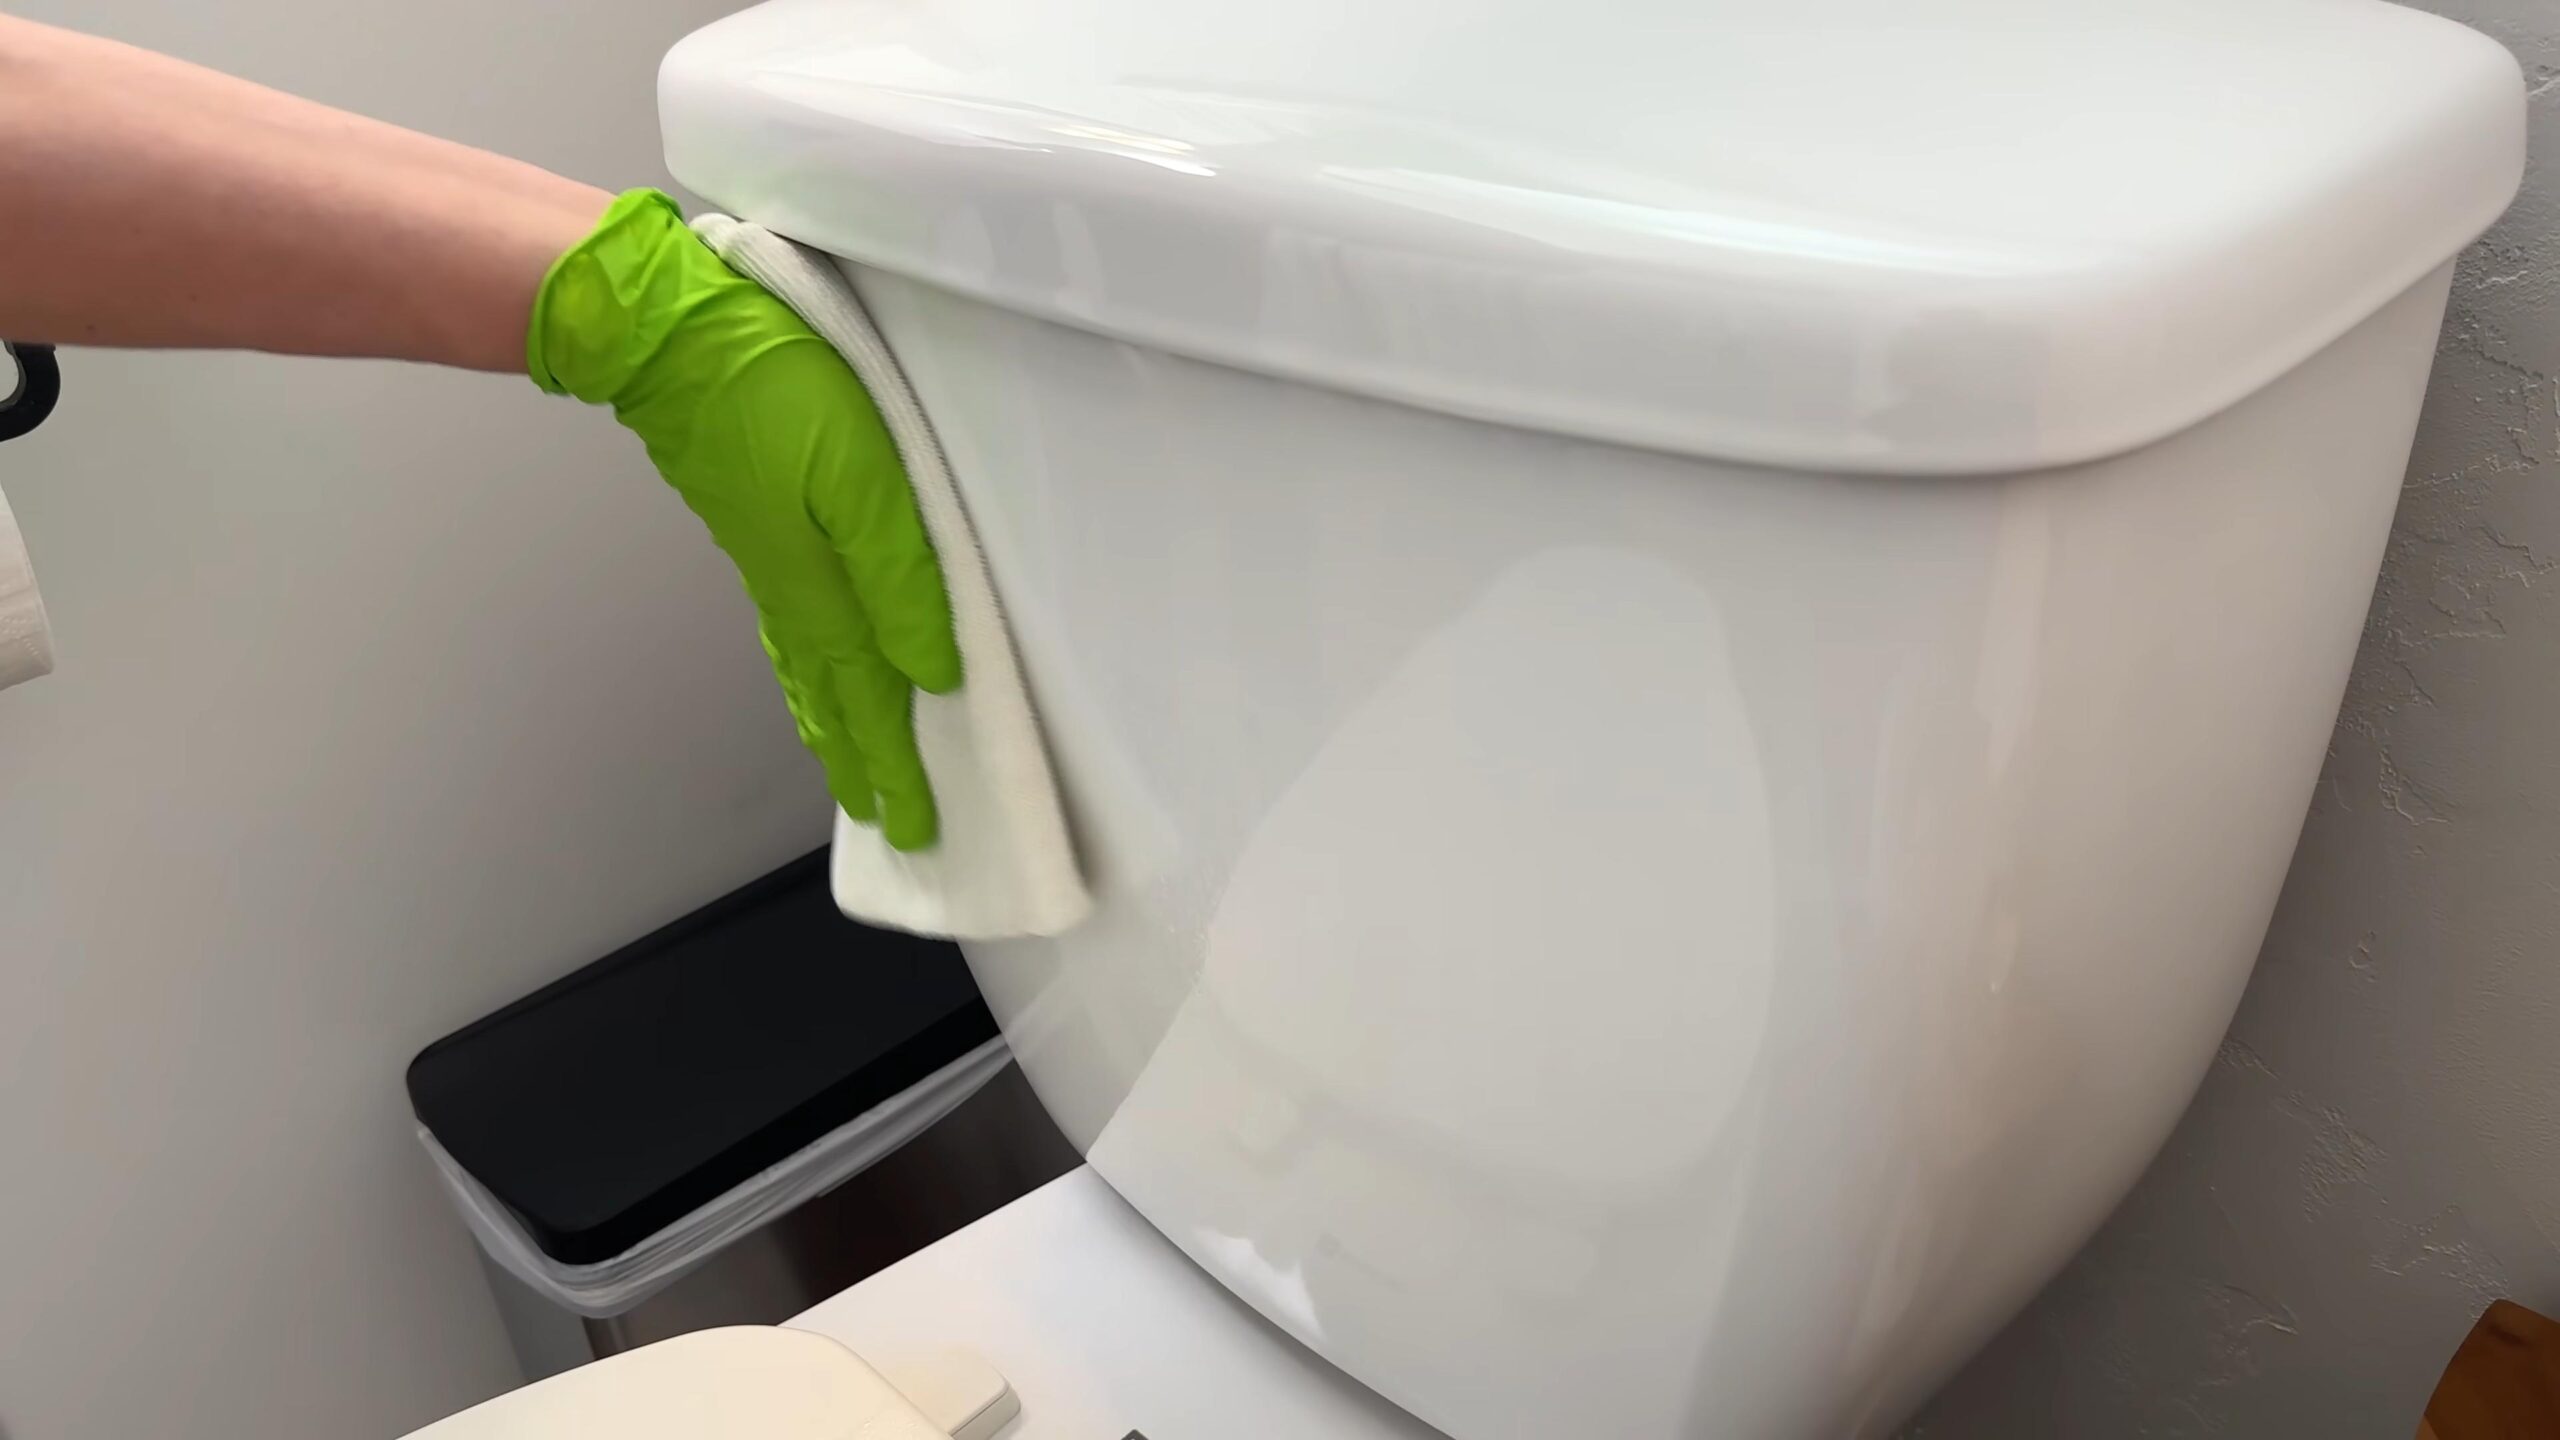
* If you have sensitive skin, wear gloves when handling the cleaning bombs.
* Test the cleaning bombs on an inconspicuous area before using them on delicate surfaces.
Customization Options: Make Them Your Own!
The beauty of DIY is that you can customize everything to your liking! Here are a few ideas for personalizing your bathroom cleaning bombs:
* Add dried flowers or herbs: Sprinkle a few dried lavender buds, rose petals, or eucalyptus leaves into the molds before adding the mixture for a beautiful and fragrant touch.
* Use different molds: Get creative with your molds! Use fun shapes like stars, hearts, or seashells to make your cleaning bombs more visually appealing.
* Layer different colors: Divide the mixture into two or three bowls and add different food colorings to each bowl. Then, layer the different colors into the molds for a fun and colorful effect.
* Add Epsom salts: Mix a tablespoon or two of Epsom salts into the dry ingredients for added cleaning power and a relaxing scent.
I hope you enjoy making and using these DIY bathroom cleaning bombs as much as I do! They’re a fun, easy, and effective way to keep your bathroom sparkling clean and smelling fresh without harsh chemicals. Happy cleaning!
Conclusion
So, there you have it! Transforming your bathroom into a sparkling sanctuary doesn’t require harsh chemicals or expensive cleaning services. This simple, yet incredibly effective, DIY trick for a clean bathroom, healthy home is a game-changer. We’ve shown you how to harness the power of readily available ingredients to create a cleaning solution that’s not only tough on grime and mildew but also gentle on your health and the environment.
Why is this a must-try? Because it’s cost-effective, eco-friendly, and delivers exceptional results. Think about it: no more breathing in noxious fumes, no more worrying about harmful residues, and no more breaking the bank on specialized cleaning products. This DIY approach empowers you to take control of your cleaning routine and create a healthier living space for yourself and your family.
But the beauty of this method lies in its adaptability. Feel free to experiment with variations to suit your specific needs and preferences. For a more intense cleaning action, consider adding a few drops of tea tree oil, known for its powerful antibacterial and antifungal properties. If you prefer a different scent, lavender, eucalyptus, or lemon essential oils can be wonderful additions, leaving your bathroom smelling fresh and invigorating. You could also try infusing your vinegar with citrus peels for a natural, zesty boost.
Don’t be afraid to adjust the ratios of ingredients to find the perfect balance for your bathroom’s unique challenges. If you have particularly stubborn stains or mildew buildup, you might want to increase the concentration of vinegar or baking soda. Remember to always test your solution on a small, inconspicuous area first to ensure it doesn’t damage any surfaces.
We are confident that once you experience the effectiveness of this DIY cleaning trick, you’ll never go back to conventional cleaning products. It’s a simple, sustainable, and satisfying way to maintain a clean bathroom, healthy home.
We wholeheartedly encourage you to give this DIY method a try. We’re eager to hear about your experiences! Share your results, variations, and any tips you discover in the comments below. Let’s build a community of eco-conscious cleaners and create healthier homes together. Your feedback will not only help others but also inspire us to continue developing and sharing innovative DIY solutions. Let us know what worked best for you, what challenges you faced, and any creative adaptations you made along the way. Together, we can make a difference, one sparkling bathroom at a time.
Frequently Asked Questions (FAQ)
1. Is vinegar safe to use on all bathroom surfaces?
While vinegar is a fantastic natural cleaner, it’s essential to exercise caution on certain surfaces. Avoid using vinegar on natural stone surfaces like marble, granite, and travertine, as its acidity can etch and damage them. It’s also best to avoid using vinegar on waxed surfaces, as it can strip the wax. Always test your cleaning solution on a small, inconspicuous area first to ensure it doesn’t cause any discoloration or damage. For delicate surfaces, consider diluting the vinegar further or using a gentler alternative like baking soda paste.
2. Can I use this DIY cleaner on shower doors with hard water stains?
Yes, this DIY cleaner can be very effective on shower doors with hard water stains. The vinegar helps to dissolve the mineral deposits that cause these stains. For stubborn stains, you can try soaking a cloth or sponge in the vinegar solution and applying it directly to the affected area for several minutes before scrubbing. You can also create a paste of baking soda and water and apply it to the stains, allowing it to sit for a while before rinsing. For extremely tough stains, you might need to repeat the process or use a specialized hard water stain remover in conjunction with this DIY method.
3. How often should I use this DIY cleaner in my bathroom?
The frequency of cleaning depends on how often your bathroom is used and how quickly it gets dirty. For general cleaning, once a week is usually sufficient. However, if you have a busy household or notice buildup of grime or mildew, you may need to clean more frequently. Regular cleaning with this DIY solution will help prevent the accumulation of dirt and mildew, making your bathroom easier to maintain in the long run. Spot cleaning as needed can also help keep your bathroom looking its best between regular cleanings.
4. What essential oils are best to use in this DIY bathroom cleaner?
The best essential oils to use in your DIY bathroom cleaner depend on your personal preferences and the desired effect. Tea tree oil is a popular choice for its antibacterial and antifungal properties, making it ideal for combating mildew and mold. Lavender oil offers a calming and relaxing scent, while also possessing antiseptic qualities. Eucalyptus oil has a refreshing and invigorating aroma and is known for its antibacterial and antiviral properties. Lemon oil provides a bright and citrusy scent and is a powerful degreaser. Experiment with different combinations of essential oils to find your favorite blend. Remember to use pure essential oils and add only a few drops at a time, as they are highly concentrated.
5. Can I store the leftover DIY cleaning solution?
Yes, you can store the leftover DIY cleaning solution in a spray bottle or other airtight container. It’s best to store it in a cool, dark place to prevent the essential oils from degrading. The solution should remain effective for several weeks. However, if you notice any changes in color, odor, or consistency, it’s best to discard it and make a fresh batch. Be sure to label the container clearly to avoid any confusion.
6. Is baking soda abrasive and will it scratch my bathroom fixtures?
Baking soda is a mild abrasive, but it’s generally safe to use on most bathroom fixtures. However, it’s always a good idea to test it on a small, inconspicuous area first, especially on delicate surfaces like polished metal or plastic. When using baking soda, avoid applying excessive pressure while scrubbing, as this can increase the risk of scratching. For particularly delicate surfaces, you can create a paste of baking soda and water and apply it gently with a soft cloth or sponge.
7. My bathroom has a strong mildew smell. Will this DIY cleaner eliminate it?
This DIY cleaner can be effective in eliminating mildew and its associated odor. The vinegar and tea tree oil (if added) have antifungal properties that help to kill mildew and prevent its regrowth. However, for severe mildew infestations, you may need to repeat the cleaning process several times or use a stronger solution. Ensure proper ventilation in your bathroom to prevent moisture buildup, which can contribute to mildew growth. Addressing the underlying cause of the mildew, such as leaks or poor ventilation, is crucial for long-term prevention.
8. How does this DIY cleaner contribute to a healthy home?
This DIY cleaner contributes to a healthy home by eliminating the need for harsh chemicals that can be harmful to your health and the environment. Conventional cleaning products often contain volatile organic compounds (VOCs) that can irritate the respiratory system and contribute to indoor air pollution. By using natural ingredients like vinegar, baking soda, and essential oils, you can create a cleaner and healthier living space for yourself and your family. This DIY approach also reduces your reliance on plastic packaging, contributing to a more sustainable lifestyle. A clean bathroom, healthy home starts with choosing safe and natural cleaning solutions.
Leave a Comment