

Clean grease from cabinets can feel like an uphill battle, right? I know the feeling! You’ve spent hours cooking up a storm, creating delicious meals for your family, but now you’re left with a sticky, grimy residue coating your beautiful kitchen cabinets. Don’t despair! This isn’t a modern problem; for generations, cooks have battled grease splatters. Think about your grandmother’s kitchen – she probably had her own secret weapon for tackling this very issue.
But why is it so important to keep your cabinets grease-free? Beyond the obvious aesthetic reasons, accumulated grease can actually damage the finish of your cabinets over time. It can also attract dust and other particles, creating a breeding ground for bacteria. Yuck!
That’s where this DIY guide comes in. I’m going to share some simple, effective, and budget-friendly tricks to clean grease from cabinets, using ingredients you probably already have in your pantry. Forget harsh chemicals and expensive cleaners – we’re going to tackle this problem with natural solutions and a little elbow grease. Get ready to say goodbye to sticky cabinets and hello to a sparkling clean kitchen!
DIY Guide: Banish Grease from Your Kitchen Cabinets!
Hey there, fellow DIY enthusiasts! Are your kitchen cabinets looking a little…slick? Covered in a film of grease that seems to attract every speck of dust in the room? Don’t worry, you’re not alone! Grease buildup on kitchen cabinets is a common problem, especially near the stove. But fear not! I’m here to share my tried-and-true method for cleaning grease from cabinets, leaving them sparkling and fresh. This guide will walk you through everything you need to know, from gathering your supplies to the final wipe-down. Let’s get started!
What You’ll Need
Before we dive in, let’s gather our supplies. Having everything on hand will make the process much smoother. Here’s what I recommend:
* Warm Water: The foundation of our cleaning solution.
* Dish Soap: A degreasing dish soap is essential. I prefer one that’s gentle on surfaces but tough on grease.
* Baking Soda: This is our secret weapon! Baking soda is a mild abrasive that helps lift stubborn grease without scratching.
* White Vinegar: Vinegar is a natural degreaser and disinfectant. It also helps cut through stubborn grime.
* Spray Bottle: For easy application of our cleaning solutions.
* Microfiber Cloths: These are my go-to for cleaning. They’re soft, absorbent, and won’t leave streaks. Have several on hand.
* Soft-Bristled Brush (Optional): An old toothbrush or a small scrub brush can be helpful for getting into tight corners and crevices.
* Sponge: For applying the baking soda paste.
* Rubber Gloves: To protect your hands from the cleaning solutions.
* Old Towels or Drop Cloths: To protect your countertops and floors from drips and spills.
* Optional: Hair Dryer: For softening stubborn grease.
Preparing Your Workspace
Before you start scrubbing, it’s important to prepare your workspace. This will help protect your kitchen and make the cleaning process more efficient.
* Clear the Area: Remove everything from your countertops near the cabinets you’ll be cleaning. This will give you plenty of room to work and prevent anything from getting splashed or damaged.
* Protect Your Countertops and Floors: Lay down old towels or drop cloths to protect your countertops and floors from drips and spills. This is especially important if you’re using a spray bottle.
* Ventilate the Area: Open a window or turn on your kitchen fan to ventilate the area. This will help dissipate any fumes from the cleaning solutions and keep the air fresh.
Step-by-Step Cleaning Guide
Now for the main event! Follow these steps to clean the grease from your kitchen cabinets:
1. Test in an Inconspicuous Area: Before you start cleaning the entire cabinet, test your cleaning solution in a small, inconspicuous area, such as the inside of a cabinet door. This will ensure that the solution doesn’t damage or discolor the finish. Let it sit for a few minutes, then wipe it off and check for any adverse reactions.
2. Prepare Your Cleaning Solutions:
* Warm Water and Dish Soap: In a bowl or bucket, mix warm water with a squirt of dish soap. Don’t use too much soap, as it can leave a residue.
* Baking Soda Paste: In a small bowl, mix baking soda with a small amount of water to create a thick paste. The consistency should be similar to toothpaste.
* Vinegar Solution: In a spray bottle, mix equal parts white vinegar and warm water.
3. Pre-Clean with Warm Water and Dish Soap: Dip a microfiber cloth into the warm water and dish soap solution, wring it out well, and wipe down the cabinets. This will remove loose dirt and debris and prepare the surface for the more intensive cleaning. Make sure to get into all the corners and crevices.
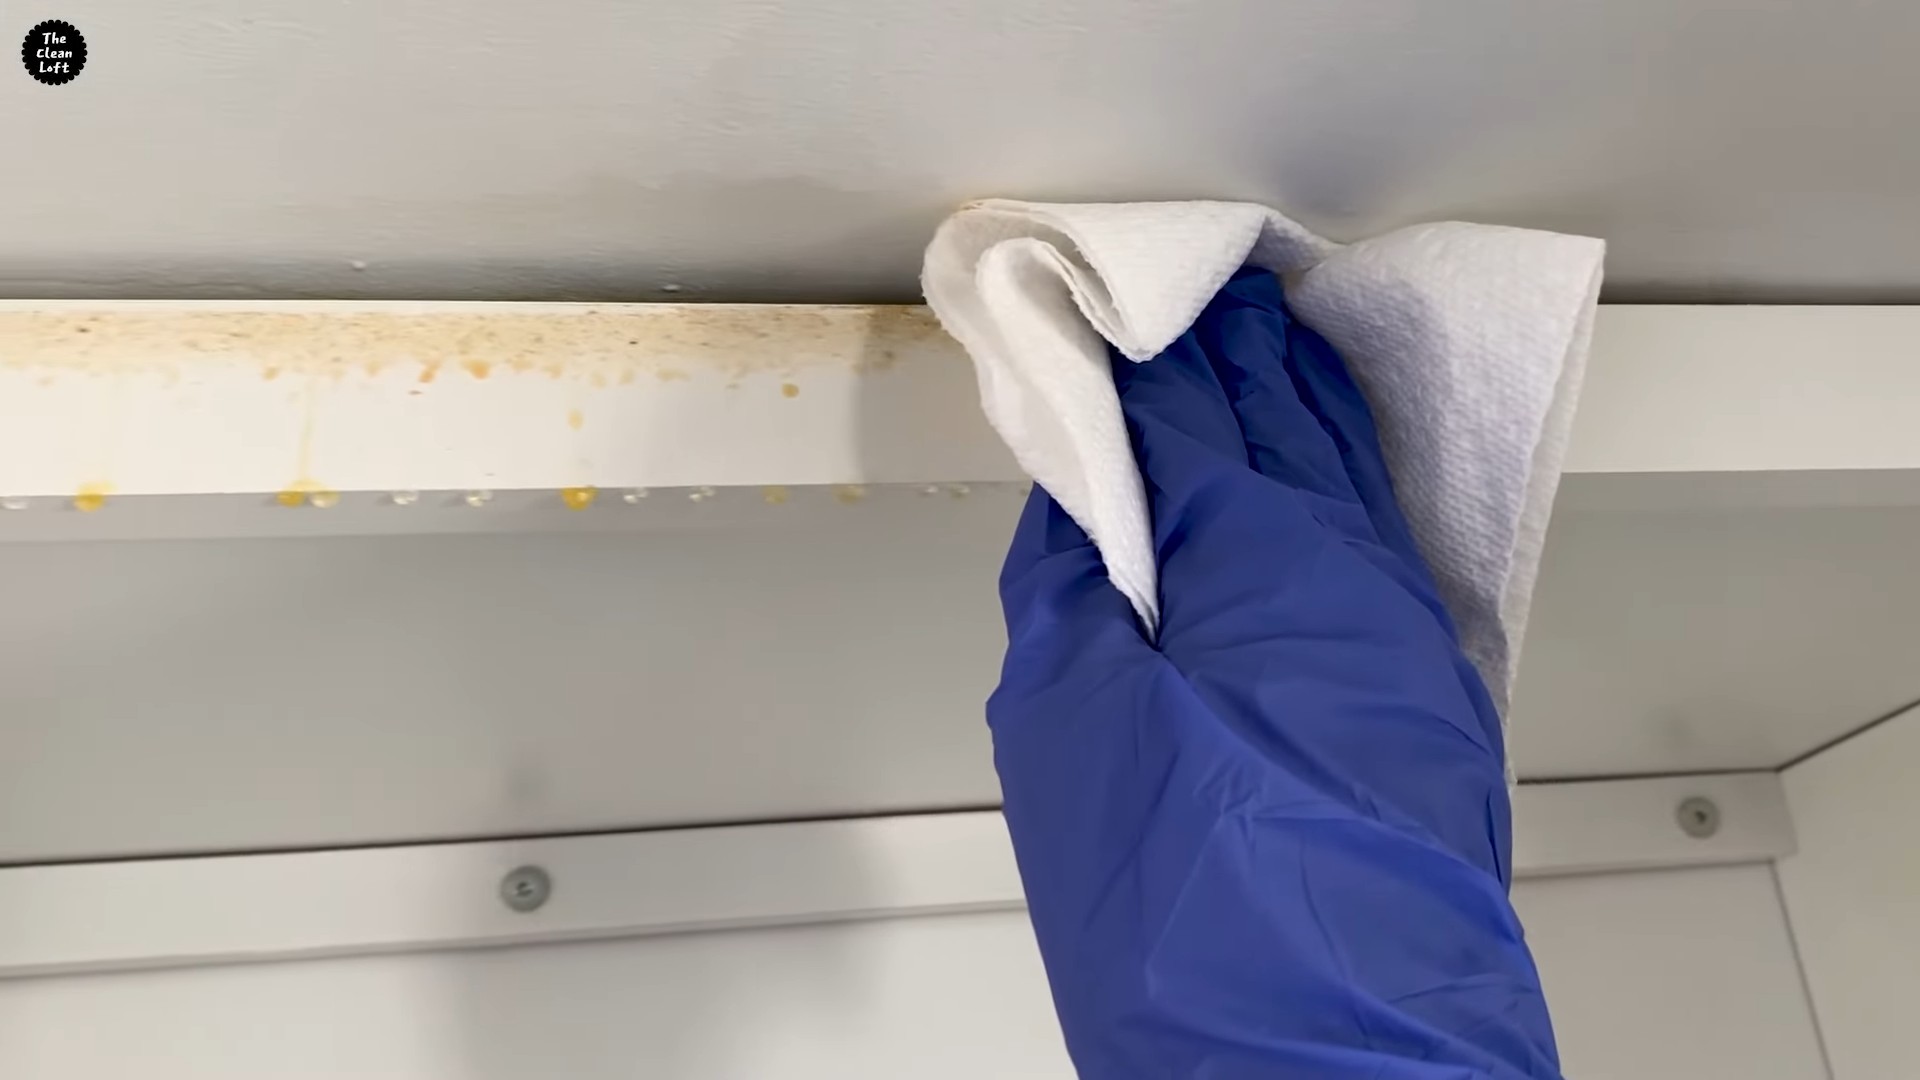
4. Tackle Stubborn Grease with Baking Soda Paste: For areas with stubborn grease buildup, apply the baking soda paste with a sponge. Gently rub the paste onto the grease, using a circular motion. Let it sit for a few minutes to allow the baking soda to break down the grease.
5. Scrub Gently (If Needed): If the grease is particularly stubborn, use a soft-bristled brush to gently scrub the area. Be careful not to scrub too hard, as this could scratch the finish.
6. Wipe Away the Baking Soda Paste: Use a clean, damp microfiber cloth to wipe away the baking soda paste. Rinse the cloth frequently to remove any residue.
7. Spray with Vinegar Solution: Spray the cabinets with the vinegar solution. This will help cut through any remaining grease and disinfect the surface.
8. Wipe Clean with a Microfiber Cloth: Use a clean, dry microfiber cloth to wipe the cabinets dry. This will remove any remaining vinegar solution and leave the cabinets sparkling.
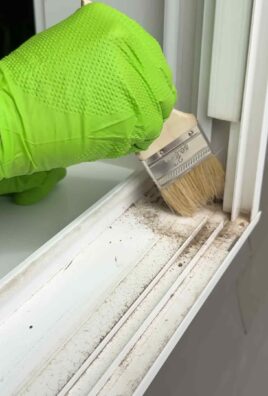
9. Address Corners and Crevices: Use a cotton swab or a soft-bristled brush to clean any remaining grease or grime from corners and crevices.
10. Dry Thoroughly: Ensure the cabinets are completely dry to prevent water spots or damage. You can use a clean, dry microfiber cloth to buff the surface.
Dealing with Extra Stubborn Grease
Sometimes, grease can be incredibly stubborn and require a little extra effort. Here are a few tips for dealing with those tough spots:
* Hair Dryer Trick: Use a hair dryer on a low setting to gently heat the grease. This will soften it and make it easier to wipe away. Be careful not to hold the hair dryer too close to the cabinet, as this could damage the finish.
* Magic Eraser: A magic eraser can be effective for removing stubborn grease stains. However, be careful when using a magic eraser, as it can be abrasive and may damage the finish of your cabinets. Test it in an inconspicuous area first.
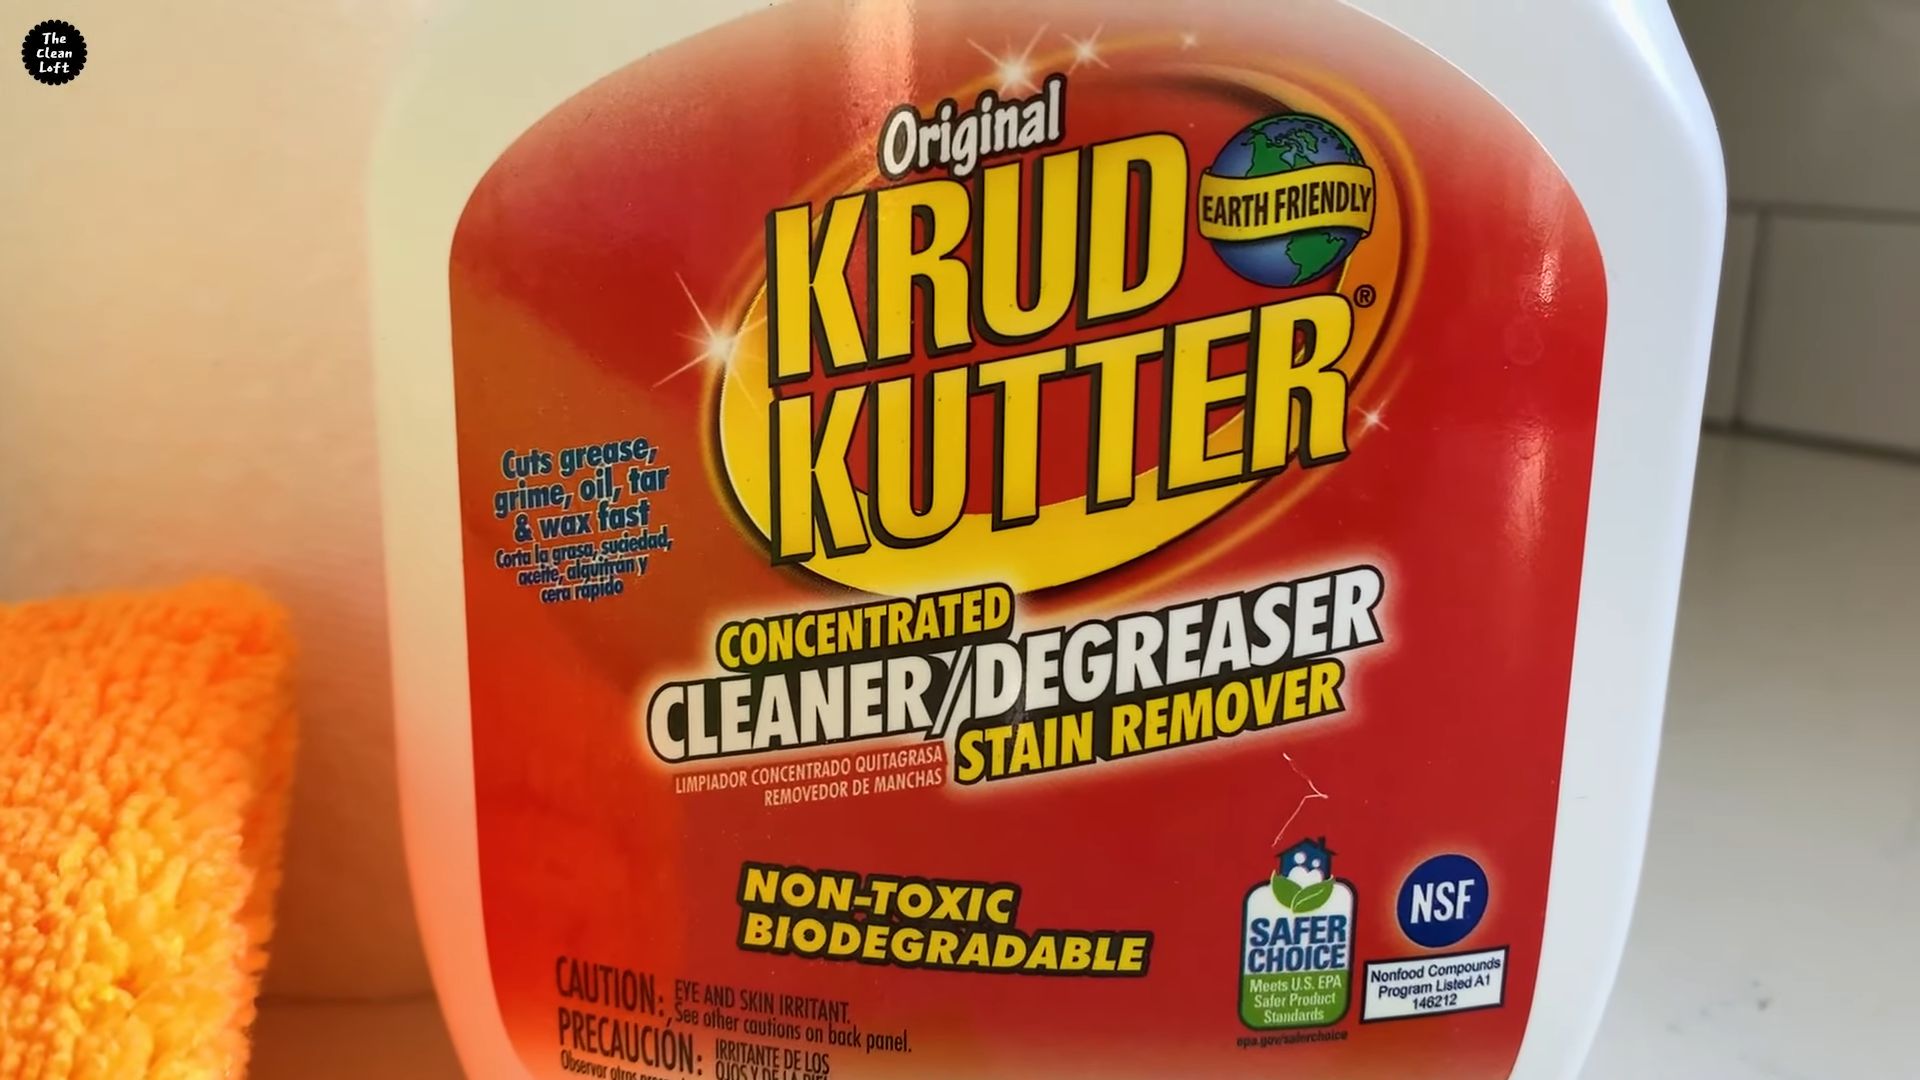
* Commercial Degreasers: If all else fails, you can try using a commercial degreaser. Be sure to choose a degreaser that is specifically designed for use on kitchen cabinets and follow the manufacturer’s instructions carefully. Always test in an inconspicuous area first.
Cleaning Different Types of Cabinets
The cleaning method may need to be adjusted slightly depending on the type of cabinets you have. Here are some tips for cleaning different types of cabinets:
* Wood Cabinets: Wood cabinets are more susceptible to damage from water and harsh chemicals. Be sure to use a gentle cleaning solution and avoid soaking the wood. Dry the cabinets thoroughly after cleaning.
* Laminate Cabinets: Laminate cabinets are more durable than wood cabinets and can withstand more aggressive cleaning. However, avoid using abrasive cleaners, as they can scratch the surface.
* Painted Cabinets: Painted cabinets can be delicate and prone to chipping. Use a gentle cleaning solution and avoid scrubbing too hard.
* Glass-Fronted Cabinets: For glass-fronted cabinets, use a glass cleaner to clean the glass panels. Be careful not to get any cleaner on the wood or laminate frame.
Maintaining Your Clean Cabinets
Once you’ve cleaned your cabinets, you’ll want to keep them looking their best. Here are a few tips for maintaining your clean cabinets:
* Wipe Up Spills Immediately: The best way to prevent grease buildup is to wipe up spills immediately. This will prevent the grease from hardening and becoming difficult to remove.
* Regular Cleaning: Clean your cabinets regularly, even if they don’t look dirty. A quick wipe-down with a damp cloth will help prevent grease from building up.
* Use a Range Hood: A range hood will help vent grease and smoke away from your cabinets, reducing the amount of grease that accumulates on the surface.
* Consider Cabinet Liners: Placing liners inside your cabinets can protect them from spills and stains.
A Note on Safety
While cleaning your cabinets, it’s important to keep safety in mind:
* Wear Gloves: Protect your hands from the cleaning solutions by wearing rubber gloves.
* Avoid Mixing Chemicals: Never mix different cleaning chemicals together, as this can create dangerous fumes.
* Ventilate the Area: Ensure the area is well-ventilated to avoid inhaling fumes from the cleaning solutions.
* Keep Out of Reach of Children and Pets: Store cleaning solutions out of reach of children and pets.
Troubleshooting
Sometimes, despite your best efforts, you may encounter some challenges while cleaning your cabinets. Here are a few common problems and how to solve them:
* Streaks: If you’re getting streaks on your cabinets, try using a clean, dry microfiber cloth to buff the surface. You may also need to use less soap in your cleaning solution.
* Residue: If you’re leaving a residue on your cabinets, try rinsing them with clean water and wiping them dry. You may also need to use less baking soda paste.
*
Conclusion
So, there you have it! This simple, yet incredibly effective DIY trick for cleaning grease from cabinets is a game-changer for anyone who’s ever battled sticky, grimy surfaces in their kitchen. Forget spending a fortune on harsh chemical cleaners that often leave behind a lingering odor and potentially damage your cabinet finishes. This method is not only budget-friendly, utilizing ingredients you likely already have in your pantry, but it’s also a gentler, more environmentally conscious approach to tackling tough grease buildup.
The beauty of this DIY solution lies in its versatility. While we’ve outlined a specific recipe using baking soda and dish soap, feel free to experiment with variations to suit your specific needs and preferences. For instance, if you’re dealing with particularly stubborn grease stains, consider adding a few drops of essential oils like lemon or orange, known for their degreasing properties and uplifting scents. Alternatively, for cabinets with a delicate finish, you might want to dilute the solution further or test it on an inconspicuous area first to ensure compatibility.
Remember, the key to success with this DIY grease-busting method is patience and persistence. Depending on the severity of the grease buildup, you may need to repeat the process a few times to achieve optimal results. Don’t be afraid to put in a little elbow grease (pun intended!) and really work the solution into the affected areas.
But the real magic happens when you share your experiences! We wholeheartedly encourage you to try this DIY trick for cleaning grease from cabinets in your own kitchen and let us know how it works for you. Did you find it as effective as we did? Did you discover any helpful variations or tips along the way? Share your stories, photos, and feedback in the comments section below. Your insights could be invaluable to other readers who are struggling with the same greasy cabinet woes.
This isn’t just about cleaning cabinets; it’s about creating a cleaner, healthier, and more enjoyable kitchen environment for you and your family. It’s about empowering you to take control of your cleaning routine and discover the satisfaction of achieving sparkling results with simple, natural ingredients. So, ditch the harsh chemicals, embrace the DIY spirit, and get ready to say goodbye to greasy cabinets once and for all! We are confident that this will be your go-to method for cleaning grease from cabinets.
Frequently Asked Questions (FAQ)
Q: What type of cabinets is this DIY cleaning solution safe for?
A: This DIY solution is generally safe for most types of cabinets, including wood, laminate, and painted surfaces. However, it’s always a good idea to test the solution on an inconspicuous area first, especially if you have antique or delicate cabinets. This will help you ensure that the solution doesn’t damage or discolor the finish. For painted cabinets, be particularly cautious and avoid excessive scrubbing, as this could potentially remove the paint. If you’re unsure about the type of finish on your cabinets, consult with a professional before proceeding.
Q: Can I use vinegar instead of dish soap?
A: While vinegar is a popular natural cleaning agent, it’s not always the best choice for cleaning grease from cabinets. Vinegar is acidic and can potentially damage certain finishes, especially on wood cabinets. Dish soap, on the other hand, is specifically formulated to cut through grease and is generally gentler on surfaces. If you do choose to use vinegar, be sure to dilute it with water and test it on an inconspicuous area first. However, we recommend sticking with dish soap for optimal results and to minimize the risk of damage.
Q: How often should I clean my cabinets to prevent grease buildup?
A: The frequency of cleaning your cabinets depends on how often you cook and the amount of grease that accumulates in your kitchen. As a general rule, it’s a good idea to wipe down your cabinets with a damp cloth or sponge after each cooking session to remove any splatters or spills. For a more thorough cleaning, aim to clean your cabinets at least once a month, or more frequently if you notice significant grease buildup. Regular cleaning will prevent grease from hardening and becoming more difficult to remove.
Q: What if the grease is really stubborn and doesn’t come off easily?
A: If you’re dealing with particularly stubborn grease stains, there are a few things you can try. First, let the cleaning solution sit on the grease for a longer period of time, perhaps 5-10 minutes, to allow it to penetrate and loosen the grease. You can also try using a slightly more abrasive cleaning tool, such as a soft-bristled brush or a non-scratch scouring pad. Be careful not to scrub too hard, as this could damage the cabinet finish. Another option is to make a paste of baking soda and water and apply it directly to the grease stain. Let the paste dry completely, then wipe it away with a damp cloth.
Q: Can I use this solution on other greasy surfaces in my kitchen?
A: Absolutely! This DIY cleaning solution is not just for cabinets. It can also be used to clean other greasy surfaces in your kitchen, such as stovetops, backsplashes, range hoods, and even countertops (provided they are not made of a material that could be damaged by baking soda). Just be sure to test the solution on an inconspicuous area first to ensure compatibility.
Q: How do I prevent grease from building up on my cabinets in the first place?
A: Prevention is always better than cure! There are several things you can do to minimize grease buildup on your cabinets. First, use your range hood or exhaust fan whenever you’re cooking, especially when frying or sautéing. This will help to vent the grease and steam away from your cabinets. Second, cover your pots and pans while cooking to prevent splatters. Third, wipe up any spills or splatters immediately. Finally, consider using a splatter screen when frying to contain the grease.
Q: What kind of dish soap should I use?
A: Any standard dish soap will work for this DIY cleaning solution. However, for best results, choose a dish soap that is specifically formulated to cut through grease. Look for dish soaps that contain ingredients like enzymes or degreasers. You can also use a natural dish soap, but be sure to check the label to ensure that it is effective at removing grease.
Q: Is baking soda safe to use on all cabinet finishes?
A: While baking soda is generally considered a mild abrasive, it can potentially scratch delicate cabinet finishes if used improperly. Always test the solution on an inconspicuous area first. Avoid using excessive pressure when scrubbing, and use a soft cloth or sponge to apply the solution. If you’re concerned about scratching your cabinets, you can dilute the baking soda further or use a non-abrasive cleaning agent instead.
Q: How do I get rid of the baking soda residue after cleaning?
A: After cleaning your cabinets with the baking soda solution, be sure to rinse them thoroughly with a clean, damp cloth to remove any baking soda residue. You may need to rinse them several times to ensure that all of the residue is gone. Once you’ve rinsed the cabinets, dry them with a clean, dry cloth to prevent water spots.
Q: Can I add essential oils to the cleaning solution?
A: Yes, you can add essential oils to the cleaning solution for added degreasing power and a pleasant scent. Lemon, orange, and grapefruit essential oils are all known for their degreasing properties. Add a few drops of your favorite essential oil to the cleaning solution and mix well. Be sure to use pure essential oils, not fragrance oils, for best results.

Leave a Comment