

Clean Humidifier Quickly and Easily – that’s the promise we’re making today, and trust me, you’ll want to stick around! Are you tired of that musty smell wafting from your humidifier? Or maybe you’ve noticed a build-up of gunk that just won’t budge? I get it! I’ve been there, scrubbing away with little success. But what if I told you there’s a simple, effective way to keep your humidifier sparkling clean, without harsh chemicals or endless elbow grease?
Humidifiers have been around for centuries, with early forms used in ancient civilizations to preserve precious artifacts and create comfortable environments. While the technology has evolved, the core purpose remains the same: to add moisture to the air. But with that moisture comes the potential for mold, mildew, and mineral build-up – yuck! That’s why regularly cleaning your humidifier is absolutely essential, not just for its performance, but for your health too.
Let’s face it, nobody wants to breathe in contaminated air. And a dirty humidifier can be a breeding ground for all sorts of nasties. This DIY guide will show you how to clean humidifier quickly and easily using common household ingredients. You’ll learn my favorite tricks and hacks to keep your humidifier running smoothly and your air clean and fresh. So, ditch the frustration and get ready to breathe easy – let’s get started!
Clean Your Humidifier Like a Pro: A DIY Guide
Hey there! Are you tired of that funky smell coming from your humidifier? Or maybe you’re just worried about all the gunk building up inside? Don’t worry, I’ve been there! Cleaning your humidifier regularly is super important for your health and to keep it running smoothly. And the best part? You don’t need any fancy chemicals or expensive tools. I’m going to walk you through a simple, effective DIY method that will have your humidifier sparkling in no time.
Why Cleaning Your Humidifier Matters
Before we dive in, let’s quickly chat about why this is so important. Humidifiers create a moist environment, which is perfect for mold, mildew, and bacteria to thrive. Breathing in these nasties can lead to allergies, respiratory problems, and even infections. Plus, mineral buildup from hard water can clog your humidifier and make it less efficient. So, cleaning it regularly is a win-win for your health and your humidifier’s lifespan.
What You’ll Need
Gathering your supplies beforehand will make the whole process much smoother. Here’s what I recommend:
* White Vinegar: This is your all-natural cleaning superhero! It’s great at dissolving mineral deposits and killing bacteria.
* Water: Tap water is fine for rinsing, but distilled water is best for refilling your humidifier after cleaning to minimize mineral buildup.
* Soft Brush: An old toothbrush, bottle brush, or even a small scrub brush will work wonders for getting into those hard-to-reach spots.
* Clean Cloth or Sponge: For wiping down surfaces.
* Dish Soap (Optional): For extra cleaning power if your humidifier is particularly grimy.
* Gloves (Optional): If you have sensitive skin, gloves can protect you from the vinegar.
* Sink or Tub: Somewhere to easily drain and rinse the humidifier parts.
Disassembling Your Humidifier
Okay, let’s get started! The first step is to take your humidifier apart.
1. Unplug It: Safety first! Always unplug your humidifier before you start cleaning it.
2. Empty the Water Tank: Pour out any remaining water from the tank and the base.
3. Disassemble the Parts: Most humidifiers have a water tank, a base, and sometimes other components like filters or trays. Refer to your humidifier’s manual for specific instructions on how to disassemble it. Usually, it involves simply lifting the tank off the base and removing any other detachable parts.
4. Inspect for Buildup: Take a good look at all the parts, especially the inside of the tank and the base. Notice any mineral deposits (white or chalky residue), mold, or mildew. This will give you an idea of how much cleaning you need to do.
Cleaning the Water Tank
The water tank is where a lot of the action happens, so it’s important to give it a thorough cleaning.
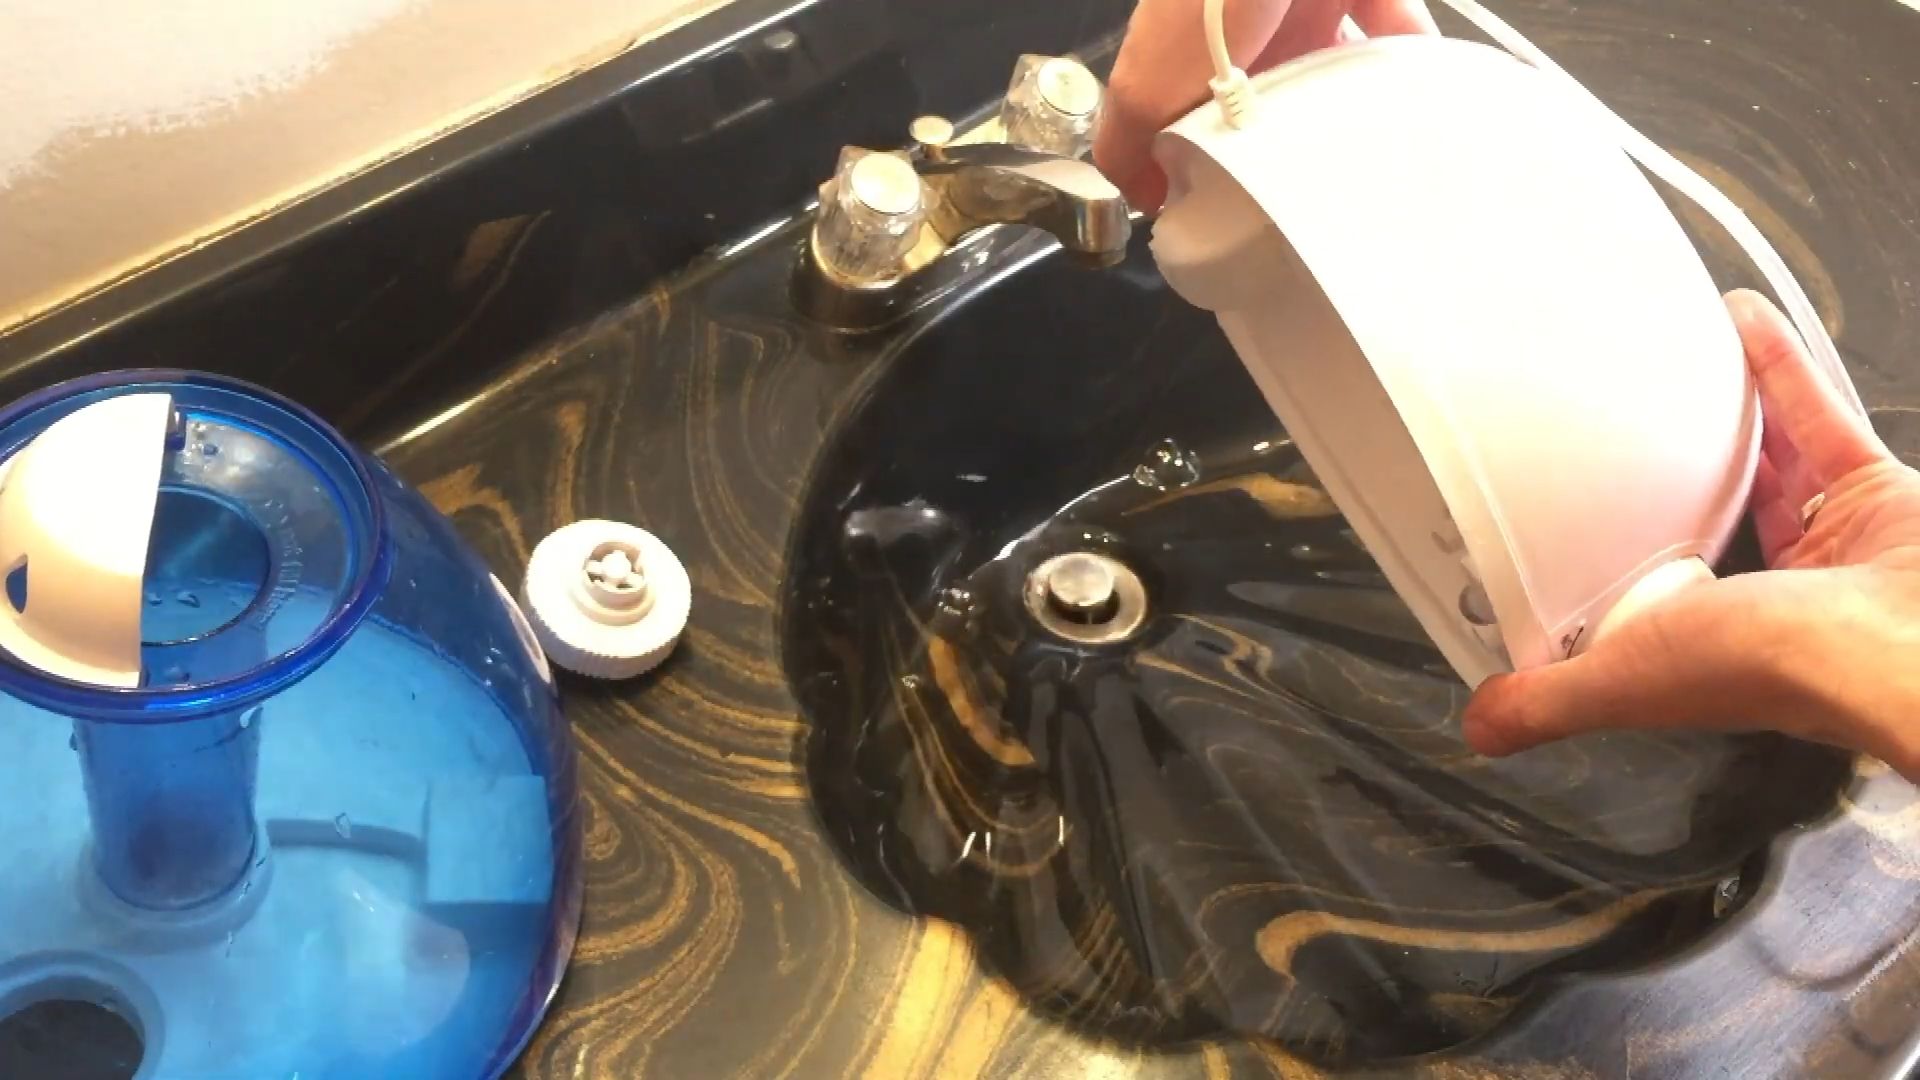
1. Rinse with Water: Start by rinsing the tank with clean water to remove any loose debris.
2. Vinegar Soak: Fill the tank with undiluted white vinegar. Make sure the vinegar covers any areas with mineral buildup or visible mold.
3. Soak Time: Let the vinegar soak for at least 30 minutes, or even longer (up to a few hours) for stubborn buildup. I usually let mine soak while I’m doing other chores.
4. Scrubbing Power: After soaking, use your soft brush to scrub the inside of the tank. Pay special attention to the areas with mineral deposits or mold. You might need to apply a little elbow grease!
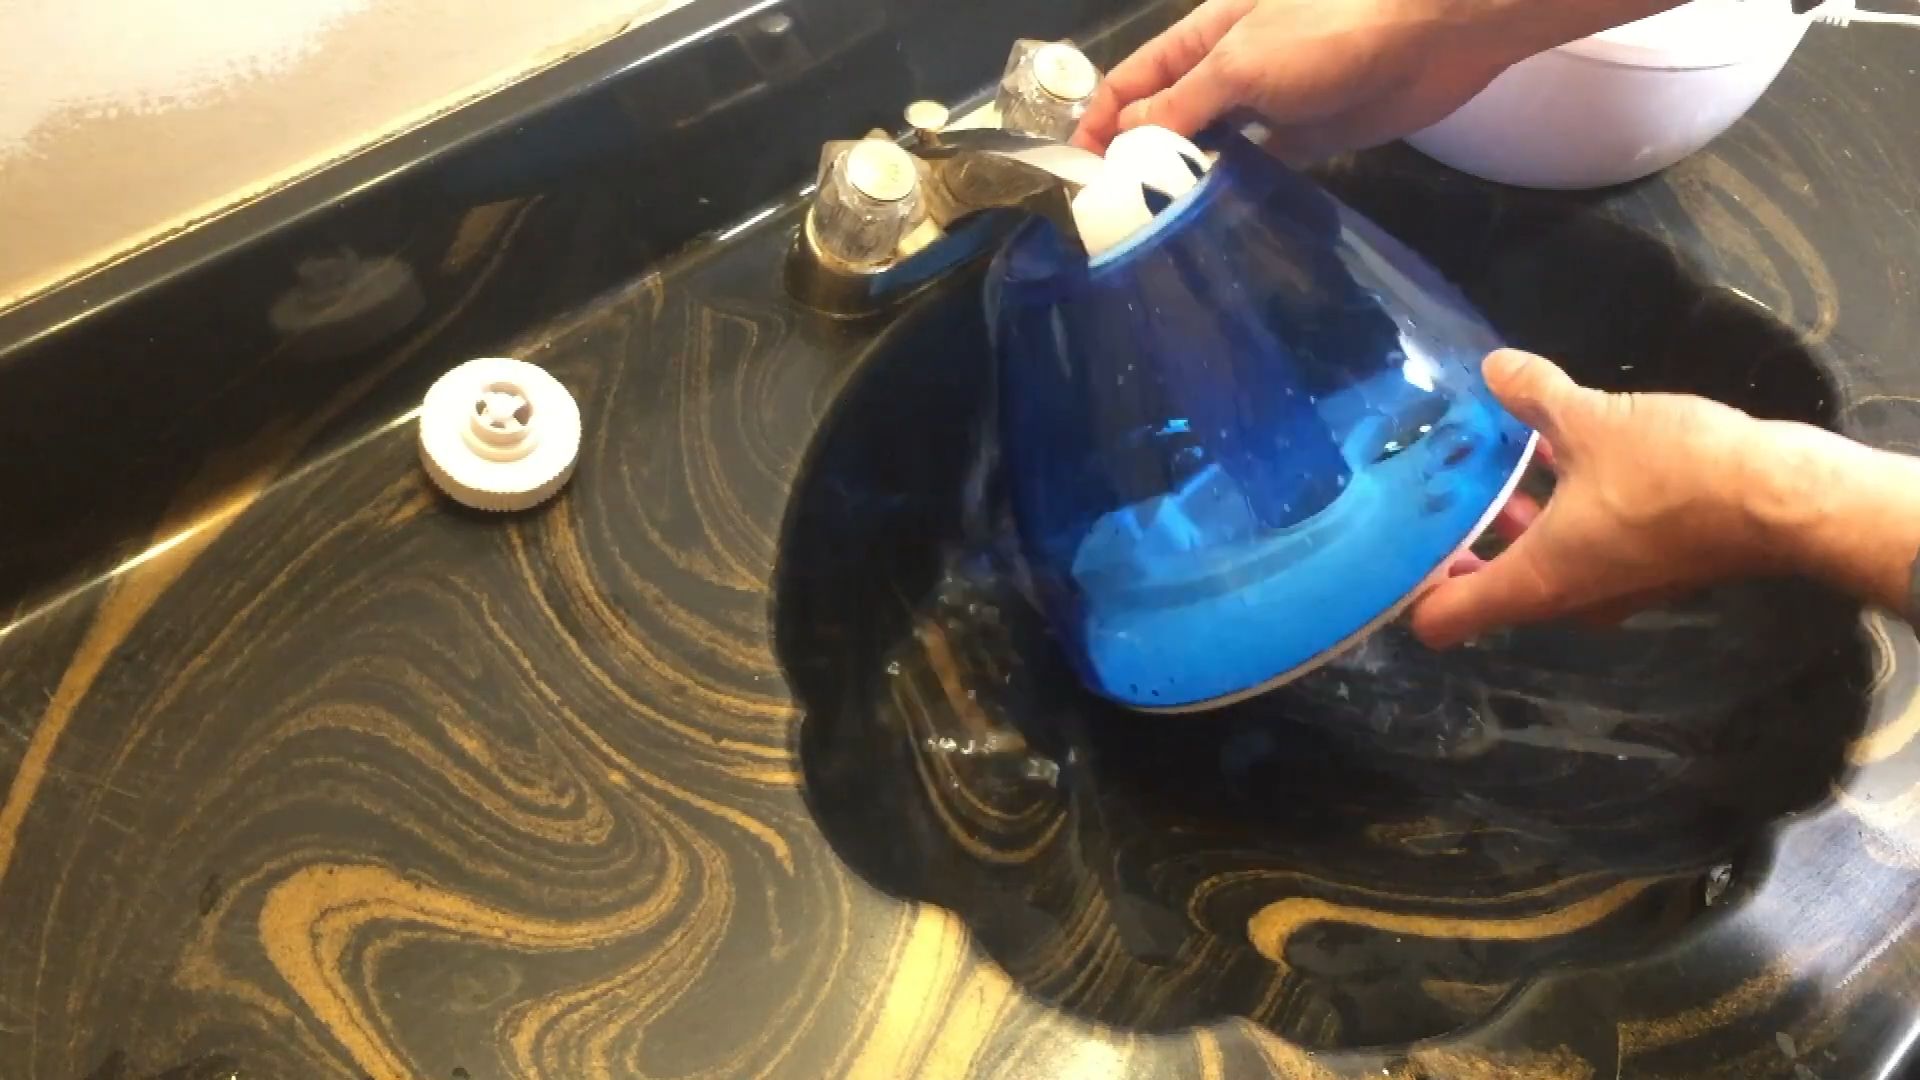
5. Rinse Thoroughly: Rinse the tank several times with clean water until all traces of vinegar are gone. You don’t want to be breathing in vinegar fumes!
6. Air Dry: Allow the tank to air dry completely before reassembling your humidifier. This will help prevent mold growth.
Cleaning the Humidifier Base
The base is another area where gunk tends to accumulate. Here’s how to clean it:
1. Rinse with Water: Just like with the tank, start by rinsing the base with clean water to remove any loose debris.
2. Vinegar Solution: In a separate container, mix equal parts white vinegar and water.
3. Wipe Down Surfaces: Dip your clean cloth or sponge into the vinegar solution and wipe down all the surfaces of the base, including the inside and any crevices.
4. Scrubbing Action: Use your soft brush to scrub any areas with mineral buildup or mold. The vinegar solution should help loosen the deposits.
5. Clean the Transducer (If Applicable): Some humidifiers have a transducer, which is a small disc that vibrates to create the mist. This part is particularly prone to mineral buildup. Gently clean the transducer with a cotton swab dipped in vinegar. Be very careful not to damage it!
6. Rinse Thoroughly: Rinse the base several times with clean water until all traces of vinegar are gone.
7. Air Dry: Allow the base to air dry completely before reassembling your humidifier.
Cleaning Other Parts (Filters, Trays, etc.)
If your humidifier has other parts like filters or trays, follow these steps to clean them:
1. Check the Manual: Refer to your humidifier’s manual for specific instructions on how to clean these parts. Some filters are washable, while others need to be replaced.
2. Washable Filters: If your filter is washable, rinse it thoroughly with clean water. You can also soak it in a vinegar solution for a few minutes to help remove any buildup. Allow the filter to air dry completely before reassembling.
3. Non-Washable Filters: If your filter is not washable, replace it according to the manufacturer’s instructions.
4. Trays and Other Parts: Wash any trays or other detachable parts with warm, soapy water. Rinse them thoroughly and allow them to air dry completely.
Dealing with Stubborn Mold or Mildew
Sometimes, you might encounter stubborn mold or mildew that just won’t budge with vinegar alone. Here are a few extra tips:
* Baking Soda Paste: Make a paste of baking soda and water and apply it to the affected areas. Let it sit for a few minutes, then scrub with your brush.
* Hydrogen Peroxide: Hydrogen peroxide is another natural disinfectant that can help kill mold and mildew. Spray it on the affected areas, let it sit for a few minutes, and then scrub.
* Bleach Solution (Use with Caution): As a last resort, you can use a diluted bleach solution (1 part bleach to 10 parts water) to clean stubborn mold. However, be very careful when using bleach. Wear gloves and eye protection, and make sure to rinse the parts thoroughly to remove all traces of bleach. **Never mix bleach with vinegar, as this can create toxic fumes.**
Reassembling Your Humidifier
Once all the parts are clean and dry, it’s time to put your humidifier back together.
1. Follow the Manual: Refer to your humidifier’s manual for specific instructions on how to reassemble it.
2. Make Sure Everything is Dry: Ensure all the parts are completely dry before reassembling to prevent mold growth.
3. Reassemble Carefully: Carefully reassemble the parts, making sure everything is properly aligned and secured.
Preventing Future Buildup
Now that your humidifier is sparkling clean, let’s talk about how to keep it that way!
* Use Distilled Water: Distilled water contains fewer minerals than tap water, which means less mineral buildup in your humidifier.
* Empty and Dry Daily: Empty the water tank and base every day and allow them to air dry. This will help prevent mold and mildew growth.
* Regular Cleaning: Clean your humidifier at least once a week, or more often if you notice any buildup or funky smells.
* Consider a Humidifier Treatment: There are humidifier treatments available that can help prevent mineral buildup and bacterial growth. Follow the manufacturer’s instructions carefully.
Extra Tips and Tricks
* Sunlight is Your Friend: After cleaning, let the parts of your humidifier sit in direct sunlight for a few hours. Sunlight is a natural disinfectant and can help kill any remaining bacteria.
* Don’t Forget the Exterior: Wipe down the exterior of your humidifier with a damp cloth to remove any dust or dirt.
* Read the Manual: Always refer to your humidifier’s manual for specific cleaning instructions and recommendations.
By following these simple steps, you can keep your humidifier clean and healthy, ensuring that you’re breathing in clean, moist air. Happy humidifying!
Conclusion
So, there you have it! Cleaning your humidifier doesn’t have to be a daunting chore filled with harsh chemicals and endless scrubbing. This simple, DIY trick offers a safe, effective, and surprisingly quick way to keep your humidifier sparkling clean and functioning optimally. We’ve shown you how to banish that stubborn buildup and ensure your humidifier is providing you with the clean, healthy air you deserve.
Why is this a must-try? Because a clean humidifier is essential for your health and well-being. A dirty humidifier can become a breeding ground for mold, bacteria, and other nasty microorganisms that can be dispersed into the air you breathe. This can lead to respiratory problems, allergies, and even infections. By using this DIY method, you’re not only saving money on expensive cleaning solutions, but you’re also protecting yourself and your family from potential health hazards.
Beyond the basic method, feel free to experiment with variations to suit your specific needs and preferences. For instance, if you have particularly stubborn mineral deposits, you can let the vinegar solution soak for a longer period, even overnight. You could also add a few drops of essential oils like tea tree or eucalyptus to the water tank after cleaning for an extra boost of freshness and antimicrobial properties. Just be sure to use essential oils sparingly and check your humidifier’s manual to ensure they are compatible. Another variation is to use distilled water in your humidifier to prevent mineral buildup in the first place. This simple step can significantly reduce the frequency with which you need to clean it.
This DIY humidifier cleaning trick is a game-changer for anyone who wants to maintain a healthy home environment. It’s easy, affordable, and effective. Plus, it gives you peace of mind knowing that you’re not exposing yourself to harmful chemicals.
We’re confident that once you try this method, you’ll be amazed at how easy it is to keep your humidifier clean and running smoothly. Don’t let a dirty humidifier compromise your health and comfort any longer. Give this DIY trick a try and experience the difference a clean humidifier can make.
Now, we want to hear from you! Have you tried this method for cleaning your humidifier? What were your results? Do you have any other tips or tricks to share? Leave a comment below and let us know. Your experiences can help other readers discover the best ways to keep their humidifiers clean and their homes healthy. We encourage you to share this article with your friends and family so they can benefit from this simple and effective DIY solution as well. Let’s all breathe a little easier together!
Frequently Asked Questions (FAQ)
1. How often should I clean my humidifier?
The frequency of cleaning depends on how often you use your humidifier and the type of water you use. As a general rule, you should clean your humidifier at least once a week. If you use it daily or if you notice any buildup or discoloration, you may need to clean it more frequently. Using distilled water can help reduce mineral buildup and extend the time between cleanings. Always refer to your humidifier’s manual for specific cleaning recommendations. Neglecting regular cleaning can lead to the growth of mold and bacteria, which can be harmful to your health.
2. Can I use bleach to clean my humidifier?
While bleach is a powerful disinfectant, it’s generally not recommended for cleaning humidifiers. Bleach can be harsh on the humidifier’s components and can also release harmful fumes. If you choose to use bleach, dilute it heavily with water (no more than 1 tablespoon of bleach per gallon of water) and rinse the humidifier thoroughly multiple times to remove all traces of bleach. However, vinegar is a safer and more natural alternative that is just as effective at removing mineral deposits and killing bacteria. We strongly recommend sticking to the vinegar solution described in the article for a safer and more effective cleaning process.
3. What kind of vinegar should I use?
White distilled vinegar is the best choice for cleaning your humidifier. It’s inexpensive, readily available, and effective at dissolving mineral deposits and killing bacteria. Avoid using other types of vinegar, such as apple cider vinegar or balsamic vinegar, as they may contain sugars or other additives that can leave a residue in your humidifier. The acidity of white distilled vinegar is perfect for breaking down buildup without damaging the humidifier’s components.
4. My humidifier has a lot of mineral buildup. Will this method still work?
Yes, this method should still work, but you may need to let the vinegar solution soak for a longer period. If the buildup is particularly stubborn, you can try soaking the affected parts overnight. You can also use a soft brush or cloth to gently scrub away the buildup after soaking. For extremely stubborn deposits, you might consider using a commercial descaling solution specifically designed for humidifiers, but always follow the manufacturer’s instructions carefully and rinse thoroughly.
5. How do I clean the filter in my humidifier?
The cleaning process for the filter depends on the type of filter your humidifier has. Some humidifiers have reusable filters that can be washed with water and mild soap. Others have disposable filters that need to be replaced periodically. Refer to your humidifier’s manual for specific instructions on how to clean or replace the filter. A clean filter is essential for ensuring that your humidifier is providing clean and healthy air.
6. Can I use this method to clean other appliances, like coffee makers or kettles?
Yes, the same vinegar solution can be used to clean other appliances that are prone to mineral buildup, such as coffee makers, kettles, and even showerheads. The vinegar helps to dissolve the mineral deposits and restore the appliance to its optimal performance. Just be sure to rinse the appliance thoroughly after cleaning to remove all traces of vinegar.
7. What if my humidifier still smells after cleaning it with vinegar?
If your humidifier still smells after cleaning it with vinegar, it could be due to lingering bacteria or mold. Try cleaning it again with a fresh vinegar solution and letting it soak for a longer period. You can also add a few drops of tea tree or eucalyptus essential oil to the water tank after cleaning for an extra boost of freshness and antimicrobial properties. Make sure to use essential oils sparingly and check your humidifier’s manual to ensure they are compatible. Ensure all parts are completely dry before reassembling to prevent further bacterial growth.
8. Is it safe to use a humidifier if I have allergies or asthma?
Yes, a humidifier can be beneficial for people with allergies or asthma, as it can help to relieve dry nasal passages and soothe irritated airways. However, it’s crucial to keep your humidifier clean to prevent the growth of mold and bacteria, which can trigger allergy or asthma symptoms. Follow the cleaning instructions in this article regularly to ensure that your humidifier is providing clean and healthy air. Also, maintain humidity levels between 30-50% to prevent mold growth in your home.
9. What are the signs that my humidifier needs cleaning?
Several signs indicate that your humidifier needs cleaning. These include visible buildup or discoloration in the water tank, a musty or unpleasant odor, and a decrease in the humidifier’s performance. If you notice any of these signs, it’s time to clean your humidifier. Regular cleaning will help to prevent these problems and ensure that your humidifier is functioning optimally.
10. Where can I find replacement parts for my humidifier?
Replacement parts for your humidifier can typically be found online or at appliance stores. Check your humidifier’s manual for the part number and manufacturer information. You can also contact the manufacturer directly to order replacement parts. Replacing worn or damaged parts can help to extend the life of your humidifier and ensure that it continues to function properly.


Leave a Comment