

Clean Keyboard Safely – it’s something we all need to do, but often put off! Let’s be honest, our keyboards are magnets for dust, crumbs, and who-knows-what-else. Think about it: your keyboard is a constant companion, enduring countless hours of typing, gaming, and browsing. Over time, it accumulates a surprising amount of grime.
From the earliest typewriters to the sleek, modern keyboards we use today, keeping these essential tools clean has always been a concern. While our ancestors might have used simple brushes and cloths, we now have a range of options, from compressed air to specialized cleaning solutions. But with so many choices, how do you clean keyboard safely without damaging it?
I’m here to guide you through some easy and effective DIY tricks to keep your keyboard sparkling and functioning flawlessly. Not only will a clean keyboard improve your typing experience, but it can also extend its lifespan and prevent the spread of germs. So, ditch the dust bunnies and let’s get cleaning! You’ll be amazed at how much better your keyboard looks and feels after just a few simple steps. Ready to transform your keyboard from a germy mess to a pristine workspace essential?
DIY: Revive Your Grimy Keyboard – A Deep Clean Guide
Okay, let’s face it. Our keyboards are like little petri dishes of crumbs, dust, and who-knows-what-else. We use them every day, often while snacking, and rarely give them the cleaning they deserve. But fear not! I’m going to walk you through a super effective, yet safe, method to deep clean your keyboard and bring it back to its former glory. Get ready to say goodbye to sticky keys and hello to a sparkling clean workspace!
What You’ll Need: The Arsenal of Clean
Before we dive in, let’s gather our cleaning supplies. Trust me, having everything ready beforehand will make the process much smoother.
* Compressed Air: This is your best friend for blasting out loose debris. Get a can with a nozzle extension for precision cleaning.
* Small Screwdriver Set (Phillips Head): We might need this to remove some keys, depending on your keyboard type.
* Keycap Puller (Optional, but Recommended): This little tool makes removing keycaps much easier and safer than using a screwdriver. You can find them online for just a few bucks.
* Small Bowl or Container: For soaking the keycaps.
* Warm Water: The base of our cleaning solution.
* Mild Dish Soap: Just a few drops will do the trick. Avoid anything too harsh or abrasive.
* Microfiber Cloths: These are gentle and effective for wiping surfaces. Have a few on hand.
* Cotton Swabs (Q-tips): Perfect for getting into those hard-to-reach crevices.
* Rubbing Alcohol (Isopropyl Alcohol): For disinfecting and removing stubborn grime. Use 70% or higher concentration.
* Small Brush (Soft Bristled): An old toothbrush works great for scrubbing.
* Vacuum Cleaner with Brush Attachment: For sucking up larger debris.
* Paper Towels: For drying.
Phase 1: Pre-Cleaning – The Surface Sweep
Before we get into the nitty-gritty, let’s tackle the easy stuff. This will remove the bulk of the debris and make the deep cleaning process much more effective.
1. Unplug Your Keyboard: This is crucial for safety! Make sure your keyboard is completely disconnected from your computer.
2. Turn It Upside Down and Shake: Give your keyboard a good shake over a trash can or sink. You’ll be surprised how much stuff comes out!
3. Vacuum the Surface: Use the brush attachment on your vacuum cleaner to gently vacuum the surface of the keyboard. Pay attention to the spaces between the keys.
4. Compressed Air Blast: Now, grab your can of compressed air and use short bursts to blast away any remaining loose debris. Tilt the keyboard at different angles to get everything out. Focus on the areas around the keys and in the crevices.
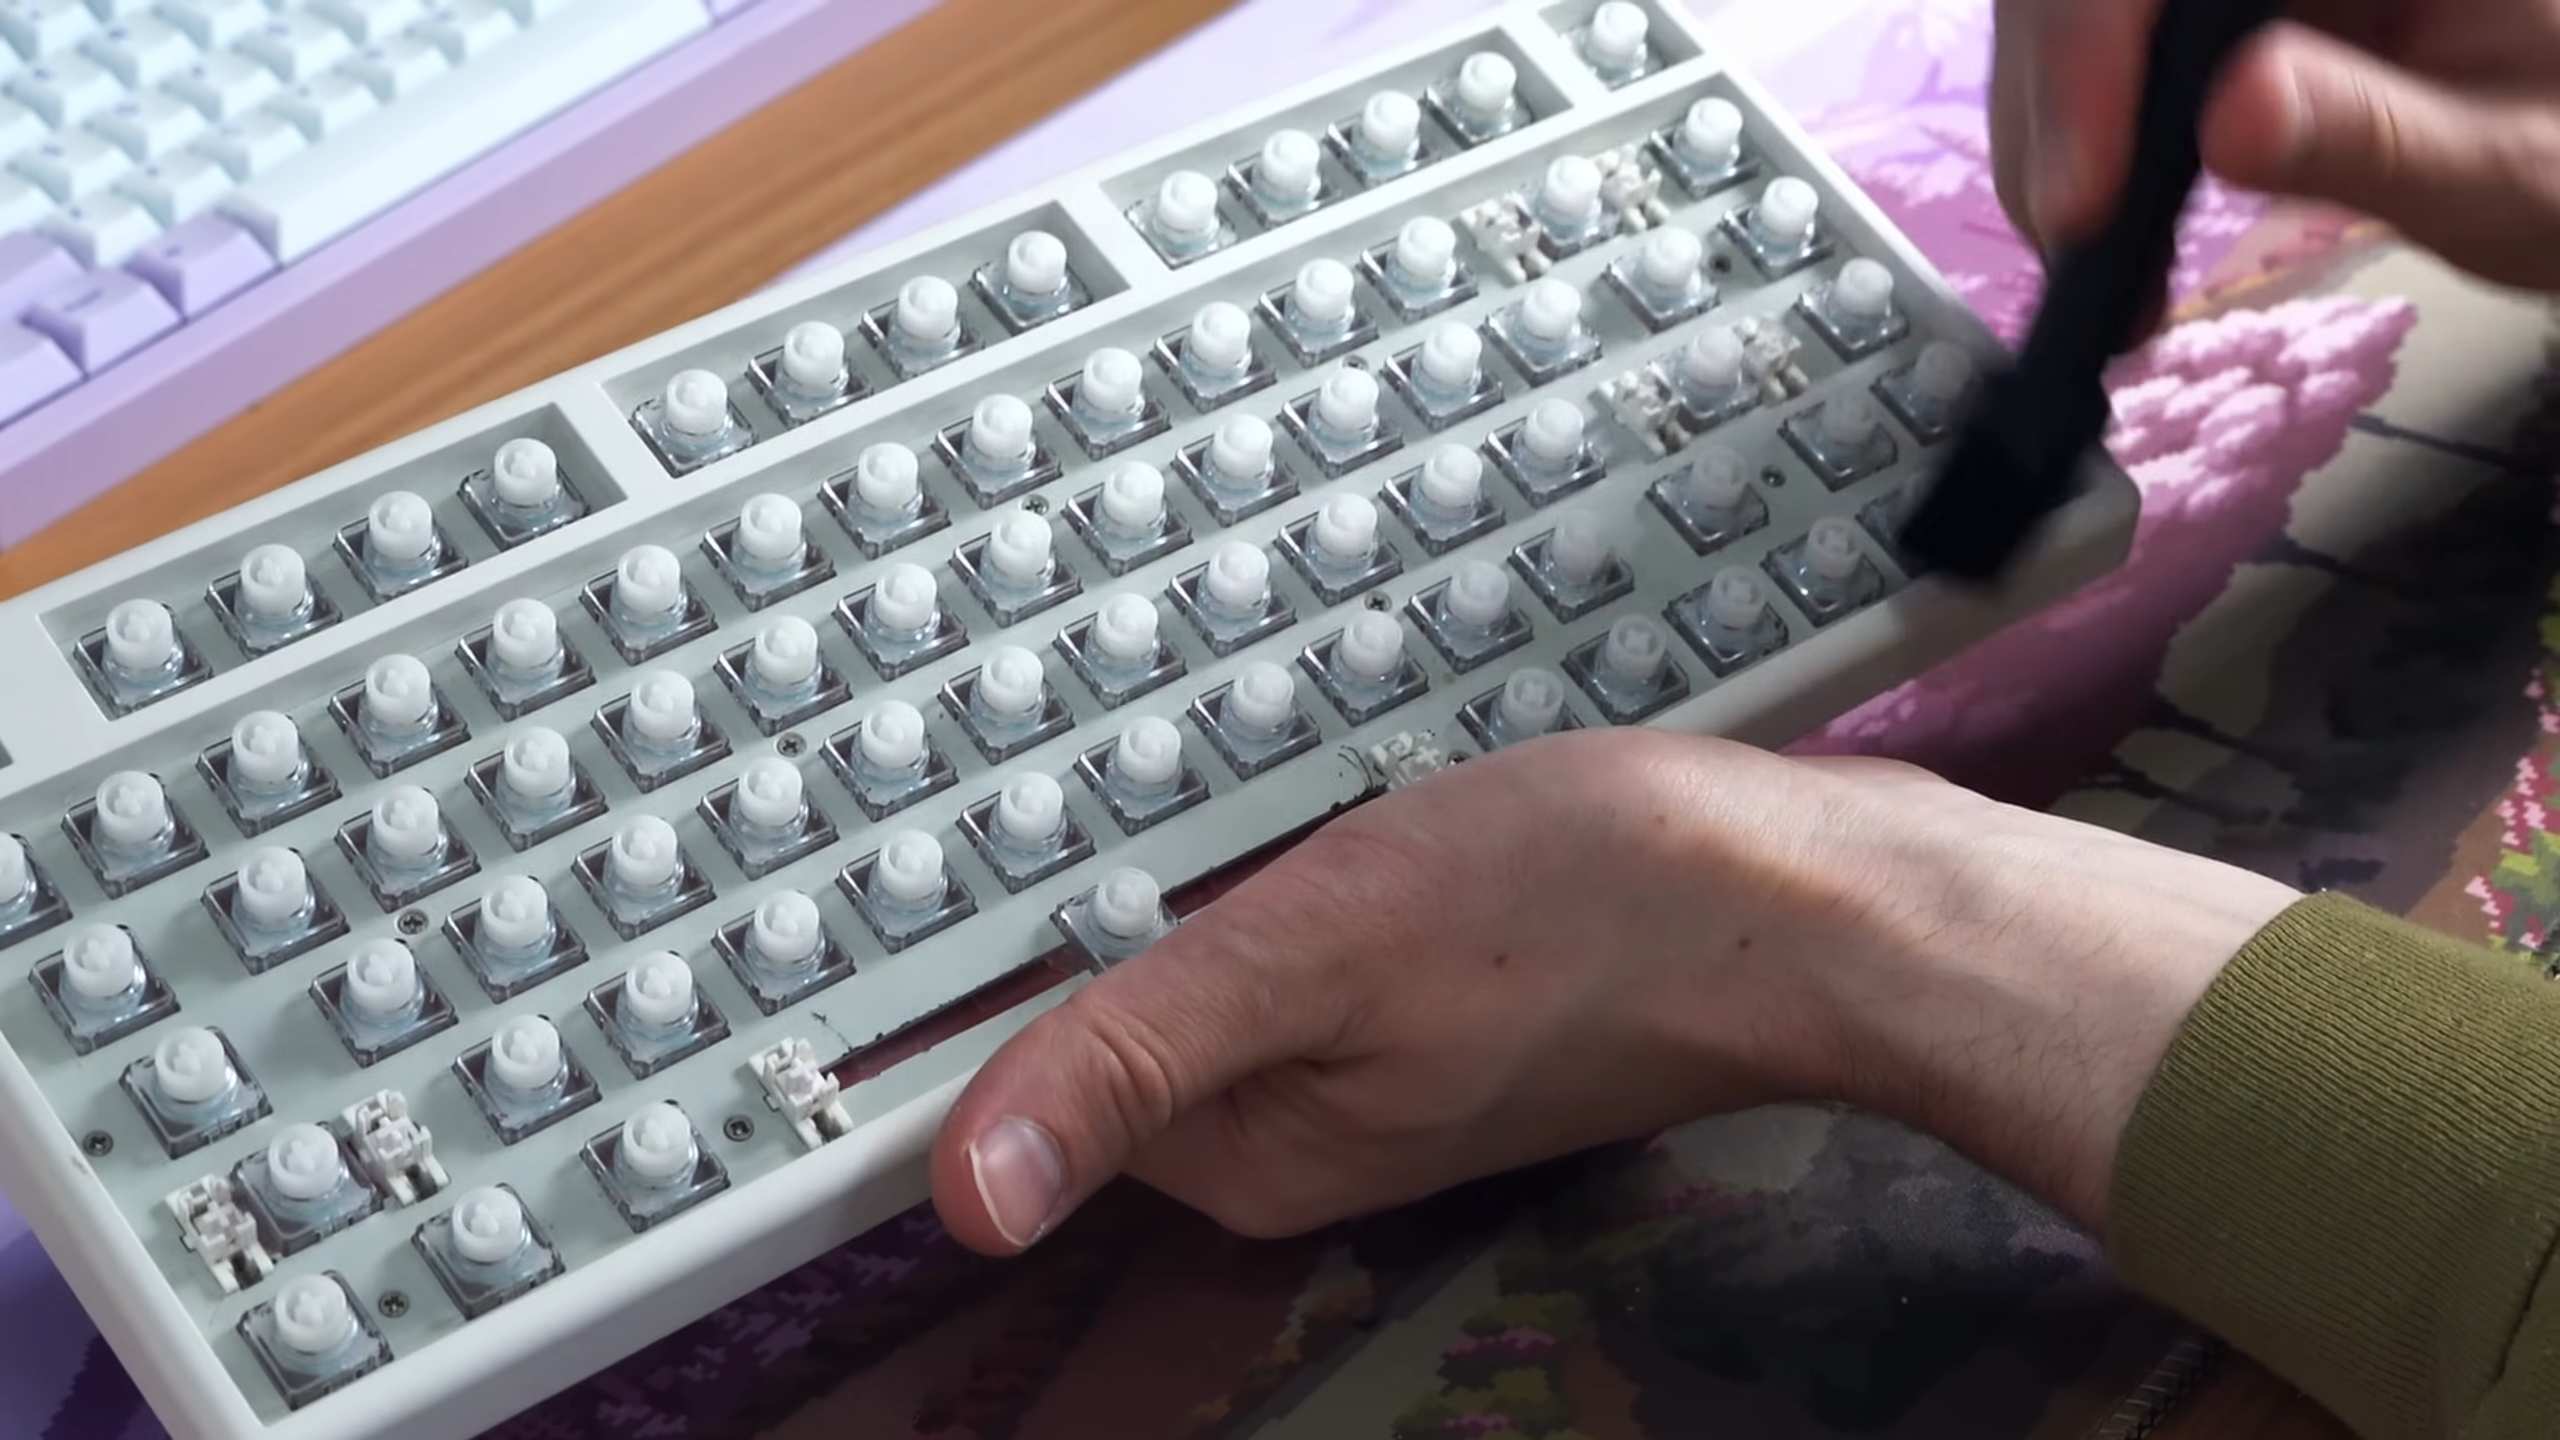
Phase 2: Keycap Removal – The Deep Dive Begins
This is where things get a little more involved, but trust me, it’s worth it. Removing the keycaps allows us to clean them thoroughly and access the dirt and grime underneath.
1. Take a Photo (Important!): Before you start removing any keycaps, take a clear photo of your keyboard layout. This will be a lifesaver when it comes time to put everything back together.
2. Remove the Keycaps: Using your keycap puller (or a small screwdriver if you don’t have one), carefully remove the keycaps. If using a screwdriver, be extremely gentle to avoid scratching the keycaps or the keyboard. Insert the puller over the keycap and gently pull straight up. For larger keys like the spacebar, shift keys, and enter key, you might need to wiggle them a bit to loosen them. These keys often have stabilizers underneath, so be careful not to break them.
3. Organize the Keycaps: As you remove the keycaps, place them in a container or bowl. This will keep them from getting lost and make it easier to wash them later.
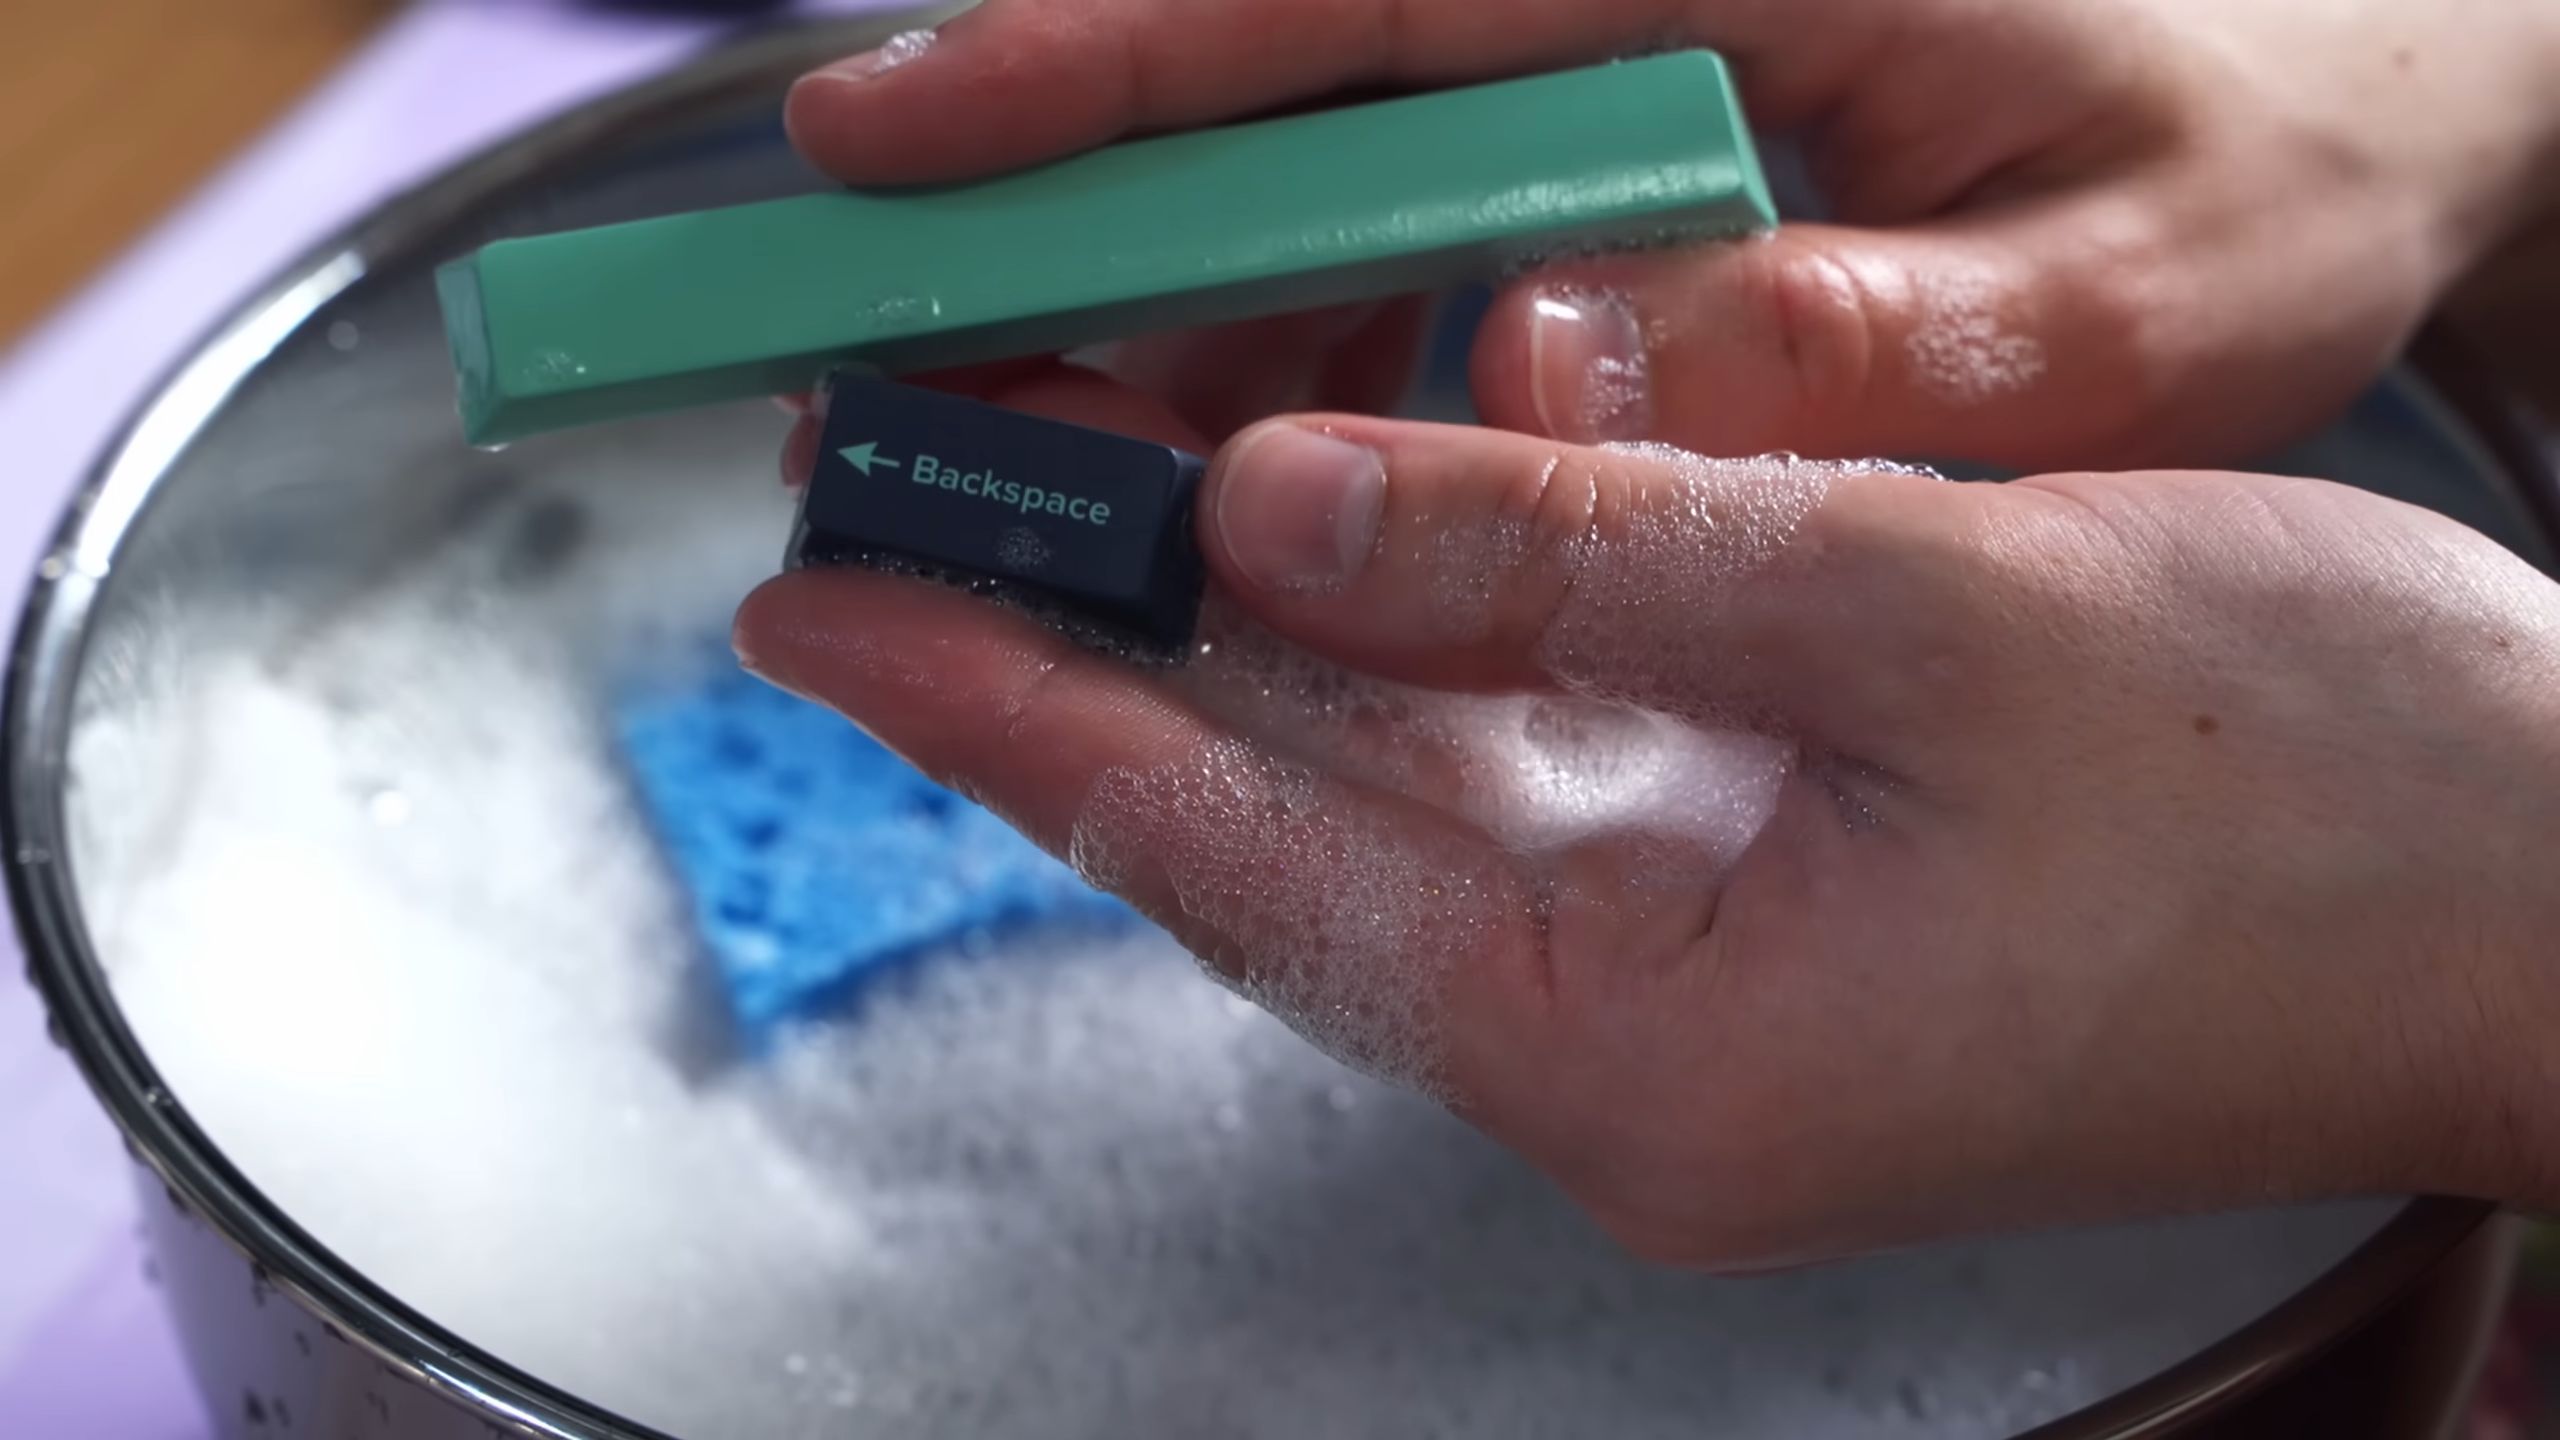
Phase 3: Keycap Cleaning – A Refreshing Bath
Now that we’ve removed the keycaps, it’s time to give them a good cleaning. This will remove all the accumulated dirt, oil, and grime.
1. Prepare the Soapy Water: Fill your bowl or container with warm water and add a few drops of mild dish soap.
2. Soak the Keycaps: Place the keycaps in the soapy water and let them soak for about 15-30 minutes. This will help loosen the dirt and grime.
3. Scrub the Keycaps: After soaking, use a soft-bristled brush (like an old toothbrush) to gently scrub each keycap. Pay attention to any stubborn stains or grime.
4. Rinse Thoroughly: Rinse the keycaps thoroughly with clean water to remove all traces of soap.
5. Dry the Keycaps: Spread the keycaps out on a clean paper towel and let them air dry completely. Make sure they are completely dry before putting them back on the keyboard. You can also gently pat them dry with a microfiber cloth.
Phase 4: Keyboard Base Cleaning – The Final Frontier
With the keycaps removed, we can now focus on cleaning the keyboard base itself. This is where a lot of the hidden dirt and grime accumulates.
1. Vacuum Again: Use the brush attachment on your vacuum cleaner to vacuum the keyboard base thoroughly. This will remove any loose debris that may have been hiding under the keycaps.
2. Compressed Air Blast (Again!): Use compressed air to blast away any remaining debris from the keyboard base. Pay attention to the areas around the key switches and in the crevices.
3. Wipe Down the Surface: Dampen a microfiber cloth with a small amount of rubbing alcohol (isopropyl alcohol). Gently wipe down the entire keyboard base, paying attention to any sticky or dirty areas. The alcohol will help disinfect the surface and remove any stubborn grime.
4. Clean Hard-to-Reach Areas: Use cotton swabs (Q-tips) dipped in rubbing alcohol to clean the hard-to-reach areas around the key switches and in the crevices.
5. Dry Thoroughly: Use a clean, dry microfiber cloth to dry the keyboard base thoroughly. Make sure there is no moisture left before putting the keycaps back on.
Phase 5: Reassembly – The Grand Finale
Now for the satisfying part – putting everything back together! This is where that photo you took earlier will come in handy.
1. Ensure Everything is Dry: Before you start reassembling, make absolutely sure that both the keycaps and the keyboard base are completely dry. Any moisture can damage your keyboard.
2. Reattach the Keycaps: Using your photo as a guide, carefully reattach the keycaps to the keyboard. Press down firmly on each keycap until it clicks into place. For larger keys with stabilizers, make sure the stabilizers are properly aligned before pressing the keycap down.
3. Double-Check the Layout: Once you’ve reattached all the keycaps, double-check the layout to make sure everything is in the correct place.
4. Plug It In and Test: Plug your keyboard back into your computer and test all the keys to make sure they are working properly.
Troubleshooting Tips:
* Sticky Keys: If you still have some sticky keys after cleaning, try removing the keycap again and cleaning the key switch underneath with a cotton swab dipped in rubbing alcohol.
* Broken Keycap: If you accidentally break a keycap, you can usually find replacements online.
* Keyboard Not Working: If your keyboard isn’t working after cleaning, double-check that it’s properly plugged in and that all the keycaps are securely attached. If it still doesn’t work, you may need to consult a professional.
Important Note: This guide is for general keyboard cleaning. If you have a mechanical keyboard with specialized switches, you may need to consult the manufacturer’s instructions for specific cleaning recommendations.
Safety First: Always unplug your keyboard before cleaning it. Avoid using excessive amounts of liquid, as this can damage the internal components.
And there you have it! A sparkling clean keyboard that’s ready for action. Regular cleaning will not only keep your keyboard looking its best but also help prevent the spread of germs and improve your typing experience. Happy cleaning!
Conclusion
So, there you have it! A simple, effective, and budget-friendly way to clean your keyboard safely and restore it to its former glory. We’ve walked you through the steps, highlighting the importance of gentle techniques and readily available tools. But why is this DIY trick a must-try?
Firstly, think about how often you use your keyboard. It’s a constant companion, collecting dust, crumbs, and all sorts of unseen grime. A dirty keyboard isn’t just unsightly; it can also harbor bacteria and potentially impact your typing experience. Sticking keys and unresponsive buttons are often a direct result of accumulated debris. This DIY method allows you to address these issues proactively, extending the lifespan of your keyboard and ensuring a more pleasant and hygienic workspace.
Secondly, consider the cost savings. Professional keyboard cleaning services can be expensive, and replacing a keyboard due to neglect is an unnecessary expense. This DIY approach empowers you to take control of your keyboard’s maintenance, saving you money in the long run.
But the benefits extend beyond mere practicality. There’s a certain satisfaction in taking care of your belongings and restoring them to their best condition. This DIY project is a small act of self-care, contributing to a more organized and productive environment.
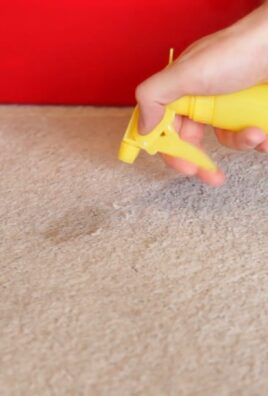
Now, let’s talk about variations and suggestions. While compressed air and isopropyl alcohol are our recommended tools, you can adapt the method to suit your specific needs and preferences. For instance, if you don’t have compressed air, a small, soft brush can be used to dislodge loose debris. Just be sure to avoid brushes with stiff bristles that could scratch the keys.
For stubborn stains or sticky residue, you can dilute a small amount of dish soap in water and use a microfiber cloth to gently wipe the affected areas. Remember to wring out the cloth thoroughly to prevent excess moisture from seeping into the keyboard.
Another variation involves using keyboard keycap pullers. These inexpensive tools allow you to safely remove the keycaps for a more thorough cleaning. This is particularly useful for mechanical keyboards, where debris can accumulate beneath the keycaps. Just be sure to take a picture of your keyboard layout before removing the keycaps, so you can easily put them back in the correct positions.
Finally, consider incorporating this cleaning routine into your regular schedule. A quick wipe-down once a week can prevent the buildup of dust and grime, making the cleaning process much easier in the long run.
We wholeheartedly encourage you to try this DIY trick and experience the difference a clean keyboard can make. It’s a simple yet effective way to improve your workspace, extend the lifespan of your keyboard, and save money.
Don’t just take our word for it! Give it a try and share your experience with us. We’d love to hear your tips, variations, and success stories. Let us know in the comments below how this method worked for you and if you have any other helpful suggestions. Your feedback is invaluable and helps us improve our content for future readers. So, grab your supplies, roll up your sleeves, and get ready to transform your keyboard!
Frequently Asked Questions (FAQ)
What type of alcohol should I use to clean my keyboard?
We recommend using isopropyl alcohol with a concentration of 70% or higher. This concentration is effective at disinfecting and evaporates quickly, minimizing the risk of damage to your keyboard. Avoid using rubbing alcohol with added fragrances or moisturizers, as these can leave a residue on your keys. Always apply the alcohol to a cloth first, never directly onto the keyboard.
Is it safe to use a vacuum cleaner to clean my keyboard?
While a vacuum cleaner might seem like a convenient option, it’s generally not recommended for cleaning keyboards. The strong suction can potentially dislodge keycaps or damage delicate internal components. If you do choose to use a vacuum cleaner, use a low setting and a brush attachment to minimize the risk of damage. A handheld vacuum specifically designed for electronics is a safer alternative.
How often should I clean my keyboard?
The frequency of cleaning depends on your usage habits and environment. If you use your keyboard frequently or work in a dusty environment, you should clean it more often. As a general guideline, we recommend cleaning your keyboard at least once a month. A quick wipe-down with a microfiber cloth once a week can help prevent the buildup of dust and grime.
What if I spill liquid on my keyboard?
Spilling liquid on your keyboard can be a serious issue, but quick action can minimize the damage. Immediately unplug the keyboard and turn it upside down to allow the liquid to drain out. Use a clean, absorbent cloth to soak up any remaining liquid. Do not use a hairdryer or other heat source to dry the keyboard, as this can damage the internal components. Allow the keyboard to air dry completely for at least 24 hours before plugging it back in. If the liquid was sugary or sticky, you may need to disassemble the keyboard to clean the individual components.
Can I put my keycaps in the dishwasher?
While some people have had success cleaning keycaps in the dishwasher, it’s generally not recommended. The high heat and harsh detergents can damage the keycaps, causing them to warp, fade, or crack. A safer alternative is to soak the keycaps in warm, soapy water for a few minutes, then scrub them gently with a soft brush. Rinse the keycaps thoroughly and allow them to air dry completely before reattaching them to the keyboard.
How do I clean a mechanical keyboard?
Cleaning a mechanical keyboard is similar to cleaning a regular keyboard, but there are a few additional considerations. Mechanical keyboards often have removable keycaps, which makes cleaning much easier. Use a keycap puller to remove the keycaps and clean them separately. You can use compressed air to remove dust and debris from the keyboard plate. For stubborn stains, you can use a cotton swab dipped in isopropyl alcohol to gently clean the switches and stabilizers. Be careful not to get any liquid inside the switches.
What if my keys are sticky or unresponsive after cleaning?
If your keys are still sticky or unresponsive after cleaning, it could be due to residue from the cleaning solution or debris trapped beneath the keycaps. Try removing the keycaps and cleaning the area underneath with a cotton swab dipped in isopropyl alcohol. If the problem persists, you may need to disassemble the keyboard to clean the individual switches.
How do I prevent my keyboard from getting dirty in the first place?
Prevention is always better than cure! To minimize the buildup of dust and grime on your keyboard, avoid eating or drinking near your computer. Wash your hands regularly before using your keyboard. Consider using a keyboard cover to protect your keyboard from dust and spills. Regularly wipe down your keyboard with a microfiber cloth to remove dust and fingerprints.
Where can I buy keycap pullers and other keyboard cleaning supplies?
Keycap pullers and other keyboard cleaning supplies are readily available online and at most electronics stores. You can find them on websites like Amazon, eBay, and Newegg. You can also find them at local computer stores and office supply stores. Look for keycap pullers that are specifically designed for your type of keyboard (e.g., mechanical or membrane).
Is it okay to use bleach to clean my keyboard?
No, you should never use bleach to clean your keyboard. Bleach is a harsh chemical that can damage the plastic and electronic components of your keyboard. It can also discolor the keycaps and leave a strong, unpleasant odor. Stick to isopropyl alcohol or a mild soap and water solution for cleaning your keyboard.
Leave a Comment