

Clean Silver with Baking Soda: Is your cherished silverware looking a little lackluster? Don’t despair! Before you rush out to buy expensive cleaning solutions, let me let you in on a little secret – you can restore its shine using a common household ingredient: baking soda! For generations, families have passed down the knowledge of using simple, natural ingredients to care for their valuables, and this trick is no exception. In fact, some historical accounts suggest that early forms of this method were used by silversmiths themselves to maintain the brilliance of their creations.
Why is this DIY trick so essential? Well, tarnished silver can dull the appearance of even the most elegant table setting. But more importantly, harsh chemical cleaners can sometimes damage delicate silver pieces over time. This method offers a gentle, effective, and affordable alternative. I’m going to show you how to clean silver with baking soda, a simple yet powerful technique that will have your silverware gleaming like new in no time. Plus, it’s a fantastic way to avoid harsh chemicals and embrace a more eco-friendly approach to home care. So, gather your tarnished treasures, and let’s get started on this easy and rewarding DIY project!
DIY Silver Cleaning with Baking Soda: A Sparkly Transformation!
Hey everyone! I’m so excited to share my favorite DIY silver cleaning method with you. Forget those harsh chemicals and expensive silver polishes. All you need is baking soda, aluminum foil, and a little bit of elbow grease (well, not much, actually!). This method is super effective, gentle on your silver, and uses ingredients you probably already have in your pantry. Let’s get that tarnished silver shining again!
What You’ll Need:
Before we dive in, let’s gather our supplies. This is a pretty simple project, so the list is short and sweet:
* Baking Soda: The star of the show! It’s a mild abrasive and helps to lift the tarnish.
* Aluminum Foil: This creates a chemical reaction that pulls the tarnish away from the silver.
* Boiling Water: The heat speeds up the cleaning process.
* A Glass or Plastic Bowl: Avoid using metal bowls, as they can interfere with the chemical reaction.
* Soft Cloth or Sponge: For gently wiping the silver.
* Tongs or Kitchen Utensils: To safely handle the hot silver items.
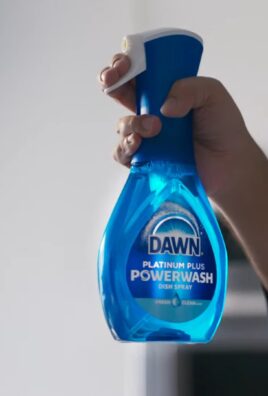
* Optional: Dish Soap: For pre-cleaning heavily soiled items.
The Science Behind the Sparkle
Okay, a little bit of chemistry! Tarnish on silver is actually silver sulfide, formed when silver reacts with sulfur compounds in the air. The baking soda and aluminum foil create an electrolytic reaction. The aluminum is more reactive than the silver, so it attracts the sulfur, effectively reversing the tarnishing process. Pretty cool, right?
Step-by-Step Instructions: Let’s Get Cleaning!
Alright, let’s get down to business. Follow these steps carefully, and you’ll be amazed at the results.
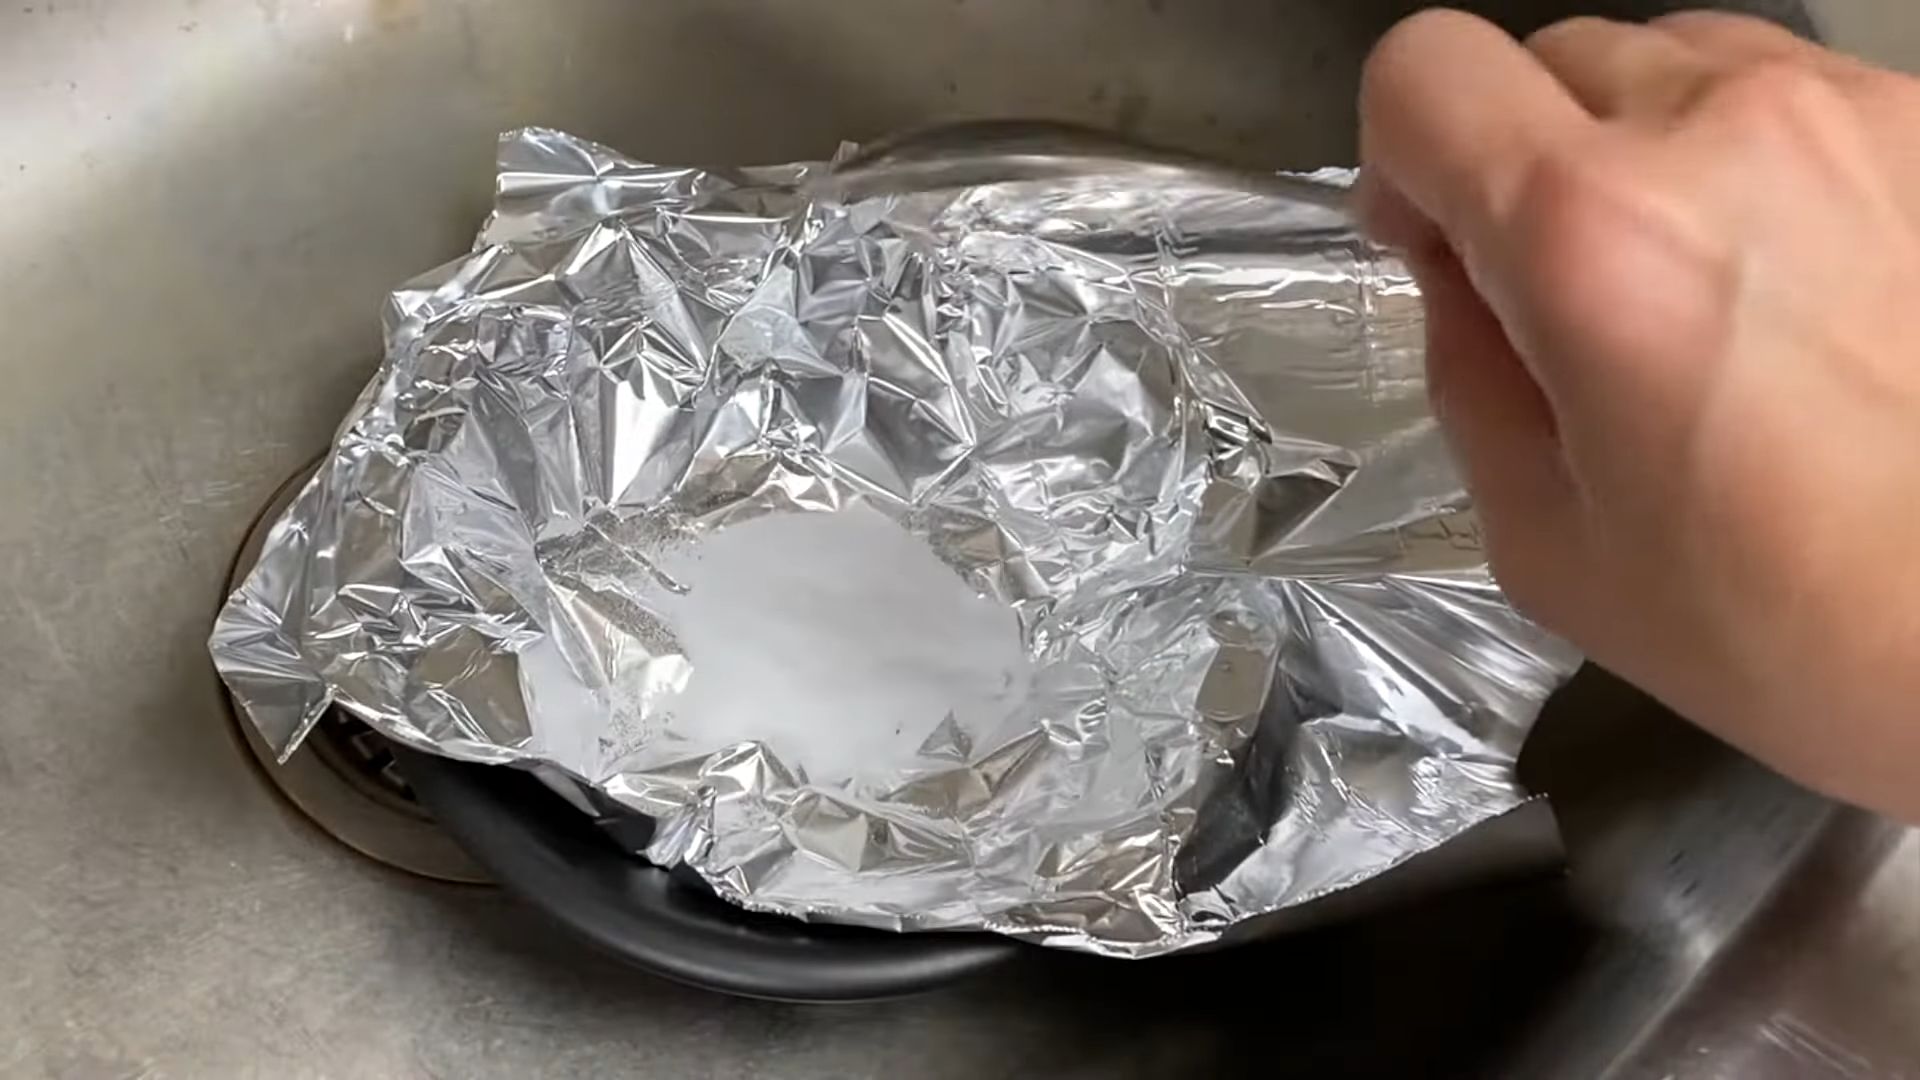
1. Prepare the Bowl: Line your glass or plastic bowl completely with aluminum foil. Make sure the shiny side of the foil is facing up, as this is the side that will be in contact with the water and silver. The foil needs to cover the entire inside surface of the bowl.
2. Add Baking Soda: Pour about 1-2 tablespoons of baking soda into the bowl. The amount you need will depend on the size of your bowl and the amount of silver you’re cleaning. A good rule of thumb is to use enough baking soda to create a noticeable solution when mixed with the water.
3. Pour in the Boiling Water: Carefully pour boiling water into the bowl. Be extremely cautious to avoid burns. The water should be hot enough to activate the chemical reaction, so freshly boiled water is best. Fill the bowl enough to completely submerge the silver items you’ll be cleaning.
4. Optional: Add Dish Soap: If your silver is particularly dirty or greasy, you can add a few drops of mild dish soap to the water. This will help to remove any surface grime before the tarnish removal process begins.
5. Submerge the Silver: Using tongs or kitchen utensils, carefully place your silver items into the bowl, making sure they are touching the aluminum foil. This is crucial for the chemical reaction to work. Don’t overcrowd the bowl; clean in batches if necessary. Ensure that all tarnished areas are in contact with the foil and the solution.
6. Wait and Watch the Magic Happen: Now comes the fun part! Let the silver sit in the solution for 5-10 minutes. You should start to see the tarnish disappearing almost immediately. The length of time needed will depend on the severity of the tarnish. For heavily tarnished items, you might need to let them soak for a bit longer, up to 15-20 minutes. Keep an eye on the process and check the silver periodically.
7. Remove and Rinse: Once the tarnish is gone (or significantly reduced), carefully remove the silver items from the bowl using tongs or kitchen utensils. Rinse them thoroughly under warm running water to remove any remaining baking soda residue.
8. Dry and Polish: Use a soft, clean cloth to dry the silver completely. For an extra shine, you can gently polish the silver with a silver polishing cloth. This will remove any remaining water spots and bring out the luster.
Dealing with Stubborn Tarnish
Sometimes, the tarnish is particularly stubborn and doesn’t completely disappear after the first soak. Don’t worry! Here are a few tips for dealing with those tricky spots:
* Repeat the Process: If the tarnish is still visible, simply repeat the cleaning process. You might need to use fresh aluminum foil and a new baking soda solution for the best results.
* Make a Paste: For localized tarnish, you can make a paste of baking soda and water. Apply the paste directly to the tarnished area, gently rub with a soft cloth, and then rinse thoroughly.
* Use a Soft Brush: For intricate designs or hard-to-reach areas, use a soft-bristled brush (like an old toothbrush) to gently scrub the tarnish away. Be careful not to scratch the silver.
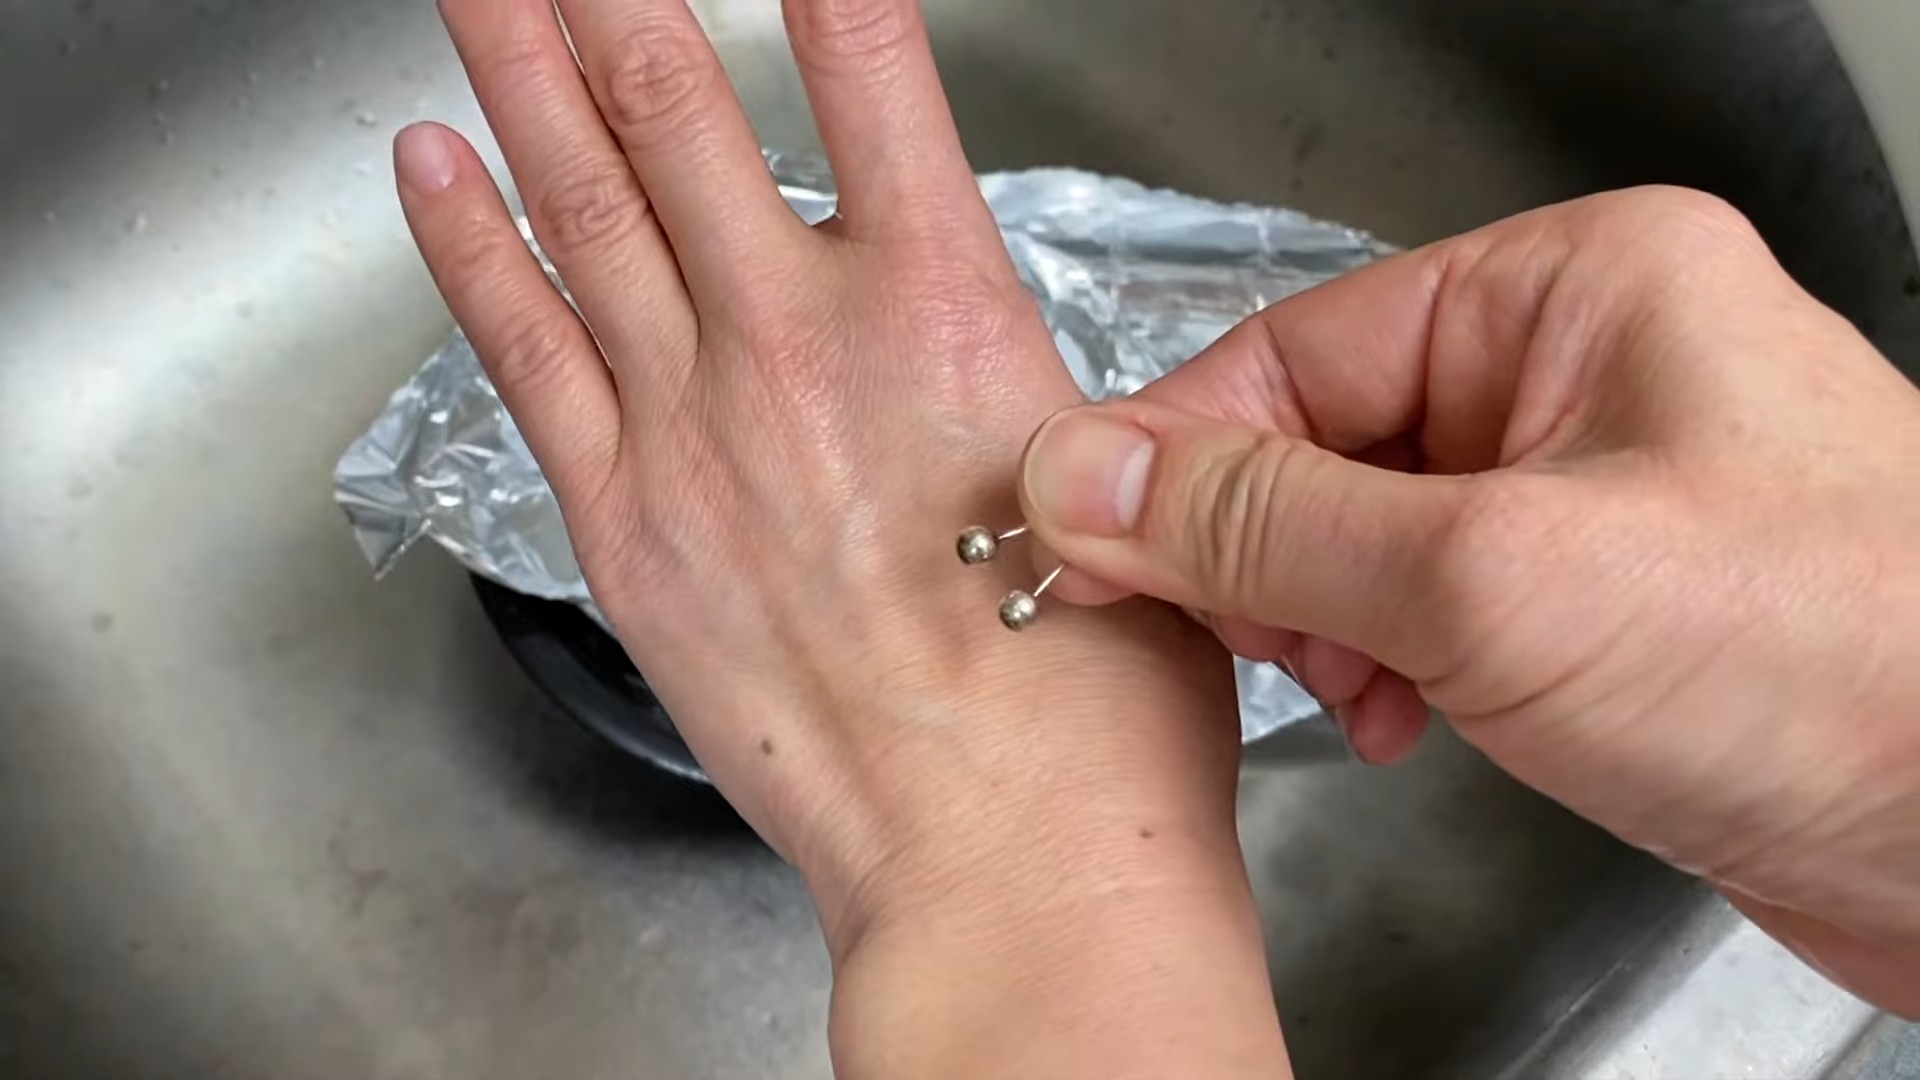
Cleaning Silver Jewelry
Cleaning silver jewelry requires a little extra care, especially if it contains gemstones or delicate details. Here’s how I approach it:
1. Check for Gemstones: Before cleaning, carefully inspect your jewelry for any gemstones. Some gemstones are sensitive to heat and chemicals, so it’s important to avoid exposing them to the boiling water and baking soda solution.
2. Use a Smaller Bowl: Use a smaller bowl or container to clean jewelry, as it’s easier to control the process.
3. Limit the Soak Time: Reduce the soak time to 2-5 minutes, especially if the jewelry contains gemstones.
4. Gentle Cleaning: Use a soft-bristled brush or a cotton swab to gently clean around the gemstones and intricate details.
5. Rinse Thoroughly: Rinse the jewelry thoroughly under warm running water to remove any remaining baking soda residue.
6. Dry Carefully: Dry the jewelry carefully with a soft, lint-free cloth. Make sure to dry all the nooks and crannies to prevent water spots.
Preventing Future Tarnish
Once you’ve cleaned your silver, you’ll want to keep it looking shiny for as long as possible. Here are a few tips for preventing future tarnish:
* Store Silver Properly: Store your silver in airtight containers or bags to protect it from exposure to air and moisture. You can also add anti-tarnish strips or cloths to the containers to absorb sulfur compounds.
* Avoid Contact with Sulfur: Avoid exposing your silver to sulfur-containing substances, such as rubber bands, wool, and certain foods.
* Regular Cleaning: Clean your silver regularly, even if it doesn’t look tarnished. This will help to prevent tarnish from building up in the first place. A quick wipe with a silver polishing cloth every few weeks can make a big difference.
* Wear Silver Often: Believe it or not, wearing your silver jewelry can actually help to prevent tarnish. The friction from your skin helps to polish the silver and remove any surface tarnish.
Important Considerations
While this method is generally safe for most silver items, there are a few things to keep in mind:
* Not Suitable for All Metals: This method is specifically designed for cleaning silver. It’s not recommended for cleaning other metals, such as gold, copper, or brass.
* Avoid Abrasive Cleaners: Never use abrasive cleaners or scouring pads on silver, as they can scratch the surface.
* Test on a Small Area: If you’re unsure about using this method on a particular item, test it on a small, inconspicuous area first.
* Antique Silver: Be extra careful when cleaning antique silver, as it may be more delicate. Consider consulting a professional for valuable or irreplaceable items.
My Personal Experience
I’ve been using this baking soda method for years, and I’m always amazed at how well it works. I’ve cleaned everything from silverware to jewelry to decorative items with great success. It’s so much easier and more affordable than using commercial silver polishes, and I love that it’s a more natural and eco-friendly option.
One time, I had a silver necklace that was so tarnished it looked almost black. I was convinced it was beyond saving, but I decided to give this method a try. To my surprise, after just a few minutes in the baking soda solution, the tarnish started to disappear, and the necklace was restored to its original shine. I was so thrilled!
I hope you found this guide helpful! Give it a try, and let me know how it works for you. Happy cleaning!
Conclusion
So, there you have it! A simple, effective, and surprisingly satisfying way to breathe new life into your tarnished silver using the power of baking soda. Forget expensive silver polishes filled with harsh chemicals. This DIY method is not only gentler on your precious silverware and jewelry but also on your wallet and the environment.
Why is this baking soda silver cleaning trick a must-try? Because it’s a game-changer! It’s incredibly easy to execute, requiring minimal effort and readily available ingredients. The visual transformation is genuinely remarkable, restoring the luster and shine to your silver pieces that you thought were long gone. Imagine the satisfaction of seeing your dull, lifeless silver gleam once more, ready to grace your table or adorn your person.
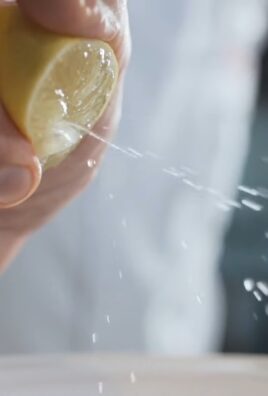
Beyond the basic method, feel free to experiment and personalize the process. For heavily tarnished items, you might consider increasing the amount of baking soda or extending the soaking time. You can also add a squeeze of lemon juice to the mixture for an extra boost of cleaning power, but always test it on a small, inconspicuous area first to ensure it doesn’t damage the silver. Another variation involves using a soft toothbrush to gently scrub intricate details or hard-to-reach areas after the soaking process. Remember to always use a soft cloth for drying to avoid scratching the newly cleaned surface.
This DIY silver cleaning method is particularly beneficial for delicate silver items or pieces with intricate designs, where traditional polishing methods might be too abrasive. The gentle action of the baking soda solution lifts away the tarnish without causing damage. It’s also a fantastic option for cleaning large silver items, such as serving trays or tea sets, as it allows you to clean the entire surface evenly and efficiently.
We are confident that once you try this baking soda silver cleaning method, you’ll be amazed by the results. It’s a simple, cost-effective, and environmentally friendly way to keep your silver looking its best.
Don’t just take our word for it – give it a try! We encourage you to experiment with this DIY trick and discover the magic of baking soda for yourself. And most importantly, we want to hear about your experience! Share your before-and-after photos, tips, and variations in the comments below. Let’s build a community of silver-cleaning enthusiasts and help each other keep our precious silver sparkling for years to come. We are eager to see the transformations you achieve and learn from your unique experiences. Your feedback will help us refine this method and provide even better guidance to others. So, grab your baking soda, gather your tarnished silver, and get ready to witness the incredible cleaning power of this simple DIY solution!
Frequently Asked Questions (FAQ)
What kind of silver can I clean with baking soda?
This method is generally safe for most sterling silver and silver-plated items. However, it’s not recommended for antique silver pieces with delicate finishes or those containing other metals or materials that might be sensitive to the baking soda solution. Always test a small, inconspicuous area first to ensure there’s no adverse reaction. If you’re unsure about the composition of your silver, consult a professional jeweler or antique dealer before proceeding.
How much baking soda and water should I use?
A good starting point is 1 tablespoon of baking soda per cup of boiling water. You can adjust the ratio depending on the severity of the tarnish. For heavily tarnished items, you might want to increase the baking soda to 2 tablespoons per cup of water. Remember to completely dissolve the baking soda in the boiling water before adding the silver.
What kind of container should I use?
Use a glass or plastic container that is large enough to fully submerge your silver items. Avoid using aluminum containers, as the chemical reaction between the baking soda, aluminum, and silver can damage the silver. A baking dish or a large bowl works well.
How long should I soak the silver?
The soaking time depends on the level of tarnish. Start with 5 minutes and check the silver periodically. For heavily tarnished items, you might need to soak them for up to 30 minutes. Be patient and avoid leaving the silver in the solution for too long, as prolonged exposure can potentially damage the finish.
Why do I need to use aluminum foil?
The aluminum foil is crucial for the chemical reaction that removes the tarnish. When the baking soda solution comes into contact with the aluminum foil and the tarnished silver, it creates an electrolytic reaction. This reaction transfers the tarnish (silver sulfide) from the silver to the aluminum foil, effectively cleaning the silver.
What if the tarnish doesn’t come off completely?
If some tarnish remains after soaking, you can gently scrub the silver with a soft toothbrush or a microfiber cloth dipped in the baking soda solution. Be careful not to apply too much pressure, as this can scratch the silver. For stubborn tarnish, you might need to repeat the soaking process or try a commercial silver polish specifically designed for delicate items.
Can I use this method on silver jewelry with gemstones?
Exercise caution when cleaning silver jewelry with gemstones. Some gemstones can be damaged by the baking soda solution. If you’re unsure, it’s best to avoid soaking the entire piece and instead use a cotton swab dipped in the solution to gently clean the silver parts, avoiding contact with the gemstones. Consider consulting a jeweler for professional cleaning advice.
How do I prevent silver from tarnishing again?
To prevent silver from tarnishing quickly, store it in airtight containers or pouches. You can also place anti-tarnish strips or cloths in the storage containers to absorb sulfur compounds in the air, which are the primary cause of tarnish. Regularly cleaning your silver, even if it’s just a quick wipe with a soft cloth, can also help prevent tarnish buildup.
Is baking soda safe for all types of silver finishes?
While generally safe, baking soda can be abrasive. Avoid using it on oxidized silver or pieces with a deliberately darkened finish, as it can remove the oxidation and alter the appearance of the piece. Always test in an inconspicuous area first.
What are the benefits of using baking soda over commercial silver cleaners?
Baking soda is a natural, non-toxic, and readily available alternative to commercial silver cleaners, which often contain harsh chemicals that can be harmful to your health and the environment. It’s also a more cost-effective option. While commercial cleaners might offer faster results, baking soda provides a gentler and safer way to clean your silver.

Leave a Comment