

Clean sticky kitchen cabinets are the bane of every homeowner’s existence, aren’t they? I know I’ve certainly battled my fair share of grime and goo! But fear not, because this isn’t just another article offering the same old solutions. We’re diving deep into DIY territory with some truly effective and surprisingly simple tricks to restore your cabinets to their former glory.
For generations, a sparkling clean kitchen has been a symbol of a well-cared-for home. Think back to your grandmother’s kitchen – always immaculate, always inviting. While she might have relied on elbow grease and traditional methods, we’re armed with a little more knowledge and some clever hacks to make the process easier and faster. After all, who wants to spend their entire weekend scrubbing?
Let’s face it, sticky kitchen cabinets aren’t just unsightly; they’re also a breeding ground for bacteria and can even attract pests. Plus, that sticky residue makes it harder to keep the rest of your kitchen clean. That’s why learning how to clean sticky kitchen cabinets effectively is so important. I’m going to share my favorite DIY solutions that use ingredients you probably already have in your pantry. Get ready to say goodbye to that stubborn stickiness and hello to a fresh, clean kitchen you’ll be proud to show off!
DIY Guide: Banish Sticky Residue and Revive Your Kitchen Cabinets!
Hey there, fellow DIY enthusiasts! Are you tired of that icky, sticky feeling every time you open your kitchen cabinets? I know I was! It’s a common problem, especially in kitchens where grease and grime love to hang out. But don’t worry, you don’t need to replace your cabinets or hire a professional cleaner. I’m going to walk you through a simple, effective, and budget-friendly DIY method to clean those sticky cabinets and bring back their shine. Let’s get started!
What Causes Sticky Kitchen Cabinets?
Before we dive into the cleaning process, let’s understand why your cabinets are sticky in the first place. The main culprits are:
* Grease Splatter: Cooking, especially frying, releases grease into the air, which settles on your cabinets.
* Dust and Dirt: Airborne dust and dirt particles mix with the grease, creating a sticky film.
* Cooking Fumes: Steam and fumes from cooking can also contribute to the buildup.
* Cleaning Product Residue: Sometimes, using the wrong cleaning products or not rinsing properly can leave a sticky residue behind.
Gather Your Supplies
To tackle this project, you’ll need the following supplies. I’ve tried to keep it simple and use things you probably already have at home:
* Warm Water: The foundation of our cleaning solution.
* Dish Soap: A mild dish soap is excellent for cutting through grease. I prefer one that’s gentle on surfaces.
* Baking Soda: This is our secret weapon! Baking soda is a mild abrasive that helps lift stubborn grime without scratching.
* White Vinegar: Vinegar is a natural degreaser and disinfectant. It’s also great for removing odors.
* Soft Cloths or Microfiber Towels: These are essential for wiping down the cabinets. Avoid abrasive scrubbers that can damage the finish.
* Spray Bottle: For applying the cleaning solution.
* Old Toothbrush: Perfect for getting into those hard-to-reach corners and crevices.
* Optional:
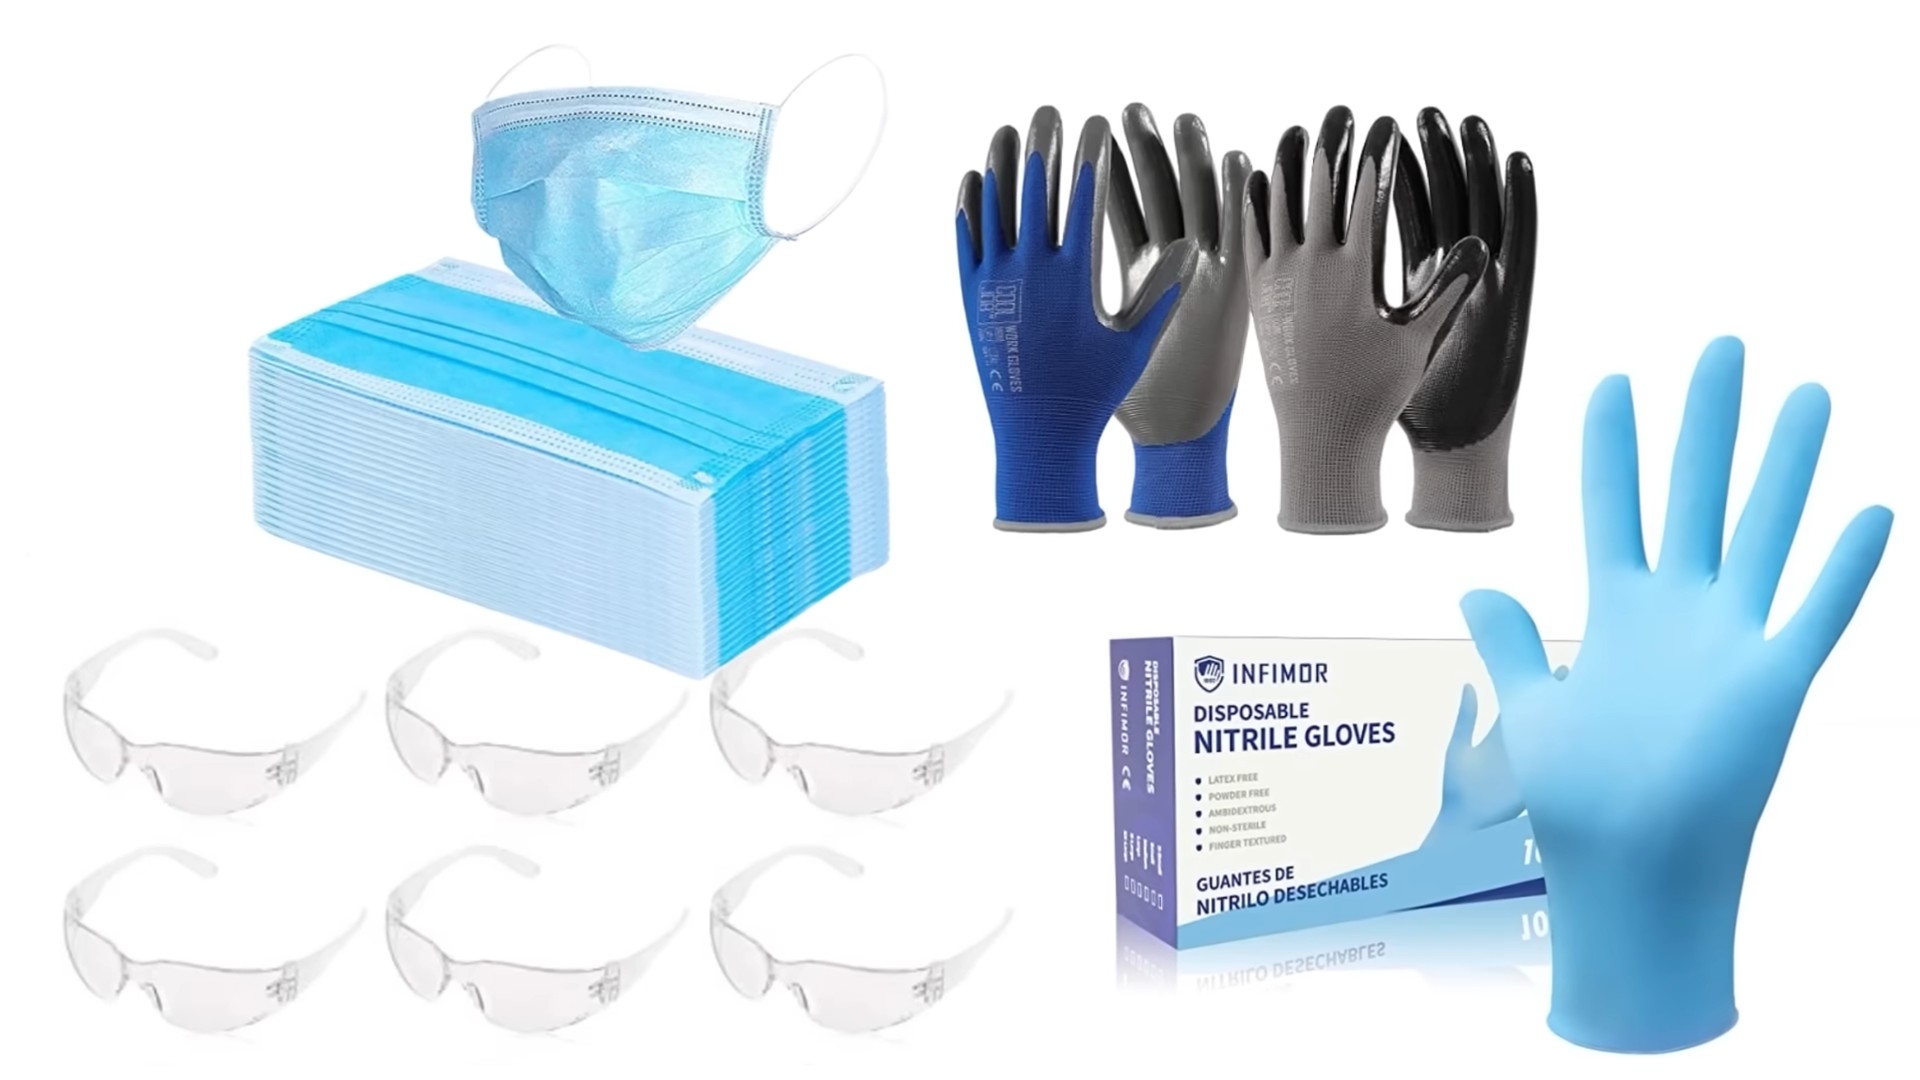
* Rubber Gloves: To protect your hands.
* Lemon Essential Oil: A few drops can add a fresh, clean scent.
* Furniture Polish: For restoring shine after cleaning.
Step-by-Step Cleaning Guide
Now for the fun part! Follow these steps to clean your sticky kitchen cabinets:
1. Prepare Your Cleaning Solution
This is where the magic begins! We’ll create a powerful yet gentle cleaning solution.
1. Mix the Ingredients: In a spray bottle, combine 1 cup of warm water, 1 tablespoon of dish soap, and 1 tablespoon of white vinegar. If you want to add a fresh scent, add a few drops of lemon essential oil.
2. Shake Well: Make sure all the ingredients are thoroughly mixed.
2. Test the Solution
Before applying the solution to the entire cabinet, it’s crucial to test it in an inconspicuous area. This will ensure that it doesn’t damage the finish.
1. Choose a Hidden Spot: Select a small area on the inside of a cabinet door or on the side of a cabinet that’s not easily visible.
2. Apply the Solution: Spray a small amount of the cleaning solution onto the test area.
3. Wipe and Observe: Gently wipe the area with a soft cloth and observe for any discoloration, damage, or lifting of the finish.
4. Wait and Check Again: Wait for about 5-10 minutes and check the area again to ensure there are no adverse effects. If everything looks good, you can proceed to clean the rest of the cabinets.
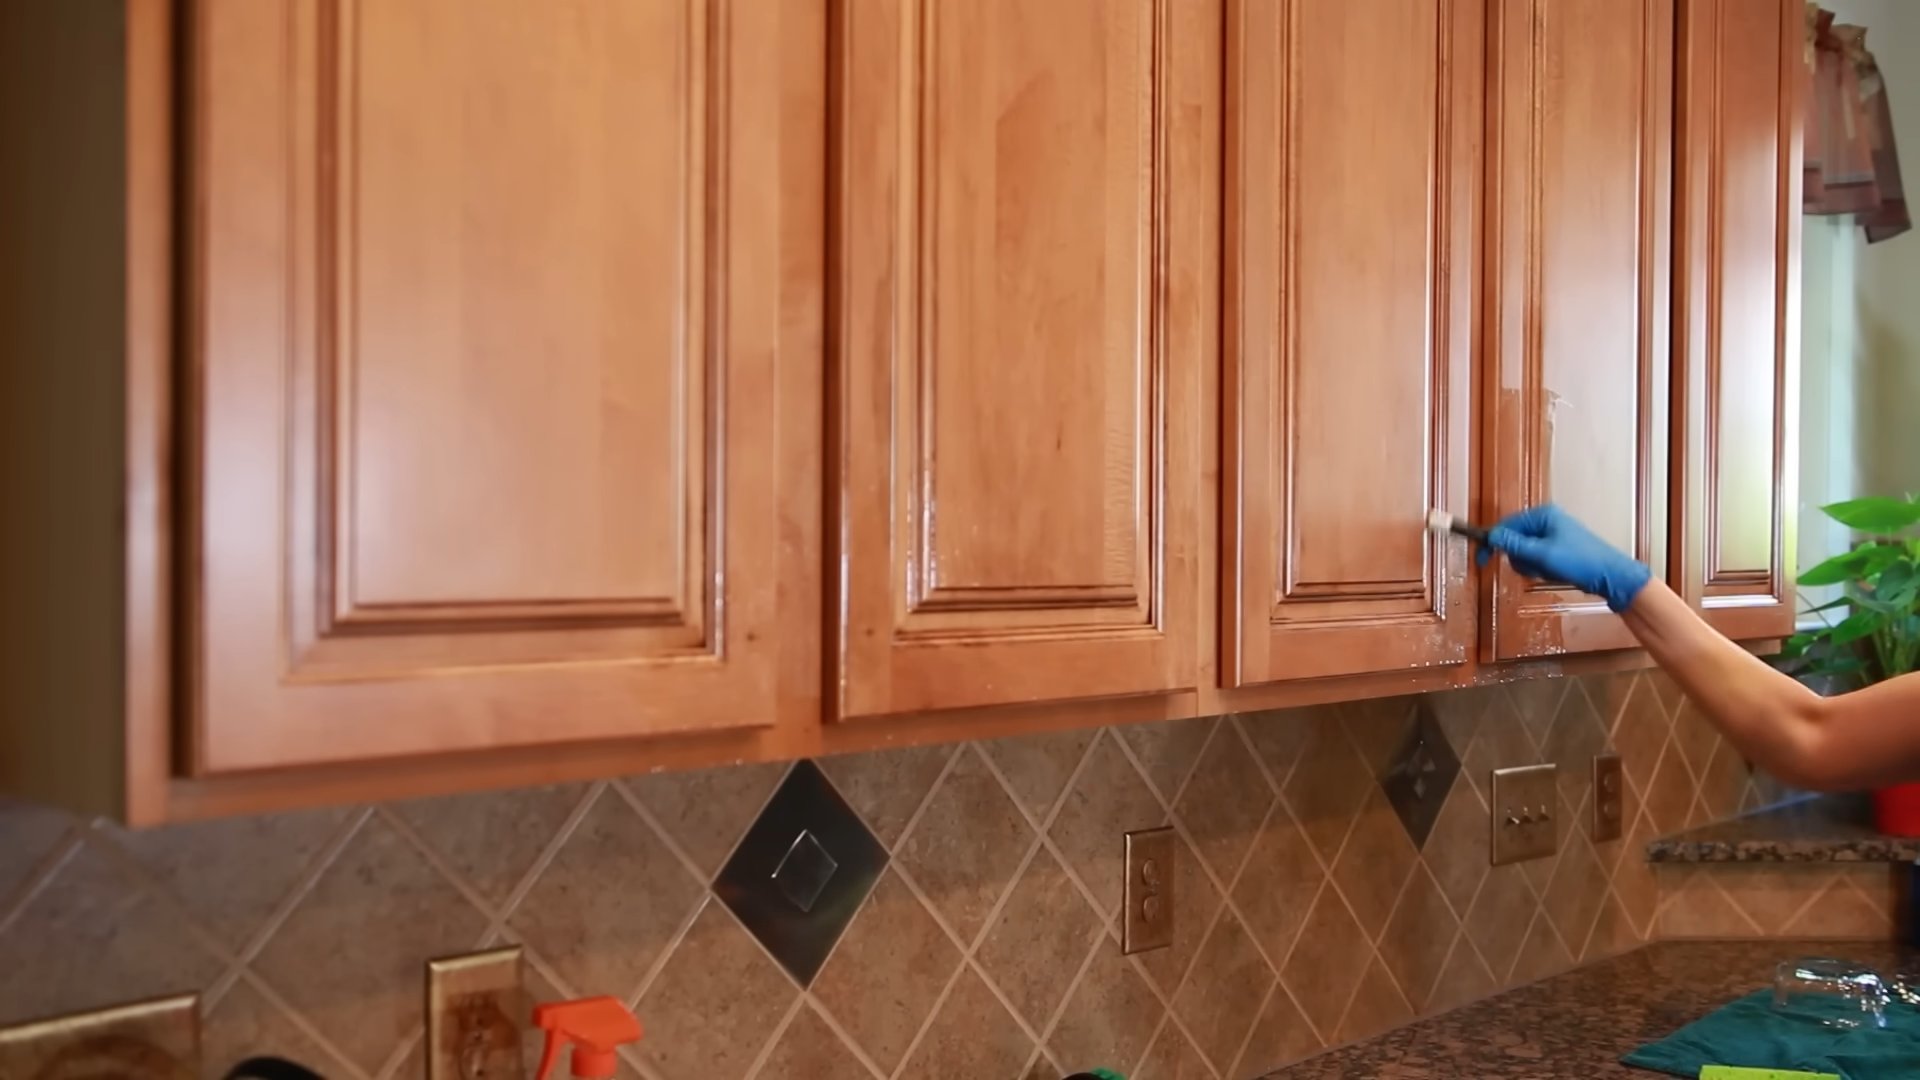
3. Apply the Cleaning Solution
Now that you’ve tested the solution, it’s time to apply it to the sticky cabinets.
1. Spray the Cabinets: Lightly spray the cleaning solution onto the surface of the cabinets. Avoid soaking the cabinets, as excessive moisture can damage the wood.
2. Let it Sit: Allow the solution to sit for a few minutes (2-3 minutes) to loosen the grime. This will make it easier to wipe away.
4. Scrub Gently
For stubborn sticky spots, you might need to do a little gentle scrubbing.
1. Apply Baking Soda Paste: Make a paste of baking soda and water (about 2 tablespoons of baking soda and 1 tablespoon of water).
2. Apply to Sticky Areas: Apply the paste to the sticky areas and let it sit for a few minutes.
3. Scrub with a Soft Cloth or Toothbrush: Gently scrub the area with a soft cloth or an old toothbrush. Be careful not to scrub too hard, as this can scratch the finish.
4. Rinse Thoroughly: Wipe away the baking soda paste with a damp cloth.
5. Wipe Clean
After scrubbing, it’s time to wipe the cabinets clean.
1. Damp Cloth: Use a clean, damp cloth to wipe away the cleaning solution and any remaining grime.
2. Rinse Frequently: Rinse the cloth frequently to avoid spreading the dirt around.
6. Dry the Cabinets
It’s important to dry the cabinets thoroughly to prevent water spots and potential damage.
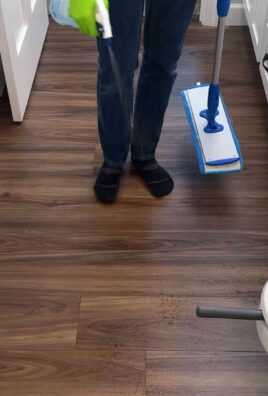
1. Use a Clean, Dry Cloth: Use a clean, dry microfiber towel to dry the cabinets.
2. Wipe in the Direction of the Grain: Wipe in the direction of the wood grain to avoid streaks.
7. Polish (Optional)
If you want to restore the shine to your cabinets, you can apply a furniture polish.
1. Apply Furniture Polish: Apply a small amount of furniture polish to a clean cloth.
2. Buff the Cabinets: Buff the cabinets in a circular motion to restore their shine.
3. Follow the Manufacturer’s Instructions: Be sure to follow the manufacturer’s instructions for the furniture polish you’re using.
Tackling Different Types of Cabinet Finishes
The cleaning process is generally the same for most cabinet finishes, but there are a few things to keep in mind depending on the type of finish you have:
* Painted Cabinets: Painted cabinets are generally durable, but they can be prone to chipping. Be extra gentle when scrubbing and avoid using abrasive cleaners.
* Laminate Cabinets: Laminate cabinets are easy to clean and maintain. Avoid using harsh chemicals or abrasive scrubbers, as they can damage the laminate.
* Wood Cabinets: Wood cabinets can be more delicate than other types of cabinets. Be sure to test the cleaning solution in an inconspicuous area before applying it to the entire cabinet. Avoid using excessive moisture, as this can damage the wood.
* Glass-Front Cabinets: For glass-front cabinets, use a glass cleaner to clean the glass panels. Avoid spraying the glass cleaner directly onto the wood frame, as this can damage the finish.
Preventing Sticky Cabinets in the Future
Now that your cabinets are clean and shiny, let’s talk about how to keep them that way! Here are a few tips to prevent sticky cabinets in the future:
* Wipe Up Splatters Immediately: The sooner you wipe up grease splatters, the easier they will be to remove.
* Use a Range Hood: A range hood helps to vent cooking fumes and grease out of the kitchen.
* Clean Regularly: Regular cleaning will prevent the buildup of grease and grime. Aim to clean your cabinets at least once a month.
* Use Gentle Cleaning Products: Avoid using harsh chemicals or abrasive scrubbers, as they can damage the finish of your cabinets.
* Consider a Protective Coating: Applying a protective coating, such as a wax or sealant, can help to prevent grease and grime from sticking to your cabinets.
Dealing with Stubborn Stains
Sometimes, you might encounter stubborn stains that are difficult to remove with the basic cleaning solution. Here are a few tips for dealing with stubborn stains:
* Grease Stains: For grease stains, try using a paste of baking soda and water. Apply the paste to the stain and let it sit for a few minutes before scrubbing gently.
* Water Stains: For water stains, try using a mixture of equal parts white vinegar and water. Apply the mixture to the stain and let it sit for a few minutes before wiping it away.
* Food Stains: For food stains, try using a mixture of dish soap and warm water. Apply the mixture to the stain and let it sit for a few minutes before wiping it away.
* Magic Eraser: A magic eraser can be effective for removing stubborn stains, but be careful when using it on painted or delicate surfaces, as it can be abrasive. Always test it in an inconspicuous area first.
Safety Precautions
While this DIY cleaning method is generally safe, it’s always a good idea to take a few safety precautions:
Conclusion
So, there you have it! Conquering sticky kitchen cabinets doesn’t require expensive cleaners or hours of back-breaking scrubbing. This simple, effective DIY trick, using ingredients you likely already have in your pantry, is a game-changer for maintaining a clean and inviting kitchen. We’ve shown you how to banish that frustrating stickiness and restore your cabinets to their former glory with minimal effort and maximum impact.
Why is this a must-try? Because it’s not just about aesthetics; it’s about hygiene and the overall feeling of your home. Sticky cabinets attract dust, grime, and even pests, creating an unsanitary environment. By implementing this DIY solution, you’re not only improving the look of your kitchen but also contributing to a healthier living space. Plus, think of the money you’ll save by avoiding those pricey commercial cleaners!
But don’t just take our word for it. The beauty of this method lies in its adaptability. Feel free to experiment with variations to suit your specific needs and preferences. For instance, if you’re dealing with particularly stubborn grime, you might consider adding a few drops of essential oil, like lemon or orange, for extra degreasing power and a refreshing scent. For painted cabinets, always test your solution on an inconspicuous area first to ensure it doesn’t damage the finish. You could also try using a microfiber cloth instead of a sponge for an even gentler cleaning experience. Remember, the key is to find what works best for your cabinets and your cleaning style.
We’re confident that this DIY trick will become your go-to solution for keeping your kitchen cabinets sparkling clean and free from that dreaded stickiness. It’s a simple, cost-effective, and environmentally friendly way to maintain a beautiful and hygienic kitchen.
Now, it’s your turn! We encourage you to give this DIY method a try and experience the satisfaction of effortlessly cleaning your sticky kitchen cabinets. Don’t be afraid to experiment with the variations we’ve suggested and discover what works best for you. And most importantly, we want to hear about your results! Share your experiences, tips, and any modifications you’ve made in the comments below. Let’s create a community of clean cabinet enthusiasts and help each other maintain beautiful, functional kitchens. Your feedback will not only help others but also inspire us to continue sharing valuable DIY solutions. So, grab your ingredients, roll up your sleeves, and get ready to say goodbye to sticky cabinets for good! We can’t wait to hear your success stories!
Frequently Asked Questions (FAQ)
1. What causes kitchen cabinets to become sticky in the first place?
Sticky kitchen cabinets are typically caused by a buildup of grease, cooking splatters, dust, and general grime that accumulates over time. The heat and humidity in the kitchen can exacerbate this problem, causing the grease and grime to become sticky and difficult to remove. Sometimes, the type of finish on the cabinets can also contribute to the stickiness, especially if it’s a porous or poorly sealed surface. Regular cleaning is essential to prevent this buildup and maintain clean cabinets.
2. Is this DIY cleaning solution safe for all types of kitchen cabinets?
While this DIY cleaning solution is generally safe and effective, it’s crucial to test it on an inconspicuous area of your cabinets before applying it to the entire surface. This is especially important for painted, stained, or laminated cabinets, as some finishes may be more sensitive to certain cleaning agents. If you notice any discoloration, damage, or lifting of the finish, discontinue use immediately and consult a professional cleaner. For wood cabinets, always wipe in the direction of the grain to avoid scratching.
3. How often should I clean my kitchen cabinets to prevent them from becoming sticky?
The frequency of cleaning depends on how often you cook and the level of activity in your kitchen. As a general guideline, it’s recommended to wipe down your kitchen cabinets at least once a week to remove any fresh splatters or spills. A more thorough cleaning, using the DIY solution or a similar method, should be done every month or two to prevent the buildup of sticky grime. If you cook frequently or notice a significant amount of grease and grime, you may need to clean your cabinets more often.
4. Can I use this DIY solution on other surfaces in my kitchen?
While this DIY solution is primarily designed for cleaning kitchen cabinets, it can also be used on other surfaces that are prone to grease and grime buildup, such as backsplashes, countertops (depending on the material), and even appliances. However, it’s always best to test the solution on a small, inconspicuous area first to ensure it doesn’t damage the surface. Avoid using it on delicate surfaces like marble or granite without proper research and precautions.
5. What if the stickiness is really stubborn and doesn’t come off easily?
If you’re dealing with particularly stubborn stickiness, you may need to increase the concentration of vinegar or baking soda in the DIY solution. You can also try letting the solution sit on the affected area for a longer period of time, allowing it to penetrate and loosen the grime. For extremely tough stains, consider using a soft-bristled brush or an old toothbrush to gently scrub the area. Avoid using abrasive cleaners or scouring pads, as these can damage the finish of your cabinets. In some cases, you might need to repeat the cleaning process several times to achieve the desired results.
6. What are some alternative ingredients I can use if I don’t have vinegar or baking soda?
If you don’t have vinegar or baking soda on hand, you can try using other common household ingredients as alternatives. For example, a mixture of warm water and dish soap can be effective for removing grease and grime. You can also try using lemon juice, which has natural degreasing properties. Another option is to use a commercial degreaser, but be sure to choose one that is specifically designed for use on kitchen cabinets and always follow the manufacturer’s instructions carefully.
7. How can I prevent my kitchen cabinets from becoming sticky in the future?
Prevention is key to keeping your kitchen cabinets clean and free from stickiness. Here are a few tips to help you prevent future buildup:
* Wipe up spills and splatters immediately.
* Use a range hood or exhaust fan when cooking to vent steam and grease.
* Regularly dust your kitchen cabinets to prevent dust from accumulating.
* Consider applying a protective coating or sealant to your cabinets to make them easier to clean.
* Avoid placing hot pots and pans directly on your cabinets, as this can damage the finish and contribute to stickiness.
8. My cabinets are painted. Will this DIY cleaner damage the paint?
Painted cabinets can be more delicate than other types of cabinets. Always test the DIY cleaner on a hidden area first. If the paint starts to lift, fade, or otherwise become damaged, discontinue use. You may need to dilute the solution further or use a cleaner specifically designed for painted surfaces. Gentle wiping is key to avoid damaging the paint.
9. Can I use essential oils in this DIY cleaner?
Yes, adding a few drops of essential oils like lemon, orange, or tea tree oil can enhance the cleaning power and add a pleasant scent. These oils have natural degreasing and antibacterial properties. However, use essential oils sparingly, as some can be too strong and potentially damage certain finishes. Always test on an inconspicuous area first.
10. What type of cloth is best for cleaning kitchen cabinets?
Microfiber cloths are generally the best choice for cleaning kitchen cabinets. They are soft, absorbent, and won’t scratch the surface. Avoid using abrasive cloths or sponges, as these can damage the finish. You can also use a soft cotton cloth, but microfiber is generally more effective at removing grease and grime.

Leave a Comment