

Cleaning Walls and Baseboards – sounds like a chore, right? But what if I told you that sparkling clean walls and baseboards are the secret weapon to a truly fresh and inviting home? Think of it this way: you could spend hours decluttering and rearranging furniture, but if your walls are grimy and your baseboards are dusty, your efforts will fall flat.
For centuries, maintaining a clean home has been a sign of prosperity and well-being. In many cultures, spring cleaning rituals are deeply ingrained, symbolizing a fresh start and the removal of negativity. While we might not be warding off evil spirits with our cleaning supplies today, the feeling of accomplishment after tackling a dirty wall is definitely something special!
Let’s face it, life happens. Walls get scuffed, baseboards collect dust bunnies, and before you know it, your home looks a little…tired. But don’t despair! You don’t need to spend a fortune on professional cleaners. I’m going to share some simple, effective, and budget-friendly DIY tricks for cleaning walls and baseboards that will transform your space. These hacks will save you time and energy, leaving you with more time to enjoy your sparkling clean home. So, grab your supplies, and let’s get started! You’ll be amazed at the difference a little elbow grease (and these clever tips!) can make.
DIY Deep Clean: Walls and Baseboards Like a Pro
Okay, let’s face it, cleaning walls and baseboards isn’t exactly anyone’s favorite chore. But trust me, a good scrub can make a HUGE difference in how clean and fresh your whole house feels. I’m going to walk you through my tried-and-true method for getting those surfaces sparkling, without damaging your paint or breaking your back.
What You’ll Need: The Arsenal of Clean
Before we dive in, let’s gather our supplies. Having everything ready to go will make the process so much smoother. Here’s my go-to list:
* Buckets (at least two): One for your cleaning solution and one for rinsing.
* Microfiber cloths: These are your best friends! They’re gentle, absorbent, and reusable. Stock up!
* Sponges: For tougher spots and baseboards. Make sure they’re non-abrasive to avoid scratching.
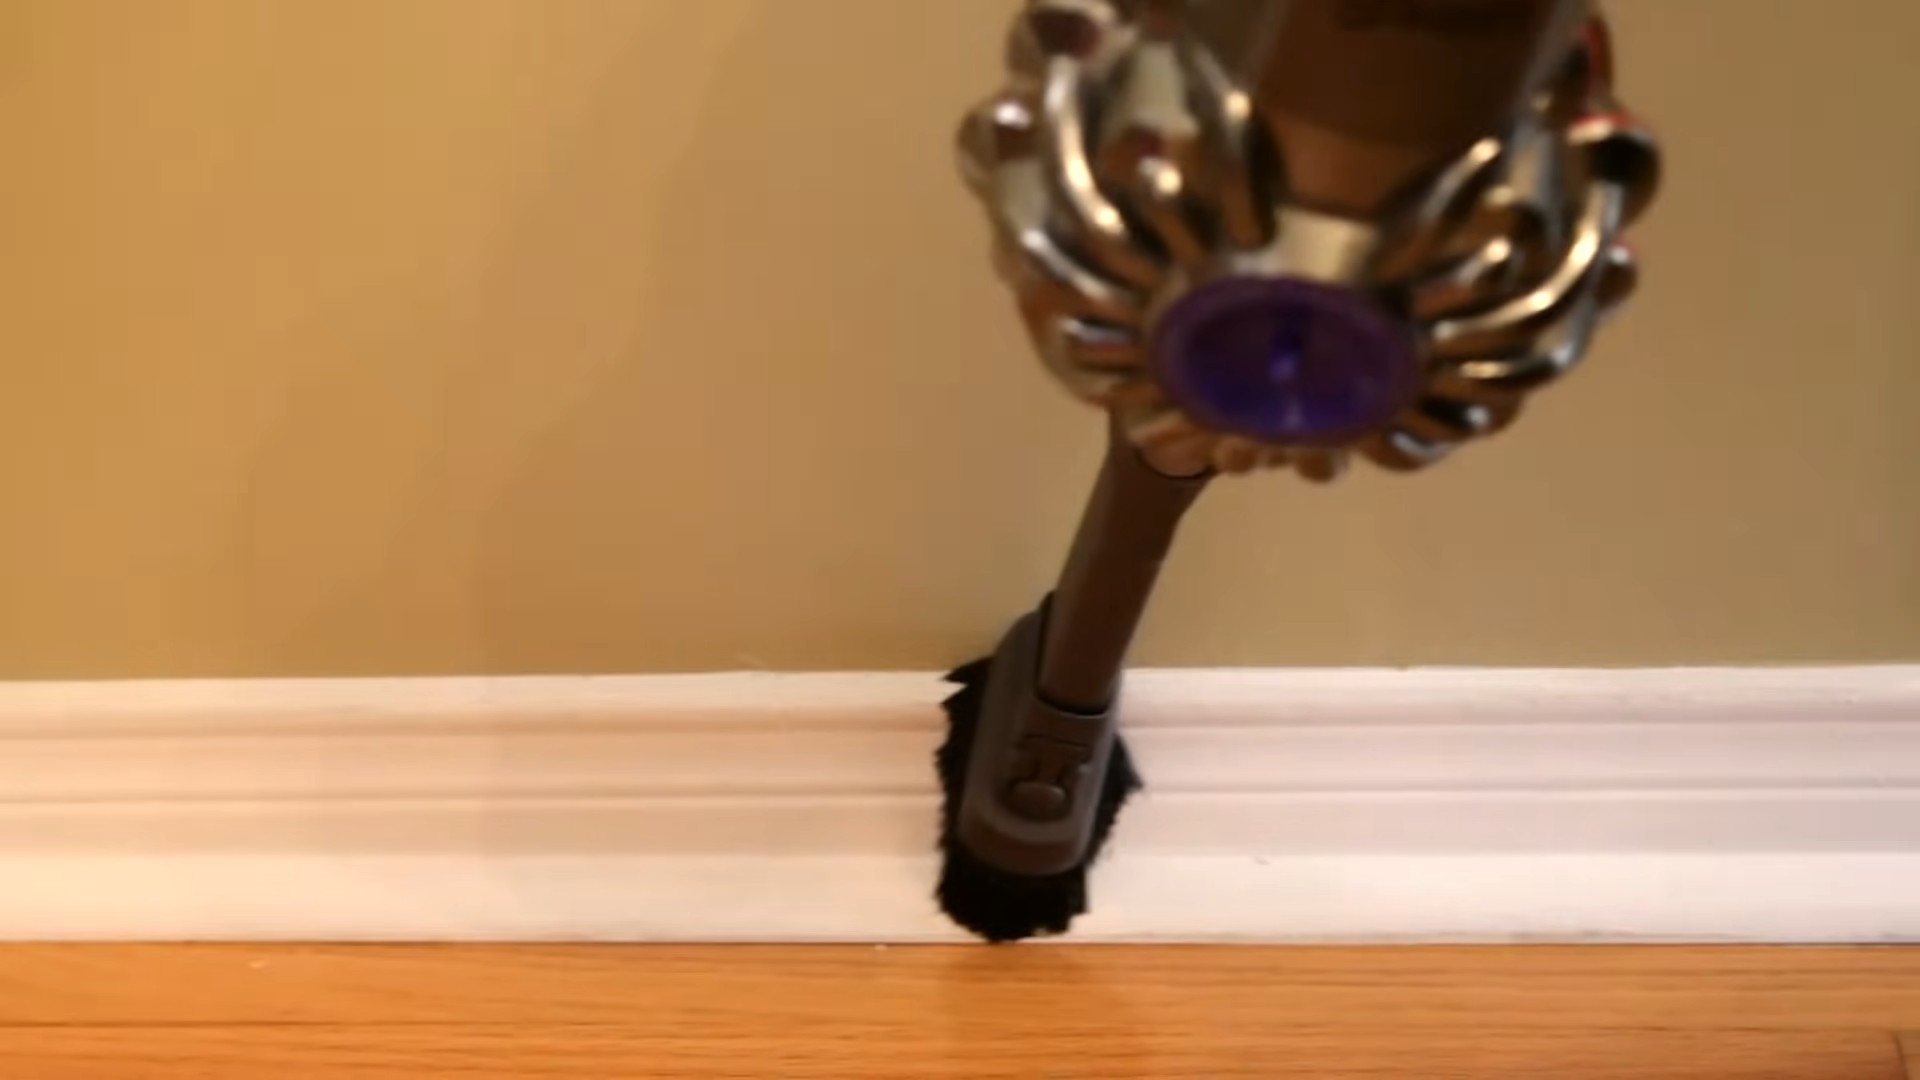
* Soft-bristled brush: An old toothbrush or a small scrub brush is perfect for getting into corners and crevices on baseboards.
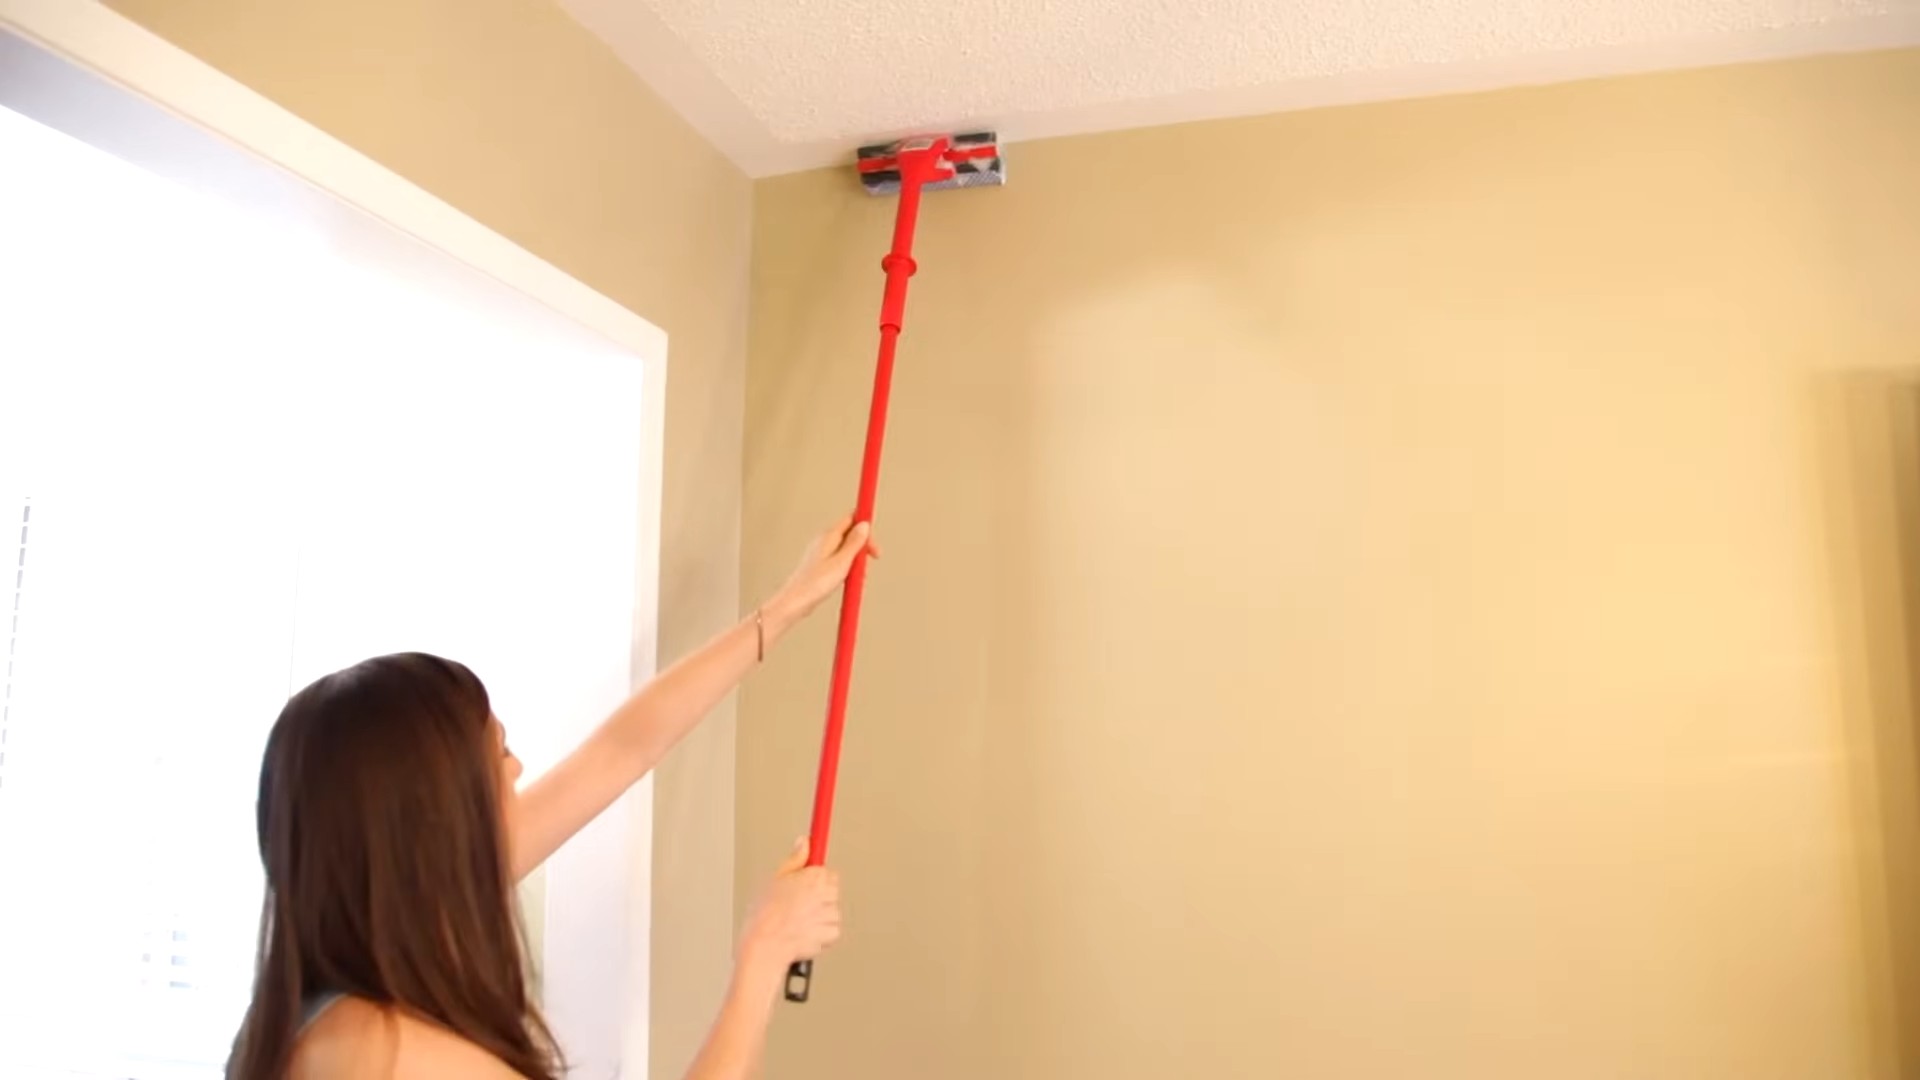
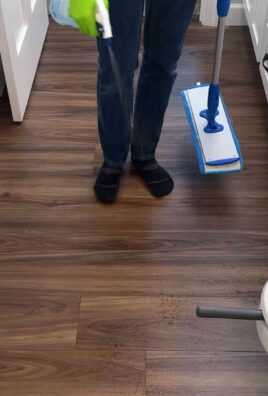
* Telescoping mop or duster with microfiber attachment: This will save your arms and back when cleaning higher areas of the walls.
* Painter’s tape (optional): To protect delicate areas like wallpaper borders or trim around windows.
* Vacuum with brush attachment: To remove loose dust and debris before you start washing.
* Cleaning solution: I’ll give you a few options below, depending on your wall type and the level of grime.
* Rubber gloves: Protect your hands!
* Step stool or ladder: For reaching high spots. Safety first!
* Old towels or drop cloths: To protect your floors.
Choosing Your Cleaning Solution: The Right Mix for the Job
The type of cleaning solution you use will depend on your wall’s finish and how dirty they are. Always test your solution in an inconspicuous area first to make sure it doesn’t damage the paint. Here are a few of my favorite options:
* Mild Dish Soap and Water: This is my go-to for lightly soiled walls. It’s gentle and effective. Just a few drops of dish soap in a bucket of warm water is all you need.
* All-Purpose Cleaner: For more stubborn dirt and grime, an all-purpose cleaner can be helpful. Follow the manufacturer’s instructions for dilution.
* Vinegar and Water: A natural and effective cleaner! Mix equal parts white vinegar and water. The vinegar smell will dissipate as it dries.
* Magic Eraser: For scuff marks and stubborn spots, a Magic Eraser can work wonders. But be careful! They can be abrasive, so use them sparingly and test in an inconspicuous area first.
* Baking Soda Paste: For really tough stains, like crayon marks, make a paste of baking soda and water. Apply it to the stain, let it sit for a few minutes, and then gently scrub.
Important Note: Avoid using harsh chemicals like bleach on painted walls, as they can damage the finish.
Cleaning Your Walls: Step-by-Step Guide
Alright, let’s get those walls sparkling!
1. Prepare the Area:
* Move furniture away from the walls.
* Cover your floors with old towels or drop cloths to protect them from drips.
* If you have delicate trim or wallpaper borders, protect them with painter’s tape.
2. Dust the Walls:
* Use your vacuum with the brush attachment or a telescoping duster to remove loose dust and debris from the walls. Start at the top and work your way down. This is a crucial step because washing dusty walls just creates muddy streaks.
3. Prepare Your Cleaning Solution:
* Fill one bucket with your chosen cleaning solution and the other with clean, warm water for rinsing.
4. Test Your Cleaning Solution:
* Before you start washing the entire wall, test your cleaning solution in an inconspicuous area, like behind a piece of furniture or in a corner. This will ensure that it doesn’t damage the paint.
5. Wash the Walls:
* Dip a clean microfiber cloth into your cleaning solution, wring it out well (you don’t want the walls to be soaking wet!), and start washing the walls.
* Work in small sections, overlapping each section slightly.
* Use gentle pressure and avoid scrubbing too hard, especially on matte or flat paint.
* For higher areas, use your telescoping mop or duster with a microfiber attachment.
6. Rinse the Walls:
* After washing a section, rinse it with a clean, damp microfiber cloth. This will remove any soap residue.
* Again, wring out the cloth well to avoid over-wetting the walls.
7. Dry the Walls:
* Use a clean, dry microfiber cloth to dry the walls. This will prevent water spots and streaks.
8. Tackle Stubborn Spots:
* For scuff marks, crayon marks, or other stubborn spots, use a Magic Eraser or a baking soda paste. Remember to test in an inconspicuous area first!
* Gently rub the spot until it disappears.
* Rinse and dry the area thoroughly.
9. Repeat as Needed:
* If your walls are particularly dirty, you may need to repeat the washing and rinsing process.
Cleaning Your Baseboards: Getting Down and Dirty (Literally!)
Baseboards are notorious for collecting dust, dirt, and grime. Here’s how I tackle them:
1. Vacuum the Baseboards:
* Use your vacuum with the brush attachment to remove loose dust and debris from the baseboards. Pay special attention to corners and crevices.
2. Prepare Your Cleaning Solution:
* You can use the same cleaning solution you used for the walls, or you can use a slightly stronger solution if your baseboards are particularly dirty. I often use a mixture of warm water and all-purpose cleaner for this.
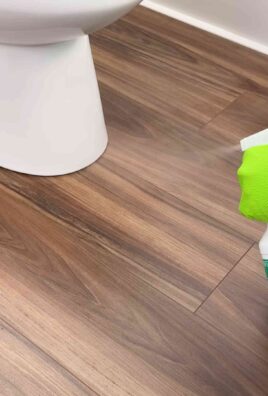
3. Wash the Baseboards:
* Dip a clean sponge or microfiber cloth into your cleaning solution, wring it out well, and start washing the baseboards.
* Work in small sections, overlapping each section slightly.
* Use a soft-bristled brush or an old toothbrush to get into corners and crevices.
4. Rinse the Baseboards:
* Rinse the baseboards with a clean, damp sponge or microfiber cloth.
5. Dry the Baseboards:
* Dry the baseboards with a clean, dry cloth.
6. Tackle Stubborn Spots:
* For scuff marks or other stubborn spots, use a Magic Eraser or a baking soda paste.
* Gently rub the spot until it disappears.
* Rinse and dry the area thoroughly.
Extra Tips and Tricks for Sparkling Walls and Baseboards
* Clean from Top to Bottom: Always start cleaning at the top of the wall and work your way down. This will prevent drips from dirtying areas you’ve already cleaned.
* Don’t Over-Wet the Walls: Over-wetting the walls can damage the paint and cause mildew growth. Always wring out your cloths and sponges well.
* Change Your Water Frequently: Dirty water will just spread dirt around. Change your cleaning solution and rinse water frequently.
* Ventilate the Room: Open windows or turn on a fan to help the walls dry faster.
* Spot Clean Regularly: To prevent dirt and grime from building up, spot clean your walls and baseboards regularly.
* Pay Attention to High-Traffic Areas: Areas around light switches, doorknobs, and hallways tend to get dirtier faster. Pay extra attention to these areas.
* Consider Repainting: If your walls are heavily stained or damaged, you may need to repaint them.
Maintaining Your Clean Walls and Baseboards
Once you’ve put in the effort to clean your walls and baseboards, you’ll want to keep them looking their best! Here are a few tips for maintaining their cleanliness:
* Dust Regularly: Dust your walls and baseboards weekly with a duster or vacuum with a brush attachment.
* Spot Clean as Needed: Wipe up spills and splatters immediately to prevent them from staining.
* Use Doormats: Place doormats at all entrances to your home to trap dirt and debris before it gets tracked inside.
* Consider a Protective Coating: For high-traffic areas, consider applying a protective coating to your walls, such as a scrubbable paint or a clear sealant.
Cleaning walls and baseboards might seem like a daunting task, but with the right tools and techniques, it’s totally manageable. And the feeling of a clean
Conclusion
So, there you have it! This simple yet incredibly effective DIY trick for cleaning walls and baseboards is a game-changer for anyone who wants a sparkling clean home without resorting to harsh chemicals or spending hours scrubbing. We’ve shown you how to banish grime, dust, and those mysterious smudges that seem to appear out of nowhere, all with ingredients you likely already have in your pantry.
Why is this a must-try? Because it’s not just about cleaning; it’s about simplifying your life and creating a healthier living environment. Think about it: no more breathing in toxic fumes from commercial cleaners, no more aching arms from endless scrubbing, and no more worrying about damaging your paint or finishes. This DIY method is gentle, effective, and budget-friendly – a trifecta of cleaning perfection!
But don’t just take our word for it. We encourage you to experiment and find what works best for your home. For instance, if you have particularly stubborn stains, try adding a tablespoon of baking soda to your cleaning solution for extra scrubbing power. Or, if you prefer a more fragrant clean, a few drops of your favorite essential oil (lemon, lavender, or tea tree are excellent choices) can leave your home smelling fresh and inviting. For painted walls, always test a small, inconspicuous area first to ensure the solution doesn’t affect the paint. If you have wallpaper, be extra cautious and use a very damp (not soaking wet) cloth to avoid damaging the paper.
This method is also fantastic for tackling those often-neglected baseboards. The combination of warm water, dish soap, and vinegar works wonders on removing built-up dust, dirt, and scuff marks. A soft-bristled brush, like an old toothbrush, can be particularly helpful for getting into those hard-to-reach crevices.
We’re confident that once you try this DIY wall and baseboard cleaning trick, you’ll be amazed by the results. It’s a simple, effective, and eco-friendly way to keep your home looking its best. So, ditch the harsh chemicals, grab your supplies, and get ready to transform your living space.
Now, we want to hear from you! Have you tried this DIY cleaning method? What variations did you use? What were your results? Share your experiences, tips, and tricks in the comments below. Let’s build a community of clean-home enthusiasts and help each other discover the best ways to keep our homes sparkling! We can’t wait to see your before-and-after photos and hear your success stories. Happy cleaning!
Frequently Asked Questions (FAQ)
What kind of dish soap should I use?
Any mild dish soap will work well for cleaning walls and baseboards. Avoid using dish soaps that contain harsh chemicals or abrasives, as these could damage your paint or finishes. A gentle, pH-balanced dish soap is ideal. Many people find that a natural or plant-based dish soap works just as effectively and is a more environmentally friendly option.
Can I use this method on all types of walls?
This DIY cleaning method is generally safe for most types of walls, including painted walls, wallpaper, and even some textured walls. However, it’s always a good idea to test a small, inconspicuous area first to ensure that the solution doesn’t damage the surface. For wallpaper, use a very damp (not soaking wet) cloth and avoid scrubbing too vigorously. For textured walls, be careful not to dislodge any of the texture. If you’re unsure about the type of wall you have, consult a professional before proceeding.
How often should I clean my walls and baseboards?
The frequency of cleaning depends on several factors, including the number of people living in your home, whether you have pets, and how often you cook. As a general rule, you should aim to clean your walls and baseboards at least once every three to six months. However, if you notice dirt, dust, or smudges accumulating more quickly, you may need to clean them more frequently. High-traffic areas, such as hallways and kitchens, may require more frequent cleaning than less-used areas, such as bedrooms.
What if I have stubborn stains that won’t come off?
For stubborn stains, you can try a few different approaches. First, make a paste of baking soda and water and gently rub it onto the stain. Let it sit for a few minutes, then wipe it away with a damp cloth. You can also try using a magic eraser, but be careful not to scrub too hard, as this could damage the paint or finish. For grease stains, try using a degreasing dish soap or a solution of vinegar and water. If all else fails, you may need to repaint the affected area.
Can I use a different type of vinegar?
White vinegar is the best choice for cleaning walls and baseboards because it’s inexpensive, readily available, and has a mild acidity that effectively removes dirt and grime without damaging surfaces. While other types of vinegar, such as apple cider vinegar, can also be used, they may have a stronger odor or leave a residue. If you choose to use a different type of vinegar, be sure to test it in a small, inconspicuous area first.
Is this method safe for pets and children?
Yes, this DIY cleaning method is generally safe for pets and children because it uses natural ingredients that are non-toxic. However, it’s always a good idea to keep pets and children away from the area while you’re cleaning and to ensure that the surfaces are completely dry before allowing them to come into contact with them. If you’re concerned about allergies, you can also use hypoallergenic dish soap.
What’s the best way to dry the walls and baseboards after cleaning?
After wiping down the walls and baseboards with the cleaning solution, use a clean, dry cloth to remove any excess moisture. You can also open windows or use a fan to help speed up the drying process. Avoid using a hair dryer or other heat source, as this could damage the paint or finish. Ensure the walls and baseboards are completely dry before placing furniture back against them or allowing children or pets to touch them.
Can I use this method on ceilings?
Yes, this method can be used on ceilings, but it’s important to take extra precautions to avoid dripping cleaning solution onto yourself or the floor. Use a lightweight sponge mop with a long handle to reach the ceiling, and wring out the sponge thoroughly to prevent drips. Wear eye protection and cover the floor with a drop cloth to protect it from spills. If you have popcorn ceilings, be extra careful not to scrub too hard, as this could damage the texture.
What tools do I need for this DIY cleaning project?
You’ll need a few basic tools for this DIY cleaning project, including:
* A bucket or bowl
* Warm water
* Mild dish soap
* White vinegar
* A soft cloth or sponge
* A soft-bristled brush (optional, for baseboards)
* A spray bottle (optional, for easier application)
* A drop cloth (to protect the floor)
* Gloves (to protect your hands)
How do I prevent streaks when cleaning my walls?
To prevent streaks when cleaning walls and baseboards, make sure to wring out your cloth or sponge thoroughly before wiping the surface. Avoid using too much cleaning solution, as this can leave a residue that causes streaks. Wipe the walls in a consistent direction, overlapping each stroke slightly. If you notice streaks, try wiping the walls again with a clean, damp cloth.
Leave a Comment