

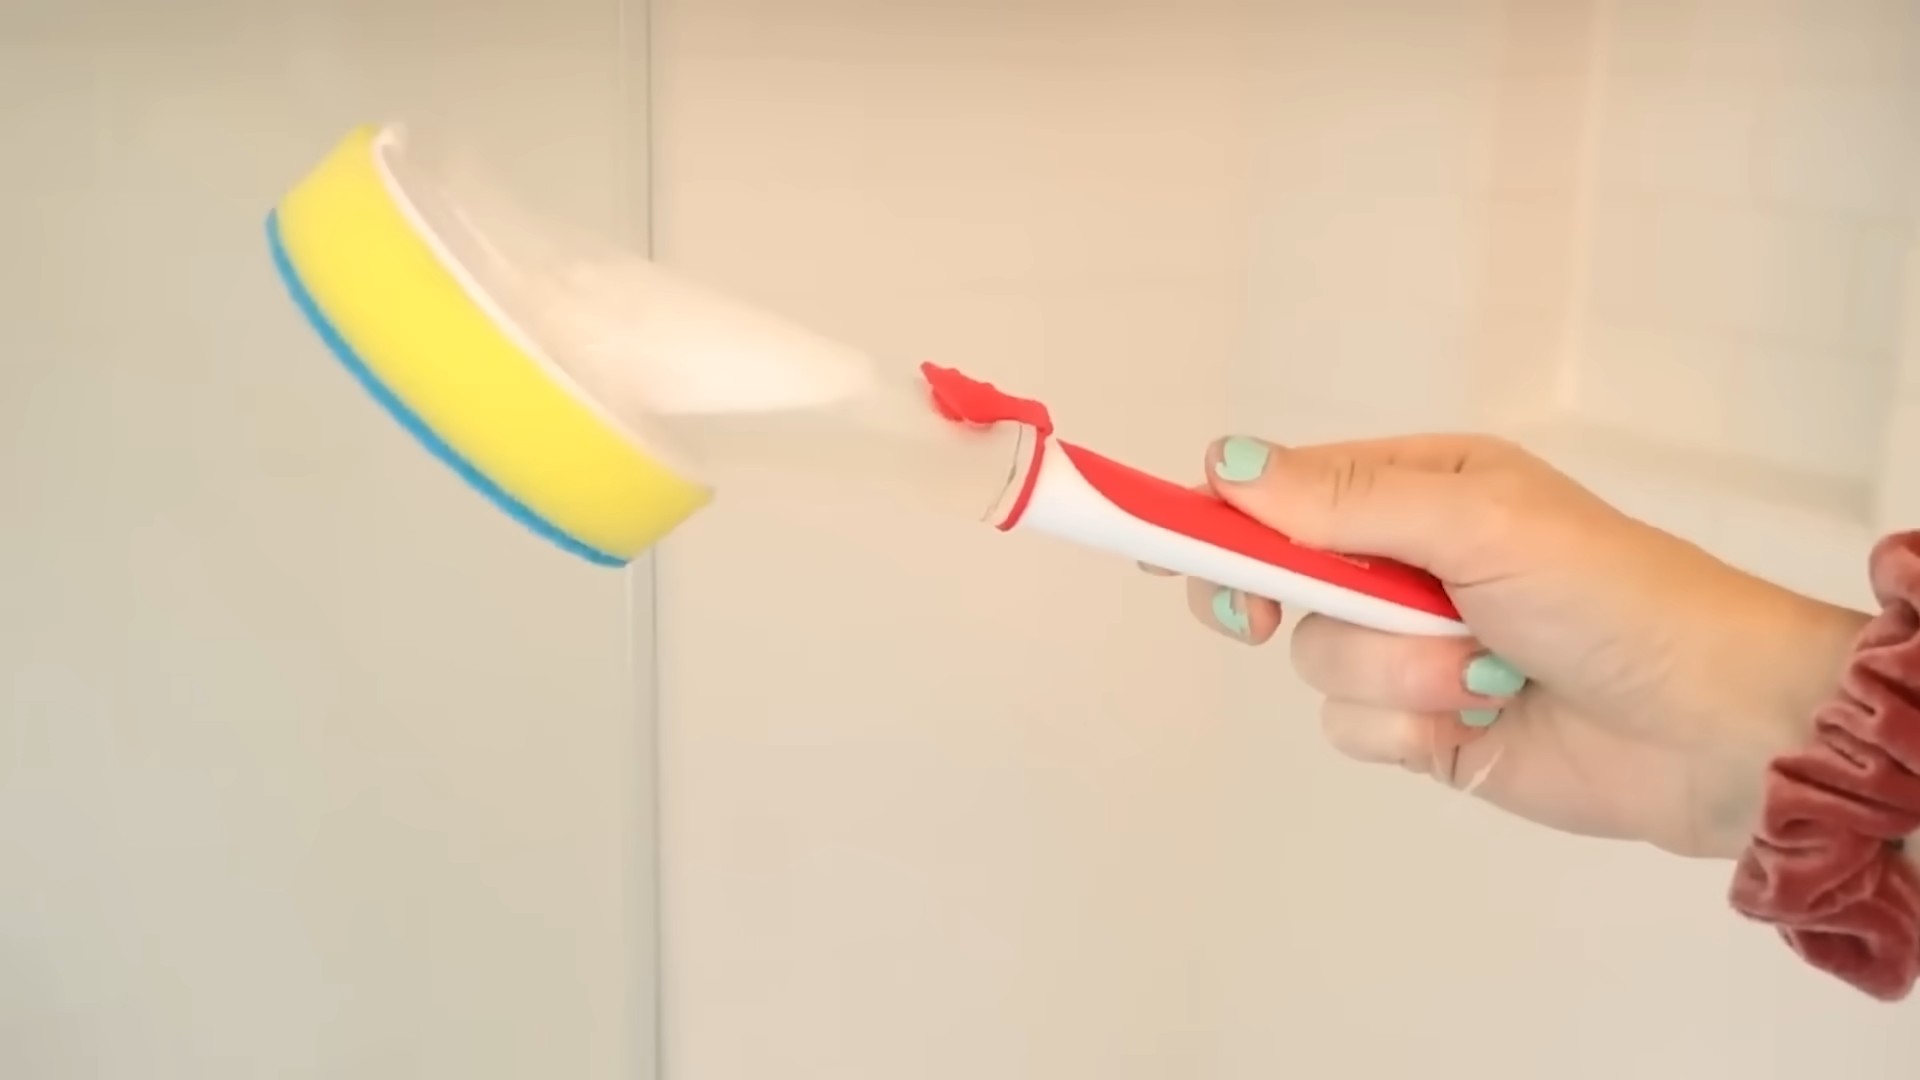
Clever Cleaning Tips – who doesn’t need them? Let’s be honest, cleaning isn’t exactly anyone’s favorite pastime. But what if I told you that tackling those household chores could be easier, faster, and even a little bit fun? Forget spending hours scrubbing and stressing; this article is your ultimate guide to unlocking a world of simple, yet incredibly effective, DIY cleaning hacks.
The desire for a clean and organized home is deeply rooted in human history. From ancient civilizations using natural remedies like vinegar and ash to modern-day innovations, people have always sought ways to maintain a tidy living space. In many cultures, cleanliness is associated with well-being, prosperity, and even spiritual purity. So, you see, our quest for a spotless home is more than just a modern obsession!
But in today’s fast-paced world, who has the time for elaborate cleaning routines? That’s where these clever cleaning tips come in. I’m going to share some of my favorite DIY tricks that will save you time, money, and a whole lot of elbow grease. Whether you’re battling stubborn stains, tackling grimy grout, or simply looking for ways to streamline your cleaning process, these hacks are guaranteed to make your life easier. Get ready to transform your home into a sparkling sanctuary with these simple, yet game-changing, cleaning solutions!
Clever Cleaning Tips and Tricks to Make Your Life Easier!
Okay, let’s face it, cleaning isn’t exactly anyone’s favorite pastime. But a clean home is a happy home, right? I’ve gathered some of my absolute favorite cleaning hacks that will save you time, money, and a whole lot of elbow grease. Get ready to transform your cleaning routine!
Cleaning Your Microwave Like a Pro
Microwaves are notorious for becoming splattered messes. But fear not! This method is super easy and uses ingredients you probably already have.
What you’ll need:
* 1 cup of water
* 1 tablespoon of white vinegar or lemon juice
* Microwave-safe bowl
* Sponge or cloth
Step-by-step instructions:
1. Combine the ingredients: In your microwave-safe bowl, mix the water and vinegar (or lemon juice). The vinegar helps to loosen grime, while the lemon juice adds a fresh scent.
2. Microwave the mixture: Place the bowl in the microwave and heat it on high for 5-10 minutes. You want the mixture to boil and create steam inside the microwave. The steam is what will loosen all the stuck-on food.
3. Let it sit: Once the timer goes off, don’t open the microwave immediately! Let it sit for another 5 minutes. This allows the steam to really work its magic.
4. Wipe it clean: Carefully remove the bowl (it will be hot!). Use a sponge or cloth to wipe down the inside of the microwave. You’ll be amazed at how easily the grime comes off. For stubborn spots, you might need a little extra scrubbing, but overall, it should be a breeze.
5. Clean the turntable: Don’t forget to remove and wash the turntable! You can usually wash it in the sink with soap and water or even put it in the dishwasher.
De-Gunking Your Showerhead for Better Water Pressure
Hard water can wreak havoc on showerheads, causing mineral buildup that reduces water pressure. Here’s how to restore your showerhead to its former glory.
What you’ll need:
* White vinegar
* Plastic bag (a gallon-sized Ziploc bag works great)
* Rubber band or twist tie
* Old toothbrush or small cleaning brush
Step-by-step instructions:
1. Fill the bag with vinegar: Pour enough white vinegar into the plastic bag to completely submerge the showerhead.
2. Attach the bag to the showerhead: Carefully position the bag over the showerhead, ensuring that the showerhead is fully immersed in the vinegar. Use a rubber band or twist tie to secure the bag tightly around the shower arm.
3. Soak overnight: Let the showerhead soak in the vinegar overnight (or for at least several hours). This allows the vinegar to dissolve the mineral deposits.
4. Remove the bag and scrub: Remove the bag and discard the vinegar. Use an old toothbrush or small cleaning brush to scrub away any remaining mineral deposits. Pay close attention to the nozzles.
5. Rinse thoroughly: Turn on the shower and let the water run for a few minutes to flush out any remaining vinegar and loosened debris.
6. Check the water pressure: You should notice a significant improvement in your water pressure! If not, repeat the process or consider replacing the showerhead if the buildup is too severe.
Cleaning Your Blender Like a Pro
Blenders can be tricky to clean, especially after making smoothies or sauces. This simple trick will save you time and effort.
What you’ll need:
* Dish soap
* Water
Step-by-step instructions:
1. Fill the blender halfway with water: After using your blender, immediately fill it about halfway with warm water.
2. Add a drop of dish soap: Add a small drop of dish soap to the water.
3. Blend for 30 seconds: Secure the lid and blend on high speed for about 30 seconds.
4. Rinse thoroughly: Pour out the soapy water and rinse the blender thoroughly with clean water.
5. Air dry: Let the blender air dry completely before storing it. For extra sanitation, you can disassemble the blender and wash the individual parts in the dishwasher (check your blender’s manual to make sure the parts are dishwasher safe).
Freshening Up Your Mattress
Mattresses can harbor dust mites and odors over time. This simple cleaning method will help freshen up your mattress and improve your sleep.
What you’ll need:
* Baking soda
* Essential oil (optional, for fragrance)
* Vacuum cleaner with upholstery attachment
* Sieve or strainer (optional, for even distribution of baking soda)
Step-by-step instructions:
1. Strip the bed: Remove all bedding, including sheets, blankets, and mattress protectors.
2. Sprinkle baking soda: Generously sprinkle baking soda over the entire surface of the mattress. If you want to add a pleasant scent, mix a few drops of your favorite essential oil (like lavender or eucalyptus) with the baking soda before sprinkling. Using a sieve or strainer can help distribute the baking soda evenly.
3. Let it sit: Allow the baking soda to sit on the mattress for at least 30 minutes, or even better, for several hours. The baking soda will absorb odors and moisture.
4. Vacuum thoroughly: Use a vacuum cleaner with an upholstery attachment to thoroughly vacuum the entire surface of the mattress. Make sure to get into all the crevices and seams.
5. Flip the mattress (optional): If possible, flip the mattress and repeat the process on the other side.
6. Put the bedding back on: Once you’ve vacuumed the mattress thoroughly, put your clean bedding back on.
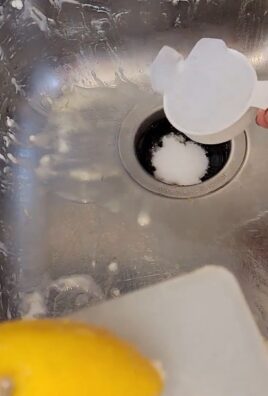
Cleaning Burnt Food from Pots and Pans
Burnt food stuck to the bottom of pots and pans is a common kitchen nightmare. Here’s how to tackle it without excessive scrubbing.
What you’ll need:
* Water
* Baking soda
* Dish soap
* Sponge or scouring pad
Step-by-step instructions:
1. Cover the burnt food with water: Fill the pot or pan with enough water to completely cover the burnt food.
2. Add baking soda: Add a generous amount of baking soda to the water (about 1 tablespoon per cup of water).
3. Bring to a boil: Bring the water to a boil on the stovetop.
4. Simmer for 15-20 minutes: Reduce the heat and let the mixture simmer for 15-20 minutes. The baking soda will help to loosen the burnt food.
5. Let it cool: Remove the pot or pan from the heat and let it cool slightly.
6. Scrub gently: Use a sponge or scouring pad to gently scrub away the loosened burnt food. You should find that it comes off much easier than before. For stubborn spots, you can make a paste of baking soda and water and apply it directly to the burnt area. Let it sit for a few minutes before scrubbing.
7. Wash as usual: Once you’ve removed the burnt food, wash the pot or pan as usual with dish soap and water.
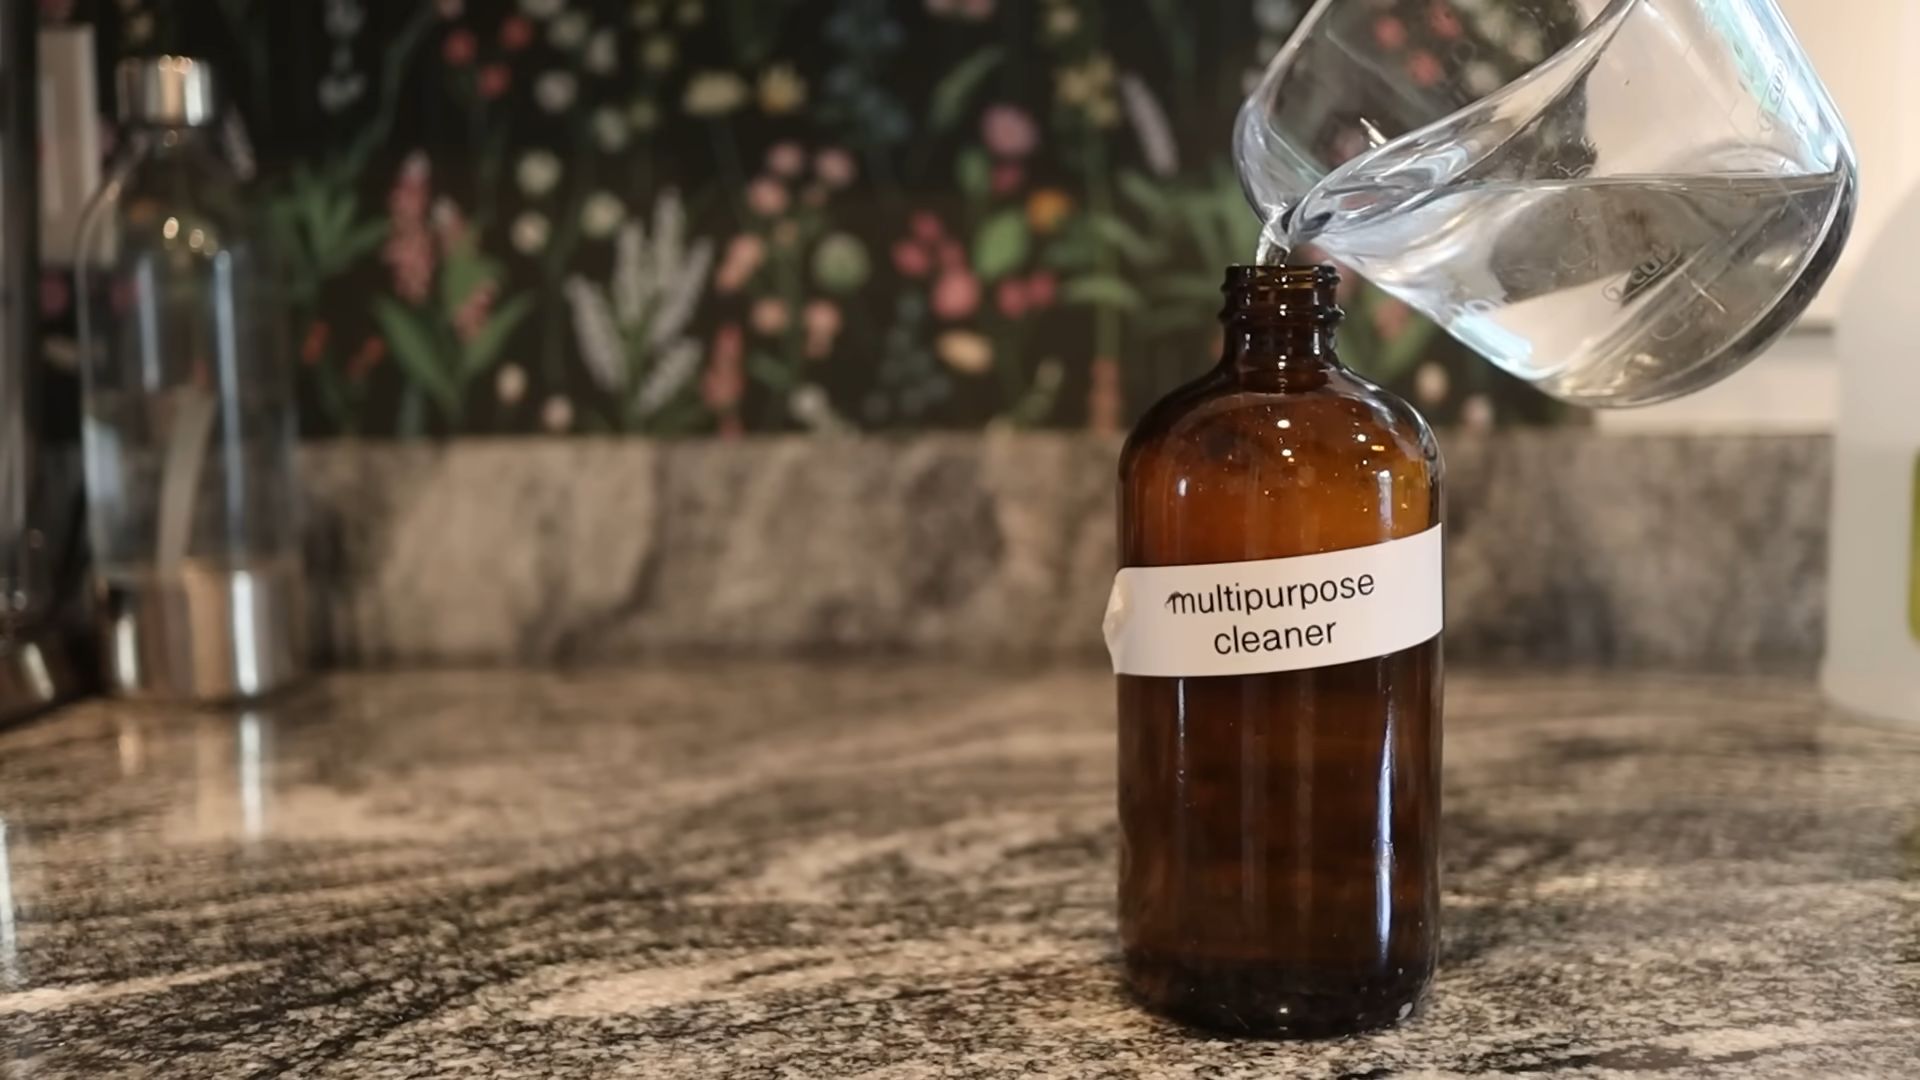
Making Your Own All-Purpose Cleaner
Why spend a fortune on store-bought cleaners when you can easily make your own with simple ingredients? This all-purpose cleaner is effective and eco-friendly.
What you’ll need:
* Spray bottle
* 1 part white vinegar
* 1 part water
* Essential oils (optional, for fragrance)
Step-by-step instructions:
1. Combine the ingredients: In a spray bottle, combine equal parts white vinegar and water.
2. Add essential oils (optional): If you want to add a pleasant scent, add a few drops of your favorite essential oils. Lemon, lavender, and tea tree oil are all great choices.
3. Shake well: Shake the bottle well to mix the ingredients.
4. Use as needed: Spray the cleaner onto surfaces and wipe clean with a cloth or sponge. This cleaner is great for countertops, sinks, and other non-porous surfaces.
Important Note: Avoid using this cleaner on marble or granite surfaces, as the vinegar can damage them.
Cleaning Your Dishwasher for Sparkling Dishes
A clean dishwasher is essential for sparkling clean dishes. Here’s how to keep your dishwasher in top condition.
What you’ll need:
* White vinegar
* Baking soda
* Dish soap
* Old toothbrush or small cleaning brush
Step-by-step instructions:
1. Remove food debris: Before you start, remove any large pieces of food debris from the bottom of the dishwasher.
2. Clean the spray arms: Remove the spray arms and clean
Conclusion
So, there you have it! This simple yet incredibly effective DIY cleaning trick is more than just a quick fix; it’s a game-changer for maintaining a sparkling clean home without breaking the bank or relying on harsh chemicals. We’ve shown you how to harness the power of readily available ingredients to tackle common cleaning challenges, leaving your surfaces gleaming and your home smelling fresh.
Why is this a must-try? Because it’s economical, eco-friendly, and incredibly versatile. Think about it: you’re likely already stocked with the necessary ingredients, meaning no extra trips to the store or impulse purchases of expensive cleaning products. Plus, you’re reducing your environmental footprint by avoiding the plastic packaging and potentially harmful chemicals found in many commercial cleaners. And the best part? It actually works!
But don’t just take our word for it. We encourage you to experiment and adapt this DIY cleaning trick to suit your specific needs and preferences. For instance, if you’re dealing with particularly stubborn stains, try adding a tablespoon of baking soda to the mixture for extra scrubbing power. Or, if you prefer a different scent, feel free to substitute the lemon juice with a few drops of your favorite essential oil, like lavender for a calming aroma or tea tree for its antibacterial properties. You can also use white vinegar instead of apple cider vinegar, though the scent might be a bit stronger initially.
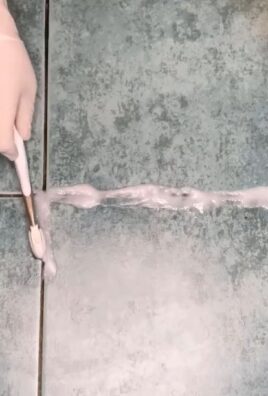
Consider this: You can even pre-soak heavily soiled items in a solution of this DIY cleaner before washing them for enhanced stain removal. For cleaning grout, apply the mixture, let it sit for a few minutes, and then scrub with an old toothbrush. The possibilities are endless!
We’re confident that once you try this DIY cleaning trick, you’ll wonder how you ever lived without it. It’s a simple, effective, and sustainable way to keep your home clean and healthy. So, ditch the expensive, chemical-laden cleaners and embrace the power of DIY!
Now, we want to hear from you! Give this **clever cleaning tip** a try and let us know what you think. Share your experiences, variations, and any tips you discover along the way in the comments below. We’re excited to see how this DIY cleaning trick transforms your cleaning routine! Your feedback will not only help us improve our recipes but also inspire other readers to embrace the world of DIY cleaning. Let’s create a community of clean, green, and happy homes!
Frequently Asked Questions (FAQ)
Q: What exactly is this “DIY cleaning trick” you’re referring to?
A: The DIY cleaning trick we’re highlighting involves using a mixture of common household ingredients, such as vinegar (apple cider or white), lemon juice, and water, to create an effective and eco-friendly cleaning solution. It’s a versatile cleaner that can be used on various surfaces throughout your home.
Q: What surfaces can I safely use this DIY cleaning solution on?
A: This solution is generally safe for use on most non-porous surfaces, including countertops (granite, quartz, laminate), sinks, tiles, glass, and stainless steel. However, it’s always a good idea to test it on a small, inconspicuous area first, especially on delicate surfaces like marble or wood, to ensure it doesn’t cause any discoloration or damage. Avoid using it on porous surfaces like unsealed grout or natural stone without proper sealing.
Q: Can I use this DIY cleaner on wood surfaces?
A: Use caution when cleaning wood surfaces. While a diluted solution *might* be okay for sealed wood, the acidity of vinegar and lemon juice can damage unsealed or waxed wood. Always test in an inconspicuous area first. A better option for wood is a mixture of mild dish soap and water.
Q: What if I don’t have apple cider vinegar? Can I use white vinegar instead?
A: Yes, you can absolutely use white vinegar instead of apple cider vinegar. White vinegar is often more readily available and just as effective for cleaning. However, be aware that white vinegar has a stronger, more pungent odor than apple cider vinegar, so you might want to ventilate the area well while cleaning. You can also add a few drops of essential oil to mask the vinegar smell.
Q: How long does the DIY cleaning solution last?
A: This DIY cleaning solution is best used fresh. Because it doesn’t contain any preservatives, it’s recommended to make a new batch each time you clean. However, if you have leftover solution, you can store it in a sealed spray bottle in a cool, dark place for up to a week. Be sure to label the bottle clearly.
Q: Can I add other ingredients to the DIY cleaning solution?
A: Yes, you can customize the solution to suit your needs. Baking soda can be added for extra scrubbing power, especially for tackling tough stains. Essential oils can be added for fragrance and potential antibacterial properties. However, avoid mixing vinegar with bleach, as this can create dangerous fumes.
Q: Is this DIY cleaning solution safe for pets and children?
A: While this DIY cleaning solution is generally considered safer than commercial cleaners, it’s still important to exercise caution when using it around pets and children. Keep the solution out of reach and ensure that surfaces are thoroughly dry before allowing pets or children to come into contact with them. If ingested, it can cause mild irritation.
Q: What kind of spray bottle should I use for this DIY cleaner?
A: A standard plastic spray bottle will work just fine. However, if you’re concerned about the acidity of the vinegar affecting the plastic over time, you can opt for a glass spray bottle. Make sure the spray bottle is clean and free of any residue from previous cleaning products.
Q: How often should I use this DIY cleaning trick?
A: You can use this DIY cleaning trick as often as needed to maintain a clean home. It’s gentle enough for daily use on most surfaces. However, as with any cleaning product, it’s always a good idea to test it on a small, inconspicuous area first, especially if you’re unsure about its compatibility with a particular surface.
Q: I tried the DIY cleaning solution, and it left streaks on my windows. What did I do wrong?
A: Streaking on windows can be caused by a few factors. First, make sure you’re using a clean microfiber cloth to wipe the windows. Second, try diluting the solution further with water. Finally, avoid cleaning windows in direct sunlight, as this can cause the solution to dry too quickly and leave streaks. You can also try using a squeegee for a streak-free finish.
Q: Can this DIY cleaner be used to clean toilets?
A: While this DIY cleaner can be used to clean the outside of the toilet, it’s not the most effective solution for cleaning the inside of the bowl. For toilet bowl cleaning, you might want to consider using a dedicated toilet bowl cleaner or a mixture of baking soda and vinegar.
Q: What are the environmental benefits of using this DIY cleaning trick?
A: Using this DIY cleaning trick offers several environmental benefits. It reduces your reliance on plastic packaging, which contributes to landfill waste. It also eliminates the need for harsh chemicals, which can pollute waterways and harm aquatic life. By using natural ingredients, you’re creating a more sustainable and eco-friendly cleaning routine.

Leave a Comment