

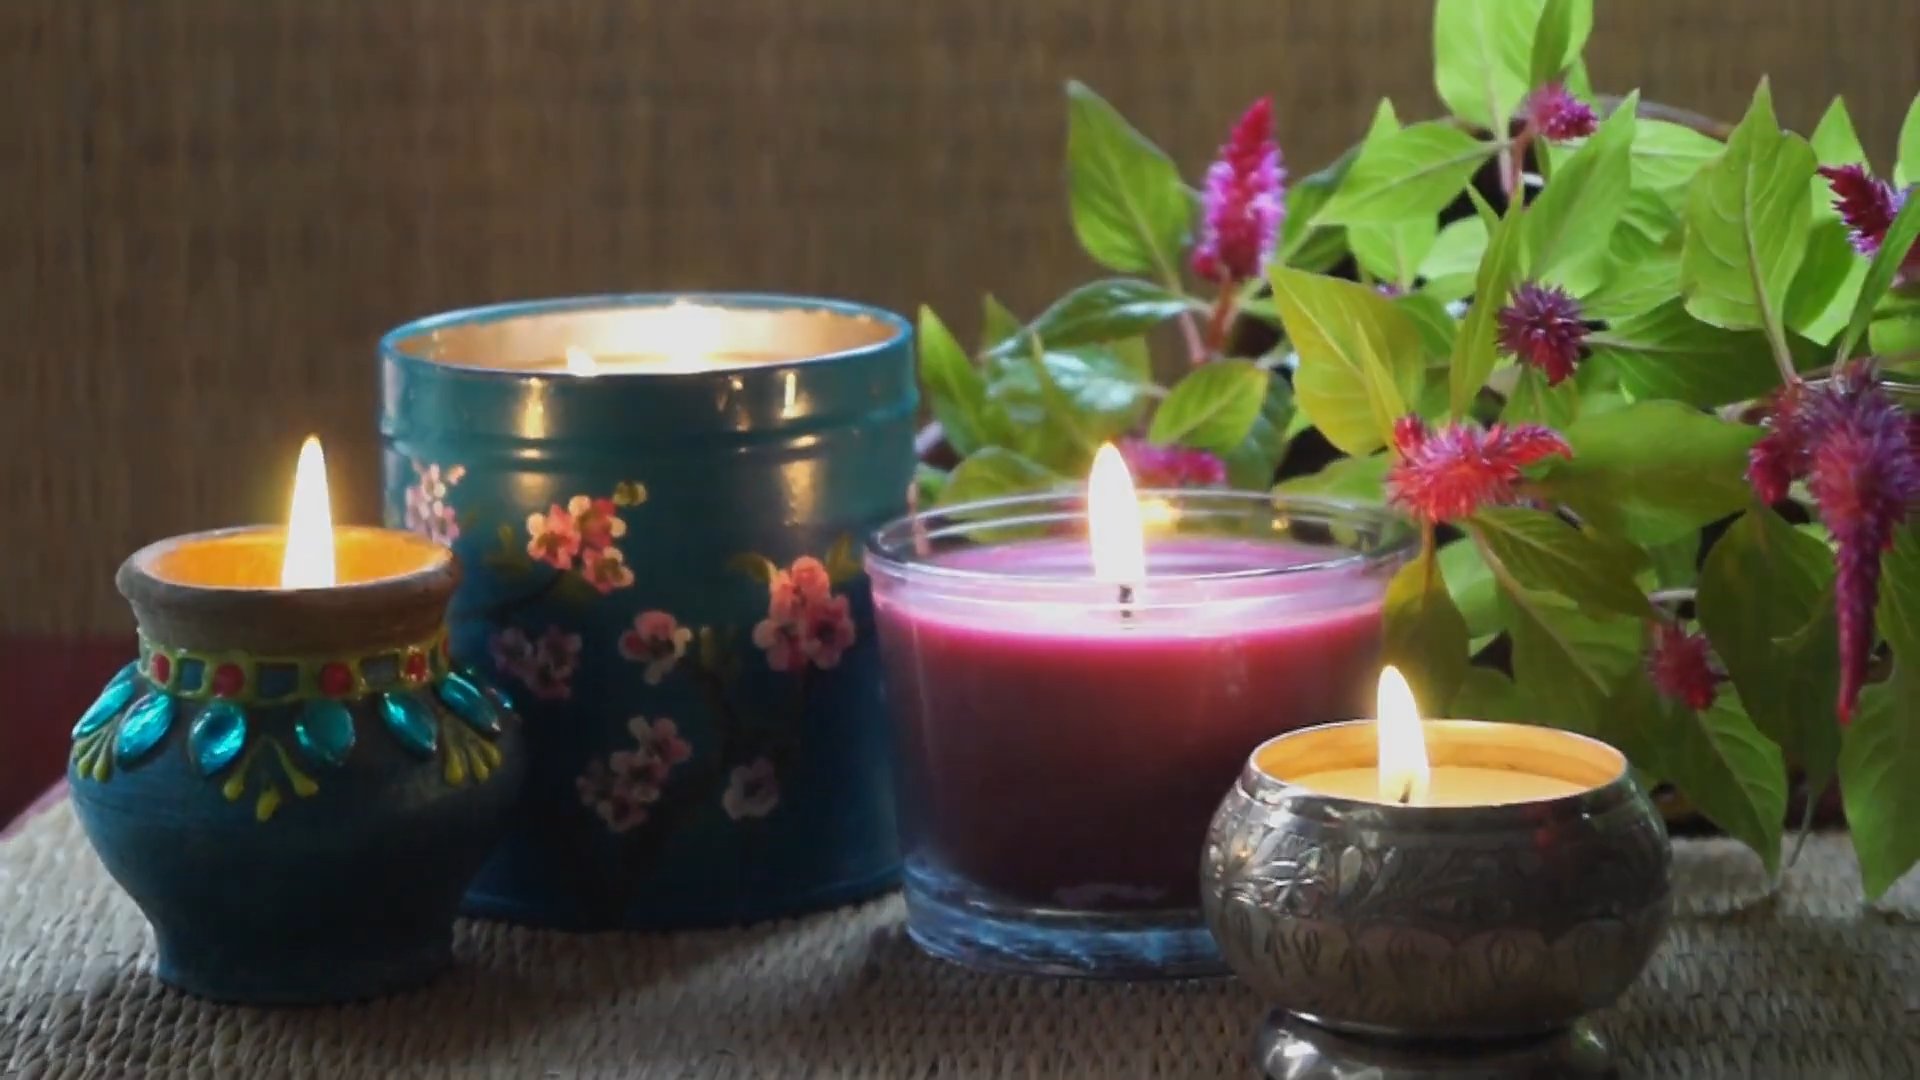
DIY candle making for beginners might sound intimidating, but trust me, it’s one of the most rewarding and surprisingly simple crafts you can dive into! Have you ever imagined filling your home with the warm glow and personalized scent of a candle you made yourself? It’s not just about saving money; it’s about creating something beautiful and unique.
Candles have a rich history, dating back to ancient civilizations like the Egyptians and Romans, who used them for light and religious ceremonies. Over centuries, candle making evolved from using animal fats to beeswax and eventually paraffin wax. Today, we have a plethora of options, allowing us to create candles that are not only functional but also reflect our individual style.
In our modern, often hectic lives, taking the time to engage in a hands-on activity like DIY candle making for beginners can be incredibly therapeutic. It’s a chance to slow down, focus on the process, and create something tangible. Plus, with rising prices and a growing desire for sustainable living, learning to make your own candles allows you to control the ingredients, reduce waste, and personalize your home fragrance without breaking the bank. I’m excited to share some easy-to-follow tricks and tips that will have you crafting beautiful candles in no time!
DIY Candle Making: A Beginner’s Guide to Creating Cozy Ambiance
Alright, candle lovers! Ever wanted to create your own signature scent and fill your home with the warm glow of a handmade candle? Well, you’ve come to the right place! This guide will walk you through the entire process of making candles at home, even if you’ve never done it before. Don’t worry, it’s easier than you think, and the results are incredibly rewarding.
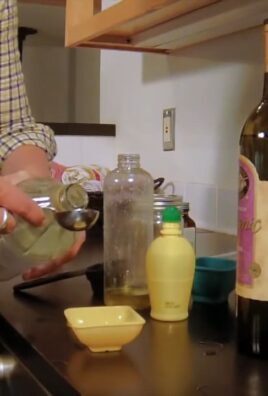
Gathering Your Supplies
Before we dive into the melting and pouring, let’s make sure we have everything we need. This is crucial for a smooth and enjoyable candle-making experience. Trust me, you don’t want to be scrambling for a thermometer halfway through!
Here’s what you’ll need:
* Wax: Soy wax is a great choice for beginners. It’s natural, burns cleanly, and holds fragrance well. Paraffin wax is another option, but soy is generally considered more eco-friendly. I personally prefer soy for its clean burn and sustainability.
* Wicks: Choose wicks that are appropriate for the diameter of your container. Too small, and your candle will tunnel (burn down the center, leaving wax on the sides). Too large, and you’ll get a huge flame and potentially soot. Wick size charts are readily available online – just search for “candle wick size chart.” Pre-tabbed wicks are super convenient, as they already have a metal base attached.
* Fragrance Oils: This is where you get to be creative! Choose your favorite scents, or blend them to create something unique. Make sure you’re using fragrance oils specifically designed for candles, as essential oils can sometimes be flammable.
* Containers: Jars, tins, teacups – the possibilities are endless! Just make sure your container is heat-safe. Clean and dry them thoroughly before use. I love using recycled jars for a rustic look.
* Double Boiler or Heat-Safe Bowl and Saucepan: We’ll use this to melt the wax safely. A double boiler is ideal, but a heat-safe bowl set over a saucepan of simmering water works just as well.
* Thermometer: A candy thermometer or digital thermometer is essential for monitoring the wax temperature.
* Pouring Pot: This will make pouring the wax into your containers much easier. A Pyrex measuring cup with a spout works well.
* Scale: For accurately measuring the wax and fragrance oil.
* Spoon or Stirring Stick: For stirring the wax.
* Wick Stickers or Glue Dots: To secure the wicks to the bottom of your containers.
* Clothes Pins or Wick Centering Devices: To keep the wicks centered while the wax cools. These are optional, but they definitely help!
* Newspaper or Protective Covering: Candle making can get a little messy, so protect your work surface.
Preparing Your Workspace and Containers
Okay, now that we have all our supplies, let’s get our workspace ready. A little preparation goes a long way in preventing frustration later on.
1. Cover your work surface: Lay down newspaper or a silicone mat to protect your table from wax spills.
2. Prepare your containers: Make sure your containers are clean, dry, and at room temperature.
3. Attach the wicks: Peel off the backing of a wick sticker or apply a small dot of glue to the metal base of the wick. Center the wick in the bottom of your container and press firmly to secure it. I find that pressing and holding for a few seconds ensures a good bond.
4. Center the wicks: Use clothespins or wick centering devices to hold the wicks upright and centered. Clip the clothespins to the top of the container, with the wick running through the center. If you don’t have these, you can carefully adjust the wicks as the wax cools, but it’s much easier to use a centering device.
Melting the Wax
This is where the magic begins! Melting the wax properly is crucial for a good quality candle.
1. Weigh the wax: Use your scale to weigh the amount of wax you need for your containers. A general rule of thumb is to fill your container with water, then weigh the water. This will give you a good estimate of how much wax you’ll need. Remember to tare the scale before weighing!
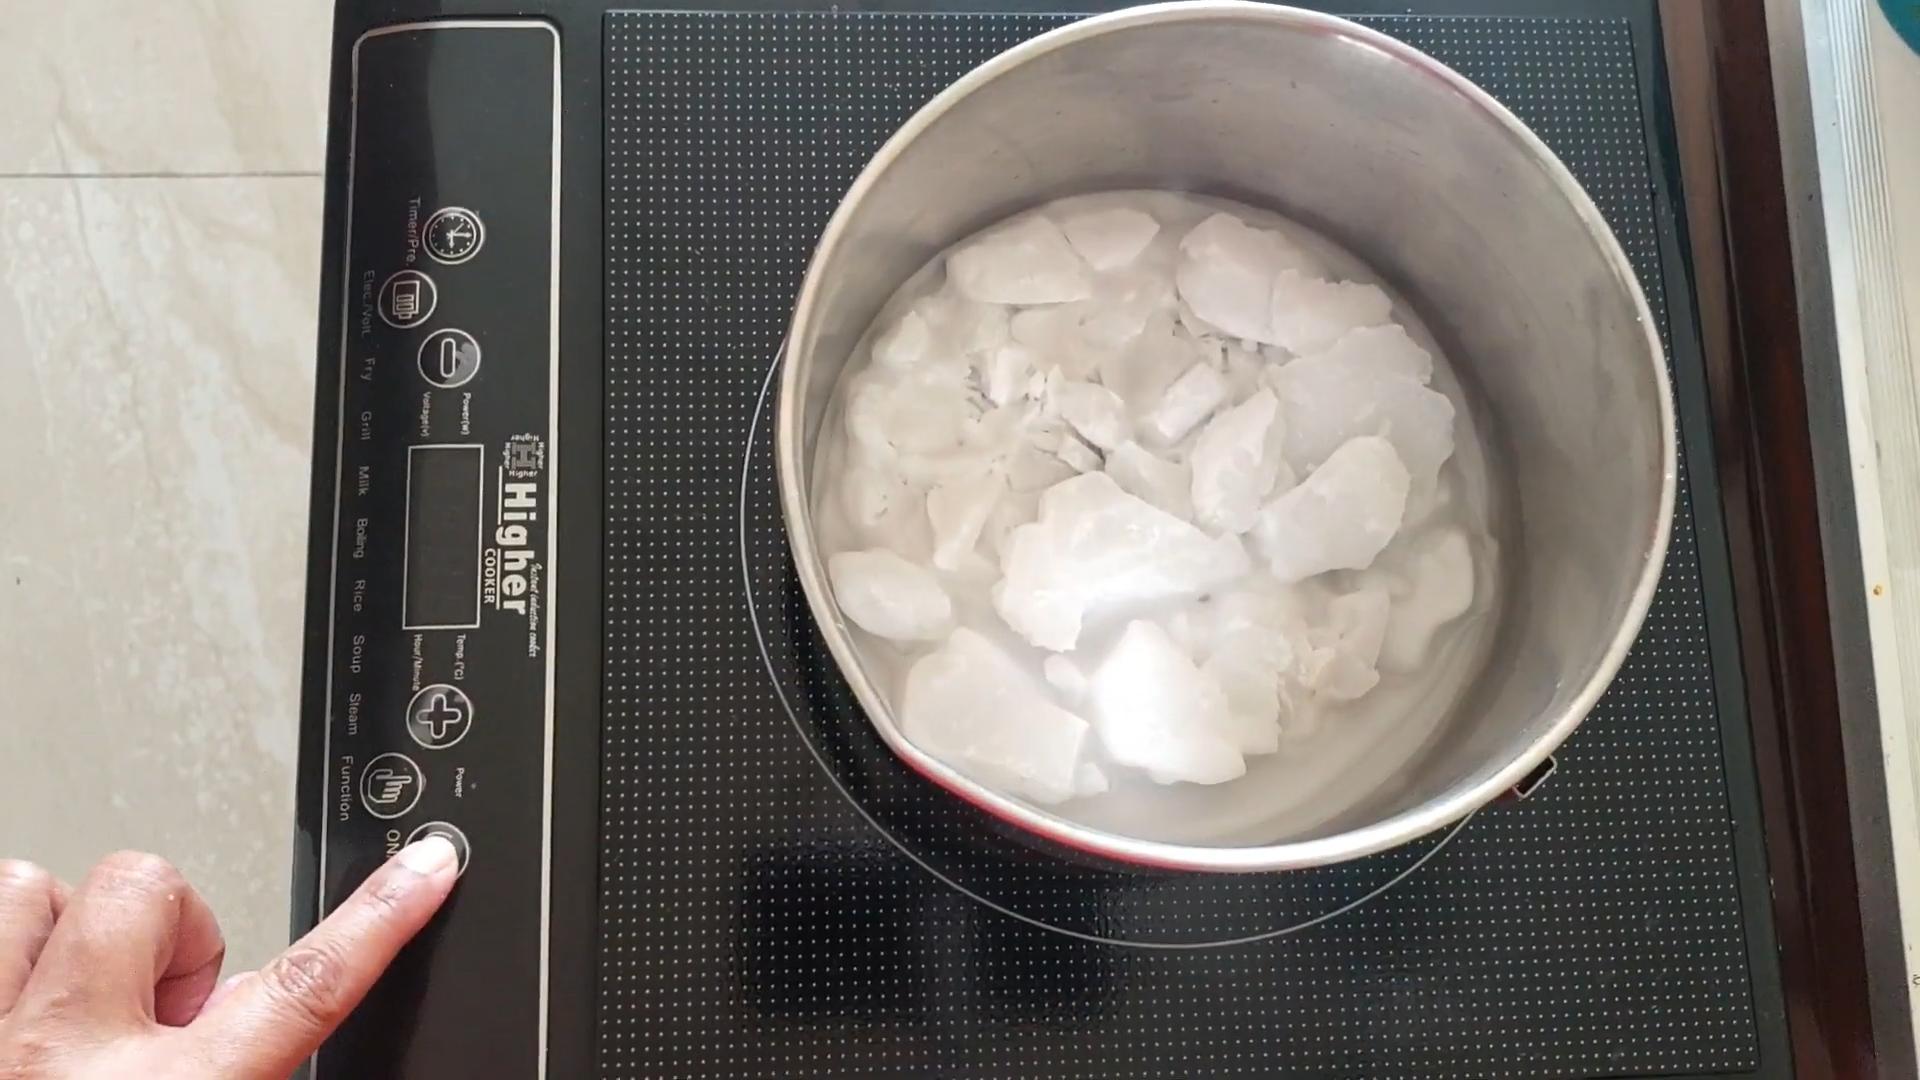
2. Melt the wax: Place the wax in your double boiler or heat-safe bowl. If using a saucepan, fill it with a few inches of water and bring it to a simmer. Place the bowl on top, making sure the bottom of the bowl doesn’t touch the water.
3. Monitor the temperature: Use your thermometer to monitor the wax temperature. Soy wax typically needs to be heated to around 185°F (85°C). Refer to the instructions on your specific wax for the recommended melting temperature.
4. Stir occasionally: Stir the wax occasionally to help it melt evenly.
5. Remove from heat: Once the wax is completely melted and has reached the correct temperature, remove it from the heat.
Adding Fragrance Oil
Now for the fun part – adding the scent! This is where you can really personalize your candles.
1. Let the wax cool slightly: Allow the wax to cool slightly before adding the fragrance oil. The ideal temperature is usually around 180°F (82°C), but again, check the instructions on your wax and fragrance oil. Adding fragrance oil to wax that’s too hot can cause it to evaporate and weaken the scent.
2. Add the fragrance oil: The typical fragrance load for soy wax is around 6-10%. This means that for every pound of wax, you’ll add 0.96 to 1.6 ounces of fragrance oil. Use your scale to measure the correct amount of fragrance oil.
3. Stir thoroughly: Gently stir the fragrance oil into the wax for at least two minutes. Make sure the fragrance oil is completely incorporated into the wax. Don’t stir too vigorously, as this can create air bubbles.
Pouring the Wax
Almost there! Now it’s time to pour the scented wax into your prepared containers.
1. Pour slowly and steadily: Carefully pour the wax into your containers, leaving about half an inch of space at the top. Pour slowly and steadily to avoid creating air bubbles.
2. Fill all containers: Continue pouring until all your containers are filled.
3. Check wick placement: Double-check that the wicks are still centered. If necessary, gently adjust them.
Cooling and Curing
Patience is key! Allowing the candles to cool and cure properly is essential for a strong scent throw and a long-lasting burn.
1. Let the candles cool completely: Allow the candles to cool completely at room temperature. This can take several hours, or even overnight. Avoid moving the candles while they’re cooling, as this can cause cracks or sinkholes.
2. Cure the candles: Once the candles are cool, allow them to cure for at least 24 hours, or preferably longer (up to a week). Curing allows the fragrance oil to fully bind with the wax, resulting in a stronger scent throw. Store the candles in a cool, dark place during the curing process.
Finishing Touches
Almost done! A few final touches will make your candles look professional and ready to enjoy.
1. Trim the wicks: Trim the wicks to about ¼ inch before burning. This will help prevent smoking and ensure a clean burn.
2. Remove wick centering devices: Once the wax is completely cool and solid, remove the clothespins or wick centering devices.
3. Clean up any spills: Clean up any wax spills with hot, soapy water.
4. Add labels (optional): If you’re giving your candles as gifts, consider adding labels with the scent name and your brand (if you have one).
Troubleshooting Common Candle Making Problems
Even with the best instructions, sometimes things don’t go exactly as planned. Here are a few common problems and how to fix them:
* Tunneling: This happens when the candle burns down the center, leaving wax on the sides. This is usually caused by using a wick that’s too small for the diameter of the container. To fix it, try using a larger wick next time. You can also try wrapping the candle in foil to create a “tent” that will help melt the wax on the sides.
* Sinkholes: These are depressions that form in the top of the candle as it cools. They’re usually caused by the wax cooling too quickly. To prevent them, try pouring the wax at a slightly lower temperature and allowing the candles to cool slowly. If you do get sinkholes, you can try re-melting the top layer of wax with a heat gun or hairdryer.
* Frosting: This is a white, crystalline coating that can form on the surface of soy wax candles.
Conclusion
So, there you have it! Ditching the store-bought candles and embracing the world of DIY candle making for beginners is more than just a fun craft; it’s a gateway to personalized ambiance, cost savings, and a deeper connection to the things you bring into your home. We’ve walked you through the basics, demystified the process, and hopefully, ignited a spark of creativity within you.
Why is this DIY trick a must-try? Because it empowers you to curate your own sensory experience. No more settling for generic scents or questionable ingredients. You control every aspect, from the type of wax and fragrance to the container and overall aesthetic. Imagine filling your home with the comforting aroma of lavender and vanilla before bed, or the invigorating scent of citrus and mint to kickstart your morning – all crafted with your own two hands.
Beyond the personalization, DIY candle making is surprisingly budget-friendly. Once you’ve invested in the initial supplies, the cost per candle plummets compared to retail prices. Plus, it’s a fantastic way to repurpose old jars, teacups, or even seashells, giving them a new lease on life and adding a unique touch to your creations.
But the benefits don’t stop there. This is a mindful activity, a chance to slow down, focus, and engage your senses. The gentle melting of the wax, the careful blending of fragrances, the anticipation of the final product – it’s a therapeutic process that can help you unwind and de-stress.
Ready to take your candle making to the next level? Consider these variations:
* Herbal Infusions: Add dried herbs like rosemary, thyme, or lavender directly to the wax for a rustic, aromatic touch. Just be sure to monitor the candle while burning to ensure the herbs don’t pose a fire hazard.
* Color Play: Experiment with different candle dyes to create vibrant, eye-catching candles that match your décor.
* Layered Scents: Create complex fragrance profiles by layering different scents in your candle. Start with a base note, like sandalwood, and then add mid and top notes, like rose and citrus, for a truly unique aroma.
* Embeds: Embed small objects like crystals, dried flowers, or coffee beans into the wax for a visually stunning candle.
* Soy Wax Melts: Use the same techniques to create wax melts for your favorite warmer.
Don’t be afraid to experiment, get creative, and make mistakes. That’s all part of the learning process. The most important thing is to have fun and enjoy the journey of creating your own beautiful, fragrant candles.
We are confident that you will love the process of DIY candle making for beginners.
So, what are you waiting for? Gather your supplies, clear your schedule, and prepare to embark on a fragrant adventure. We encourage you to try this DIY trick and share your experience with us! Post photos of your creations on social media using #DIYCandleMagic and let us know what scents and variations you tried. We can’t wait to see what you come up with! Happy candle making!
Frequently Asked Questions (FAQ)
What type of wax is best for beginners?
Soy wax is generally considered the best option for beginners due to its ease of use, clean burning properties, and affordability. It has a lower melting point than other waxes, making it easier to work with, and it holds fragrance well. Paraffin wax is another option, but it’s derived from petroleum and doesn’t burn as cleanly as soy wax. Beeswax is a natural option, but it can be more expensive and has a distinct honey scent that may not be desirable for all candles. For beginners, we strongly recommend starting with soy wax.
What kind of fragrance oils should I use?
Use fragrance oils specifically designed for candle making. These oils are formulated to withstand the heat of the melted wax and provide a consistent scent throw. Essential oils can also be used, but they are more volatile and may not provide as strong or long-lasting of a scent. Be sure to check the flash point of the fragrance oil, which is the temperature at which it can ignite. Never heat the wax and fragrance oil mixture above the flash point. Also, be mindful of the concentration of fragrance oil you add to the wax. A common ratio is 6-10% fragrance oil to wax.
How do I choose the right wick size?
Choosing the right wick size is crucial for a properly burning candle. A wick that is too small will result in tunneling (where the wax only melts in the center), while a wick that is too large will produce a large flame, excessive smoke, and potentially be a fire hazard. The ideal wick size depends on the diameter of your container and the type of wax you are using. Wick manufacturers typically provide charts that recommend wick sizes based on these factors. It’s always best to err on the side of caution and start with a smaller wick. You can always increase the wick size in your next batch if needed.
How do I prevent sinkholes in my candles?
Sinkholes are depressions that can form in the center of your candle as the wax cools and contracts. To prevent sinkholes, try the following:
* Pour at the correct temperature: Pouring the wax at the temperature recommended by the wax manufacturer is crucial.
* Slow cooling: Allow the candles to cool slowly and evenly. Avoid placing them in a cold room or near a draft.
* Second pour: After the initial pour has partially cooled, you can do a second pour to fill in any sinkholes that have formed.
* Use a heat gun: Gently use a heat gun to remelt the surface of the candle and smooth out any imperfections.
How do I clean up spilled wax?
Spilled wax can be a pain to clean up, but it’s manageable with the right approach. Allow the wax to cool and harden completely. Then, use a dull knife or spatula to gently scrape off as much of the wax as possible. For any remaining residue, place a paper towel or cloth over the wax and iron it on a low setting. The heat will melt the wax, which will then be absorbed by the paper towel or cloth. Repeat as needed until the wax is completely removed. For delicate surfaces, test the ironing method in an inconspicuous area first.
Is DIY candle making safe?
Yes, DIY candle making for beginners can be safe as long as you follow proper safety precautions. Always work in a well-ventilated area, use a double boiler or heat-safe container to melt the wax, and never leave the melting wax unattended. Use a thermometer to monitor the wax temperature and avoid overheating it. Keep flammable materials away from the heat source and always have a fire extinguisher nearby. Wear safety glasses and gloves to protect yourself from hot wax. Never pour water into hot wax, as this can cause it to splatter and potentially cause burns.
Can I use old candles to make new ones?
Yes, you can absolutely reuse old candles to make new ones! This is a great way to recycle leftover wax and create new, unique candles. Simply melt down the remaining wax from your old candles, remove any old wicks or debris, and follow the same steps as you would for making new candles. Keep in mind that the scent of the old candles may influence the scent of your new candles, so choose old candles with complementary scents or add new fragrance oils to mask the old scent.
How long should I let my candles cure before burning them?
Allowing your candles to cure properly is essential for optimal scent throw and burn performance. A curing period of at least 24-48 hours is recommended, but longer is always better. During this time, the fragrance oil will bind to the wax molecules, resulting in a stronger and more consistent scent when the candle is burned. Store your candles in a cool, dark place during the curing process.
What if my candle is tunneling?
Tunneling occurs when the candle only burns in the center, leaving a ring of unmelted wax around the edges. To prevent tunneling, make sure you are using the correct wick size for your container. On the first burn, allow the candle to burn long enough for the wax to melt completely across the surface, from edge to edge. This will create a “memory ring” that will help the candle burn evenly in subsequent burns. If your candle is already tunneling, you can try wrapping aluminum foil around the candle, leaving a small opening at the top. This will trap the heat and help melt the wax around the edges.
Where can I buy candle making supplies?
Candle making supplies can be found at a variety of retailers, including craft stores, online retailers, and specialty candle supply stores. Some popular online retailers include Amazon, Etsy, and CandleScience. When purchasing supplies, be sure to choose high-quality ingredients from reputable suppliers.
Leave a Comment