

DIY Citrus Microwave Cleaner: Tired of that lingering, funky smell and stubborn splatters inside your microwave? Let’s face it, cleaning the microwave is nobody’s favorite chore. But what if I told you there’s a super easy, all-natural way to get it sparkling clean and smelling amazing, all with ingredients you probably already have?
For generations, people have harnessed the power of citrus for its cleaning properties. From ancient remedies to modern-day cleaning products, the natural acids in lemons, oranges, and limes have been used to cut through grease and grime. Think of your grandmother using lemon juice to brighten her whites – it’s the same principle! This DIY Citrus Microwave Cleaner trick builds on that time-tested wisdom, offering a simple and effective solution for a common household problem.
Why do you need this DIY hack? Because harsh chemicals aren’t always the answer! Many commercial microwave cleaners contain ingredients that can be harmful to your health and the environment. This DIY method is not only safer but also incredibly budget-friendly. Plus, who doesn’t love the fresh, invigorating scent of citrus wafting through their kitchen? I’m going to show you how to create your own powerful, natural cleaner that will leave your microwave spotless and smelling divine. Get ready to say goodbye to microwave messes and hello to a sparkling clean kitchen!
DIY Citrus Microwave Cleaner: A Fresh & Effective Hack!
Hey everyone! I’m so excited to share this super easy and effective DIY microwave cleaner with you. Forget those harsh chemicals and expensive cleaners – all you need are a few citrus fruits and some water! This method not only cleans your microwave but also leaves it smelling incredibly fresh. Let’s get started!
What You’ll Need
Before we dive in, let’s gather our supplies. This is a pretty minimal list, which is one of the things I love about this hack!
* Citrus fruits (lemons, limes, oranges, or grapefruits – any combination works!)
* A microwave-safe bowl
* Water
* A clean sponge or cloth
Why This Works
Citrus fruits are naturally acidic, and when heated, they release steam infused with that acidity. This steam helps to loosen up dried food splatters and grime inside your microwave, making them much easier to wipe away. Plus, the citrus oils leave behind a lovely, fresh scent. It’s a win-win!
Step-by-Step Instructions
Okay, let’s get to the fun part! Follow these steps, and you’ll have a sparkling clean microwave in no time.
1. Prepare Your Citrus: First, you’ll want to prepare your citrus fruits. You have a few options here. You can either:
* Cut the citrus fruit in half. This is my preferred method because it maximizes the surface area exposed to the water, releasing more of those cleaning oils.
* Cut the citrus fruit into wedges. This works well if you’re using smaller fruits like limes or lemons.
* Just use the peels! If you’ve already juiced some citrus fruits, don’t throw away the peels! They’re perfect for this. Just toss them into the bowl.
I usually use a combination of lemon and orange for a balanced scent, but feel free to experiment with what you have on hand.
2. Fill the Bowl with Water: Now, grab your microwave-safe bowl and fill it with about one cup of water. You want enough water to create steam, but not so much that it’s going to boil over.
3. Add the Citrus: Place the cut citrus fruits (or peels) into the bowl of water. Make sure the cut sides of the fruit are facing down into the water. This will help release the juices and oils more effectively.
4. Microwave on High: Carefully place the bowl into your microwave. Set the microwave to high power and let it run for 3-5 minutes. The exact time will depend on the power of your microwave and how dirty it is. You want the water to boil and create a good amount of steam. Keep an eye on it to make sure it doesn’t boil over.
5. Let it Sit (Important!): This is a crucial step! Once the microwave stops, DO NOT open the door immediately. Let the bowl sit inside the microwave for another 5-10 minutes. This allows the steam to really work its magic, loosening up all that stubborn grime. The longer you let it sit, the easier the next step will be.
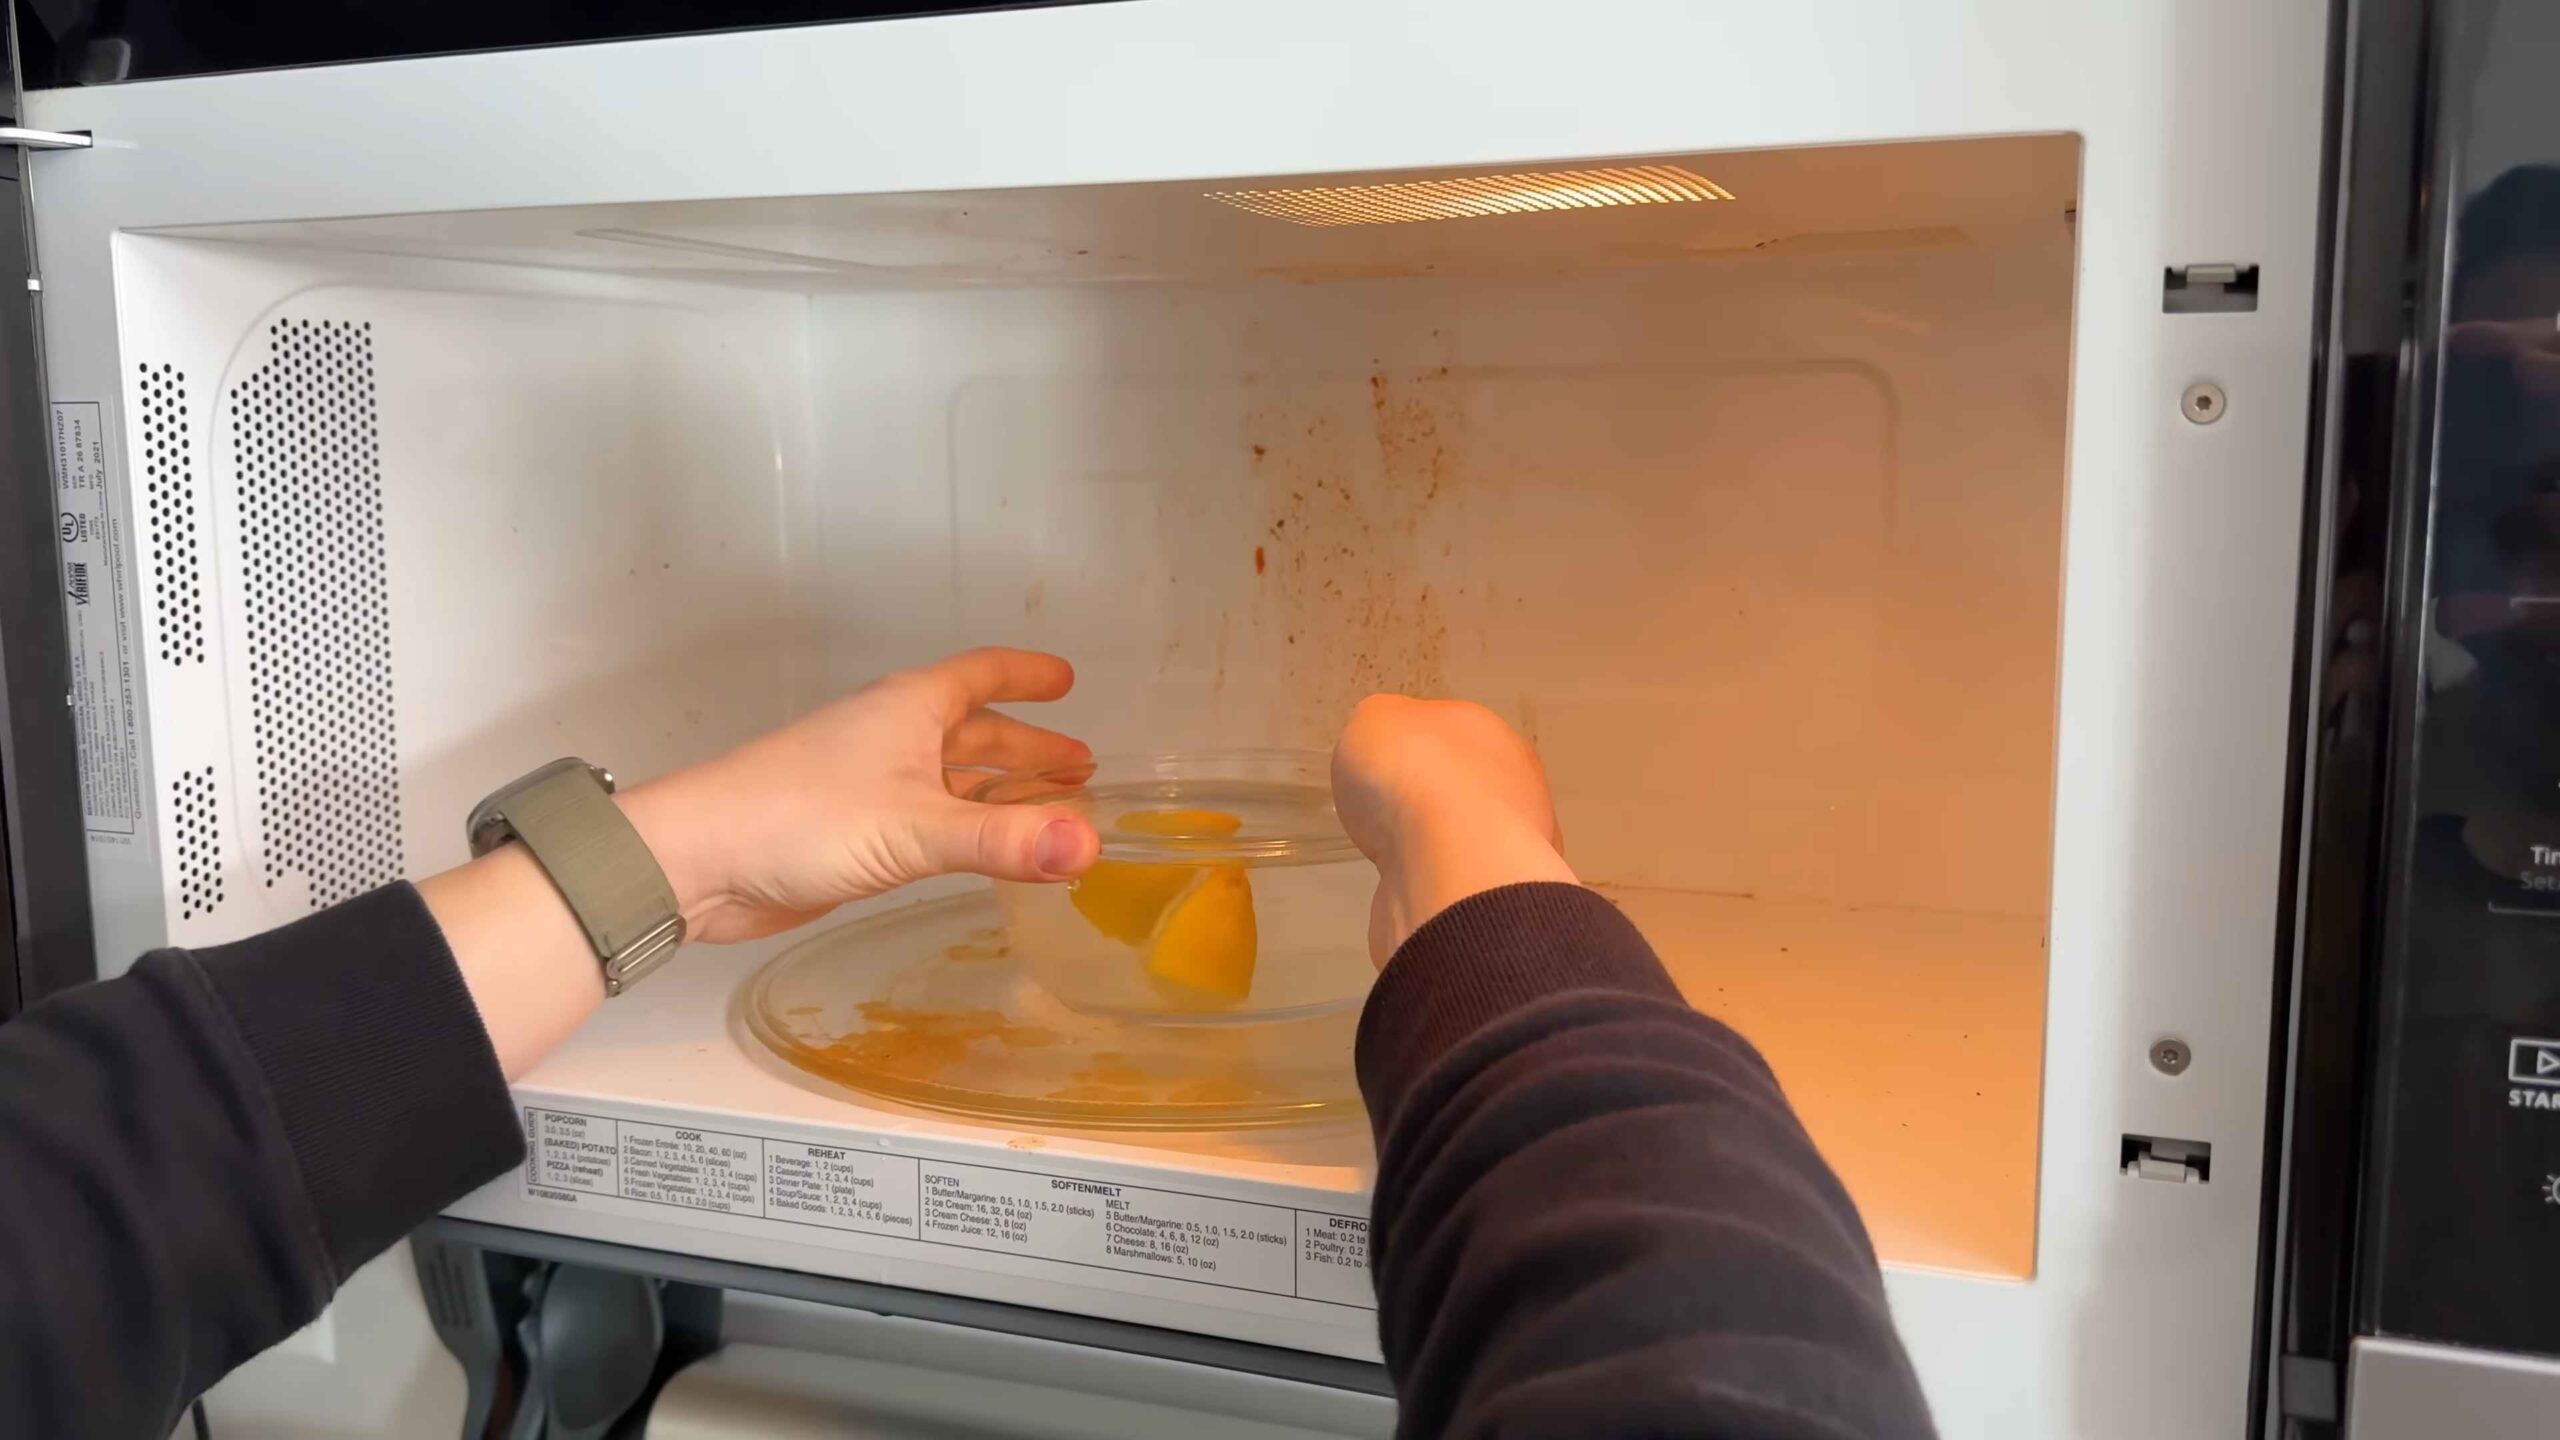
6. Carefully Remove the Bowl: After the waiting period, carefully remove the bowl from the microwave. Be very cautious, as the bowl and the water will be very hot! Use oven mitts or a towel to protect your hands.
7. Wipe Down the Interior: Now comes the satisfying part! Take your clean sponge or cloth and wipe down the interior of the microwave. You’ll be amazed at how easily the food splatters and grime come off. The steam has done most of the work for you! Pay special attention to the top, sides, and bottom of the microwave.
8. Clean the Turntable and Roller Ring: Don’t forget to remove the turntable and roller ring from the microwave. These often get covered in food splatters as well. Wash them with warm, soapy water and dry them thoroughly before placing them back in the microwave.
9. Dry the Interior: Once you’ve wiped down the entire interior, use a clean, dry cloth to dry everything. This will prevent water spots and leave your microwave looking extra shiny.
10. Enjoy Your Clean, Fresh-Smelling Microwave! That’s it! You’ve successfully cleaned your microwave with the power of citrus. Enjoy your sparkling clean and fresh-smelling appliance!
Troubleshooting & Tips
Even with a simple hack like this, you might encounter a few minor issues. Here are some tips to help you troubleshoot:
* Stubborn Stains: If you have some particularly stubborn stains that aren’t coming off easily, try dipping your sponge or cloth in the citrus-infused water from the bowl and scrubbing the area directly. You can also try making a paste of baking soda and water and applying it to the stain before wiping it away.
* Microwave Still Smells: If your microwave still has a lingering odor after cleaning, try placing a small bowl of baking soda inside and leaving it overnight. Baking soda is a natural odor absorber.
* Water Boiled Over: If the water boiled over in your microwave, don’t worry! Just clean up the spill with a damp cloth. Next time, try using a larger bowl or reducing the microwave time slightly.
* Preventative Measures: To keep your microwave clean for longer, try covering your food with a microwave-safe lid or plastic wrap when heating it up. This will help prevent splatters and make cleanup much easier.
Choosing Your Citrus
As I mentioned earlier, you can use any combination of citrus fruits for this hack. Here’s a little breakdown of the benefits of each:
* Lemons: Lemons are great for their strong cleaning power and refreshing scent. They’re also excellent at cutting through grease.
* Limes: Limes have a similar cleaning power to lemons, but with a slightly different, more tart scent.
* Oranges: Oranges are a bit milder than lemons and limes, but they still have excellent cleaning properties and leave behind a sweet, uplifting scent.
* Grapefruits: Grapefruits have a slightly bitter scent that some people find very refreshing. They’re also effective at cleaning and deodorizing.
I often use whatever citrus fruits I have on hand. Don’t be afraid to experiment and find your favorite combination!
Safety First!
While this is a pretty safe DIY hack, it’s always important to take a few precautions:
* Hot Bowl: Remember that the bowl and water will be very hot after microwaving. Use oven mitts or a towel to protect your hands when removing it.
* Steam: Be careful when opening the microwave door after the waiting period, as steam will escape. Avoid getting your face too close to the microwave.
* Microwave-Safe Bowl: Make sure you’re using a microwave-safe bowl. Some materials can melt or crack in the microwave.
* Unplug the Microwave: For extra safety, you can unplug the microwave before cleaning it. This will prevent any accidental starts.
Why I Love This Hack
I absolutely love this DIY microwave cleaner for so many reasons:
* It’s Natural: I’m always looking for ways to reduce my use of harsh chemicals, and this hack is a great way to do that.
* It’s Affordable: Citrus fruits are relatively inexpensive, especially if you buy them in season.
* It’s Effective: This method really works! It loosens up grime and makes it easy to wipe away.
* It Smells Amazing: The citrus scent is so much better than the chemical smell of commercial cleaners.
* It’s Quick and Easy: This whole process takes less than 15 minutes, including the waiting time.
Alternative Uses for Citrus-Infused Water
Don’t throw away that citrus-infused water after you’ve cleaned your microwave! It’s still full of cleaning power. Here are a few ways you can reuse it:
* Clean Your Sink: Pour the water down your sink drain to help freshen it up and break down any grease or grime.
* Clean Your Cutting Board: Use the water to wipe down your cutting board after preparing food. The citrus will help disinfect it and remove any lingering odors.
* Clean Your Garbage Disposal: Pour the water down your garbage disposal to help freshen it up and break down any food particles.
* Water Your Plants: Dilute the water with regular water and use it to water your plants. The citrus can help acidify the soil, which some plants prefer.
So there you have it! My go-to DIY citrus microwave cleaner. I hope you find this hack as helpful as I do. Happy cleaning!

Conclusion
So, there you have it! Transforming your microwave cleaning routine with this simple, effective, and delightfully fragrant DIY citrus microwave cleaner is more than just a chore shortcut; it’s a small act of self-care and a commitment to a healthier, happier kitchen. We’ve walked you through the easy steps, highlighting the benefits of ditching harsh chemicals for the natural power of citrus.
Why is this DIY trick a must-try? Because it’s a game-changer. It’s not just about removing splatters and grime; it’s about creating a clean, fresh-smelling environment without exposing yourself or your family to potentially harmful chemicals. Think about it: you’re using ingredients you likely already have on hand, reducing waste, and saving money – all while achieving sparkling results. The lingering citrus scent is an added bonus, instantly uplifting your kitchen atmosphere.
But the beauty of this method lies in its adaptability. Feel free to experiment with different citrus fruits. Lemon and lime are classic choices, but orange, grapefruit, or even a combination can work wonders. For an extra boost of cleaning power, add a tablespoon of white vinegar to the water. Vinegar is a natural disinfectant and degreaser that complements the citrus beautifully. You could also infuse the water with a few sprigs of rosemary or thyme for an even more aromatic experience.
Consider these variations:
* **Citrus Peel Power:** Don’t toss those citrus peels after juicing! They’re perfect for this DIY cleaner. Simply use the peels instead of freshly cut slices.
* **Vinegar Boost:** Add 1-2 tablespoons of white vinegar to the water for extra degreasing power.
* **Essential Oil Enhancement:** A few drops of lemon, orange, or grapefruit essential oil can amplify the citrus scent and add antimicrobial properties.
* **Herb Infusion:** Add a few sprigs of fresh rosemary, thyme, or lavender to the water for a more complex and aromatic cleaning experience.
We’re confident that once you try this DIY citrus microwave cleaner, you’ll never go back to harsh chemical sprays. It’s a simple, sustainable, and satisfying way to keep your microwave clean and fresh.
Now, it’s your turn! We encourage you to give this DIY trick a try. It’s a simple and effective way to clean your microwave. We are eager to hear about your experience. Did you try a different citrus fruit? Did you add vinegar or essential oils? What were your results? Share your tips, tricks, and photos in the comments below! Let’s build a community of clean-microwave enthusiasts! Your feedback will not only help others but also inspire us to create even more helpful and eco-friendly cleaning solutions. Let us know how this **DIY citrus microwave cleaner** worked for you!
Frequently Asked Questions (FAQ)
Q: How often should I clean my microwave using this method?
A: The frequency depends on how often you use your microwave and how prone it is to splatters. Generally, cleaning it once a week is a good practice to prevent buildup. If you notice frequent splatters, you might want to clean it more often, perhaps every few days. A quick wipe-down after particularly messy meals can also help maintain cleanliness.
Q: Can I use any type of citrus fruit for this DIY cleaner?
A: Yes, you can use almost any type of citrus fruit. Lemon and lime are the most common and effective due to their high acidity and strong scent. Orange and grapefruit also work well and offer a slightly sweeter fragrance. Even tangerine or clementine peels can be used. Experiment to find your favorite scent and cleaning power. Just ensure the fruit is fresh and not moldy.
Q: What if I don’t have citrus fruits on hand? Is there an alternative?
A: While citrus fruits are ideal due to their natural cleaning properties and pleasant scent, you can use a solution of vinegar and water as an alternative. Mix equal parts white vinegar and water in a microwave-safe bowl and follow the same steaming process. The vinegar scent might be stronger, but it will dissipate quickly. You can also add a few drops of essential oil (like lemon or lavender) to mask the vinegar smell.
Q: How long should I microwave the citrus and water mixture?
A: Typically, microwaving the mixture for 3-5 minutes on high is sufficient. The goal is to create enough steam to loosen the grime. However, the exact time may vary depending on the power of your microwave. Keep an eye on the bowl and stop the microwave if the solution starts to boil over. After microwaving, let the bowl sit inside the microwave for another 5-10 minutes to allow the steam to fully penetrate the splatters.
Q: The grime is still stuck after steaming. What should I do?
A: If the grime is particularly stubborn, you may need to repeat the steaming process. Alternatively, after steaming, carefully remove the bowl (it will be hot!) and use a non-abrasive sponge or cloth to gently scrub the inside of the microwave. The loosened grime should come off easily. For tough spots, you can dip the sponge in the citrus-infused water for extra cleaning power.
Q: Is it safe to use this method on all types of microwaves?
A: Yes, this method is generally safe for all types of microwaves. However, it’s always a good idea to check your microwave’s user manual for any specific cleaning instructions or warnings. Ensure that the bowl you use is microwave-safe and that you handle it carefully after microwaving, as it will be hot.
Q: Can I use this method to clean the outside of my microwave as well?
A: Yes, you can use the citrus-infused water to clean the outside of your microwave. Simply dip a clean cloth or sponge into the water and wipe down the exterior surfaces. Be sure to wring out the cloth well to avoid dripping. For stubborn stains, you can let the solution sit on the surface for a few minutes before wiping it clean.
Q: How do I dispose of the citrus-infused water after cleaning?
A: The citrus-infused water is safe to dispose of down the drain. It’s biodegradable and won’t harm your plumbing. You can also use it to water your plants, as citrus is slightly acidic and can benefit certain plants.
Q: Will this method remove strong odors from my microwave?
A: Yes, the citrus scent will help to neutralize and remove strong odors from your microwave. The steam also helps to dislodge odor-causing particles. For particularly stubborn odors, you can leave a bowl of baking soda in the microwave overnight after cleaning to absorb any remaining smells.
Q: Can I add baking soda to the citrus and water mixture for extra cleaning power?
A: While baking soda is a great cleaning agent, it’s not recommended to add it directly to the citrus and water mixture in the microwave. The combination of baking soda (a base) and citrus (an acid) can create a chemical reaction that could potentially damage your microwave. It’s best to use baking soda separately, either as a pre-treatment for stubborn stains or as an odor absorber after cleaning.


Leave a Comment