

DIY cocoa powder dry shampoo: Tired of greasy hair days ruining your vibe? I totally get it! We’ve all been there, staring at our reflection, wishing we had time for a full wash and style. But what if I told you there’s a quick, easy, and surprisingly delicious-smelling solution hiding in your pantry?
The concept of dry shampoo isn’t new. In fact, historical accounts suggest that people have been using powders like clay and starches to absorb oil in their hair for centuries! Think of it as a beauty secret passed down through generations, now with a modern, chocolatey twist.
Let’s be honest, commercial dry shampoos can be expensive and often packed with chemicals we can barely pronounce. That’s where this DIY cocoa powder dry shampoo comes in! It’s a natural, affordable alternative that’s perfect for brunettes. The cocoa powder blends seamlessly with darker hair, absorbing excess oil without leaving a chalky residue. Plus, who doesn’t want their hair to smell faintly of chocolate? I know I do! This simple trick will save you time, money, and keep your hair looking fresh and fabulous. So, ditch the greasy roots and let’s get started on this easy DIY project!
DIY Cocoa Powder Dry Shampoo: Say Goodbye to Oily Hair!
Okay, let’s be honest, we’ve all been there. You’re running late, your hair is looking a little… greasy, and you just don’t have time for a full wash and dry. That’s where dry shampoo comes in! But store-bought dry shampoo can be expensive, and sometimes the ingredients aren’t exactly what we want to be putting on our scalps. So, I’m going to show you how to make your own amazing dry shampoo using cocoa powder! Yes, you read that right – cocoa powder! It’s a game-changer, especially if you have dark hair.
This DIY is super simple, cost-effective, and customizable. Plus, it smells delicious! Let’s get started.
What You’ll Need
Before we dive in, let’s gather our supplies. This is a pretty short list, which is always a win in my book!
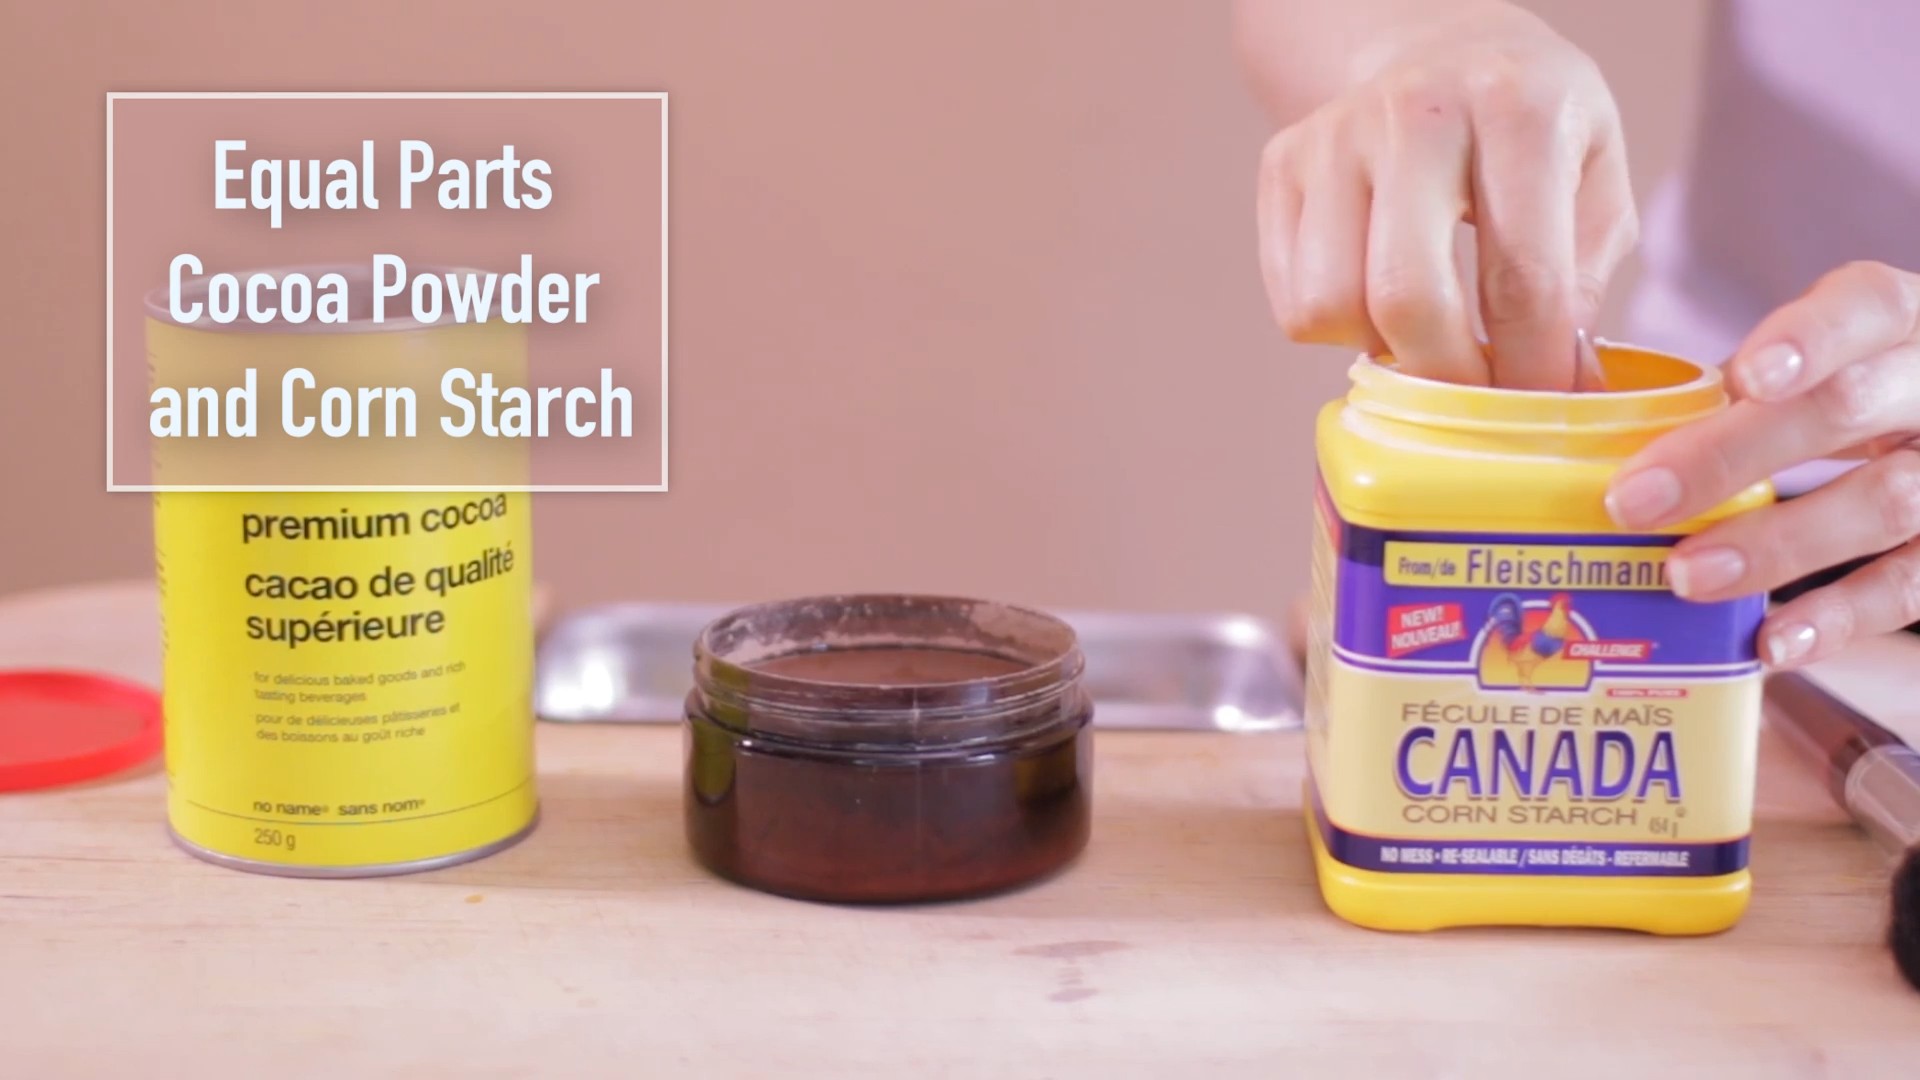
* Cocoa Powder: This is the star of the show! Unsweetened cocoa powder works best. The darker your hair, the darker the cocoa powder you can use. If you have lighter brown hair, you might want to mix it with something lighter, which we’ll get to in a bit.
* Cornstarch or Arrowroot Powder (Optional): These are great for absorbing excess oil. If you have very oily hair, adding one of these will boost the oil-absorbing power of your dry shampoo.
* Essential Oil (Optional): A few drops of your favorite essential oil can add a lovely scent. Lavender, rosemary, or peppermint are all great choices. Just make sure it’s a skin-safe essential oil.
* A Small Container: You’ll need something to store your dry shampoo in. A small jar, a travel-sized powder container, or even an old spice jar will work perfectly.
* A Makeup Brush or Powder Brush: This is for applying the dry shampoo to your roots. A fluffy brush works best.
* A Small Bowl (Optional): If you’re mixing ingredients, you’ll need a small bowl.
Making Your Cocoa Powder Dry Shampoo
Alright, now for the fun part! This is so easy, you’ll be wondering why you haven’t been doing this all along.
1. Determine Your Hair Color and Adjust the Recipe: This is the most important step! If you have dark brown or black hair, you can use cocoa powder on its own. If you have lighter brown hair, you’ll want to mix the cocoa powder with cornstarch or arrowroot powder to lighten the color and avoid a muddy look. For blonde or very light brown hair, you’ll need to use mostly cornstarch or arrowroot powder with just a *tiny* bit of cocoa powder for a slight tint.
2. Mixing the Ingredients (If Needed): If you’re mixing cocoa powder with cornstarch or arrowroot powder, grab your small bowl. Start with a ratio of about 1:1. For example, if you’re using 1 tablespoon of cocoa powder, use 1 tablespoon of cornstarch or arrowroot powder. Mix them together thoroughly until the color is even. If you have very light hair, start with a very small amount of cocoa powder (like 1/4 teaspoon) and add more cornstarch or arrowroot powder until you reach the desired color.
3. Adding Essential Oil (Optional): If you’re using essential oil, add 2-3 drops to your mixture. Stir well to distribute the oil evenly. Be careful not to add too much, as it can make your hair oily.
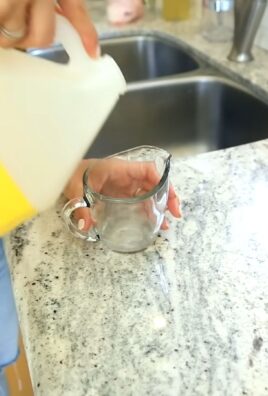
4. Storing Your Dry Shampoo: Pour your dry shampoo mixture into your chosen container. Make sure the container is airtight to prevent moisture from getting in.
Applying Your Cocoa Powder Dry Shampoo
Okay, you’ve made your dry shampoo – now it’s time to put it to work! This is where the magic happens.
1. Section Your Hair: Use your fingers or a comb to section your hair, focusing on the areas that are most oily, usually around your hairline and part.
2. Dip Your Brush: Dip your makeup brush or powder brush into your dry shampoo. Tap off any excess powder to avoid applying too much at once.
3. Apply to Your Roots: Gently dab the brush onto your roots, focusing on the oily areas. You can also use your fingers to apply the dry shampoo directly to your roots.
4. Massage It In: Use your fingertips to massage the dry shampoo into your scalp. This will help to distribute the powder and absorb the oil.
5. Brush It Through: After massaging the dry shampoo into your roots, use a brush or comb to brush it through your hair. This will help to remove any excess powder and distribute the dry shampoo evenly.
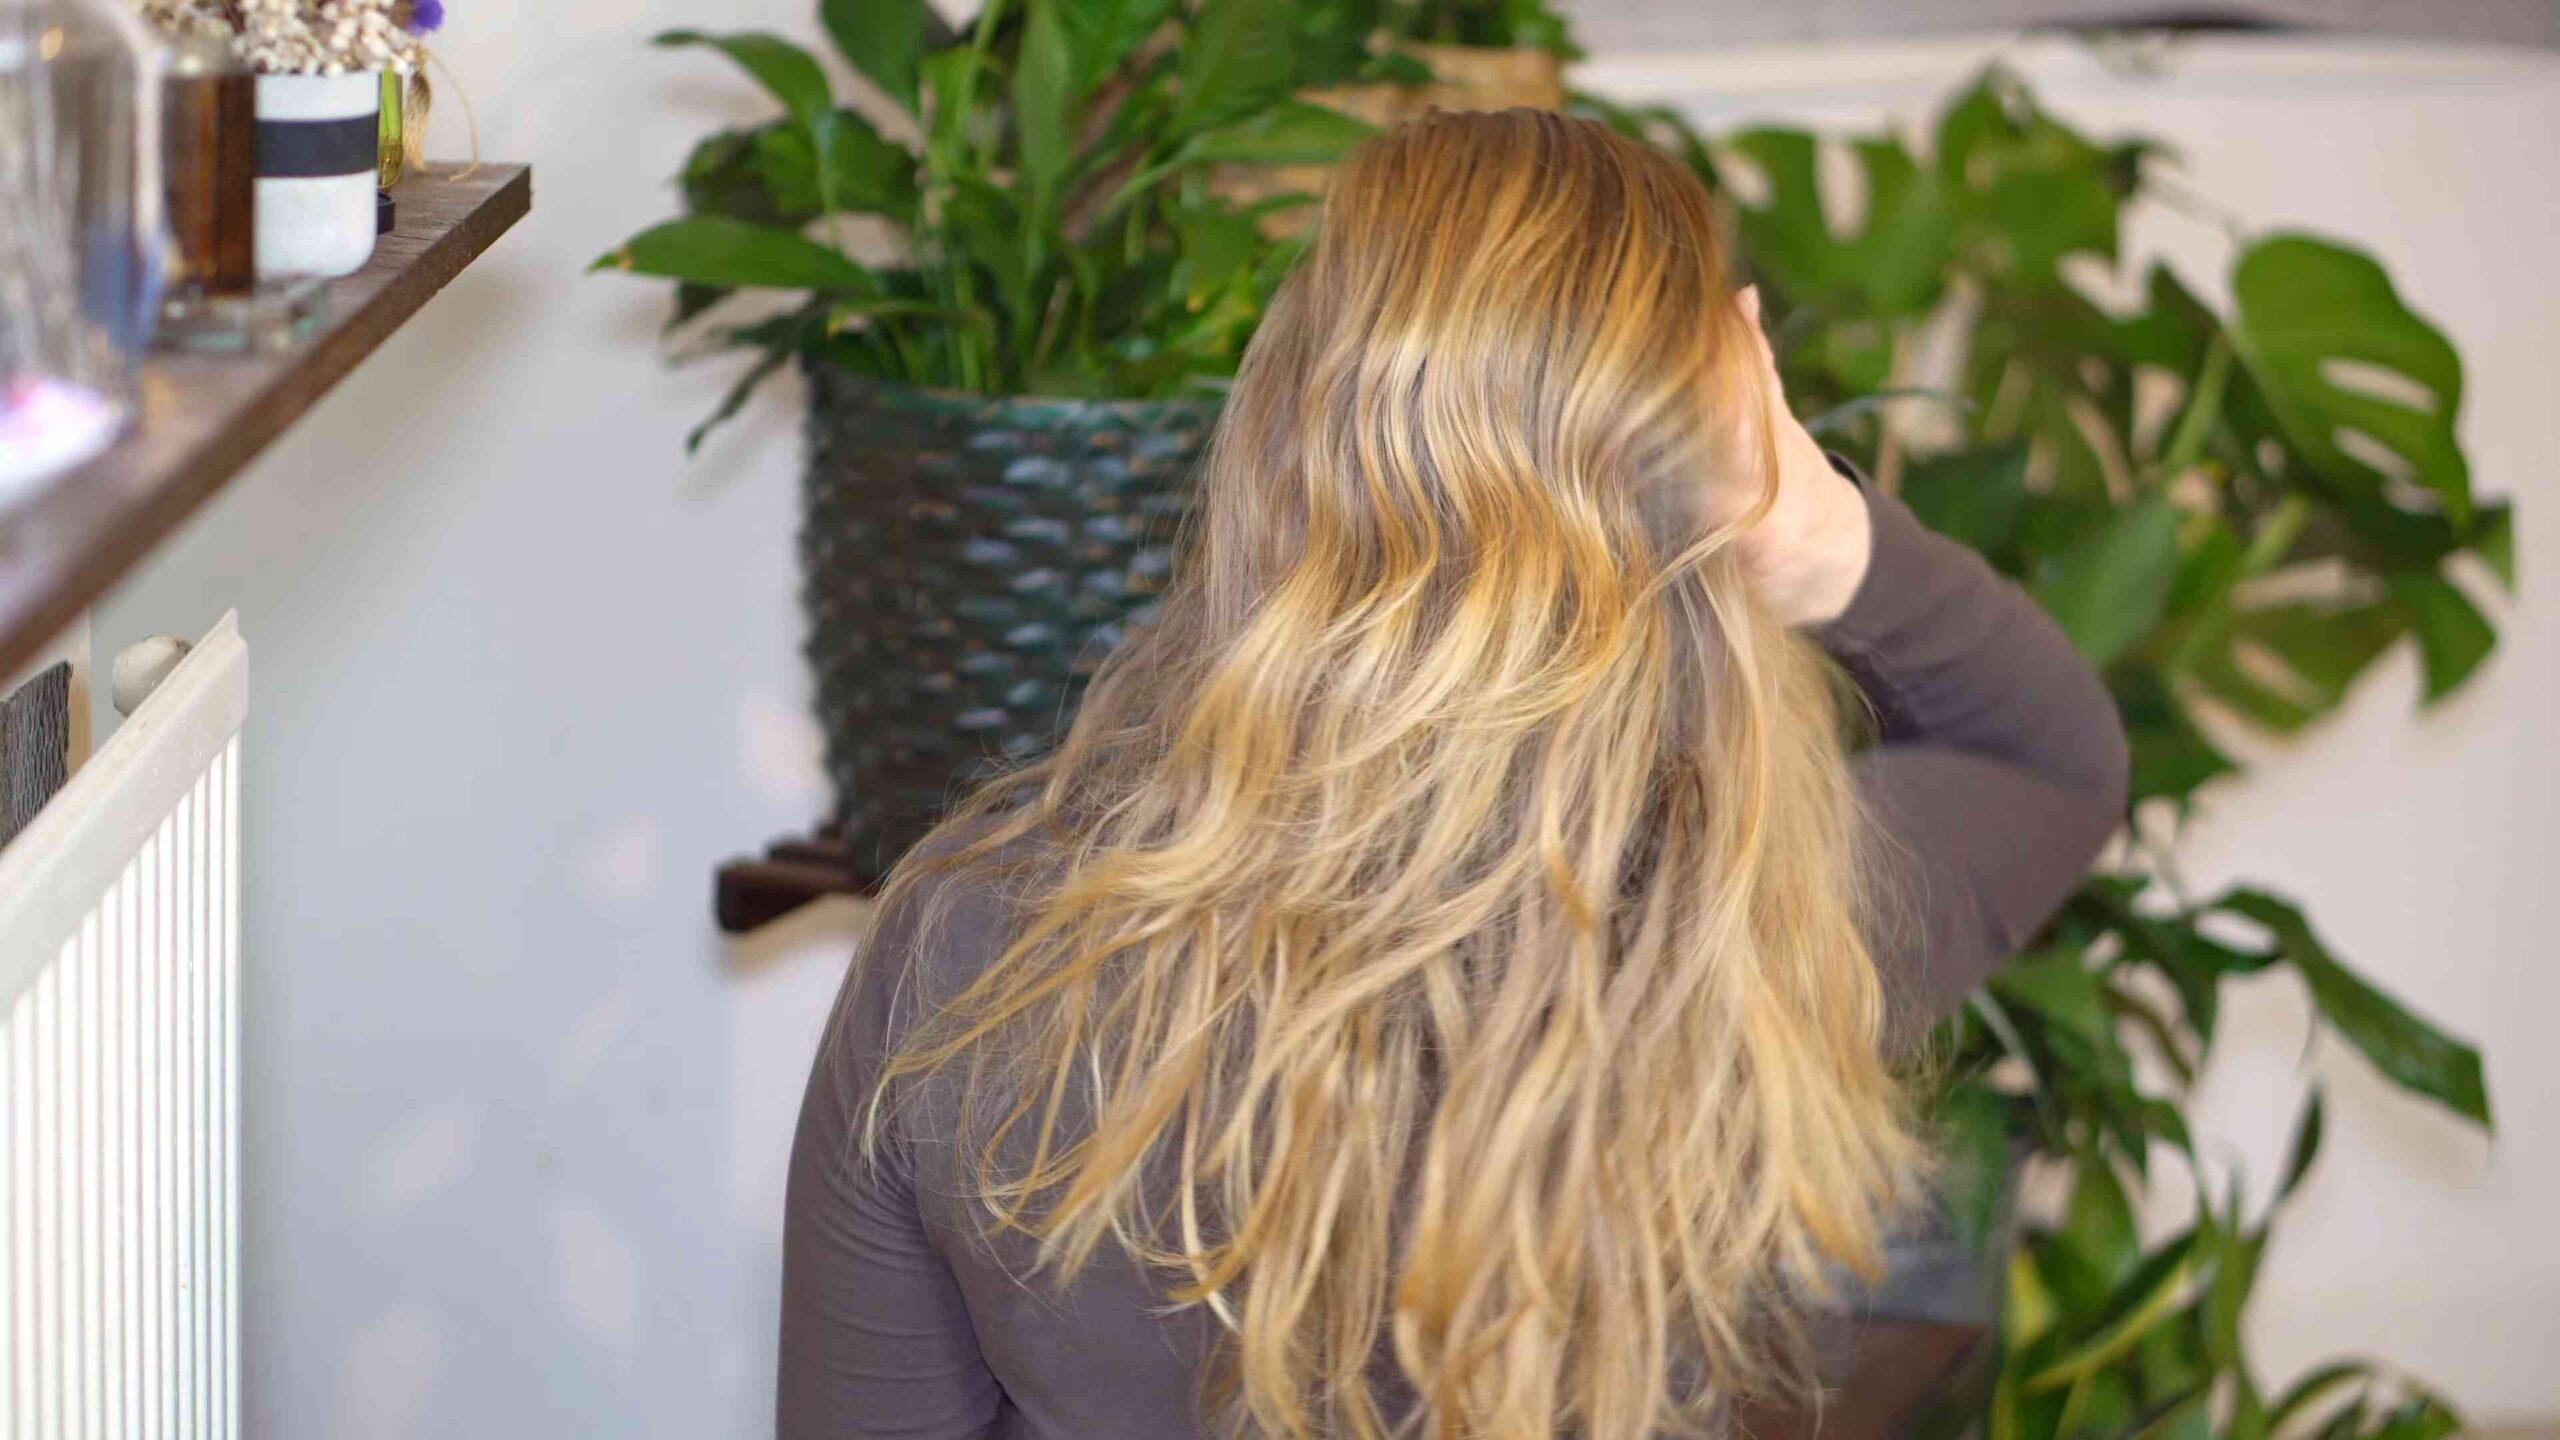
6. Style as Usual: Style your hair as you normally would. You should notice that your hair looks and feels cleaner and less oily.
Troubleshooting and Tips
Even with a simple DIY like this, sometimes things don’t go exactly as planned. Here are a few tips and tricks to help you get the best results:
* Too Much Powder? If you accidentally apply too much dry shampoo, don’t panic! Just use a clean brush to brush out the excess powder. You can also use a hairdryer on a cool setting to blow away any remaining powder.
* Still Oily? If your hair is still oily after applying the dry shampoo, you may need to apply a second coat. Just repeat the application process, focusing on the oiliest areas.
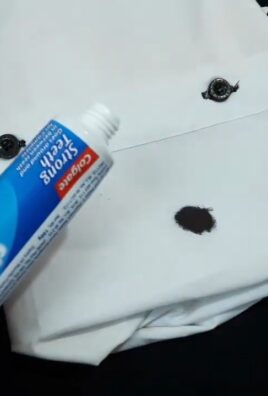
* White Cast? If you have dark hair and you’re using a dry shampoo that’s too light, you may notice a white cast. To avoid this, make sure you’re using a cocoa powder that’s dark enough for your hair color. You can also try using a tinted dry shampoo or adding a small amount of eyeshadow that matches your hair color to your dry shampoo mixture.
* Experiment with Scents: Don’t be afraid to experiment with different essential oils to find your favorite scent. You can also try adding a small amount of vanilla extract or cinnamon to your dry shampoo for a warm, comforting scent.
* Clean Your Brush Regularly: To prevent buildup and bacteria, clean your makeup brush or powder brush regularly with soap and water.
* Adjust the Recipe: Feel free to adjust the recipe to suit your specific hair type and needs. If you have very oily hair, you may want to add more cornstarch or arrowroot powder. If you have dry hair, you may want to skip the cornstarch or arrowroot powder altogether.
* Test on a Small Area First: Before applying the dry shampoo to your entire head, test it on a small, inconspicuous area to make sure you don’t have any allergic reactions or sensitivities to the ingredients.
* Don’t Overuse: While dry shampoo is a great way to refresh your hair between washes, it’s important not to overuse it. Overuse can lead to buildup on your scalp, which can clog your pores and cause irritation. Aim to wash your hair at least once or twice a week to keep your scalp healthy.
* Consider Bentonite Clay: For extra oil absorption, you can add a small amount of bentonite clay to your mixture. It’s a powerful absorbent, but use it sparingly as it can be drying.
* For Blonde Hair: If you have blonde hair and are worried about any color transfer, stick to arrowroot powder or cornstarch. You can add a *tiny* pinch of cocoa powder for a very subtle tint, but be extremely careful.
* Application Method Alternatives: If you don’t have a brush, you can use a clean sock or even your fingertips to apply the dry shampoo. Just be sure to massage it in well.
* Storage is Key: Keep your dry shampoo in a cool, dry place to prevent clumping. If it does clump, you can break it up with a fork or spoon.
Why I Love This DIY
Honestly, this DIY cocoa powder dry shampoo has been a lifesaver for me. It’s so easy to make, it’s affordable, and it actually works! Plus, I love that I know exactly what’s going on my scalp. No harsh chemicals or mystery ingredients. And the subtle chocolate scent is a bonus!
I hope you give this DIY a try. Let me know in the comments how it works for you! Happy dry shampooing!
Conclusion
So, there you have it! Ditching the store-bought dry shampoo and embracing this DIY cocoa powder dry shampoo is more than just a thrifty choice; it’s a game-changer for your hair and scalp health. We’ve explored how simple it is to create a natural, effective solution that not only absorbs excess oil but also adds a subtle, beautiful tint to darker hair, eliminating that dreaded white cast.
This isn’t just about saving money; it’s about knowing exactly what you’re putting on your head. Commercial dry shampoos often contain harsh chemicals, propellants, and artificial fragrances that can irritate the scalp, dry out your hair, and even contribute to long-term health concerns. By making your own, you’re in control of the ingredients, opting for a gentle, natural alternative that nourishes your hair while keeping it fresh.
But the benefits don’t stop there. The cocoa powder itself offers antioxidant properties, potentially protecting your scalp from environmental damage. Plus, the subtle chocolate scent is a delightful bonus, leaving your hair smelling subtly sweet and inviting.
Why is this DIY trick a must-try? Because it’s:
* Natural and Gentle: Free from harsh chemicals and artificial fragrances.
* Effective: Absorbs oil and refreshes hair without stripping it of moisture.
* Cost-Effective: Significantly cheaper than store-bought alternatives.
* Customizable: Easily adapted to suit your hair color and needs.
* Environmentally Friendly: Reduces your reliance on aerosol cans and plastic packaging.
Suggestions and Variations:
Don’t be afraid to experiment! Here are a few ideas to get you started:
* For Lighter Hair: If you have blonde or light brown hair, mix the cocoa powder with arrowroot powder or cornstarch to lighten the color. Start with a small amount of cocoa powder and gradually add more until you achieve the desired tint. You can also use cinnamon for a reddish tint.
* Adding Essential Oils: Enhance the scent and benefits by adding a few drops of your favorite essential oil. Lavender, rosemary, and tea tree oil are all excellent choices for hair health. Just be sure to use high-quality, pure essential oils and test a small amount on your skin first to check for any allergic reactions.
* For Oily Scalps: Add a tablespoon of bentonite clay to the mixture for extra oil absorption. Bentonite clay is a powerful detoxifier that can help draw out impurities and excess oil from the scalp.
* Application Methods: Experiment with different application methods to find what works best for you. You can use a makeup brush, a powder puff, or even an old spice shaker to apply the dry shampoo to your roots.
We truly believe that this DIY cocoa powder dry shampoo will revolutionize your hair care routine. It’s a simple, effective, and natural way to keep your hair looking and feeling its best.
So, what are you waiting for? Gather your ingredients, whip up a batch, and experience the difference for yourself! We’re confident that you’ll love the results.
And most importantly, we want to hear about your experience! Share your tips, variations, and before-and-after photos in the comments below. Let’s build a community of DIY beauty enthusiasts and help each other discover the best natural solutions for our hair. Your feedback is invaluable and will help us refine and improve this recipe for everyone. Let us know if you have any questions, too! We’re here to help you every step of the way. Embrace the power of DIY and unlock the secret to healthy, beautiful hair with this amazing cocoa powder dry shampoo!
FAQ
What exactly is dry shampoo and how does this DIY version work?
Dry shampoo is a hair care product designed to absorb excess oil and grease from your scalp and hair, making it look and feel cleaner without the need for water. This DIY version utilizes the absorbent properties of cocoa powder and other natural ingredients like arrowroot powder or cornstarch to soak up the oil. The cocoa powder also provides a natural tint for darker hair, preventing the white cast that many commercial dry shampoos leave behind. It’s a simple and effective way to refresh your hair between washes.
Is cocoa powder safe to use on my hair?
Yes, cocoa powder is generally safe to use on your hair. It’s a natural ingredient that’s been used in beauty treatments for centuries. However, it’s always a good idea to do a patch test before applying it all over your scalp, especially if you have sensitive skin. Simply apply a small amount of the dry shampoo to a small area of your scalp and wait 24 hours to see if you experience any irritation. Also, be sure to use unsweetened, 100% cocoa powder to avoid any unwanted additives or sugars.
Will this DIY dry shampoo work for all hair colors?
This DIY dry shampoo works best for dark brown to black hair because the cocoa powder provides a natural tint that blends seamlessly with these shades. For lighter hair colors like blonde or light brown, you’ll need to adjust the recipe by using a larger proportion of arrowroot powder or cornstarch to lighten the color. You can also experiment with adding cinnamon for a reddish tint. Start with a small amount of cocoa powder and gradually add more until you achieve the desired tint.
How often can I use this DIY dry shampoo?
You can use this DIY dry shampoo as often as needed to refresh your hair between washes. However, it’s important to avoid overusing it, as excessive use can lead to product buildup on your scalp. A good rule of thumb is to use it no more than two or three times per week. If you notice any dryness or irritation, reduce the frequency of use.
How do I apply the DIY dry shampoo?
There are several ways to apply this DIY dry shampoo. You can use a makeup brush, a powder puff, or even an old spice shaker. The key is to apply it directly to your roots, where the oil is most concentrated. Start by parting your hair into sections and then gently dust the dry shampoo onto your scalp. Use your fingertips to massage it in and distribute it evenly. Allow it to sit for a few minutes to absorb the oil, and then brush out any excess powder.
How long does this DIY dry shampoo last?
When stored in an airtight container in a cool, dry place, this DIY dry shampoo can last for several months. However, it’s always a good idea to check for any signs of spoilage before using it. If you notice any changes in color, texture, or smell, discard it.
Can I add essential oils to this DIY dry shampoo?
Yes, you can definitely add essential oils to this DIY dry shampoo to enhance the scent and benefits. Lavender, rosemary, and tea tree oil are all excellent choices for hair health. Lavender has calming properties, rosemary stimulates hair growth, and tea tree oil has antibacterial and antifungal properties. Just be sure to use high-quality, pure essential oils and add only a few drops to the mixture. Test a small amount on your skin first to check for any allergic reactions.
What if I don’t have cocoa powder? Can I use something else?
While cocoa powder is ideal for darker hair due to its tinting properties, you can substitute it with other absorbent powders like arrowroot powder, cornstarch, or even bentonite clay. However, keep in mind that these alternatives won’t provide the same color coverage, so they’re best suited for lighter hair colors or for those who don’t mind a slight white cast.
My scalp is very oily. Can I adjust the recipe to make it more effective?
Yes, if you have a very oily scalp, you can add a tablespoon of bentonite clay to the mixture for extra oil absorption. Bentonite clay is a powerful detoxifier that can help draw out impurities and excess oil from the scalp. You can also increase the proportion of arrowroot powder or cornstarch in the recipe to further enhance its oil-absorbing properties.
Is this DIY dry shampoo safe for color-treated hair?
This DIY dry shampoo is generally safe for color-treated hair, as it doesn’t contain any harsh chemicals or sulfates that can strip the color. However, it’s always a good idea to do a strand test before applying it all over your hair, especially if you have recently colored your hair. This will help you ensure that the dry shampoo doesn’t affect your hair color.
Leave a Comment