

DIY Gift Bag Wall Art: Transform Trash into Treasure!
Have you ever looked at a pile of beautiful gift bags after a birthday or holiday and thought, “There has to be a better use for these than just throwing them away?” I know I have! For centuries, repurposing materials has been a cornerstone of resourceful living, from quilting scraps into cozy blankets to crafting toys from found objects. This isn’t just about saving money; it’s about honoring the artistry and effort that went into creating those lovely bags in the first place.
In a world increasingly focused on sustainability, finding creative ways to reduce waste is more important than ever. That’s where DIY Gift Bag Wall Art comes in! This project is not only incredibly easy and budget-friendly, but it also allows you to create personalized and unique décor that reflects your style and memories. Imagine transforming those sentimental gift bags – the ones from special occasions, from loved ones, or featuring beautiful designs – into stunning pieces of art that brighten up your home.
Why should you try this DIY trick? Because it’s a fantastic way to add a personal touch to your living space, reduce clutter, and express your creativity. Plus, it’s a conversation starter! Get ready to impress your friends and family with your upcycling skills and transform those forgotten gift bags into eye-catching wall art. Let’s get started!
DIY Gift Bag Wall Art: Upcycling Your Way to Unique Decor
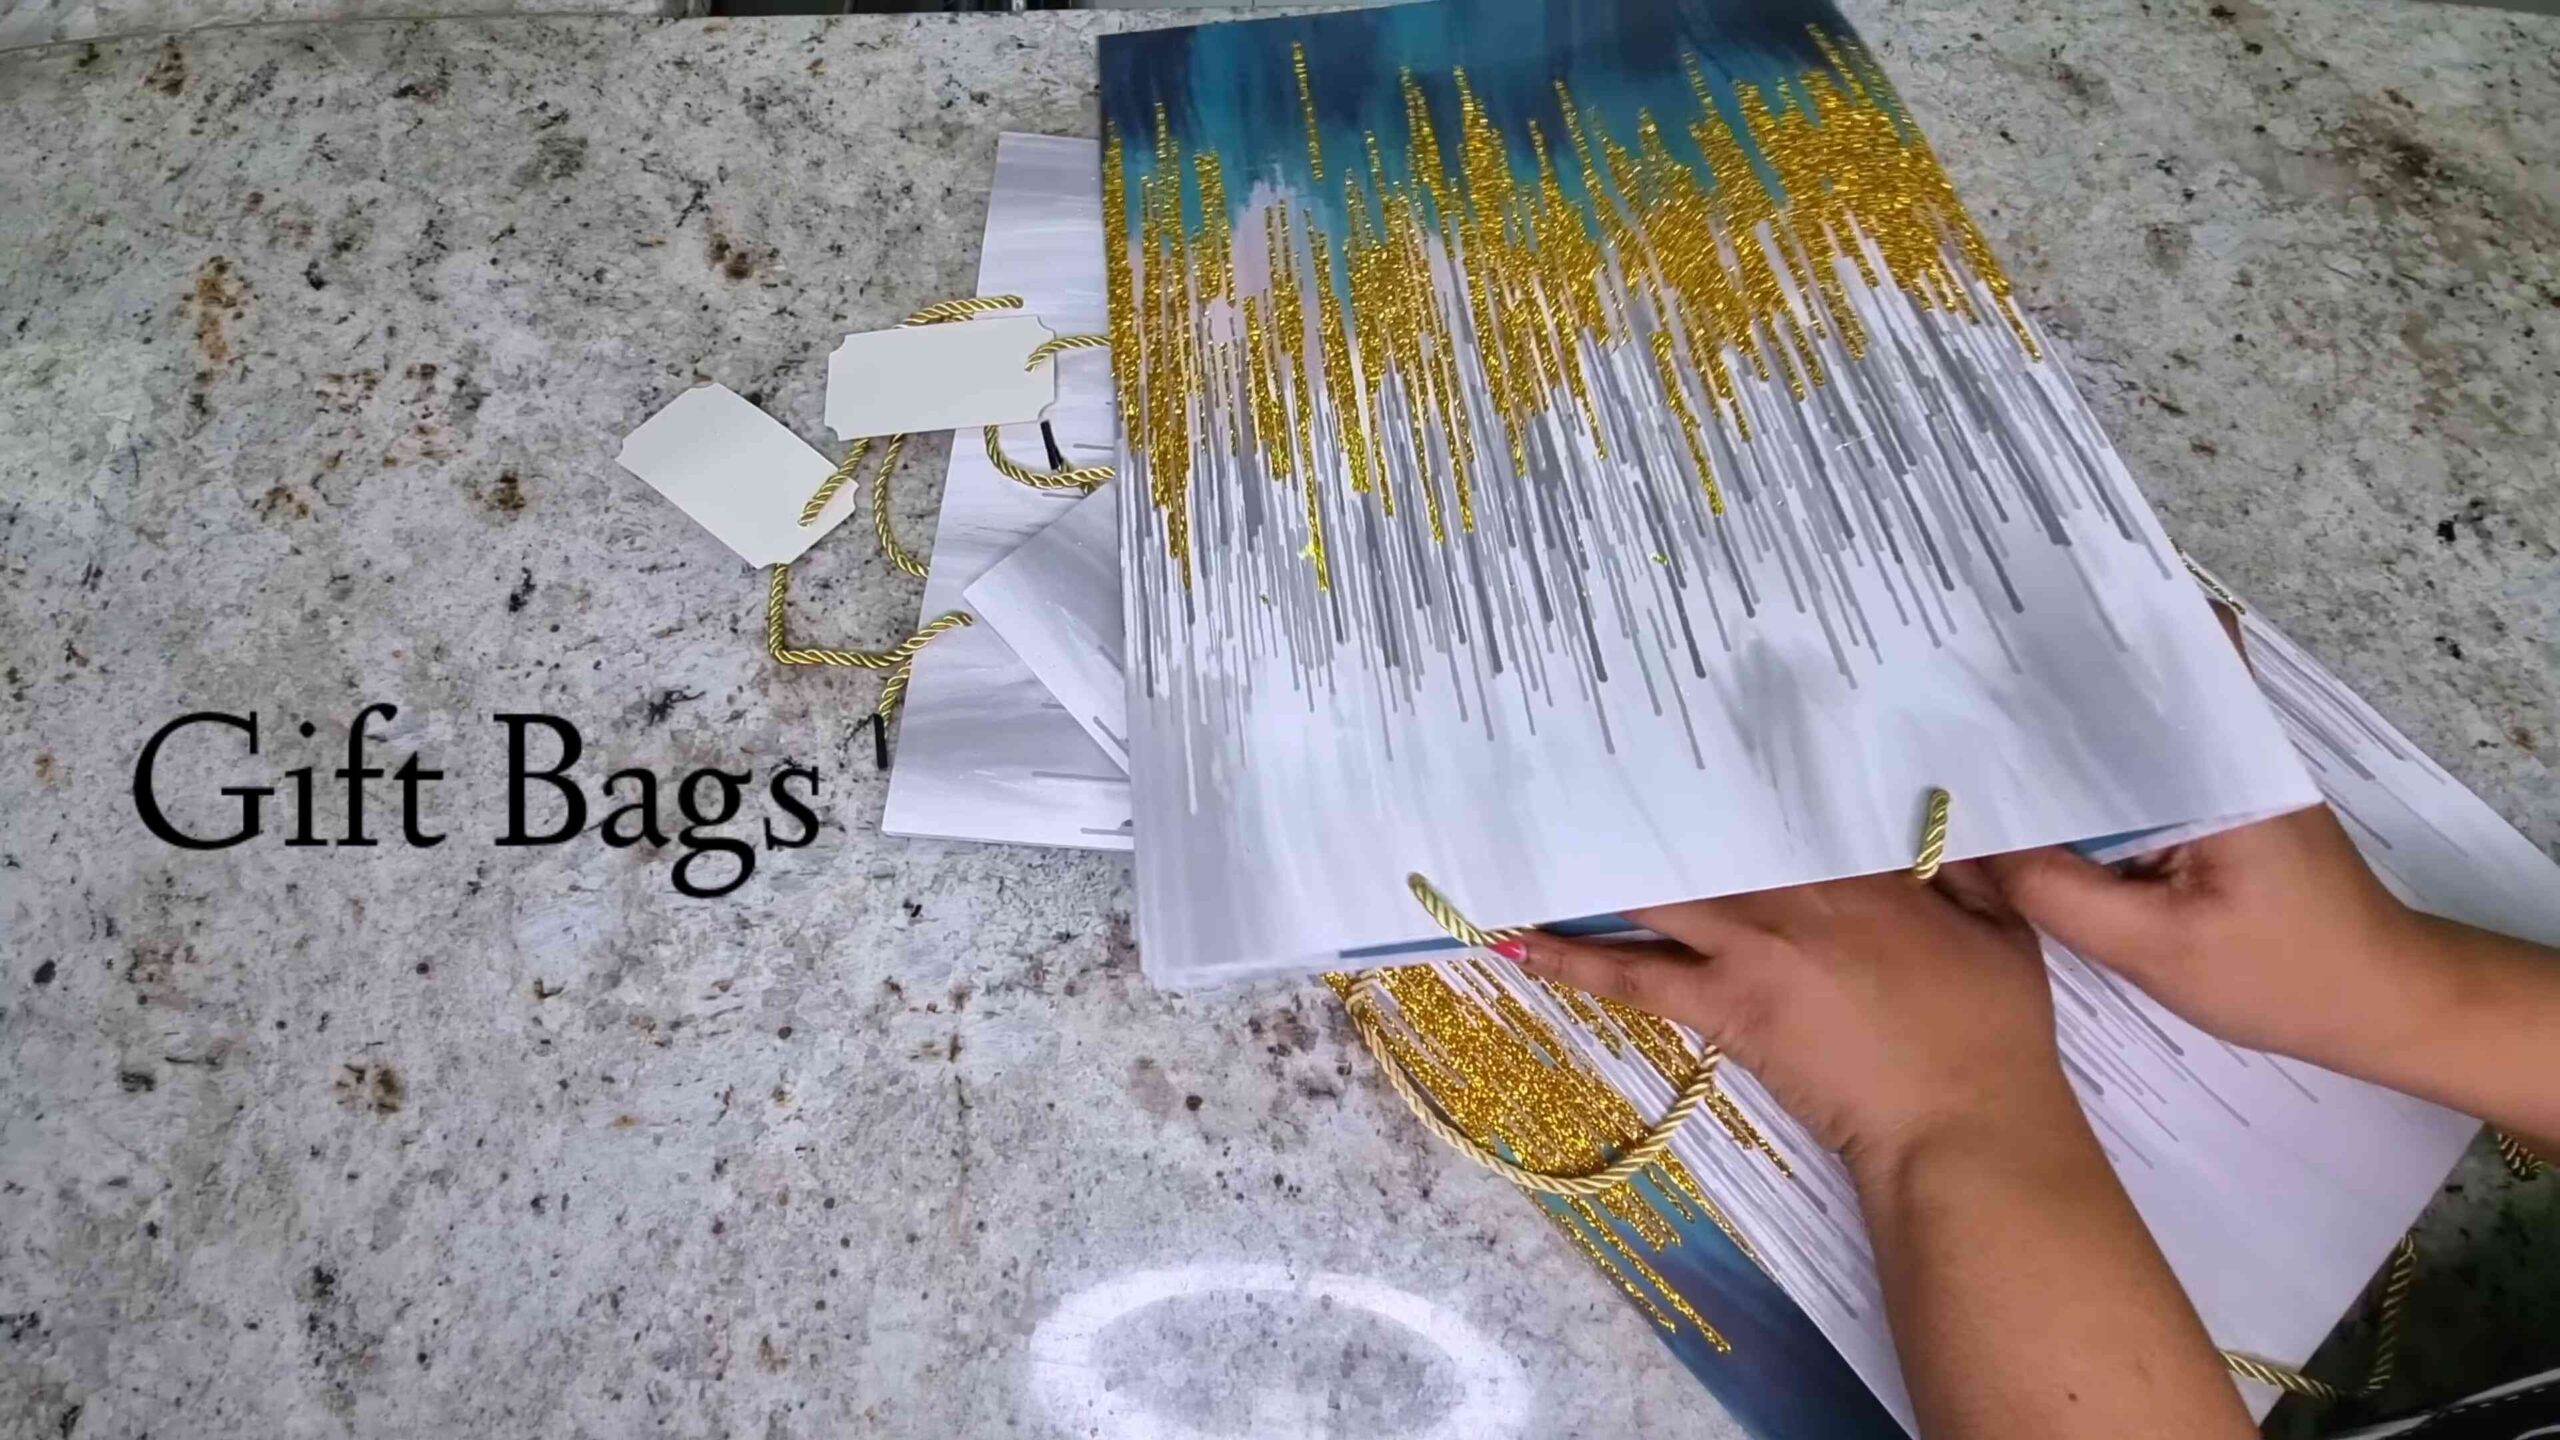
Hey there, fellow crafters! Are you drowning in a sea of beautiful gift bags after birthdays and holidays? Don’t toss them! I’m going to show you how to transform those gorgeous bags into stunning, personalized wall art. This project is not only budget-friendly but also a fantastic way to showcase your favorite designs and memories. Let’s get started!
Materials You’ll Need:
* Gift bags (various sizes and designs)
* Canvas panels or stretched canvases (any size you prefer)
* Scissors or a craft knife
* Ruler or measuring tape
* Pencil
* Mod Podge or other decoupage glue
* Foam brush or paintbrush
* Optional: Embellishments like glitter, ribbon, or paint
Choosing Your Gift Bags:
* Consider the design: Look for bags with striking patterns, vibrant colors, or meaningful images. Think about what complements your existing decor.
* Assess the paper quality: Thicker paper will be easier to work with and will hold up better over time.
* Think about size and scale: Choose bags that are appropriately sized for the canvases you have. You can always trim them down, but starting with a larger bag gives you more flexibility.
* Mix and match: Don’t be afraid to combine different bags to create a collage effect.
Preparing Your Gift Bags:
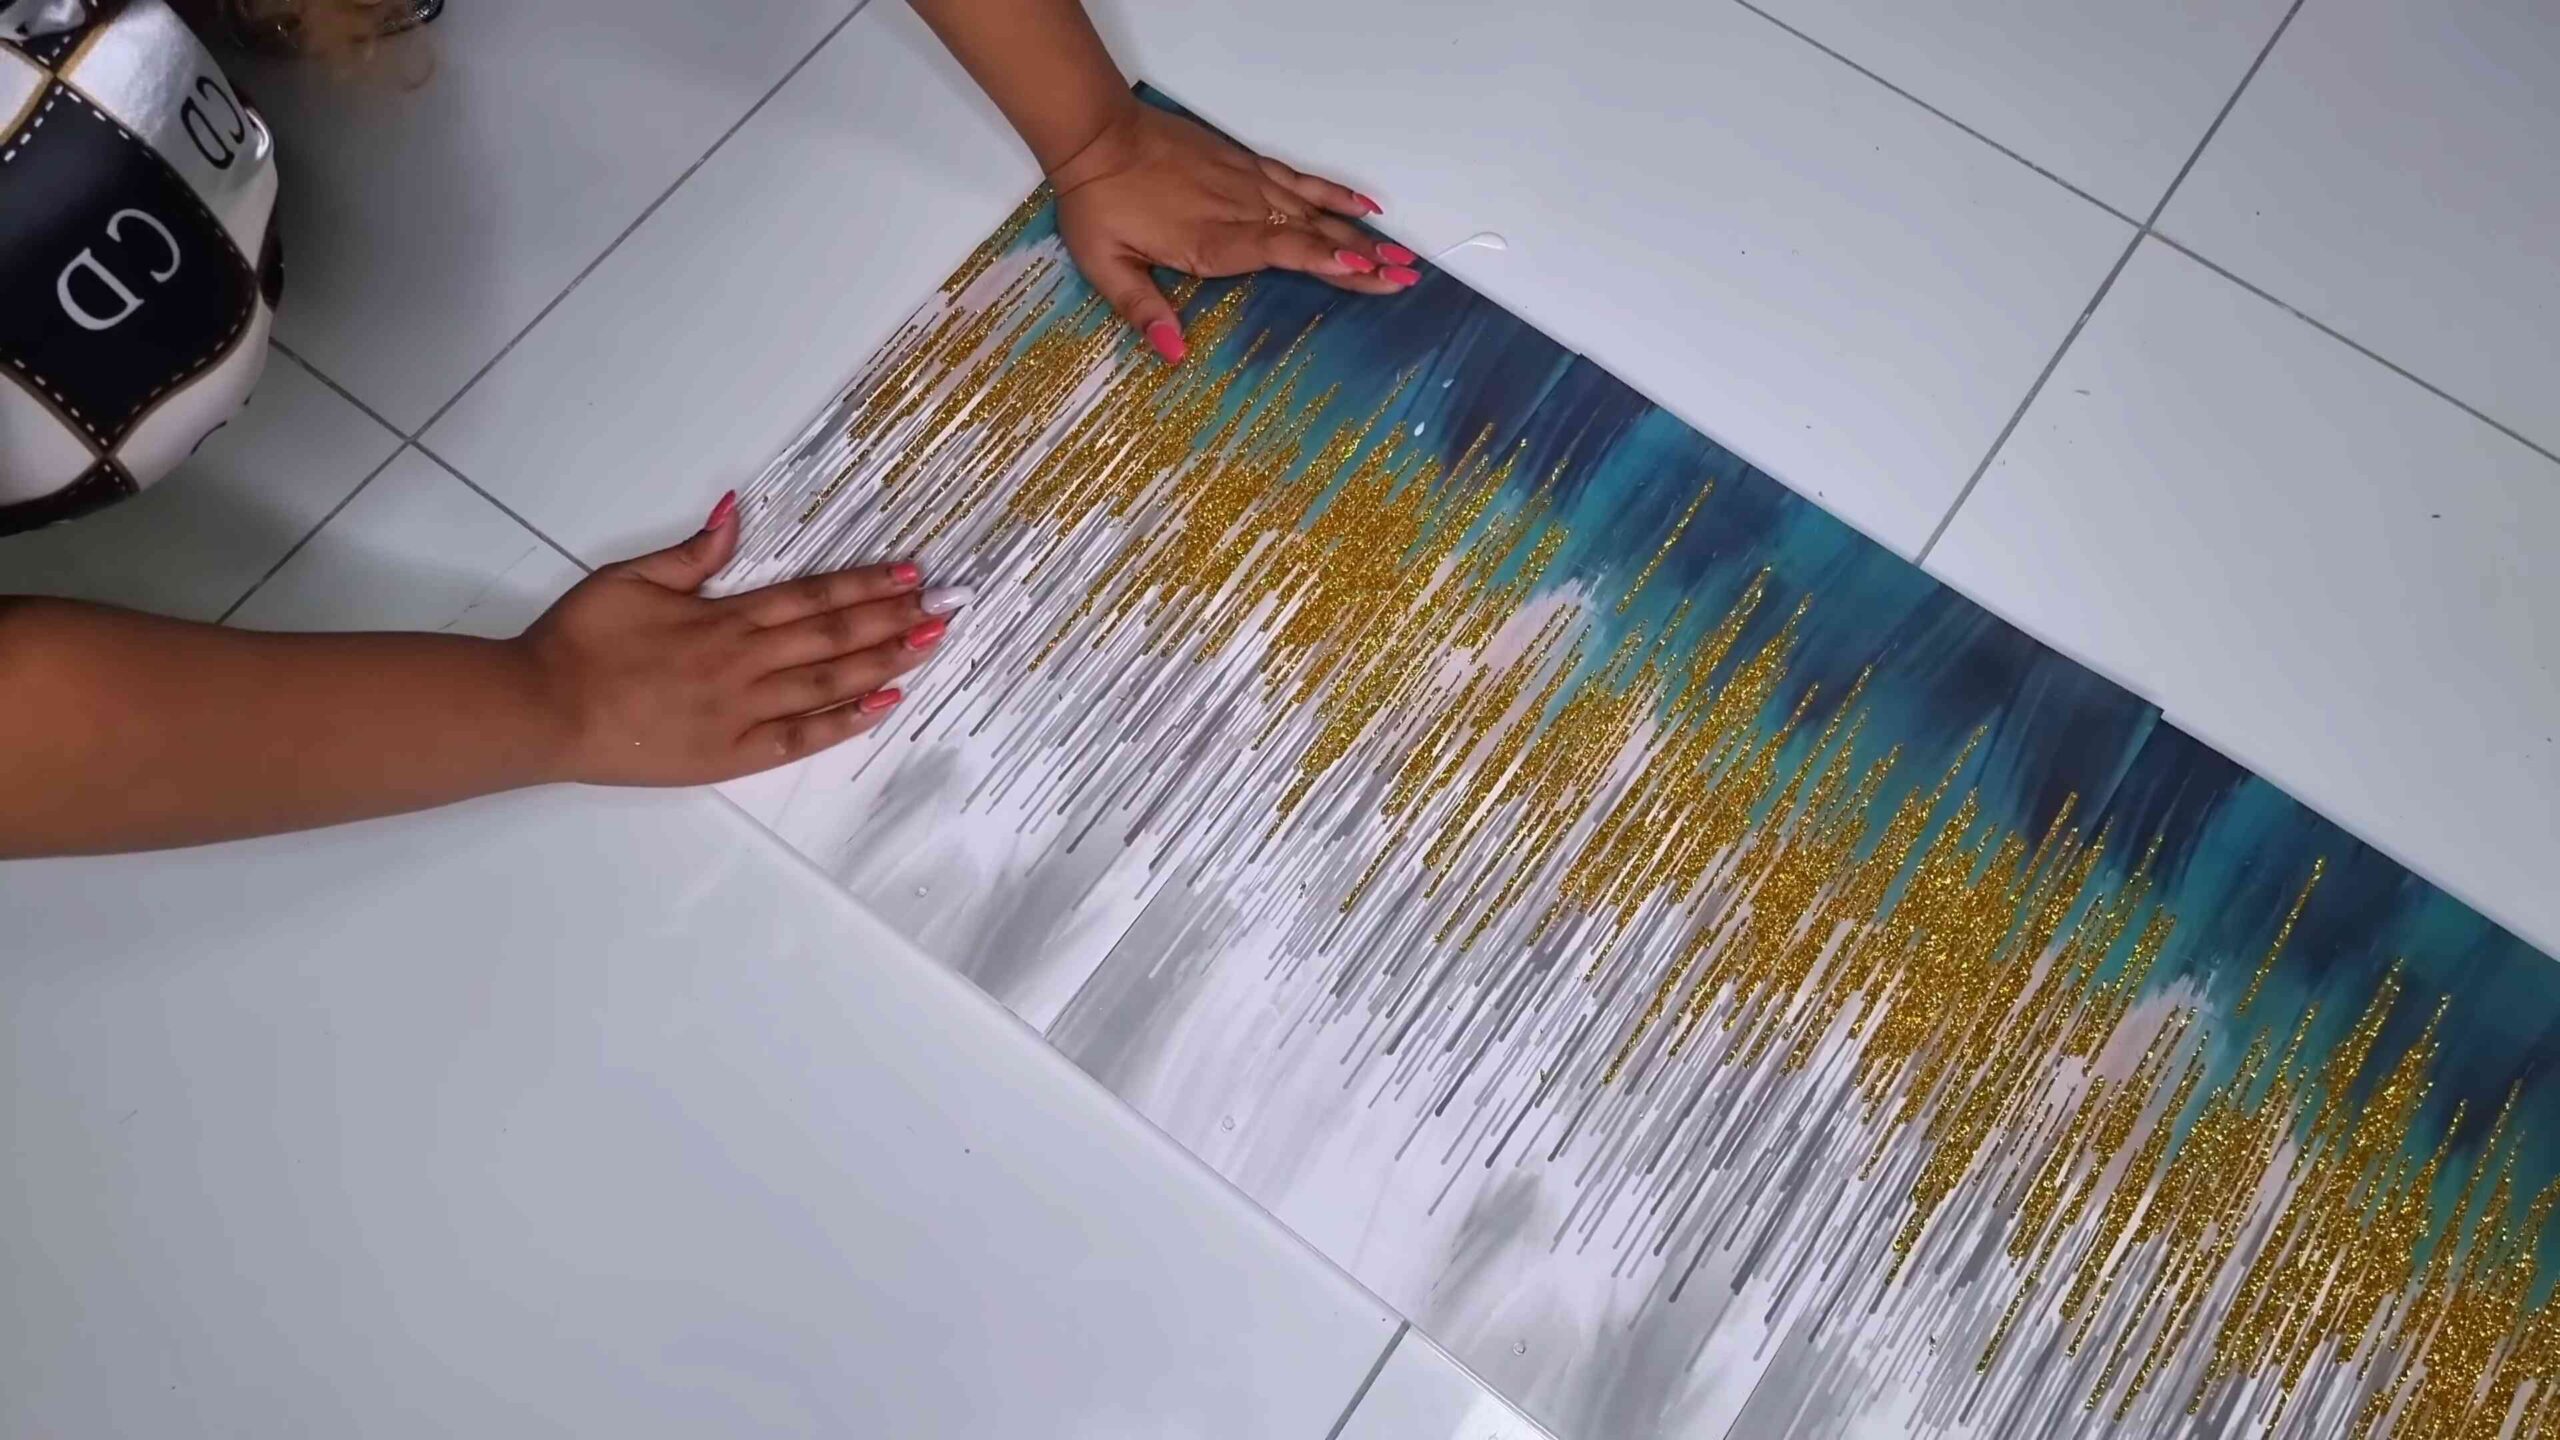
1. Flatten the bags: Carefully unfold the gift bags and flatten them out on a clean, flat surface. Use a ruler or your hand to smooth out any creases or wrinkles.
2. Cut away excess: Trim off any handles, ribbons, or other embellishments that you don’t want to include in your artwork.
3. Select your sections: Decide which parts of the gift bag you want to feature on your canvas. You can use the entire bag design or cut out specific images or patterns.
4. Measure and cut: Use a ruler and pencil to measure and mark the sections you want to cut out. Use scissors or a craft knife to carefully cut along the lines. Remember to cut slightly larger than the canvas size if you plan to wrap the edges.
Applying the Gift Bag to the Canvas:
1. Prepare the canvas: Make sure your canvas is clean and free of dust or debris.
2. Apply a layer of Mod Podge: Using a foam brush or paintbrush, apply a thin, even layer of Mod Podge to the entire surface of the canvas. Don’t overdo it – a thin layer is all you need.
3. Position the gift bag section: Carefully place the cut-out section of the gift bag onto the Mod Podge-covered canvas. Smooth it out with your hands, starting from the center and working your way outwards. This will help to prevent air bubbles and wrinkles.
4. Smooth out wrinkles and bubbles: Use a brayer or a clean cloth to gently smooth out any wrinkles or air bubbles. Work slowly and carefully to avoid tearing the paper.
5. Apply a top coat of Mod Podge: Once the gift bag section is securely adhered to the canvas, apply another thin, even layer of Mod Podge over the entire surface. This will seal the paper and protect it from damage.
6. Let it dry: Allow the Mod Podge to dry completely. This may take several hours, depending on the humidity and the thickness of the Mod Podge.
Wrapping the Edges (Optional):
1. Trim excess paper: If you cut your gift bag section larger than the canvas, trim the excess paper, leaving about an inch of overhang on each side.
2. Apply Mod Podge to the back of the canvas: Apply a thin layer of Mod Podge to the back edges of the canvas.
3. Fold and adhere the edges: Fold the overhanging paper over the edges of the canvas and press it firmly into the Mod Podge. Use a bone folder or a clean cloth to smooth out any wrinkles or creases.
4. Secure the corners: For a neat finish, fold the corners of the paper like you’re wrapping a gift. Secure them with a small amount of Mod Podge.
5. Let it dry: Allow the Mod Podge to dry completely.
Adding Embellishments (Optional):
1. Glitter: While the top coat of Mod Podge is still wet, sprinkle glitter onto specific areas of the design for a touch of sparkle.
2. Ribbon: Glue ribbon around the edges of the canvas or create decorative accents on the surface.
3. Paint: Use acrylic paints to add details, highlights, or shadows to the design.
4. Other embellishments: Get creative with buttons, beads, sequins, or any other embellishments you like.
Creating a Gallery Wall:
1. Plan your layout: Before you start hanging your artwork, lay it out on the floor to experiment with different arrangements.
2. Consider spacing: Decide how much space you want between each piece of art. A general rule of thumb is to leave 2-4 inches between frames.
3. Use a level: Use a level to ensure that your artwork is hanging straight.
4. Hang securely: Use appropriate hanging hardware for the weight of your canvases.
Different Techniques and Ideas:
Creating a Collage
Instead of using a single piece of a gift bag, you can create a collage using multiple pieces from different bags. This is a great way to incorporate a variety of colors, patterns, and images into your artwork.
1. Gather your materials: Collect a variety of gift bags with different designs and colors.
2. Cut out shapes and images: Cut out various shapes, images, and patterns from the gift bags.
3. Arrange the pieces: Arrange the cut-out pieces on the canvas to create a collage. Experiment with different layouts until you find one you like.
4. Adhere the pieces: Use Mod Podge to adhere the pieces to the canvas, overlapping them as desired.
5. Seal the collage: Apply a top coat of Mod Podge to seal the collage and protect it from damage.
Using Different Canvas Shapes
Don’t limit yourself to square or rectangular canvases. Experiment with different shapes, such as round, oval, or even hexagonal canvases. This can add visual interest to your gallery wall.
1. Choose your canvas shape: Select a canvas shape that complements your gift bag designs.
2. Prepare the gift bag: Cut out a section of the gift bag that is large enough to cover the canvas.
3. Adhere the gift bag: Use Mod Podge to adhere the gift bag to the canvas, smoothing out any wrinkles or bubbles.
4. Trim the edges: Trim the excess paper around the edges of the canvas.
5. Seal the artwork: Apply a top coat of Mod Podge to seal the artwork and protect it from damage.
Adding Texture
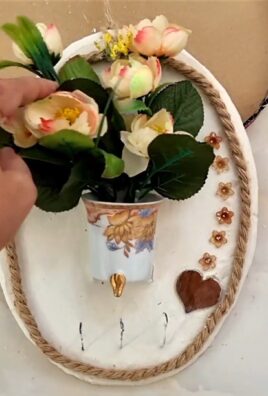
You can add texture to your gift bag wall art by incorporating different materials, such as fabric, lace, or even dried flowers.
1. Gather your materials: Collect a variety of textured materials that complement your gift bag designs.
2. Adhere the materials: Use Mod Podge or hot glue to adhere the materials to the canvas, layering them as desired.
3. Seal the artwork: Apply a top coat of Mod Podge to seal the artwork and protect it from damage. Be careful when applying Mod Podge over delicate materials like dried flowers.
Creating a Monogram
Personalize your wall art by creating a monogram using gift bag paper.
1. Choose your letter: Select the letter you want to use for your monogram.
2. Cut out the letter: Cut out the letter from a piece of gift bag paper. You can use a stencil or freehand it.
3. Adhere the letter: Use Mod Podge to adhere the letter to the canvas.
4. Add embellishments: Add embellishments around the letter, such as glitter, ribbon, or paint.
5. Seal the artwork: Apply a top coat of Mod Podge to seal the artwork and protect it from damage.
Distressing the Edges
For a more rustic or vintage look, you can distress the edges of your gift bag wall art.
1. Adhere the gift bag: Adhere the gift bag to the canvas using Mod Podge.
2. Sand the edges: Once the Mod Podge is dry, use sandpaper to lightly sand the edges of the gift bag. This will create a distressed look.
3. Apply a stain (optional): If desired, you can apply a stain to the edges of the canvas to further enhance the distressed look.
4. Seal the artwork: Apply a top coat of Mod Podge to seal the artwork and protect it from damage.
Conclusion
So, there you have it! Transforming those beautiful, often discarded, gift bags into stunning wall art is not just a craft project; it’s a statement. It’s a statement about sustainability, about creativity, and about personalizing your space with pieces that truly reflect your style and memories. This DIY gift bag wall art project is a must-try for several compelling reasons.
Firstly, it’s incredibly budget-friendly. We all accumulate gift bags, especially around holidays and birthdays. Instead of letting them gather dust in a closet or, worse, end up in the landfill, you’re giving them a new lease on life. You’re essentially creating beautiful art from materials you already have, saving you money and reducing waste.
Secondly, it’s a fantastic way to add a personal touch to your home decor. Store-bought art can be beautiful, but it often lacks the unique character and sentimentality of something you’ve created yourself. Each piece of gift bag art tells a story – the story of the gift it once held, the occasion it celebrated, and now, the story of your creative vision.
Thirdly, the possibilities are truly endless. You can adapt this project to suit any style or aesthetic. Prefer a minimalist look? Choose gift bags with simple, elegant designs and arrange them in a clean, geometric pattern. Love a more eclectic vibe? Mix and match bags with different colors, patterns, and textures for a vibrant and eye-catching display.
Consider these variations to further personalize your DIY gift bag wall art:
* Frame it up: Instead of directly adhering the gift bag pieces to a canvas or board, frame them individually for a more polished and gallery-worthy look. You can use thrift store frames or even create your own using reclaimed wood.
* Add embellishments: Incorporate other craft supplies like beads, buttons, ribbons, or even dried flowers to add texture and dimension to your artwork.
* Create a mosaic: Cut the gift bags into small, irregular pieces and arrange them to create a mosaic pattern. This is a great way to use up even the smallest scraps of gift bag material.
* Light it up: Integrate LED strip lights behind the canvas or within the frames to create a stunning illuminated artwork. This is especially effective with gift bags that have metallic or iridescent accents.
* Seasonal swaps: Create multiple sets of gift bag art that you can swap out seasonally to keep your decor fresh and festive.
This project is not just about creating art; it’s about unleashing your inner artist, experimenting with different techniques, and having fun in the process. It’s a chance to transform something ordinary into something extraordinary, and to create a piece of art that is truly unique to you.
We wholeheartedly encourage you to try this DIY gift bag wall art project. It’s a rewarding and fulfilling experience that will not only beautify your home but also give you a sense of accomplishment. Once you’ve created your masterpiece, we would absolutely love to see it! Share your creations with us on social media using [Your Hashtag] and let us know what you think. We can’t wait to see the amazing and creative ways you transform those gift bags into stunning works of art! Let your imagination run wild, and happy crafting!
FAQ
What kind of gift bags work best for this project?
Almost any type of gift bag can be used for DIY wall art, but some are better suited than others. Bags with thicker paper stock will generally hold up better and create a more durable finished product. Bags with interesting patterns, textures, or metallic accents are ideal for adding visual interest to your artwork. Avoid using bags that are heavily creased or damaged, as these may be difficult to work with. Glossy or laminated bags can also be a bit trickier to adhere to surfaces, so you may need to use a stronger adhesive. Experiment with different types of bags to see what works best for your desired aesthetic.
What kind of adhesive should I use?
The best adhesive to use will depend on the type of surface you’re adhering the gift bag pieces to. For canvas or wood panels, a multi-purpose craft glue or Mod Podge is a good option. These adhesives are strong enough to hold the paper in place but also allow for some flexibility if you need to reposition the pieces. For smoother surfaces like glass or metal, you may need to use a stronger adhesive like epoxy or super glue. Always test the adhesive on a small, inconspicuous area first to ensure that it doesn’t damage the gift bag or the surface you’re adhering it to. Hot glue can also be used, but be careful not to use too much, as it can create bumps and unevenness.
How do I prevent the gift bag pieces from wrinkling or bubbling?
To prevent wrinkling or bubbling, it’s important to apply the adhesive evenly and smoothly. Use a brush or sponge to spread a thin layer of adhesive over the surface, and then carefully press the gift bag piece into place. Use a brayer or rolling pin to smooth out any air bubbles or wrinkles. If you’re using Mod Podge, you can also apply a thin layer over the top of the gift bag pieces to seal them and prevent them from lifting. Allow the adhesive to dry completely before adding any additional layers or embellishments. Working in small sections can also help to prevent the adhesive from drying out too quickly and causing wrinkles.
Can I use this technique to create other types of wall art?
Absolutely! The basic principles of this DIY gift bag wall art project can be applied to create a wide variety of other types of wall art. You can use different materials like fabric scraps, magazine clippings, or even old maps to create unique and personalized pieces. You can also experiment with different techniques like decoupage, collage, or mosaic to achieve different effects. The key is to let your creativity guide you and to have fun experimenting with different materials and techniques. Consider using stencils, stamps, or paint to add additional details and embellishments to your artwork.
How do I protect my finished gift bag wall art?
To protect your finished gift bag wall art from dust, dirt, and fading, you can apply a sealant or varnish. A clear acrylic sealant is a good option for protecting the paper from moisture and UV damage. You can also use a varnish to add a glossy or matte finish to your artwork. Apply the sealant or varnish in thin, even layers, allowing each layer to dry completely before applying the next. Be sure to choose a sealant or varnish that is compatible with the adhesive you used. You can also frame your artwork behind glass or acrylic to provide additional protection.
What if I don’t have enough gift bags?
If you don’t have enough gift bags to complete your project, don’t worry! You can supplement your collection by asking friends and family to save their gift bags for you. You can also check thrift stores or online marketplaces for used gift bags. Alternatively, you can purchase new gift bags from craft stores or online retailers. Look for bags that are on sale or clearance to save money. You can also use other types of paper, such as wrapping paper, scrapbook paper, or even newspaper, to create a similar effect.
How do I clean my gift bag wall art?
To clean your gift bag wall art, simply dust it with a soft cloth or feather duster. Avoid using harsh chemicals or abrasive cleaners, as these can damage the paper and the adhesive. If there are any stubborn stains, you can try gently wiping them with a damp cloth. Be sure to dry the artwork thoroughly after cleaning. If your artwork is framed behind glass or acrylic, you can clean the glass or acrylic with a glass cleaner.
Leave a Comment