

DIY Globe Chandelier: Ever dreamed of illuminating your space with a touch of wanderlust and a whole lot of personality? I know I have! Forget those generic, mass-produced light fixtures. We’re diving headfirst into a creative project that’s not only budget-friendly but also a fantastic conversation starter: crafting your very own DIY Globe Chandelier!
Globes, once essential tools for navigation and exploration, have evolved into cherished decorative items, evoking a sense of adventure and global connection. Think about it – for centuries, globes have adorned libraries and studies, whispering tales of faraway lands and inspiring dreams of exploration. Now, we’re repurposing this classic symbol into a stunning light fixture that will transform any room.
Why a DIY Globe Chandelier, you ask? Well, let’s be honest, unique lighting can be incredibly expensive! But more than that, this project allows you to express your individuality and create something truly one-of-a-kind. Plus, it’s a fantastic way to upcycle an old globe you might have lying around, giving it a new lease on life. I’m going to show you how to create a beautiful and functional piece of art that reflects your passion for travel and adds a warm, inviting glow to your home. Get ready to embark on this exciting DIY adventure – you won’t regret it!
DIY Globe Chandelier: Light Up Your World!
Okay, globe lovers and DIY enthusiasts, gather ’round! I’m about to show you how to transform a simple globe into a stunning, one-of-a-kind chandelier. This project is a little involved, but trust me, the end result is totally worth it. Imagine the conversations this unique piece will spark!
Materials You’ll Need:
* An old globe (the bigger, the better!)
* Pendant light kit (includes a light socket, cord, and ceiling canopy)
* Drill with various sized drill bits (including a hole saw bit sized for your pendant light kit’s cord)
* Safety glasses
* Gloves
* Sandpaper (medium grit)
* Primer (optional, but recommended for a smoother finish)
* Spray paint (your choice of color!)
* Clear coat sealant (optional, for extra protection)
* Wire strippers
* Wire connectors (wire nuts)
* Electrical tape
* Measuring tape or ruler
* Pencil or marker
* Drop cloth or newspaper
* Ladder (if needed for installation)
* Screwdriver
* Patience (seriously, you’ll need it!)
Safety First!
Before we dive in, let’s talk safety. Electricity is no joke, so if you’re not comfortable working with wiring, please enlist the help of a qualified electrician. Always turn off the power at the breaker box before working with any electrical components. And wear those safety glasses – you don’t want any globe shrapnel in your eyes!
Preparing the Globe:
This is where the real magic begins! We need to get that globe ready for its transformation.
1. Disassemble the Globe: Most globes are held together with a seam around the equator. Carefully try to pry it open. Sometimes, they’re glued, so you might need to gently use a craft knife or thin blade to separate the halves. Be patient and avoid forcing it, as you don’t want to crack the globe.
2. Mark the Hole for the Cord: Decide where you want the pendant light cord to enter the globe. Usually, this is at the top (the North Pole area). Use your measuring tape and pencil to mark the center point.
3. Drill the Hole: This is a crucial step, so take your time. Start with a small drill bit to create a pilot hole. This will prevent the larger hole saw bit from wandering. Then, attach the hole saw bit to your drill and carefully drill through the globe at the marked point. Go slowly and apply even pressure. The material of the globe (plastic, cardboard, etc.) will determine how easily it drills. If it’s plastic, it might melt a little, so let the drill cool down periodically.
4. Sand the Edges: Once you’ve drilled the hole, use sandpaper to smooth out any rough edges around the hole. This will prevent the cord from being damaged.
5. Prepare for Painting (Optional): If your globe has a glossy finish, you might want to lightly sand the entire surface with medium-grit sandpaper. This will help the primer and paint adhere better. Wipe away any dust with a damp cloth.
Painting the Globe:
Now for the fun part – giving your globe a new look!
1. Prime the Globe (Optional): If you sanded the globe, apply a thin, even coat of primer. This will create a smooth surface for the paint and help it adhere better. Let the primer dry completely according to the manufacturer’s instructions.
2. Spray Paint the Globe: Choose your favorite spray paint color! I personally love metallic gold or a deep navy blue for a sophisticated look. Shake the can well and hold it about 10-12 inches away from the globe. Apply thin, even coats, overlapping each pass slightly. Avoid spraying too much paint in one area, as this can cause drips. Let each coat dry completely before applying the next. You’ll probably need 2-3 coats for full coverage.
3. Apply Clear Coat (Optional): Once the paint is completely dry, you can apply a clear coat sealant to protect the finish and add a bit of shine. Follow the same spraying technique as with the paint.
Assembling the Chandelier:
Time to put it all together!
1. Prepare the Pendant Light Kit: Follow the instructions that came with your pendant light kit. Usually, this involves threading the cord through the canopy and then through the light socket.
2. Thread the Cord Through the Globe: Carefully thread the cord of the pendant light kit through the hole you drilled in the globe. Make sure the light socket is positioned inside the globe.
3. Secure the Light Socket: Most pendant light kits have a mechanism to secure the light socket in place. This might involve tightening a screw or using a clamp. Make sure the socket is firmly attached so it doesn’t dangle inside the globe.
4. Reassemble the Globe: Carefully align the two halves of the globe and snap them back together. If they don’t stay together on their own, you can use a small amount of glue to secure them. Be careful not to get glue on the painted surface.
Wiring and Installation:
This is where things get a little more technical. Remember, if you’re not comfortable with electrical work, call a professional!
1. Turn Off the Power: Before you touch any wires, turn off the power to the circuit at the breaker box. This is absolutely essential for your safety.
2. Identify the Wires: In your ceiling electrical box, you’ll typically find three wires: a black (hot) wire, a white (neutral) wire, and a green or bare copper (ground) wire. The pendant light kit will also have corresponding wires.
3. Connect the Wires: Use wire connectors (wire nuts) to connect the wires from the pendant light kit to the wires in the ceiling electrical box. Match the colors: black to black, white to white, and green/bare copper to green/bare copper. Twist the wires together securely and then screw on the wire connectors.
4. Secure the Connections: Wrap electrical tape around the wire connectors to further secure the connections and prevent any exposed wires.
5. Attach the Canopy: Attach the canopy of the pendant light kit to the ceiling electrical box. This usually involves screwing it into a mounting bracket.
6. Install a Light Bulb: Choose a light bulb that’s appropriate for the light socket and the size of the globe. I recommend using an LED bulb, as they’re energy-efficient and don’t get too hot.
7. Turn On the Power: Once everything is connected and secured, turn the power back on at the breaker box.
8. Test the Chandelier: Flip the switch and admire your handiwork! If the light doesn’t turn on, double-check all your connections and make sure the light bulb is working.
Troubleshooting Tips:
* Globe Won’t Stay Together: If the two halves of the globe won’t stay together, try using a stronger glue or adding some small screws to hold them in place.
* Paint is Dripping: If you get drips in your paint, let it dry completely and then sand them down with fine-grit sandpaper. Apply another thin coat of paint.
* Light Doesn’t Turn On: Double-check all your wiring connections and make sure the light bulb is working. If you’re still having trouble, consult a qualified electrician.
* Cord is Too Short/Long: Most pendant light kits allow you to adjust the length of the cord. Follow the instructions that came with your kit to adjust the cord to the desired length.
Variations and Customization:
The beauty of this DIY project is that you can customize it to your heart’s content! Here are a few ideas:
* Decoupage: Instead of painting the globe, you could decoupage it with maps, vintage paper, or fabric scraps.
* Add Crystals or Beads: Glue crystals or beads around the equator or along the meridians for a glamorous touch.
* Use a Different Type of Globe: Try using a vintage globe, a celestial globe, or even an inflatable globe.
* Create a Cluster Chandelier: Hang multiple globe chandeliers at different heights for a dramatic effect.
* Distress the Paint: Sand the edges of the painted globe to create a distressed, vintage look.
Final Thoughts:
There you have it! Your very own DIY globe chandelier. I know it seems like a lot of steps, but trust me, the feeling of accomplishment when you flip that switch and see your creation illuminated is totally worth it. Plus, you’ll have a unique and eye-catching piece that will be the envy of all your friends. Happy crafting!
Conclusion
So, there you have it! Transforming an ordinary globe into a stunning, personalized chandelier is not just a craft project; it’s an opportunity to illuminate your space with creativity and a touch of wanderlust. This DIY globe chandelier project is a must-try for several compelling reasons.
First and foremost, it’s incredibly budget-friendly. Compared to purchasing a pre-made chandelier, repurposing a globe significantly reduces costs. You’re essentially giving new life to an item that might otherwise be collecting dust or destined for the landfill. This makes it a sustainable and eco-conscious choice, aligning with a growing desire for upcycling and mindful consumption.
Secondly, the level of customization is unparalleled. You have complete control over the globe’s design, the lighting fixtures, and the overall aesthetic. Want a vintage-inspired chandelier with Edison bulbs? Go for it! Prefer a modern, minimalist look with sleek LED lights? The possibilities are endless. You can even personalize the globe itself by adding paint, decoupage, or other embellishments to match your existing decor. This level of personalization ensures that your chandelier is a unique reflection of your personal style and taste.
Thirdly, it’s a conversation starter. A DIY globe chandelier is not something you see every day. It’s a unique and eye-catching piece that will undoubtedly spark curiosity and admiration from guests. It adds a touch of whimsy and sophistication to any room, making it a focal point that elevates the overall ambiance.
But the benefits don’t stop there. This project is also incredibly rewarding. The satisfaction of creating something beautiful and functional with your own hands is immeasurable. It’s a chance to unleash your inner artist, learn new skills, and take pride in your craftsmanship.
Looking for variations? Consider using different types of globes. An antique globe will lend a vintage charm, while a modern globe with vibrant colors will create a more contemporary feel. You can also experiment with different lighting arrangements. String lights draped inside the globe create a soft, ambient glow, while a single pendant light provides a more focused illumination. For a truly dramatic effect, consider using colored light bulbs to cast a vibrant hue throughout the room. Another variation is to cut out specific countries or continents to create a unique pattern of light and shadow. You could also add crystals or beads to the chandelier for a touch of sparkle and glamour.
We encourage you to embrace your creativity and give this DIY globe chandelier project a try. Don’t be afraid to experiment and personalize it to your liking. The most important thing is to have fun and enjoy the process. Once you’ve completed your masterpiece, we’d love to see it! Share your creations with us on social media using #DIYGlobeChandelier. We can’t wait to see what you come up with! Let your imagination soar and illuminate your world with this unique and captivating DIY project. It’s time to turn that old globe into a stunning statement piece that will brighten your home and your spirit.
Frequently Asked Questions
What kind of globe is best for a DIY chandelier?
The best type of globe for a DIY chandelier depends on the look you’re going for. For a vintage aesthetic, an antique globe with aged paper and muted colors is ideal. These globes often have a charming, weathered appearance that adds character to the chandelier. However, antique globes can be more fragile, so handle them with care.
For a more modern look, a contemporary globe with vibrant colors and clear markings is a great choice. These globes are typically made of durable plastic and are easier to work with. You can also find globes with special features, such as raised relief or illuminated surfaces, which can add an interesting dimension to your chandelier.
Ultimately, the best globe is one that fits your personal style and complements your existing decor. Consider the size of the globe as well. A larger globe will make a bolder statement, while a smaller globe will be more subtle. Make sure the globe is sturdy enough to support the weight of the lighting fixtures.
What type of lighting should I use for my globe chandelier?
The type of lighting you use will significantly impact the overall look and feel of your DIY globe chandelier. Here are a few options to consider:
* Edison Bulbs: These vintage-style bulbs emit a warm, amber glow and have a distinctive filament design that adds a touch of nostalgia. They’re perfect for creating a cozy and inviting atmosphere.
* LED Lights: LED lights are energy-efficient, long-lasting, and available in a wide range of colors and brightness levels. They’re a great choice for creating a modern and eco-friendly chandelier.
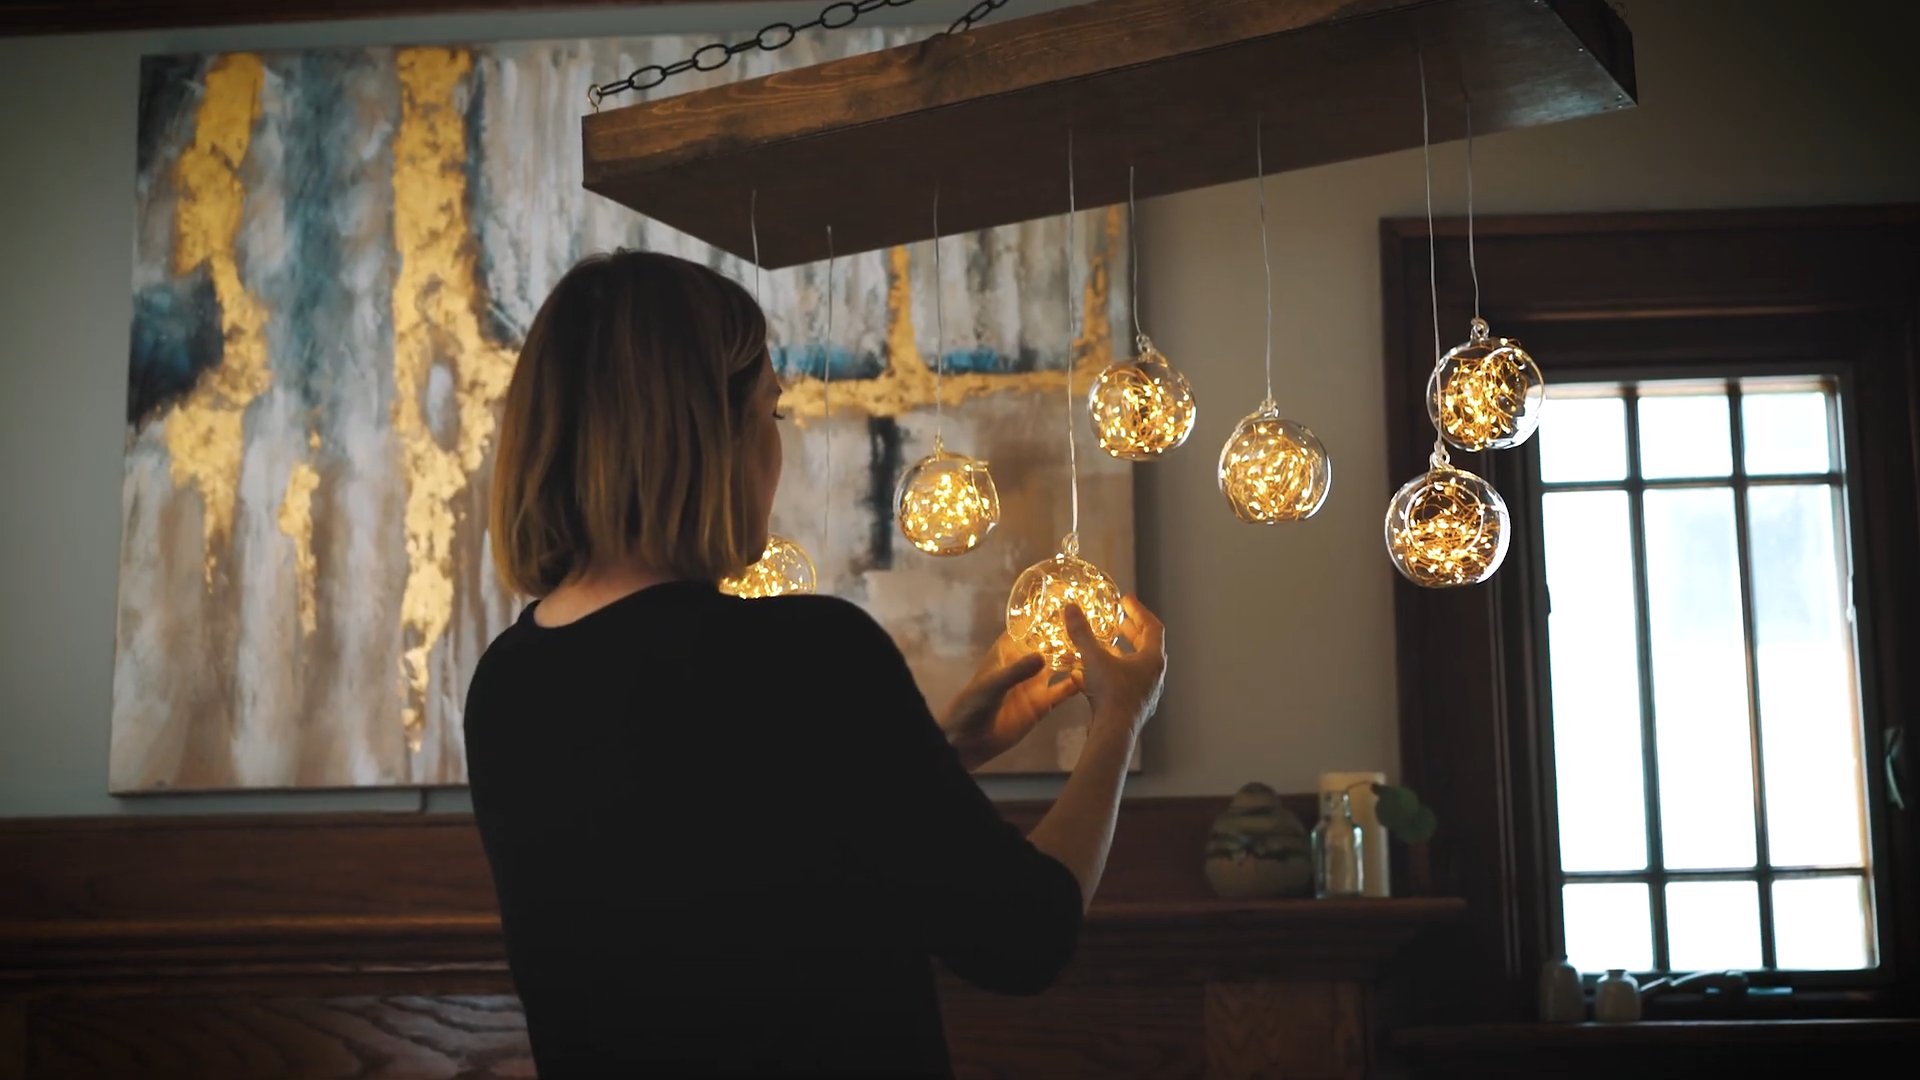
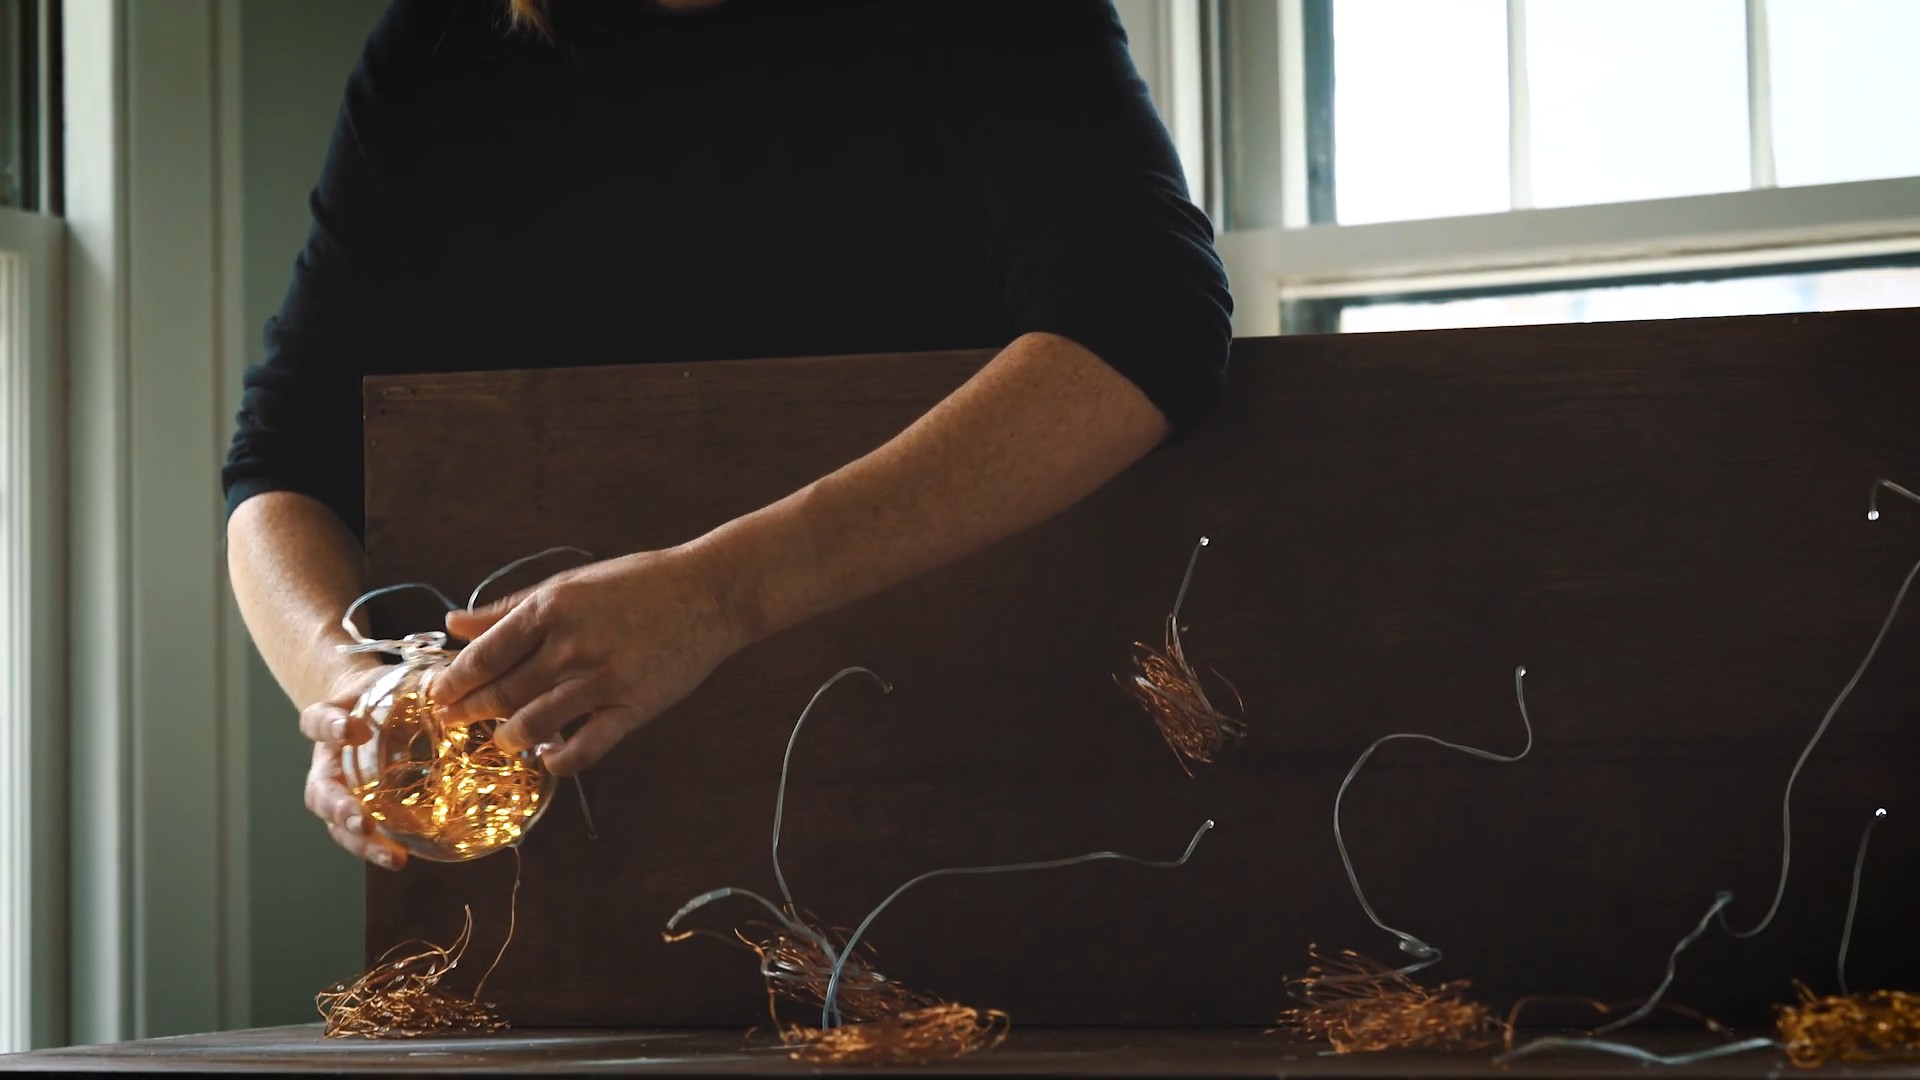
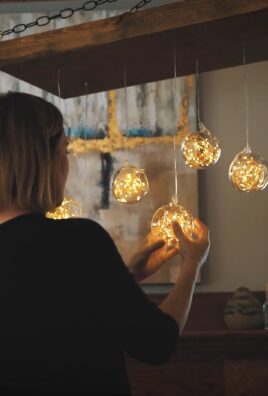
* String Lights: String lights draped inside the globe create a soft, ambient glow that’s perfect for creating a relaxing and romantic atmosphere.
* Pendant Lights: A single pendant light suspended from the center of the globe provides a more focused illumination and can be used as a reading light or task light.
Consider the size of your globe and the desired level of brightness when choosing your lighting. Also, make sure the lighting fixtures are compatible with the globe’s material and construction.
How do I safely drill holes in the globe?
Drilling holes in a globe requires caution and the right tools. Here’s a step-by-step guide to ensure a safe and successful process:
1. Gather Your Supplies: You’ll need a drill, drill bits (start with a small bit and gradually increase the size), safety glasses, a marker, and masking tape.
2. Mark the Drill Points: Use a marker to mark the exact locations where you want to drill holes.
3. Apply Masking Tape: Place masking tape over the marked areas. This will help prevent the drill bit from slipping and cracking the globe.
4. Start with a Small Bit: Begin by drilling a pilot hole with a small drill bit. This will create a guide for the larger bit.
5. Gradually Increase the Size: Slowly increase the size of the drill bit until you reach the desired diameter.
6. Drill Slowly and Steadily: Apply gentle pressure and drill slowly and steadily. Avoid forcing the drill bit, as this can cause the globe to crack.
7. Wear Safety Glasses: Always wear safety glasses to protect your eyes from flying debris.
If you’re working with a fragile globe, consider using a rotary tool with a small cutting wheel instead of a drill. This will give you more control and reduce the risk of cracking.
How do I hang the globe chandelier safely?
Hanging your DIY globe chandelier safely is crucial. Here’s how to do it:
1. Choose a Sturdy Mounting Point: Select a ceiling joist or a properly installed electrical box that can support the weight of the chandelier.
2. Use Appropriate Hardware: Use a heavy-duty hook or chain that’s rated to hold the weight of the chandelier.
3. Ensure Proper Wiring: If you’re wiring the chandelier directly into the ceiling, make sure the power is turned off at the breaker box. If you’re not comfortable working with electrical wiring, hire a qualified electrician.
4. Secure the Globe: Make sure the globe is securely attached to the hanging hardware. Use strong adhesive or screws to reinforce the connection if necessary.
5. Test the Stability: Before fully installing the chandelier, test its stability by gently shaking it. Make sure it’s securely attached and doesn’t wobble.
Always follow local building codes and regulations when installing electrical fixtures. If you have any doubts about your ability to safely install the chandelier, consult a professional.
Can I use a paper globe for this project?
While a paper globe can be used, it requires extra care and consideration. Paper globes are more fragile and susceptible to damage from heat and moisture. If you choose to use a paper globe, here are some tips:
* Use Low-Wattage LED Lights: LED lights generate very little heat, which is essential for preventing the paper from scorching or yellowing.
* Apply a Protective Coating: Consider applying a clear sealant or varnish to the paper globe to protect it from moisture and dust.
* Reinforce the Globe: Reinforce the inside of the globe with cardboard or plastic to provide extra support.
* Handle with Care: Be extra gentle when drilling holes or attaching hardware to the paper globe.
Keep in mind that a paper globe chandelier will likely be less durable than one made from plastic or metal. It’s best suited for decorative purposes and should be handled with care.

Leave a Comment