

DIY hard water spot removal can feel like an endless battle, right? I totally get it! You scrub, you wipe, and yet those stubborn, chalky stains just keep clinging to your shower doors, faucets, and even your beloved houseplants. It’s frustrating, I know! But don’t despair, because I’m here to share some simple, effective, and budget-friendly DIY tricks to banish those pesky hard water spots for good.
Hard water, rich in minerals like calcium and magnesium, has been a household nuisance for centuries. In ancient Rome, aqueducts were built to bring fresh water to the cities, but even then, mineral deposits were a constant challenge. Today, while we have advanced plumbing, the problem persists, and those minerals leave their mark on everything they touch.
Why is mastering DIY hard water spot removal so important? Well, beyond the aesthetic annoyance, hard water buildup can actually damage your fixtures over time, reducing their lifespan and efficiency. Plus, those spots can make your home feel less clean and inviting, even if you’ve just spent hours tidying up. So, let’s dive into some easy-to-follow DIY solutions that will have your home sparkling in no time, without breaking the bank or resorting to harsh chemicals. Get ready to say goodbye to those stubborn spots and hello to a gleaming, fresh space!
DIY Hard Water Spot Removal: Say Goodbye to Stubborn Stains!
Okay, so you’re battling those annoying hard water spots, right? I totally get it. They’re the bane of every homeowner’s existence, especially if you have hard water like I do. But don’t despair! You don’t need to spend a fortune on fancy cleaners. I’m going to walk you through some super effective DIY methods to banish those spots for good. Let’s get started!
Understanding Hard Water Spots
Before we dive into the solutions, let’s quickly understand what we’re dealing with. Hard water contains high levels of minerals like calcium and magnesium. When this water evaporates, it leaves behind those unsightly white or cloudy deposits – those are your hard water spots. They’re particularly noticeable on glass shower doors, faucets, sinks, and even your car.
The Arsenal: Gathering Your Supplies
The beauty of these DIY methods is that you probably already have most of the ingredients at home. Here’s what you’ll need:
* White Vinegar: This is your main weapon! Its acidity helps dissolve the mineral deposits.
* Baking Soda: A gentle abrasive that helps scrub away stubborn spots.
* Lemon Juice: Another acidic powerhouse, great for polishing and adding a fresh scent.
* Spray Bottles: For easy application of your cleaning solutions.
* Microfiber Cloths: Essential for streak-free cleaning.
* Old Toothbrush: Perfect for scrubbing tight corners and crevices.
* Squeegee: For shower doors and windows to prevent future spots.
* Distilled Water: For diluting solutions and rinsing.
* Gloves: To protect your hands, especially when dealing with vinegar.
* Optional: Essential oils (like lemon or tea tree) for a pleasant scent.
Method 1: The Vinegar Powerhouse
This is my go-to method for tackling most hard water spots. Vinegar is a natural descaler and works wonders.
Step-by-Step Instructions:
1. Prepare the Vinegar Solution: In a spray bottle, mix equal parts white vinegar and distilled water. For really tough spots, you can use undiluted vinegar, but always test it in an inconspicuous area first to make sure it doesn’t damage the surface.
2. Spray the Affected Area: Generously spray the vinegar solution onto the hard water spots. Make sure the entire area is covered.
3. Let it Sit: This is crucial! Allow the vinegar solution to sit for at least 15-30 minutes. For really stubborn spots, you can let it sit for up to an hour. The longer it sits, the better it will dissolve the mineral deposits.
4. Scrub Gently: Using a microfiber cloth or a non-abrasive sponge, gently scrub the affected area. For tight corners and crevices, use an old toothbrush. You should see the hard water spots starting to loosen and disappear.
5. Rinse Thoroughly: Rinse the area thoroughly with clean water. Make sure to remove all traces of the vinegar solution.
6. Dry and Polish: Use a clean, dry microfiber cloth to dry and polish the surface. This will prevent new water spots from forming and leave a sparkling finish.
7. Repeat if Necessary: If some spots remain, repeat the process. Sometimes it takes a couple of tries to completely remove stubborn hard water stains.
Method 2: Baking Soda Paste for Stubborn Spots
When vinegar alone isn’t enough, baking soda comes to the rescue! Its mild abrasive properties help scrub away those extra-tough spots.
Step-by-Step Instructions:
1. Make a Baking Soda Paste: In a small bowl, mix baking soda with just enough water to form a thick paste. The consistency should be similar to toothpaste.
2. Apply the Paste: Apply the baking soda paste directly to the hard water spots. Use your fingers or a clean cloth to spread it evenly.
3. Let it Sit: Allow the paste to sit for 15-20 minutes. This gives the baking soda time to loosen the mineral deposits.
4. Scrub Gently: Using a microfiber cloth or a non-abrasive sponge, gently scrub the area. You might need to apply a little more pressure than with the vinegar solution.
5. Rinse Thoroughly: Rinse the area thoroughly with clean water. Make sure to remove all traces of the baking soda paste.
6. Dry and Polish: Use a clean, dry microfiber cloth to dry and polish the surface.
7. Vinegar Rinse (Optional): For extra shine and to neutralize any remaining baking soda residue, you can follow up with a quick rinse of diluted vinegar (equal parts vinegar and water). Then, dry and polish again.
Method 3: Lemon Juice for a Fresh Scent and Extra Shine
Lemon juice is another fantastic natural cleaner that’s especially great for polishing chrome and stainless steel. Plus, it leaves a lovely fresh scent!
Step-by-Step Instructions:
1. Prepare the Lemon Juice: You can use fresh lemon juice or bottled lemon juice. If using fresh lemons, squeeze the juice into a bowl.
2. Apply the Lemon Juice: You can apply the lemon juice in a few different ways:
* Spray Bottle: Pour the lemon juice into a spray bottle and spray it directly onto the hard water spots.
* Cloth Application: Dip a microfiber cloth into the lemon juice and apply it to the affected area.
* Lemon Half: For faucets and showerheads, you can cut a lemon in half and rub the cut side directly onto the hard water spots.
3. Let it Sit: Allow the lemon juice to sit for 15-30 minutes.
4. Scrub Gently: Using a microfiber cloth or a non-abrasive sponge, gently scrub the area.
5. Rinse Thoroughly: Rinse the area thoroughly with clean water.
6. Dry and Polish: Use a clean, dry microfiber cloth to dry and polish the surface. You’ll be amazed at the shine!
Method 4: Preventing Future Hard Water Spots
Okay, so you’ve conquered the existing hard water spots. Now, let’s talk about prevention! This is key to keeping your surfaces sparkling clean and minimizing future cleaning efforts.
* Squeegee After Showers: This is the single most effective thing you can do to prevent hard water spots on your shower doors and walls. After each shower, use a squeegee to remove excess water. It takes just a few seconds, but it makes a huge difference.
* Wipe Down Surfaces Regularly: After using sinks and faucets, wipe them down with a dry cloth to remove any water droplets.
* Install a Water Softener: If you have extremely hard water, consider investing in a water softener. This will remove the minerals that cause hard water spots and improve the overall quality of your water.
* Use a Water Filter: A water filter can help reduce the mineral content in your water, although it won’t be as effective as a water softener.
* Apply a Water Repellent: There are water repellent sprays specifically designed for shower doors and glass surfaces. These sprays create a barrier that prevents water from clinging to the surface, reducing the formation of hard water spots. Follow the manufacturer’s instructions for application.
* Ventilate Your Bathroom: Proper ventilation helps reduce humidity, which can contribute to hard water spot formation. Run the exhaust fan during and after showers.
* Regular Cleaning: Even with preventative measures, it’s still important to clean your surfaces regularly. A quick wipe-down with a vinegar solution once a week can help prevent hard water spots from building up.
Specific Surfaces and Considerations
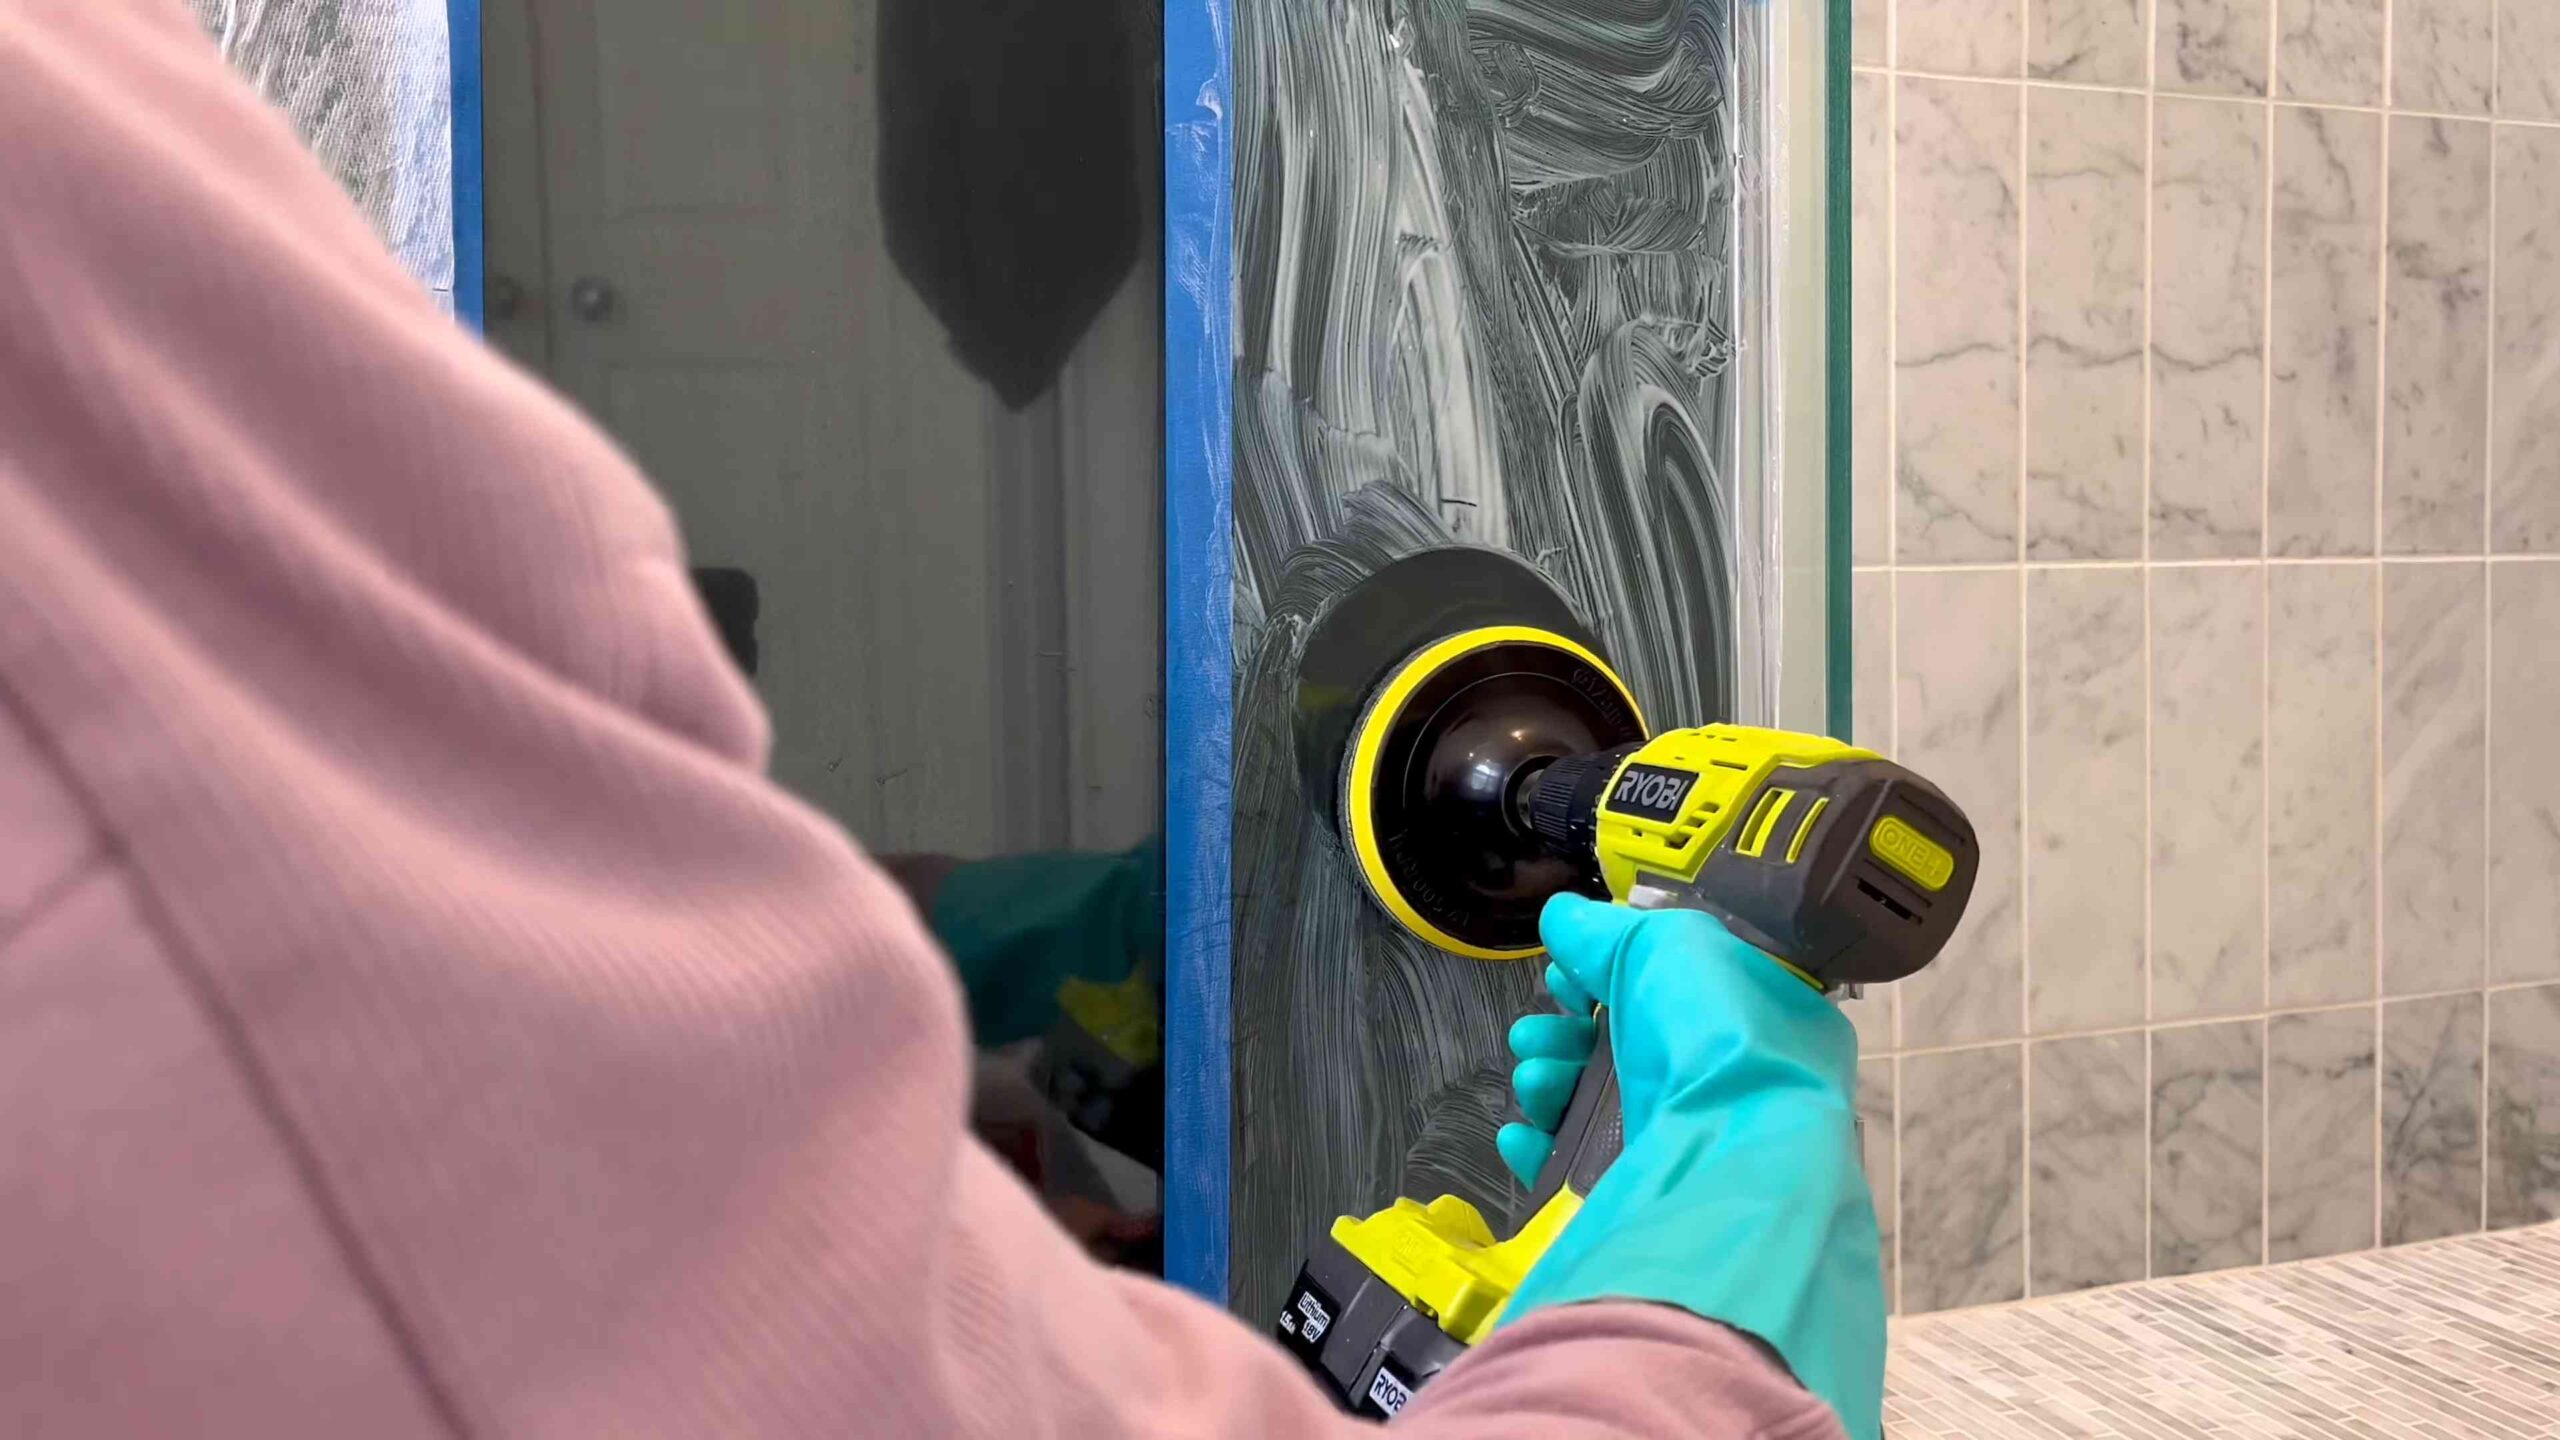
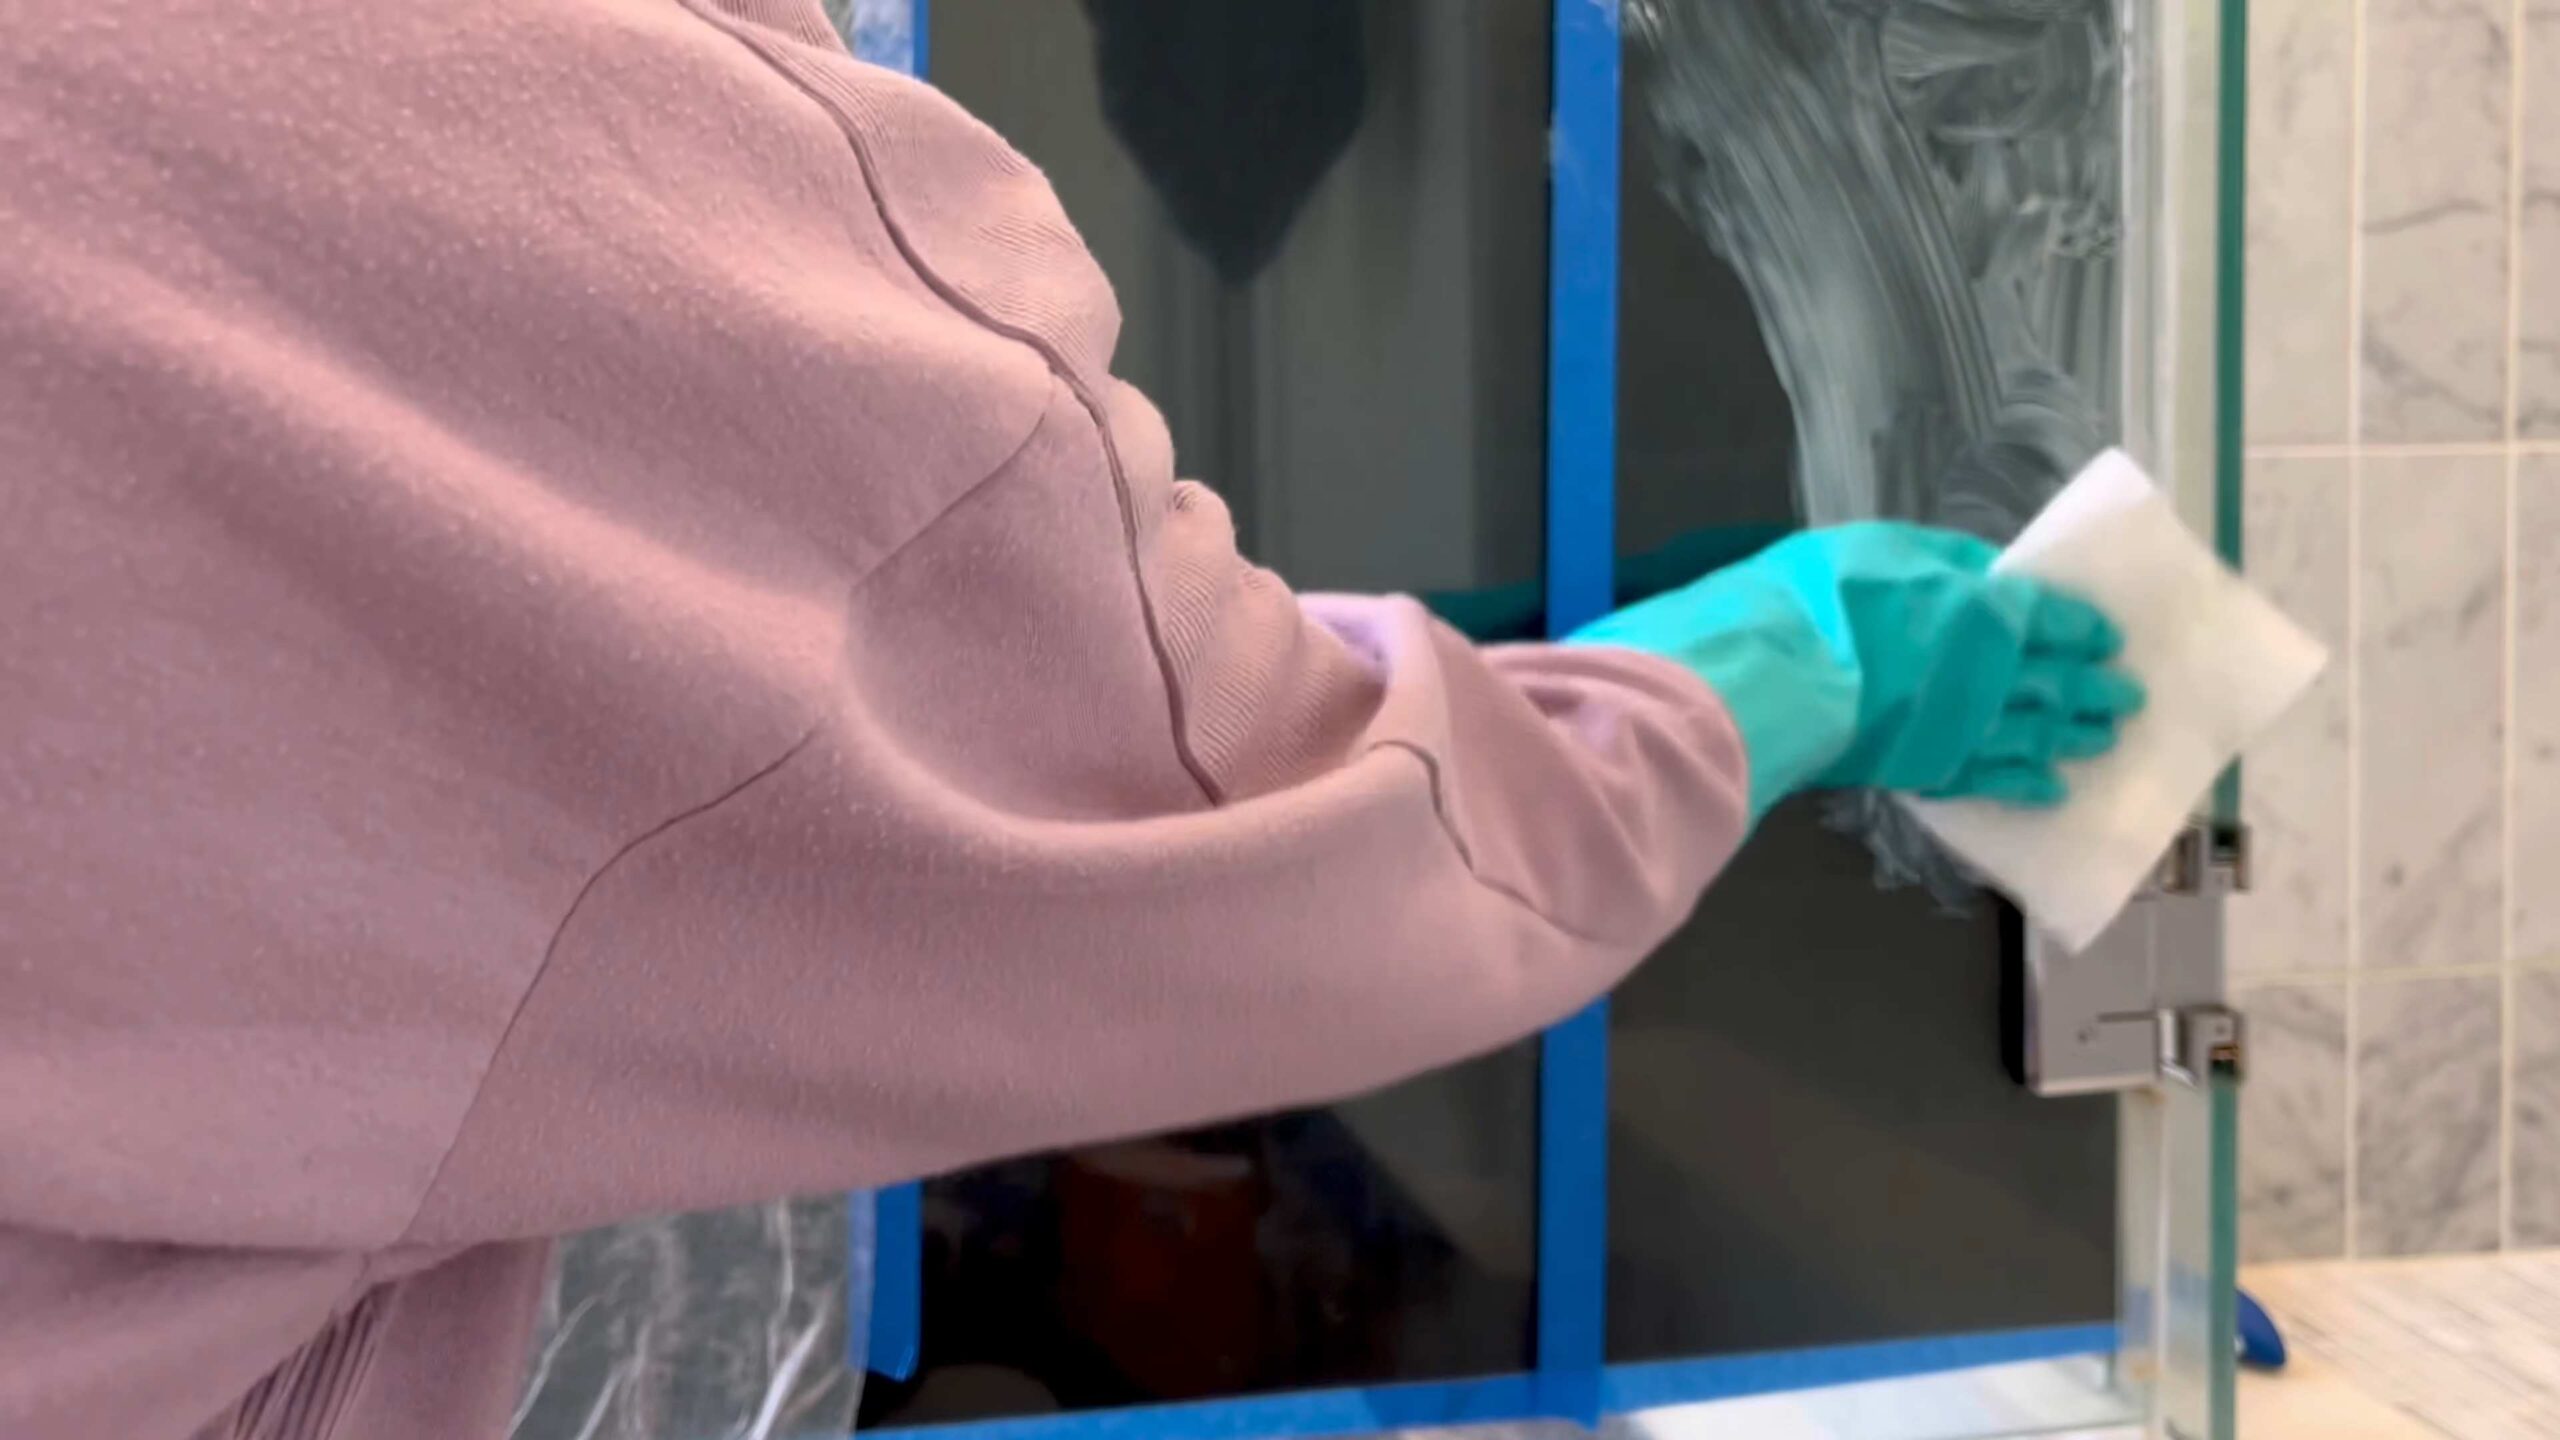
* Glass Shower Doors: Vinegar and squeegeeing are your best friends here. For stubborn spots, try the baking soda paste.
* Faucets and Sinks: Lemon juice is excellent for polishing chrome and stainless steel faucets. Be sure to rinse thoroughly to prevent any lemon juice residue.
* Toilets: You can pour a cup of vinegar into the toilet bowl and let it sit overnight to dissolve hard water stains. Scrub with a toilet brush in the morning.
* Dishwashers: Run an empty dishwasher cycle with a cup of vinegar in the top rack to remove hard water buildup.
* Coffee Makers: Descale your coffee maker regularly by running a cycle with a mixture of equal parts vinegar and water. Then, run a cycle with plain water to rinse.
* Cars: Be careful when using vinegar on car paint. Dilute it well and test it in an inconspicuous area first. Consider using a car-specific hard water spot remover for best results.
A Word of Caution
While these DIY methods are generally safe, it’s always a good idea to take a few precautions:
* Test in an Inconspicuous Area: Before applying any cleaning solution
Conclusion
So, there you have it! This simple, effective, and budget-friendly DIY hard water spot removal method is a game-changer for anyone battling those unsightly mineral deposits. We’ve all been there, scrubbing endlessly with commercial cleaners that promise the world but often fall short, leaving behind streaks and a lingering chemical smell. This method, however, harnesses the power of readily available ingredients to gently dissolve hard water stains without harsh chemicals or back-breaking effort.
Why is this DIY trick a must-try? Because it’s not just about cleaning; it’s about reclaiming your time, saving money, and protecting your surfaces. Think about the hours you’ve spent scrubbing shower doors, faucets, and glassware, only to be disappointed with the results. This method cuts down on cleaning time significantly, allowing you to focus on more enjoyable activities. Plus, you’re likely to have the necessary ingredients already in your pantry, eliminating the need for expensive specialty cleaners. And, perhaps most importantly, you’re avoiding the harsh chemicals found in many commercial products, which can be harmful to your health and the environment.
But the beauty of this DIY solution lies not only in its effectiveness but also in its versatility. Feel free to experiment with variations to suit your specific needs and preferences. For instance, if you’re dealing with particularly stubborn hard water spots, you can increase the concentration of vinegar or let the solution sit for a longer period before wiping it away. You can also add a few drops of your favorite essential oil, like lemon or lavender, to the solution for a more pleasant scent. For delicate surfaces like marble or natural stone, be sure to test the solution in an inconspicuous area first to ensure it doesn’t cause any damage. You might also consider diluting the vinegar further for these surfaces.
Consider using a microfiber cloth for wiping surfaces after applying the solution. Microfiber cloths are excellent at lifting away dirt and grime without leaving streaks or scratches. They are also reusable and washable, making them an environmentally friendly choice.
Another variation involves using baking soda as a gentle abrasive. If you have particularly stubborn hard water spots on a durable surface like stainless steel, you can make a paste of baking soda and water and gently scrub the affected area before applying the vinegar solution. Remember to rinse thoroughly afterward.
This DIY hard water spot removal technique isn’t just for bathrooms and kitchens; it can also be used to clean outdoor surfaces like windows and patio furniture. Hard water stains can be particularly noticeable on glass surfaces, and this method can help restore their clarity and shine.
We are confident that this DIY hard water spot removal method will become your go-to solution for tackling those pesky mineral deposits. It’s simple, effective, and environmentally friendly. So, ditch the harsh chemicals and embrace the power of DIY!
Now, we encourage you to give this DIY trick a try and see the amazing results for yourself. Don’t just take our word for it; experience the difference firsthand. And most importantly, we want to hear about your experience! Share your before-and-after photos, tips, and variations in the comments below. Let’s build a community of DIY enthusiasts who are passionate about finding natural and effective cleaning solutions. Your feedback will help others discover the benefits of this simple yet powerful method. Let us know what worked best for you, what challenges you encountered, and any creative solutions you came up with. Together, we can conquer those hard water spots and enjoy sparkling clean surfaces throughout our homes.
Frequently Asked Questions (FAQ)
What exactly are hard water spots, and why are they so difficult to remove?
Hard water spots are mineral deposits left behind when hard water evaporates. Hard water contains high concentrations of minerals like calcium and magnesium. When the water evaporates, these minerals are left behind as a chalky residue. They are difficult to remove because these minerals bond strongly to surfaces, requiring more than just water and soap to dissolve them. The longer they sit, the harder they become to remove.
What kind of vinegar should I use for DIY hard water spot removal?
White distilled vinegar is the best choice for removing hard water spots. It has a higher acidity level than other types of vinegar, making it more effective at dissolving mineral deposits. Avoid using colored vinegars, such as apple cider vinegar or balsamic vinegar, as they may stain some surfaces. The clear nature of white distilled vinegar ensures that it won’t leave any unwanted residue or discoloration.
Can I use this DIY solution on all surfaces?
While this DIY solution is generally safe for most surfaces, it’s always a good idea to test it in an inconspicuous area first, especially on delicate materials like marble, natural stone, or painted surfaces. Vinegar is acidic and can potentially etch or damage certain surfaces. If you’re unsure, dilute the vinegar with more water or consult the manufacturer’s instructions for the surface you’re cleaning. For sensitive surfaces, a milder solution of soap and water might be a better alternative.
How long should I let the vinegar solution sit on the hard water spots?
The amount of time you let the vinegar solution sit on the hard water spots will depend on the severity of the stains. For light stains, a few minutes may be sufficient. For more stubborn stains, you may need to let the solution sit for up to 30 minutes or even longer. Keep an eye on the surface and reapply the solution if it starts to dry out. After the solution has had time to work, scrub gently with a non-abrasive sponge or cloth and rinse thoroughly with water.
What if the hard water spots are still there after using the vinegar solution?
If the hard water spots persist after using the vinegar solution, you can try a few different approaches. First, try increasing the concentration of vinegar in the solution. You can also try making a paste of baking soda and water and gently scrubbing the affected area before applying the vinegar solution. For extremely stubborn stains, you may need to repeat the process several times. If all else fails, you may need to consider using a commercial hard water stain remover, but be sure to choose one that is safe for the surface you’re cleaning.
How can I prevent hard water spots from forming in the first place?
Preventing hard water spots is often easier than removing them. Here are a few tips:
* Dry surfaces after each use: Wipe down shower doors, faucets, and sinks after each use to prevent water from evaporating and leaving behind mineral deposits.
* Use a water softener: A water softener can remove minerals from your water supply, preventing hard water spots from forming in the first place.
* Apply a water repellent: Apply a water repellent to surfaces like shower doors and glass to help water bead up and roll off, reducing the likelihood of hard water spots.
* Regular cleaning: Regularly clean surfaces with a mild detergent to prevent mineral buildup.
Is this DIY solution safe for septic systems?
Yes, this DIY solution is generally safe for septic systems. Vinegar is a natural and biodegradable substance that won’t harm the bacteria in your septic tank. However, it’s always a good idea to use it in moderation. Avoid pouring large amounts of vinegar down the drain at once, as this could potentially disrupt the balance of your septic system.
Can I use this solution to clean my dishwasher?
Yes, you can use this solution to clean your dishwasher and remove hard water buildup. Simply pour a cup of white distilled vinegar into the bottom of your empty dishwasher and run a normal cycle. This will help dissolve mineral deposits and leave your dishwasher sparkling clean. You can also add a cup of vinegar to your rinse aid dispenser for extra cleaning power.
What are some other uses for this DIY hard water spot removal solution?
Besides cleaning bathrooms and kitchens, this DIY solution can also be used to clean:
* Coffee makers: Run a solution of equal parts vinegar and water through your coffee maker to remove mineral buildup.
* Humidifiers: Clean your humidifier with a solution of vinegar and water to prevent mineral deposits from forming.
* Irons: Fill your iron’s water reservoir with a solution of vinegar and water and steam it to remove mineral buildup.
* Windows: Use this solution to clean windows and remove hard water spots for a streak-free shine.
How often should I use this DIY hard water spot removal method?
The frequency with which you use this DIY hard water spot removal method will depend on the severity of your hard water and how often you clean. In general, it’s a good idea to clean surfaces prone to hard water spots at least once a week. If you have particularly hard water, you may need to clean more frequently. Regular cleaning will prevent mineral buildup and make it easier to remove hard water spots in the future.


Leave a Comment