

DIY home deep cleaning tips are your secret weapon to a sparkling, healthy home! Let’s face it, life gets busy, and sometimes our homes bear the brunt. Dust bunnies multiply, grime accumulates, and before you know it, your sanctuary feels more like a stressor. But don’t despair! I’m here to share some fantastic, easy-to-implement DIY deep cleaning tips that will transform your living space without breaking the bank or requiring a Herculean effort.
The concept of deep cleaning isn’t new. Historically, cultures around the world have placed immense value on cleanliness, often associating it with spiritual purity and well-being. Think of the elaborate cleansing rituals in ancient civilizations or the meticulous spring cleaning traditions passed down through generations. While our methods may have evolved, the underlying principle remains the same: a clean home is a happy home.
Why do you need these DIY deep cleaning tips? Because a truly clean home goes beyond surface-level tidiness. It’s about eliminating allergens, bacteria, and hidden grime that can impact your health and overall well-being. Plus, a deep clean can revitalize your space, making it feel fresh, inviting, and a true reflection of your personal style. So, grab your gloves, gather your supplies, and let’s dive into these game-changing DIY home deep cleaning tips that will leave your home feeling brand new!
DIY Deep Cleaning Your Home: A Room-by-Room Guide
Hey everyone! Ready to tackle that deep clean you’ve been putting off? I know, it sounds daunting, but trust me, breaking it down room by room makes it totally manageable. Plus, the feeling of a sparkling clean home is SO worth it. Let’s get started!
General Supplies You’ll Need
Before we dive into specific rooms, let’s gather our arsenal. Having everything ready will save you tons of time and prevent those mid-clean trips to the store.
* Microfiber cloths: These are my absolute favorite! They’re super absorbent and great for dusting, wiping, and polishing. Stock up!
* All-purpose cleaner: Choose your favorite. I personally love using a natural, eco-friendly option.
* Glass cleaner: For streak-free windows and mirrors.
* Bathroom cleaner: Specifically designed for tackling soap scum and mildew.
* Toilet bowl cleaner: A must-have for a sparkling clean toilet.
* Baking soda: A fantastic natural cleaner and deodorizer.
* White vinegar: Another cleaning powerhouse! Great for descaling, disinfecting, and removing odors.
* Dish soap: For washing dishes and general cleaning.
* Sponges: For scrubbing those tough spots.
* Scrub brush: For grout and other hard-to-reach areas.
* Rubber gloves: Protect your hands!
* Vacuum cleaner: With attachments for different surfaces.
* Mop and bucket: For cleaning floors.
* Trash bags: For decluttering as you go.
* Old toothbrush: Perfect for cleaning small crevices and grout lines.
* Spray bottles: For homemade cleaning solutions.
* Ladder or step stool: For reaching high places.
The Kitchen: The Heart of the Home (and the Germiest!)
The kitchen is often the busiest room in the house, which means it can get pretty grimy. Let’s get it sparkling!
1. Clear the Clutter: Start by removing everything from your countertops. This includes appliances, utensils, and anything else that doesn’t belong. Put things away or find a temporary home for them.
2. Clean the Countertops: Wipe down all countertops with your all-purpose cleaner. Pay special attention to areas where food is prepared.
3. Tackle the Sink: Scrub the sink with dish soap and a sponge. Rinse thoroughly. For a deeper clean, sprinkle baking soda in the sink and scrub with a damp sponge. Rinse again.
4. Clean the Dishwasher: Remove any food debris from the bottom of the dishwasher. Run an empty cycle with a cup of white vinegar in the top rack to remove buildup and odors.
5. Clean the Microwave: Heat a cup of water with a few tablespoons of white vinegar in the microwave for a few minutes. The steam will loosen any stuck-on food. Carefully remove the cup and wipe down the inside of the microwave with a damp cloth.
6. Clean the Oven: This is often the most dreaded task, but it’s essential! You can use a commercial oven cleaner, following the instructions carefully. Or, for a more natural approach, make a paste of baking soda and water. Spread the paste inside the oven, avoiding the heating elements. Let it sit overnight, then scrub it off with a damp sponge.
7. Clean the Stovetop: Remove the grates and burner caps. Wash them with dish soap and water. Wipe down the stovetop with all-purpose cleaner. For stubborn stains, use a paste of baking soda and water.
8. Clean the Refrigerator: Remove all food from the refrigerator. Discard any expired or spoiled items. Wipe down the shelves and drawers with a solution of warm water and dish soap. Rinse thoroughly.
9. Clean the Cabinets: Wipe down the cabinet doors and drawers with all-purpose cleaner. Pay special attention to areas around the handles, which tend to get greasy.
10. Sweep and Mop the Floor: Sweep the floor to remove any loose dirt and debris. Then, mop the floor with your favorite floor cleaner.
The Bathroom: Fighting Grime and Germs
The bathroom is another area that requires regular deep cleaning. Let’s get it fresh and sparkling!
1. Clear the Clutter: Remove everything from the countertops and shelves.
2. Clean the Toilet: Flush the toilet and add toilet bowl cleaner to the bowl. Let it sit for a few minutes, then scrub with a toilet brush.
3. Clean the Shower/Tub: Spray the shower or tub with bathroom cleaner. Let it sit for a few minutes, then scrub with a sponge or scrub brush. Pay special attention to grout lines, which can be prone to mildew. For stubborn mildew, try a paste of baking soda and water.
4. Clean the Showerhead: To remove mineral buildup, fill a plastic bag with white vinegar and secure it around the showerhead with a rubber band. Let it soak for a few hours or overnight. Remove the bag and run the shower to flush out any remaining vinegar.
5. Clean the Sink and Countertop: Wipe down the sink and countertop with all-purpose cleaner.
6. Clean the Mirror: Spray the mirror with glass cleaner and wipe with a microfiber cloth.
7. Clean the Floor: Sweep or vacuum the floor to remove any loose dirt and debris. Then, mop the floor with your favorite floor cleaner.
8. Wash Shower Curtain or Liner: If you have a fabric shower curtain, wash it in the washing machine according to the care instructions. If you have a plastic shower liner, wipe it down with a solution of warm water and dish soap.
9. Clean the Grout: Mix baking soda and water to form a paste. Apply the paste to the grout lines and let it sit for a few minutes. Scrub with an old toothbrush or grout brush. Rinse thoroughly.
The Living Room: Creating a Cozy and Clean Space
The living room is where we relax and unwind, so let’s make sure it’s a clean and inviting space.
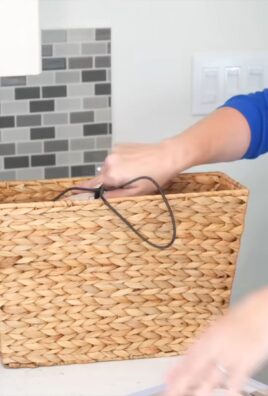
1. Declutter: Remove any items that don’t belong in the living room. Put away toys, books, and other clutter.
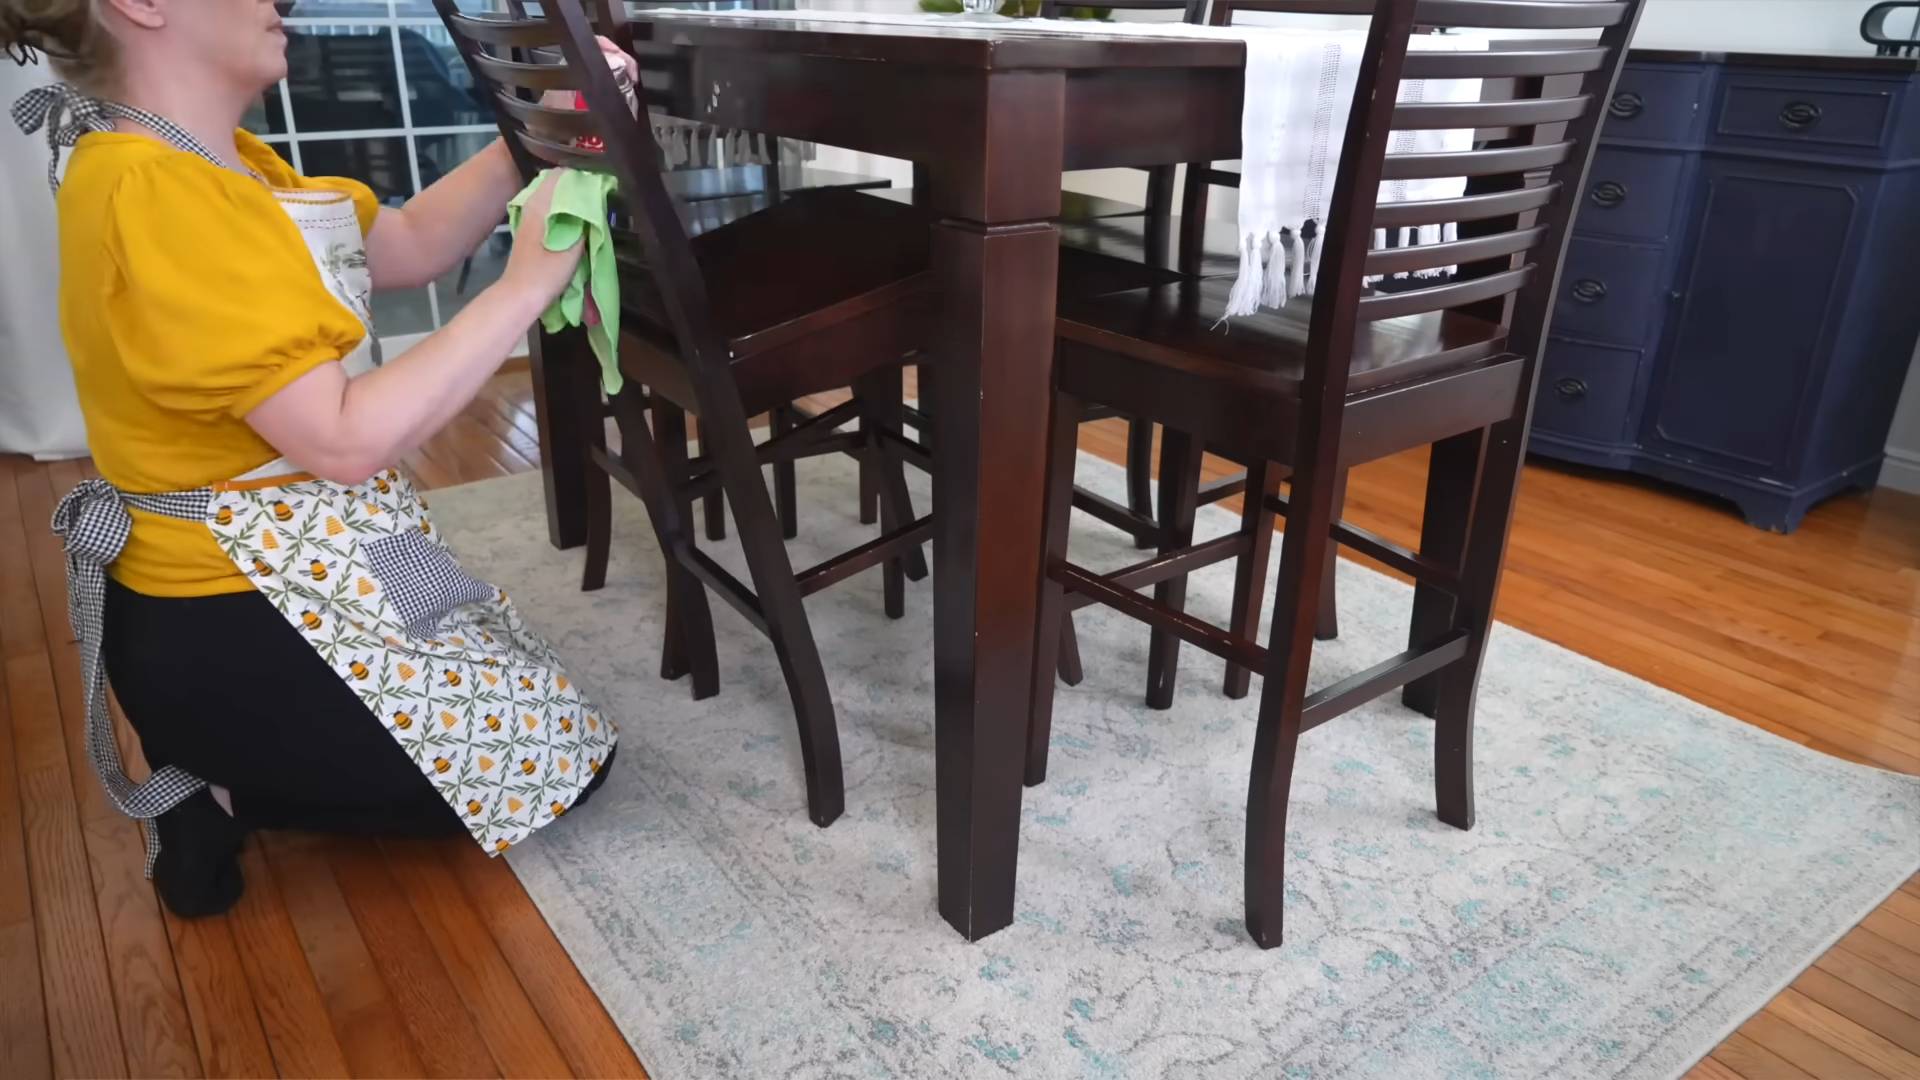
2. Dust: Dust all surfaces, including furniture, shelves, and picture frames. Use a microfiber cloth to avoid scratching. Don’t forget to dust lampshades and ceiling fans!
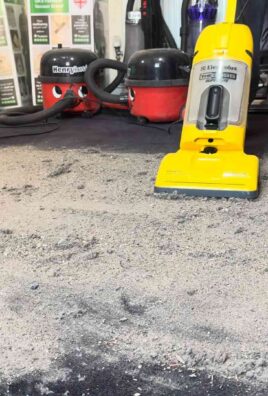
3. Vacuum: Vacuum the carpets and rugs thoroughly. Use the attachments to vacuum upholstery and hard-to-reach areas.
4. Clean Windows and Mirrors: Spray windows and mirrors with glass cleaner and wipe with a microfiber cloth.
5. Clean Upholstery: Check the care label on your upholstery before cleaning. Some fabrics can be cleaned with a damp cloth and mild soap, while others require professional cleaning. For spot cleaning, use a fabric cleaner specifically designed for upholstery.
6. Clean Electronics: Unplug all electronics before cleaning. Wipe down the screens with a microfiber cloth. Use compressed air to remove dust from keyboards and other crevices.
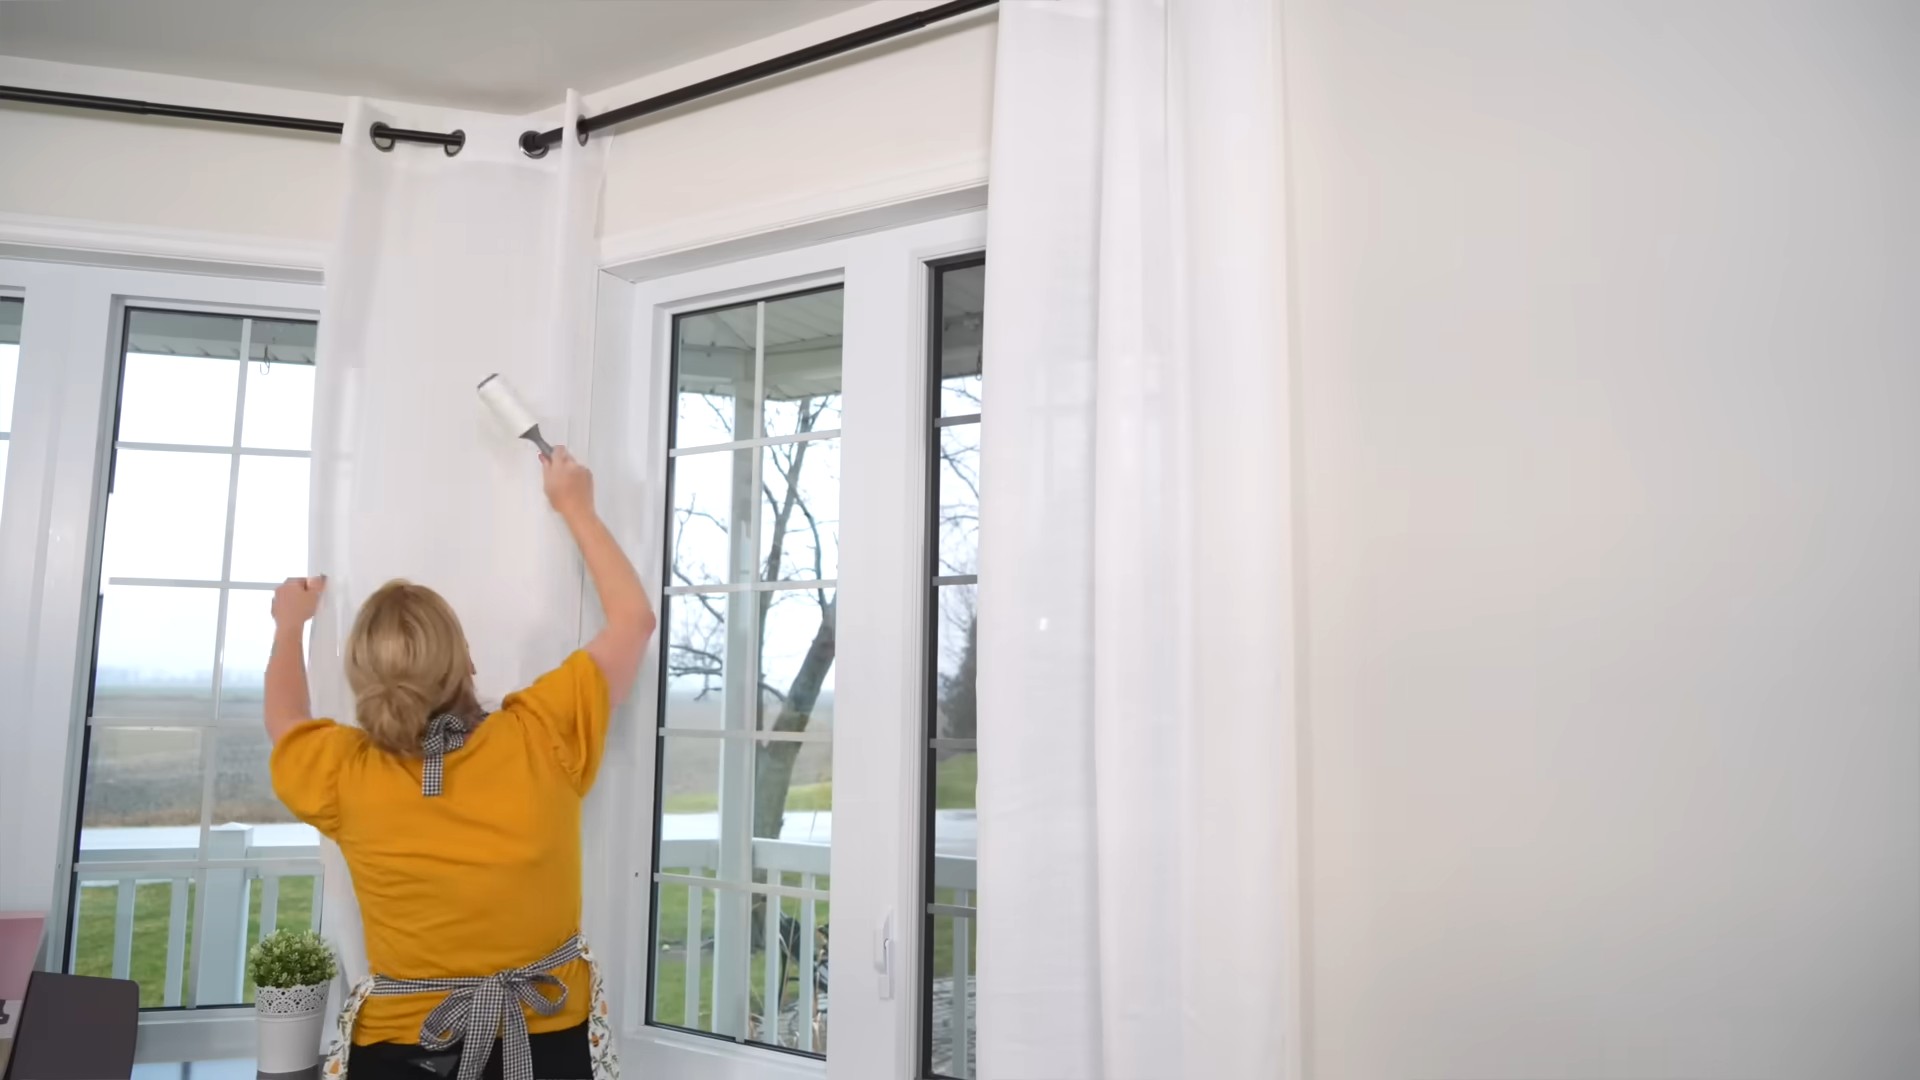
7. Wash Curtains or Blinds: Wash curtains according to the care instructions. Wipe down blinds with a damp cloth.
8. Polish Wood Furniture: Use a furniture polish to clean and protect wood furniture.
The Bedrooms: A Sanctuary of Cleanliness
Your bedroom should be a peaceful and relaxing space. Let’s make sure it’s clean and clutter-free.
1. Declutter: Remove any items that don’t belong in the bedroom. Put away clothes, books, and other clutter.
2. Wash Bedding: Wash all bedding, including sheets, pillowcases, blankets, and comforters.
3. Flip and Rotate Mattress: Flip and rotate your mattress to prevent uneven wear.
4. Dust: Dust all surfaces, including furniture, shelves, and picture frames.
5. Vacuum: Vacuum the carpets and rugs thoroughly.
6. Clean Windows and Mirrors: Spray windows and mirrors with glass cleaner and wipe with a microfiber cloth.
7. Clean Closets: Take everything out of your closet and sort through it. Donate or discard any items you no longer need. Wipe down the shelves and rods with all-purpose cleaner.
8. Organize Drawers: Organize your drawers by category. Use drawer dividers to keep things neat and tidy.
Extra Touches for a Truly Deep Clean
These are the little things that can make a big difference in the overall cleanliness of your home.
* Clean Baseboards: Wipe down baseboards with a damp cloth and all-purpose cleaner.
* Clean Light Switches and Doorknobs: These are high-touch areas that can harbor germs. Wipe them down with a disinfectant wipe.
* Clean Air Vents: Remove the air vents and wash them with soap and water. Vacuum the inside
Conclusion
So, there you have it! Transforming your home into a sparkling sanctuary doesn’t require a small fortune or a team of professional cleaners. By embracing these DIY home deep cleaning tips, you’re not just cleaning; you’re investing in a healthier, happier living space. The satisfaction of knowing you achieved this level of cleanliness yourself is truly rewarding.
The beauty of these methods lies in their adaptability. Feel free to experiment with different essential oil combinations for your cleaning solutions. Lavender and lemon offer a calming and refreshing scent, while tea tree oil provides extra antibacterial power. If you’re dealing with particularly stubborn grime, consider adding a tablespoon of borax to your cleaning mixture for an extra boost. Remember to always test any new cleaning solution in an inconspicuous area first to ensure it doesn’t damage the surface.
Don’t be afraid to tailor these techniques to your specific needs and preferences. Perhaps you prefer using microfiber cloths over paper towels, or maybe you have a favorite all-purpose cleaner that you want to incorporate. The key is to find a system that works for you and that you can realistically maintain.
This isn’t just about cleaning; it’s about creating a home you love. A clean and organized space can significantly impact your mood, productivity, and overall well-being. By dedicating a little time and effort to deep cleaning, you’re creating a more inviting and comfortable environment for yourself and your loved ones.
We wholeheartedly encourage you to try these DIY home deep cleaning tips and experience the difference they can make. Start with one room or one task at a time, and don’t feel pressured to do everything at once. The important thing is to get started and to make progress.
Once you’ve tried these tips, we’d love to hear about your experience! Share your before-and-after photos, your favorite cleaning hacks, and any variations you’ve discovered in the comments below. Let’s create a community of DIY cleaning enthusiasts who are passionate about creating clean and healthy homes. Your insights could inspire others to take the plunge and transform their own living spaces. So go ahead, grab your cleaning supplies, put on some music, and get ready to experience the joy of a deeply cleaned home! We are confident that these DIY home deep cleaning tips will become a staple in your cleaning routine.
Frequently Asked Questions (FAQs)
What are the most important areas to focus on when deep cleaning my home?
The most important areas to focus on during a deep clean are those that accumulate the most dirt, grime, and bacteria. This typically includes the kitchen (especially the refrigerator, oven, and sink), bathrooms (toilets, showers, and sinks), and high-traffic areas like entryways and hallways. Don’t forget about often-overlooked areas like light fixtures, baseboards, and window sills. Prioritizing these areas will have the biggest impact on the overall cleanliness and hygiene of your home.
How often should I deep clean my home?
The frequency of deep cleaning depends on your lifestyle, the size of your home, and your personal preferences. However, a good rule of thumb is to deep clean your home at least twice a year – ideally in the spring and fall. If you have pets, children, or allergies, you may want to deep clean more frequently, perhaps every quarter. Regular maintenance cleaning, such as vacuuming, dusting, and wiping down surfaces, should be done weekly to prevent dirt and grime from building up.
What are some essential cleaning supplies I should have on hand for deep cleaning?
A well-stocked cleaning caddy is essential for efficient deep cleaning. Some must-have supplies include:
* All-purpose cleaner: Choose a natural or commercial cleaner that is effective on a variety of surfaces.
* Disinfectant: Use a disinfectant to kill germs and bacteria in bathrooms and kitchens.
* Glass cleaner: For sparkling windows and mirrors.
* Oven cleaner: For removing baked-on grease and grime.
* Toilet bowl cleaner: To keep your toilets clean and fresh.
* Microfiber cloths: These are excellent for wiping down surfaces and trapping dirt.
* Sponges: For scrubbing and cleaning.
* Scrub brush: For tackling tough stains and grime.
* Vacuum cleaner: With various attachments for different surfaces.
* Mop and bucket: For cleaning floors.
* Rubber gloves: To protect your hands from harsh chemicals.
* Baking soda: A versatile cleaning agent for deodorizing and scrubbing.
* White vinegar: Another versatile cleaner for removing hard water stains and disinfecting.
* Essential oils (optional): For adding a pleasant scent to your cleaning solutions.
Are there any natural alternatives to harsh chemical cleaners?
Yes, there are many effective natural alternatives to harsh chemical cleaners. White vinegar is a great all-purpose cleaner, disinfectant, and deodorizer. Baking soda is excellent for scrubbing and removing odors. Lemon juice can be used to remove stains and brighten surfaces. Essential oils, such as tea tree, lavender, and lemon, have antibacterial and antifungal properties and can add a pleasant scent to your cleaning solutions. Combining these natural ingredients can create powerful and eco-friendly cleaning solutions.
How can I make deep cleaning less overwhelming?
Deep cleaning can seem daunting, but breaking it down into smaller, manageable tasks can make it less overwhelming. Create a checklist of all the areas you want to clean and prioritize them based on importance. Focus on one room or one task at a time, and don’t feel pressured to do everything at once. Set realistic goals and reward yourself for completing each task. Enlist the help of family members or friends to make the process faster and more enjoyable. Put on some music or a podcast to keep yourself entertained while you clean. Remember, even a little bit of cleaning is better than none at all.
How can I prevent dirt and grime from building up between deep cleanings?
Regular maintenance cleaning is key to preventing dirt and grime from building up between deep cleanings. Make it a habit to vacuum or sweep floors, wipe down surfaces, and clean bathrooms weekly. Address spills and messes immediately to prevent them from setting in. Declutter regularly to reduce the amount of dust and dirt that accumulates. Use doormats to trap dirt and debris from shoes. By incorporating these simple habits into your routine, you can keep your home cleaner and fresher for longer.
What are some tips for cleaning specific areas of my home?
* **Kitchen:** Clean the refrigerator regularly, wipe down countertops and cabinets, scrub the sink, and clean the oven.
* **Bathrooms:** Clean toilets, showers, and sinks, scrub tile and grout, and disinfect surfaces.
* **Bedrooms:** Wash bedding regularly, vacuum or mop floors, dust furniture, and declutter closets.
* **Living areas:** Vacuum or mop floors, dust furniture, clean windows and mirrors, and declutter shelves.
How can I make my own DIY cleaning solutions?
Making your own DIY cleaning solutions is easy and cost-effective. Here are a few simple recipes:
* **All-purpose cleaner:** Mix equal parts white vinegar and water in a spray bottle. Add a few drops of your favorite essential oil for scent.
* **Glass cleaner:** Mix 1/4 cup white vinegar, 1/2 teaspoon liquid dish soap, and 2 cups water in a spray bottle.
* **Oven cleaner:** Make a paste of baking soda and water and spread it over the inside of your oven. Let it sit overnight, then scrub clean.
* **Toilet bowl cleaner:** Pour 1 cup of white vinegar into the toilet bowl and let it sit for 30 minutes. Then, scrub with a toilet brush and flush.
Is it safe to mix different cleaning products together?
No, it is generally not safe to mix different cleaning products together. Mixing certain chemicals, such as bleach and ammonia, can create toxic fumes that can be harmful or even fatal. Always read the labels of cleaning products carefully and avoid mixing them unless specifically instructed to do so. When in doubt, it’s best to use a single cleaning product at a time and rinse thoroughly before using another.
How can I get rid of stubborn stains?
Stubborn stains can be challenging to remove, but there are several techniques you can try. For carpet stains, blot the stain with a clean cloth and apply a stain remover. Let it sit for a few minutes, then blot again. For clothing stains, pretreat the stain with a stain remover or laundry detergent before washing. For hard water stains, use white vinegar or lemon juice to dissolve the minerals. For grease stains, use baking soda or dish soap to absorb the grease.
Leave a Comment