

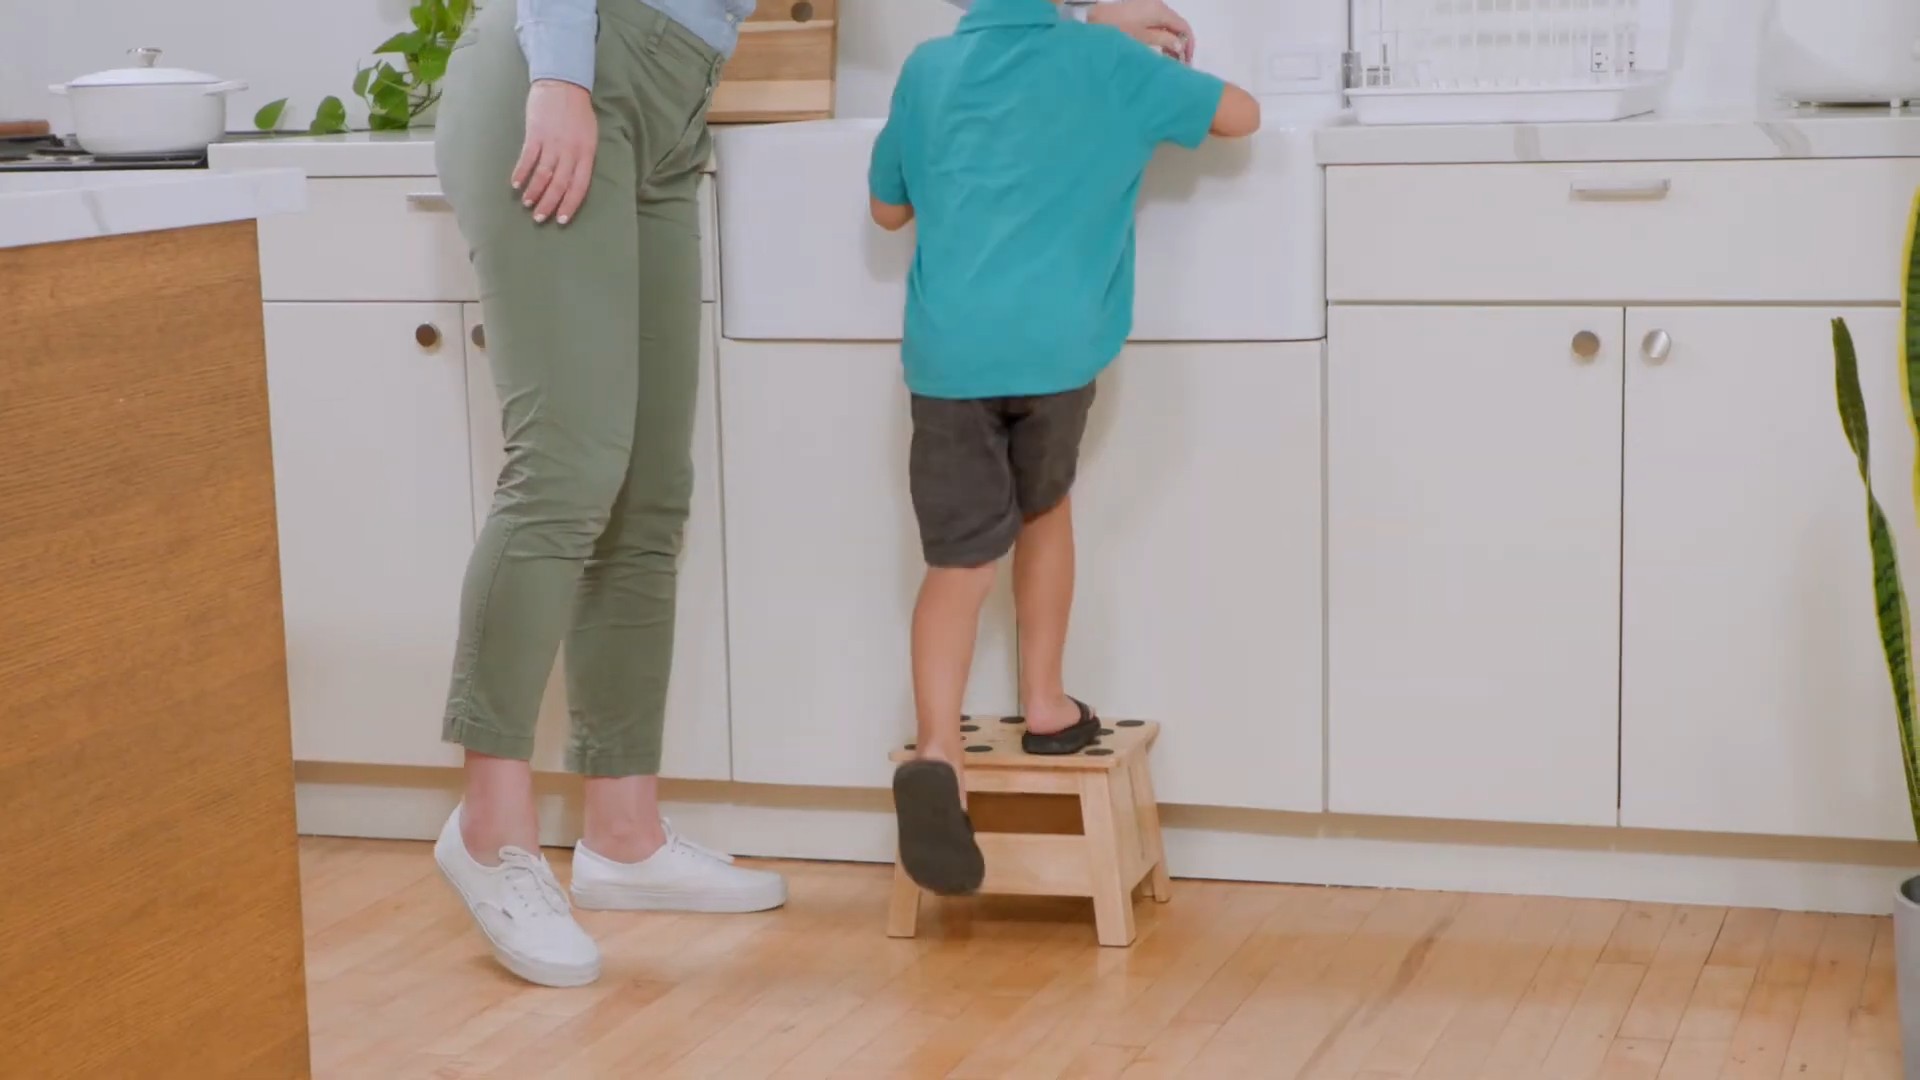
DIY Kids Step Stool: Ever feel like your little ones are constantly asking for help reaching things? I know I do! From grabbing a snack from the top shelf to washing their hands at the sink, those everyday tasks can become a real struggle for smaller children. That’s where a DIY kids step stool comes in – and trust me, it’s a game-changer!
Step stools have been around for ages, evolving from simple wooden blocks to the more elaborate designs we see today. Historically, they’ve been essential tools in households, enabling access to higher spaces. But beyond their practical function, a step stool built with your own hands carries a special significance. It’s a symbol of your care and dedication to making your child’s life a little easier and more independent.
This isn’t just about convenience; it’s about fostering independence and confidence in your child. Imagine the joy on their face when they can finally reach the light switch or help you bake cookies without needing to be lifted! Plus, building a DIY kids step stool yourself is a fantastic way to save money and customize it to perfectly match your home decor and your child’s personality. In this article, I’ll guide you through a simple and fun project that will not only provide a practical solution but also create a lasting memory for you and your little one. Let’s get building!
DIY Kids Step Stool: A Weekend Project for Little Helpers
Hey there, fellow DIY enthusiasts! Are you tired of your little ones struggling to reach the sink, counter, or bookshelf? I know I was! That’s why I decided to build a sturdy and safe step stool for my kids. It’s a fantastic project that’s both functional and rewarding, and I’m excited to share my step-by-step guide with you. This project is perfect for beginner woodworkers, and you’ll end up with a beautiful, custom-made step stool that your kids will love for years to come.
Materials You’ll Need
Before we dive in, let’s gather all the necessary materials. Having everything on hand will make the process smoother and more enjoyable.
* Wood:
* One 1″ x 12″ x 8′ pine board (This will be enough for the steps and side supports)
* One 1″ x 4″ x 6′ pine board (For the top support and optional handle)
* Fasteners:
* 1 1/4″ wood screws
* Wood glue
* Finishing Supplies:
* Sandpaper (80, 120, and 220 grit)
* Primer (optional, but recommended for a smoother finish)
* Paint or stain (choose a color that complements your home decor)
* Polyurethane or varnish (for a durable, protective topcoat)
* Tools:
* Measuring tape
* Pencil
* Safety glasses
* Ear protection
* Circular saw or hand saw
* Drill with drill bits
* Screwdriver or drill with screwdriver bits
* Sander (optional, but it will save you a lot of time and effort)
* Clamps
* Paintbrushes or foam rollers
* Rags
Cutting the Wood
Accurate cuts are crucial for a stable and aesthetically pleasing step stool. Take your time and double-check your measurements before cutting.
1. Cut the Side Supports: From the 1″ x 12″ board, cut two pieces that are 18″ long. These will be the sides of the step stool.
2. Cut the Top Step: From the 1″ x 12″ board, cut one piece that is 14″ long. This will be the top step.
3. Cut the Bottom Step: From the 1″ x 12″ board, cut one piece that is 10″ long. This will be the bottom step.
4. Cut the Top Support: From the 1″ x 4″ board, cut one piece that is 14″ long. This will provide extra support for the top step.
5. (Optional) Cut the Handle: From the remaining 1″ x 4″ board, cut a piece that is 12″ long. This will be the handle.
Assembling the Step Stool
Now comes the fun part – putting all the pieces together!
1. Mark the Step Positions on the Side Supports:
* On each side support, measure 4″ up from the bottom and mark a line. This is where the bottom of the bottom step will sit.
* Measure 10″ up from the bottom and mark a line. This is where the bottom of the top step will sit.
* Make sure these lines are perfectly horizontal. I used a level to ensure accuracy.
2. Attach the Bottom Step:
* Apply wood glue to the edge of the bottom step where it will meet the side supports.
* Position the bottom step on the marked lines on the side supports.
* Clamp the step in place.
* Pre-drill pilot holes through the side supports into the edges of the bottom step. This will prevent the wood from splitting when you drive in the screws.
* Secure the step with 1 1/4″ wood screws. I used at least three screws on each side for a strong connection.
3. Attach the Top Step:
* Repeat the process for the top step, applying wood glue, positioning it on the marked lines, clamping it in place, pre-drilling pilot holes, and securing it with screws.
4. Attach the Top Support:
* Apply wood glue to the top edge of the top step.
* Center the top support on the top step and clamp it in place.
* Pre-drill pilot holes through the top support into the top step.
* Secure the top support with 1 1/4″ wood screws.
5. (Optional) Attach the Handle:
* Center the handle on the top support, leaving an equal amount of space on each side.
* Apply wood glue to the bottom of the handle where it will meet the top support.
* Clamp the handle in place.
* Pre-drill pilot holes through the top support into the bottom of the handle.
* Secure the handle with 1 1/4″ wood screws.
Sanding and Finishing
This is where you transform the step stool from a functional piece into a beautiful addition to your home.
1. Sanding:
* Start with 80-grit sandpaper to smooth out any rough edges or imperfections.
* Then, move on to 120-grit sandpaper to further refine the surface.
* Finally, use 220-grit sandpaper for a super smooth finish.
* Pay special attention to the edges and corners, rounding them slightly for safety and comfort.
* Remember to sand with the grain of the wood.
2. Priming (Optional):
* If you’re planning to paint the step stool, applying a primer will help the paint adhere better and create a more even finish.
* Apply a thin, even coat of primer using a paintbrush or foam roller.
* Let the primer dry completely according to the manufacturer’s instructions.
* Lightly sand the primed surface with 220-grit sandpaper to remove any imperfections.
3. Painting or Staining:
* Choose a paint or stain that complements your home decor.
* Apply the paint or stain in thin, even coats, following the manufacturer’s instructions.
* Let each coat dry completely before applying the next one.
* I usually apply two coats of paint or stain for optimal coverage and durability.
4. Applying a Topcoat:
* A topcoat of polyurethane or varnish will protect the finish and make the step stool more durable and resistant to scratches and stains.
* Apply a thin, even coat of polyurethane or varnish using a paintbrush or foam roller.
* Let the topcoat dry completely according to the manufacturer’s instructions.
* Lightly sand the topcoat with 220-grit sandpaper to remove any imperfections.
* Apply a second coat of topcoat for extra protection.
Safety Considerations
Safety is paramount when building anything for children. Here are a few things to keep in mind:
* Rounded Edges: Make sure all edges and corners are rounded to prevent injuries.
* Non-Slip Surface: Consider adding a non-slip surface to the steps to prevent slips and falls. You can use non-slip tape, rubber mats, or even a textured paint.
* Sturdy Construction: Ensure that the step stool is sturdy and stable. Use high-quality materials and construction techniques to prevent it from tipping over.
* Weight Limit: Be aware of the weight limit of the step stool and make sure your children don’t exceed it.
* Supervision: Always supervise your children when they are using the step stool.
Customization Ideas
One of the best things about DIY projects is the ability to customize them to your liking. Here are a few ideas to get you started:
* Personalize it: Add your child’s name or initials to the step stool using stencils or paint.
* Decorative Accents: Add decorative accents such as painted designs, wood carvings, or colorful knobs.
* Different Colors: Use different colors for the steps and side supports to create a fun and playful look.
* Storage: Add a small storage compartment under the top step for storing toys or books.
* Adjustable Height: Design the step stool with adjustable height settings to accommodate children of different ages and sizes.
Final Thoughts
Building this DIY kids step stool was a truly rewarding experience. Not only did I create a functional and safe tool for my children, but I also got to spend some quality time in my workshop. I hope this guide has inspired you to tackle this project yourself. Remember to take your time, be patient

Conclusion
So, there you have it! Creating your own DIY Kids Step Stool isn’t just a fun project; it’s an investment in your child’s independence and safety. Forget those flimsy, mass-produced plastic stools that wobble and crack under pressure. With a little effort and some basic materials, you can craft a sturdy, personalized step stool that will last for years to come.
But why is this DIY project a must-try? First and foremost, it’s about control. You get to choose the materials, ensuring they are non-toxic, durable, and perfectly suited to your child’s needs. You can select the exact height and width, tailoring the stool to fit specific spaces in your home, like the bathroom sink or kitchen counter. This level of customization is simply impossible to achieve with store-bought options.
Beyond the practical benefits, building a DIY Kids Step Stool is a fantastic opportunity to bond with your child. Involve them in the process, from choosing the paint colors to sanding the wood (with supervision, of course!). This hands-on experience teaches valuable skills, fosters creativity, and creates lasting memories. Imagine the pride your child will feel knowing they helped build something they use every day!
And the possibilities are endless! Feeling adventurous? Try adding a storage compartment beneath the step for toys or art supplies. Want to make it extra special? Personalize it with your child’s name, favorite characters, or handprints. Consider using different types of wood for a unique aesthetic, or experiment with stencils and paint techniques to create a truly one-of-a-kind piece. You could even add non-slip treads to the steps for extra safety. Think about adding a handle to the back of the stool for easy carrying.
Don’t be intimidated if you’re not a seasoned woodworker. This project is designed to be accessible to beginners. With clear instructions and a little patience, anyone can create a functional and beautiful step stool.
We wholeheartedly encourage you to give this DIY Kids Step Stool project a try. It’s a rewarding experience that will benefit both you and your child. Once you’ve completed your masterpiece, we’d love to see it! Share your creations with us on social media using #DIYKidsStepStool and tell us about your experience. What challenges did you face? What creative touches did you add? Your insights could inspire other parents to embark on their own DIY adventures.
Building a DIY Kids Step Stool is more than just constructing a piece of furniture; it’s about empowering your child, fostering creativity, and creating something truly special. So grab your tools, gather your materials, and get ready to build! You won’t regret it.
Frequently Asked Questions (FAQ)
What type of wood is best for a DIY Kids Step Stool?
The best type of wood for a DIY Kids Step Stool depends on your budget, desired aesthetic, and skill level. Pine is a popular choice because it’s affordable, readily available, and easy to work with. However, it’s a softwood, so it’s more prone to dents and scratches. Hardwoods like maple, oak, and birch are more durable and resistant to wear and tear, but they are also more expensive and require more advanced woodworking skills. Plywood is another option, offering a good balance of strength and affordability. When choosing wood, make sure it’s free of knots, cracks, and other imperfections that could compromise its structural integrity. Also, consider using sustainably sourced wood to minimize your environmental impact.
What safety precautions should I take when building a DIY Kids Step Stool?
Safety is paramount when undertaking any DIY project, especially one intended for children. Always wear safety glasses to protect your eyes from flying debris. Use a dust mask or respirator to avoid inhaling sawdust, which can be harmful to your lungs. When using power tools, follow the manufacturer’s instructions carefully and wear appropriate hearing protection. Ensure your workspace is well-ventilated and free of clutter. When sanding, use a sanding block or orbital sander to avoid splinters. Apply finishes in a well-ventilated area and wear gloves to protect your skin. Most importantly, supervise children closely when they are near power tools or sharp objects.
What type of finish should I use on a DIY Kids Step Stool?
Choosing the right finish for your DIY Kids Step Stool is crucial for both aesthetics and safety. Opt for a non-toxic, child-safe finish that is free of lead, phthalates, and other harmful chemicals. Water-based paints and varnishes are generally considered safer than oil-based options. Look for finishes that are specifically labeled as “child-safe” or “toy-safe.” Before applying the finish, sand the wood smooth to create a uniform surface. Apply multiple thin coats of finish, allowing each coat to dry completely before applying the next. This will result in a more durable and attractive finish. Consider using a sealant or primer before applying the paint to improve adhesion and prevent the wood from absorbing too much paint.
How can I make my DIY Kids Step Stool more stable?
Stability is essential for a DIY Kids Step Stool to prevent accidents. Ensure that all joints are securely fastened with screws, nails, or wood glue. Consider using corner braces or metal brackets to reinforce the joints. Make sure the legs are evenly cut and level to prevent wobbling. Adding non-slip pads to the bottom of the legs will provide extra grip and prevent the stool from sliding on smooth surfaces. If you’re building a two-step stool, make sure the steps are wide enough to provide ample footing. Test the stool thoroughly before allowing your child to use it.
How can I personalize my DIY Kids Step Stool?
Personalizing your DIY Kids Step Stool is a great way to make it unique and special. Paint it in your child’s favorite colors or decorate it with their favorite characters. Use stencils to create intricate designs or patterns. Add your child’s name or initials using paint, wood burning, or vinyl decals. Consider adding a storage compartment beneath the step for toys or art supplies. Cover the steps with fabric or carpet for added comfort and style. Let your child help with the decorating process to make it a truly collaborative project. Remember to use non-toxic materials and finishes when personalizing your step stool.
What if I don’t have access to power tools? Can I still build a DIY Kids Step Stool?
Yes, you can absolutely build a DIY Kids Step Stool without power tools, although it will require more time and effort. You can use hand saws to cut the wood, a hand drill to create pilot holes for screws, and sandpaper to smooth the surfaces. While power tools can speed up the process and provide more precise cuts, hand tools are perfectly capable of creating a functional and attractive step stool. Look for pre-cut wood at your local hardware store to minimize the amount of cutting required. Consider using wood glue in addition to screws or nails to create stronger joints. Be patient and take your time, and you’ll be rewarded with a beautiful and functional step stool that you built entirely by hand.
How much weight can a DIY Kids Step Stool typically hold?
The weight capacity of a DIY Kids Step Stool depends on the type of wood used, the construction method, and the size of the stool. A well-built step stool made from hardwood like maple or oak can typically hold up to 200 pounds or more. However, a step stool made from softwood like pine may only be able to hold up to 100 pounds. Ensure that all joints are securely fastened and reinforced to maximize the weight capacity. If you’re concerned about the weight capacity, consider using thicker wood or adding extra supports. Always test the stool thoroughly before allowing your child to use it. It’s also important to teach your child to use the step stool safely and not to overload it.
Leave a Comment