

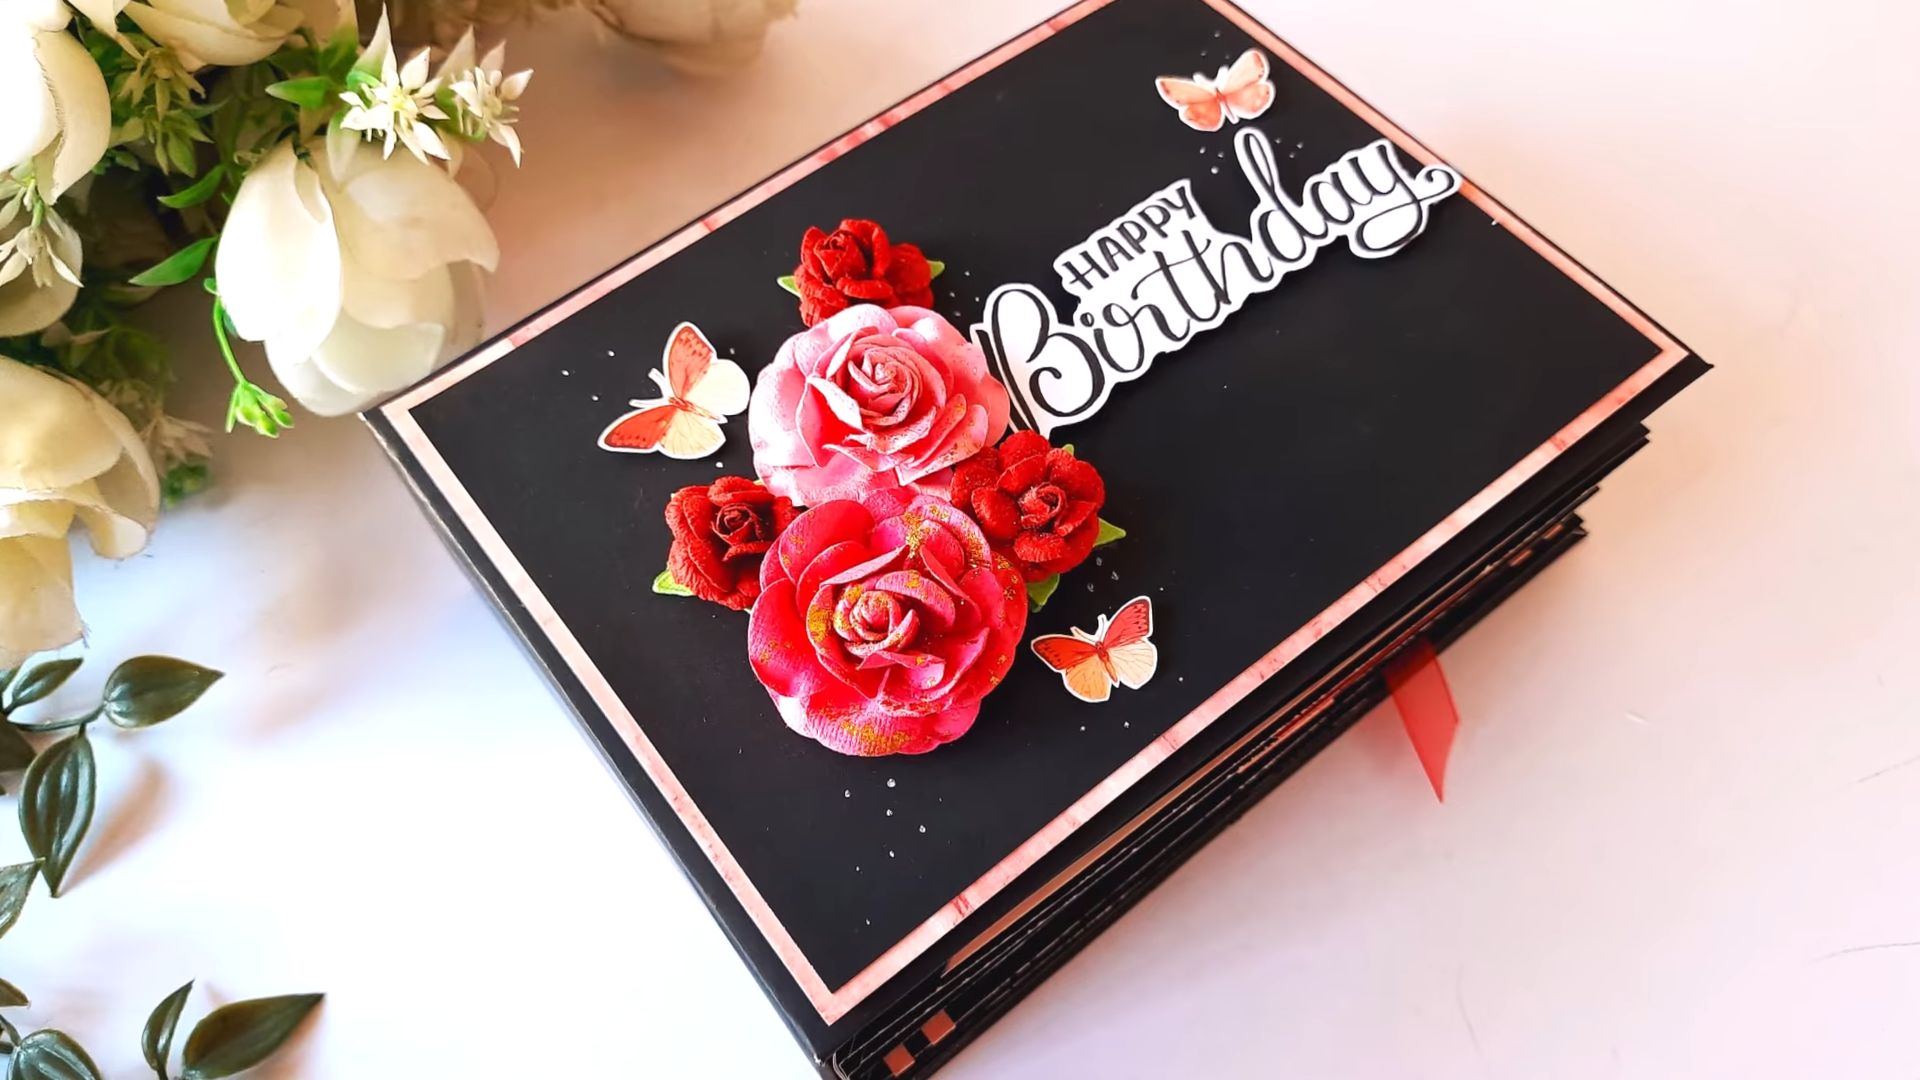
DIY Scrapbook Gift Ideas: Ever feel like store-bought gifts just lack that personal touch? I know I have! There’s something truly special about giving a gift that you’ve poured your heart and soul into, something that screams “I made this just for you!” That’s where the magic of DIY scrapbooks comes in.
Scrapbooking itself has a rich history, evolving from simple memory albums in the 15th century to the elaborate, personalized art form we know and love today. Think of it as a tangible time capsule, a way to preserve cherished moments and stories for generations to come. But beyond its historical roots, a DIY scrapbook gift offers something truly unique: a personalized narrative crafted with love.
In a world saturated with mass-produced items, a handmade gift stands out. It shows the recipient that you’ve invested time, effort, and creativity into something just for them. And let’s be honest, who wouldn’t appreciate a gift that’s bursting with memories and heartfelt sentiments? This article is packed with DIY Scrapbook Gift Ideas that will inspire you to create unforgettable presents for your loved ones. Whether it’s a birthday, anniversary, or just a “thinking of you” gesture, a DIY scrapbook is the perfect way to show you care. So, grab your scissors, glue, and favorite photos, and let’s get crafting!
DIY Scrapbook: A Personalized Gift of Memories
Okay, let’s dive into creating a truly special and personalized gift: a scrapbook! I absolutely love making these because they’re not just presents; they’re time capsules filled with love and shared experiences. This guide will walk you through every step, from gathering materials to adding those final, personal touches. Get ready to unleash your creativity!
Gathering Your Supplies: The Foundation of Your Masterpiece
Before we even think about glue and glitter, let’s make sure we have everything we need. A well-stocked crafting station is key to a smooth and enjoyable scrapbook-making experience.
* The Scrapbook Itself: This is the heart of your project! Consider these options:
* Post-bound scrapbooks: These are great because you can easily add or remove pages.
* Ring-bound scrapbooks: Similar to post-bound, offering flexibility.
* Traditional bound scrapbooks: These are more permanent, so plan your layout carefully.
* Size matters! Think about how many photos you want to include. 12×12 inch scrapbooks are a popular choice, but smaller sizes like 8×8 or 6×6 can be perfect for specific themes or fewer photos.
* Photos: The stars of the show!
* Print your photos: Don’t just rely on digital copies. Physical prints feel more special in a scrapbook.
* Variety is key: Include a mix of posed shots, candid moments, and even blurry or funny pictures. Imperfection adds character!
* Sizes: Print photos in various sizes to create visual interest.
* Adhesive: The glue that holds it all together (literally!).
* Photo-safe adhesive: This is crucial! Regular glue can damage your photos over time. Look for acid-free and lignin-free options.
* Double-sided tape: Great for quick and easy adhesion.
* Photo corners: A classic and elegant way to mount photos without covering them entirely.
* Glue dots: Perfect for attaching small embellishments.
* Scissors and Paper Trimmer: Precision is your friend.
* Sharp scissors: For cutting paper, photos, and embellishments.
* Paper trimmer: A must-have for straight lines and consistent cuts.
* Decorative Paper: Add color, texture, and personality.
* Scrapbook paper packs: These often come in themed sets, making it easy to coordinate colors and patterns.
* Cardstock: A heavier paper that’s great for backgrounds and layering.
* Specialty papers: Think vellum, glitter paper, textured paper – anything that adds a unique touch.
* Embellishments: The finishing touches that make your scrapbook truly special.
* Stickers: A classic and versatile embellishment.
* Die cuts: Pre-cut shapes and designs that add dimension.
* Ribbons and twine: Add texture and visual interest.
* Buttons and brads: Small details that can make a big impact.
* Washi tape: A decorative tape that’s easy to use and reposition.
* Ephemera: Tickets, brochures, maps, receipts – anything that relates to the memories you’re documenting.
* Pens and Markers: For journaling and adding personal touches.
* Acid-free pens: Essential for writing on photos and scrapbook pages without damaging them.
* Fine-tip markers: Great for detailed writing and drawing.
* Colored pencils: For adding subtle color and shading.
* Ruler and Pencil: For measuring and planning your layouts.
* Optional Tools: These can be helpful but aren’t essential.
* Corner rounder: For rounding the corners of photos and paper.
* Eyelet setter: For adding eyelets to pages.
* Heat embossing tool: For creating raised, textured designs.
Step-by-Step Scrapbook Creation: Bringing Your Vision to Life
Now that we have our supplies, let’s get down to the fun part: creating the scrapbook!
1. Choose a Theme: Before you start gluing anything down, decide on a theme for your scrapbook. This could be a specific trip, a relationship, a year in review, or even just a collection of your favorite memories. Having a theme will help you narrow down your photos and embellishments and create a cohesive look.
2. Sort and Organize Your Photos: Go through your photos and select the ones you want to include in your scrapbook. Sort them chronologically or by event, depending on your theme. This will make it easier to plan your layouts.
3. Plan Your Layouts: This is where the magic happens! Before you start gluing, experiment with different layouts for each page. Consider these tips:
* Balance: Aim for a balanced layout with a mix of photos, embellishments, and journaling.
* Focal point: Choose one photo or element to be the focal point of each page.
* Layering: Layer photos and paper to add depth and dimension.
* White space: Don’t be afraid to leave some empty space on your pages. This will help your photos and embellishments stand out.
* Sketch it out: Use a pencil and paper to sketch out your layouts before you start gluing. This will help you visualize the final result.
4. Prepare Your Photos: Trim your photos to the desired size and shape. You can use a paper trimmer for straight lines or scissors for more organic shapes. Consider rounding the corners of your photos for a softer look.
5. Adhere Your Photos: Use your photo-safe adhesive to attach your photos to the scrapbook pages. Make sure to apply the adhesive evenly to prevent the photos from curling or peeling.
6. Add Decorative Paper: Use decorative paper to create backgrounds, borders, and mats for your photos. Experiment with different colors, patterns, and textures to add visual interest.
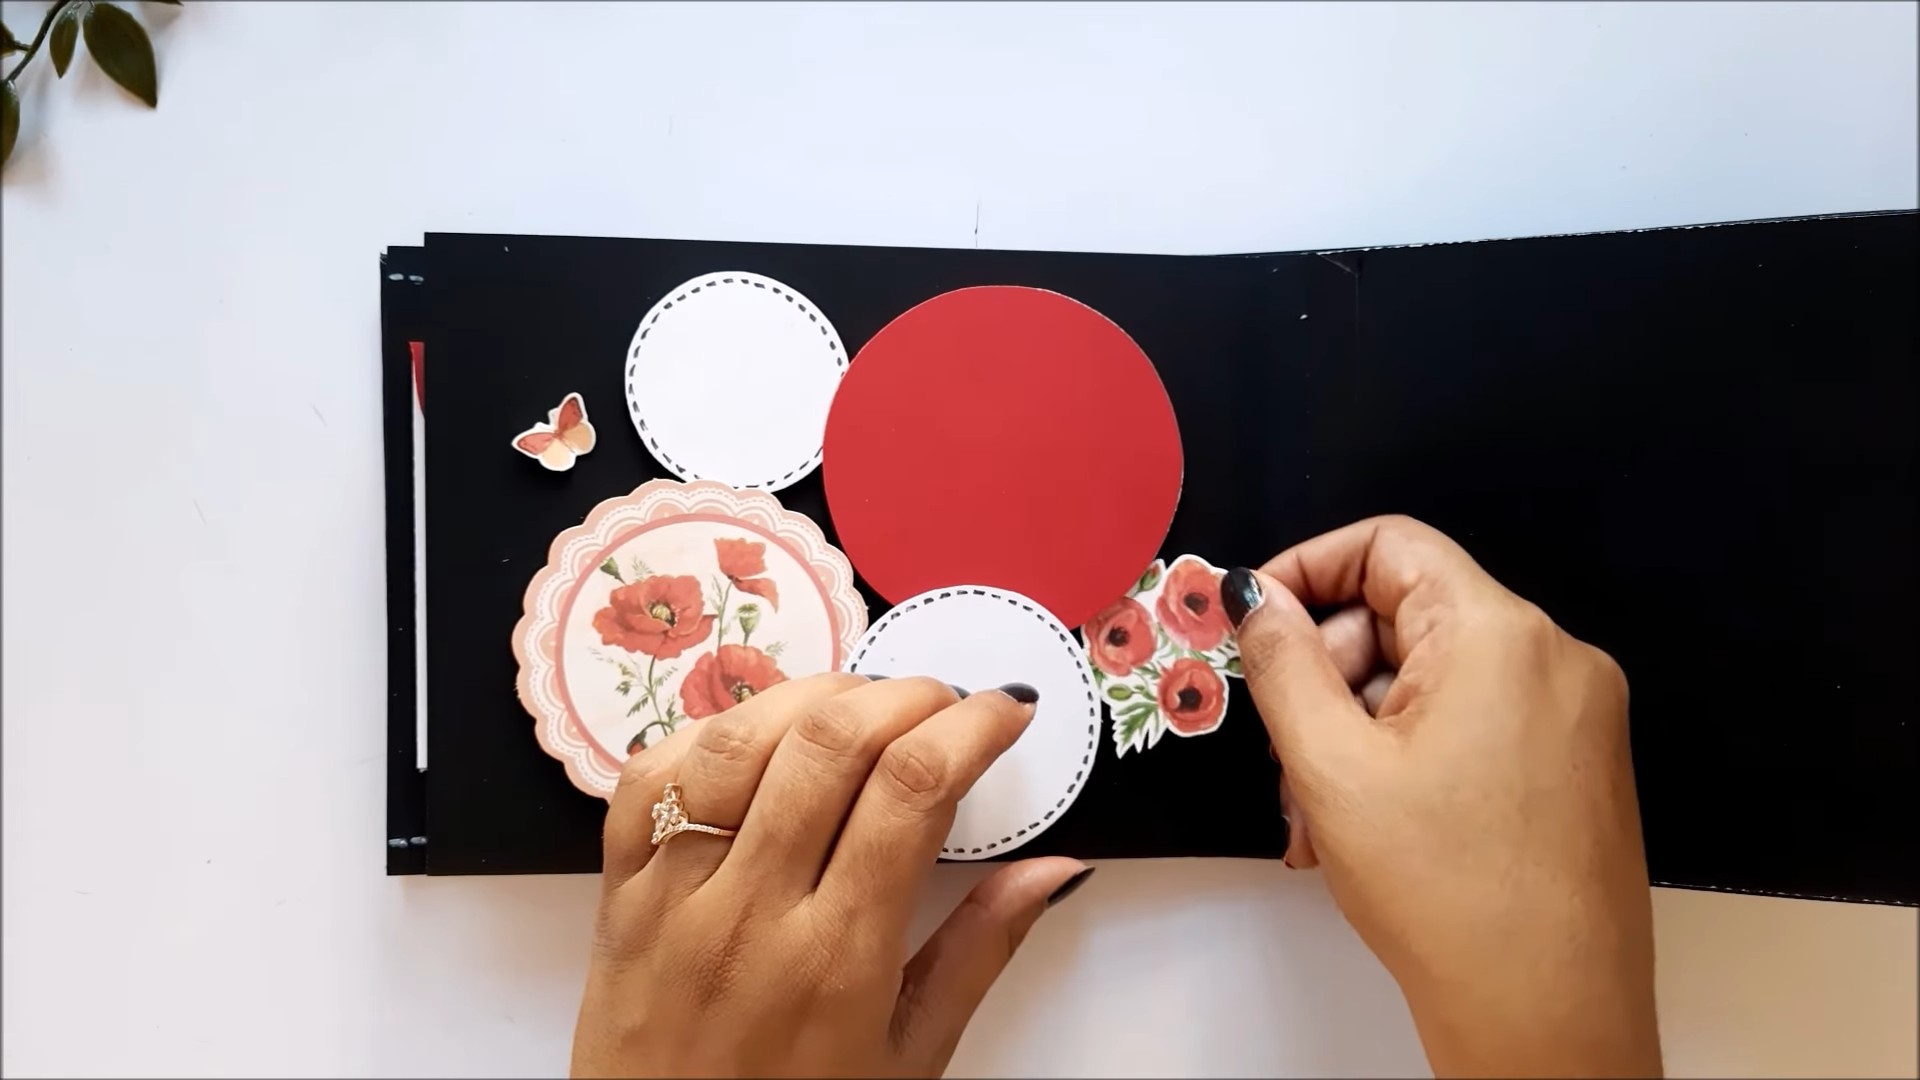
7. Embellish Your Pages: Now it’s time to add those finishing touches! Use stickers, die cuts, ribbons, buttons, and other embellishments to personalize your pages and enhance your theme.
8. Journaling: Don’t forget to add journaling to your scrapbook! Write down the dates, locations, and stories behind your photos. This will make your scrapbook even more meaningful and memorable.
9. Protect Your Pages: Once you’ve finished creating your scrapbook, protect your pages with page protectors. This will help prevent your photos and embellishments from fading or getting damaged over time.
Adding Personal Touches: Making It Uniquely Yours
This is where you can really let your personality shine! Here are some ideas to make your scrapbook extra special:
* Handwritten Notes: Instead of just typing out your journaling, consider handwriting it. It adds a personal touch that a computer font can’t replicate.
* Inside Jokes: Include inside jokes or nicknames that only you and the recipient will understand.
* Quotes and Lyrics: Add quotes or song lyrics that are meaningful to you and the recipient.
* Handmade Embellishments: Create your own embellishments using paper, fabric, or other materials.
* Personalized Stickers: Design and print your own stickers with photos, names, or quotes.
* Interactive Elements: Add interactive elements like lift-the-flaps, pull-out tags, or hidden pockets.
* Incorporate Textures: Use different textures to add visual and tactile interest to your pages. Think fabric scraps, lace, burlap, or even dried flowers.
* Use Different Fonts: If you’re typing your journaling, experiment with different fonts to add personality.
* Add a Table of Contents: If your scrapbook is long or covers a wide range of topics, consider adding a table of contents to help the recipient navigate it.
* Include a Dedication: Write a dedication at the beginning of the scrapbook to explain why you created it and who it’s for.
Specific Scrapbook Ideas: Sparking Your Inspiration
Need some inspiration? Here are a few specific scrapbook ideas to get you started:
* Wedding Scrapbook: Document the journey from engagement to honeymoon with photos, invitations, and mementos.
* Baby’s First Year Scrapbook: Capture all the milestones of your baby’s first year, from their first smile to their first steps.
* Travel Scrapbook: Preserve your travel memories with photos, tickets, maps, and souvenirs.
* Family History Scrapbook: Create a family history scrapbook with old photos, documents, and stories.
* Friendship Scrapbook: Celebrate your friendship with photos, inside jokes
Conclusion
So, there you have it! Crafting your own scrapbook gift isn’t just about saving money; it’s about pouring your heart and soul into a present that will be treasured for years to come. Forget generic, store-bought items that lack personality. A DIY scrapbook gift is a tangible representation of your love, memories, and shared experiences with the recipient. It’s a journey down memory lane, a celebration of your unique bond, and a heartfelt expression that no amount of money can buy.
Why is this a must-try? Because in a world saturated with mass-produced goods, a handmade gift stands out. It screams thoughtfulness, creativity, and genuine care. It tells the recipient that you invested your time and energy into creating something special just for them. And let’s be honest, who wouldn’t appreciate that?
But the beauty of a DIY scrapbook gift lies in its versatility. Feel free to experiment with different themes, layouts, and embellishments.
* **For the travel enthusiast:** Focus on a specific trip, incorporating ticket stubs, maps, and photos of iconic landmarks. Add pressed flowers or sand from the destination for an extra touch of authenticity.
* **For the new parents:** Chronicle the journey of pregnancy and the baby’s first year, including ultrasound pictures, hospital bracelets, and footprints.
* **For your significant other:** Create a scrapbook that documents your relationship milestones, from your first date to your most recent adventure. Include love letters, inside jokes, and photos that capture your special connection.
* **For a milestone birthday:** Gather photos and memories from different stages of the person’s life, asking friends and family to contribute anecdotes and well wishes.
Don’t be afraid to get creative with your materials. Use recycled paper, fabric scraps, buttons, ribbons, and anything else that sparks your imagination. The more personal and unique your scrapbook is, the more meaningful it will be. Consider adding handwritten notes, poems, or quotes that resonate with the recipient.
Ultimately, the goal is to create a scrapbook that tells a story – a story of love, friendship, adventure, or simply a celebration of life. So, gather your supplies, unleash your inner artist, and embark on this rewarding DIY project.
We’re confident that you’ll not only enjoy the process of creating your own scrapbook gift, but you’ll also be thrilled with the reaction you receive. It’s a gift that keeps on giving, a timeless treasure that will be cherished for generations to come.
We encourage you to try these DIY scrapbook gift ideas and share your creations with us! Post photos of your finished scrapbooks on social media using #DIYScrapbookGiftIdeas and tag us so we can see your amazing work. We can’t wait to see what you come up with! Let’s spread the joy of handmade gifts and inspire others to create their own heartfelt treasures.
Frequently Asked Questions (FAQ)
What kind of glue should I use for my scrapbook?
Choosing the right adhesive is crucial for preserving your scrapbook for years to come. Avoid using regular craft glue or school glue, as these can be acidic and may damage your photos and paper over time. Instead, opt for acid-free and lignin-free adhesives specifically designed for scrapbooking. These adhesives are archival quality, meaning they won’t yellow, crack, or deteriorate over time.
Some popular options include:
* **Photo mounting squares or corners:** These are easy to use and allow you to reposition photos if needed.
* **Double-sided tape:** Choose a tape that is acid-free and permanent.
* **Glue dots:** These are great for attaching small embellishments like buttons, beads, and ribbons.
* **Glue pens:** These provide precise application and are ideal for intricate details.
Always test your adhesive on a scrap piece of paper before applying it to your photos or scrapbook pages to ensure it doesn’t bleed or damage the materials.
What kind of paper is best for scrapbooking?
Just like with adhesives, the type of paper you use can significantly impact the longevity of your scrapbook. Avoid using regular printer paper, as it is often acidic and can yellow over time. Instead, choose acid-free and lignin-free paper specifically designed for scrapbooking.
Cardstock is a popular choice for scrapbook pages because it is sturdy and durable. It comes in a wide variety of colors, patterns, and textures, allowing you to create visually appealing layouts. You can also use patterned paper, vellum, or specialty papers to add interest and dimension to your scrapbook.
When choosing paper, consider the theme of your scrapbook and the overall aesthetic you want to achieve. For example, if you’re creating a vintage-themed scrapbook, you might opt for aged or distressed paper. If you’re creating a scrapbook for a child, you might choose brightly colored and patterned paper.
How do I protect my photos in a scrapbook?
Protecting your photos is essential for preserving your memories for future generations. Here are a few tips for keeping your photos safe in a scrapbook:
* **Use acid-free photo sleeves or corners:** These will protect your photos from dust, dirt, and fingerprints.
* **Avoid using tape directly on your photos:** Tape can damage photos over time. Instead, use photo mounting squares or corners.
* **Store your scrapbook in a cool, dry place:** Avoid storing your scrapbook in direct sunlight or in areas with high humidity, as these conditions can damage your photos and paper.
* **Handle your scrapbook with clean hands:** This will prevent fingerprints and smudges from getting on your photos.
* **Consider scanning your photos:** Before adding them to your scrapbook, scan your photos and save them digitally. This will create a backup in case anything happens to the original photos.
How can I make my scrapbook more personal?
The key to creating a truly special and meaningful scrapbook is to personalize it with details that reflect the recipient’s personality and your shared experiences. Here are a few ideas:
* **Include handwritten notes and captions:** These add a personal touch and provide context for the photos.
* **Add memorabilia:** Ticket stubs, maps, brochures, and other mementos can help tell the story of your memories.
* **Incorporate inside jokes and quotes:** These will bring a smile to the recipient’s face and remind them of your special bond.
* **Use embellishments that reflect the recipient’s interests:** For example, if they love gardening, you could add pressed flowers or seed packets.
* **Ask friends and family to contribute:** Gather photos, anecdotes, and well wishes from people who are important to the recipient.
* **Tell a story:** Don’t just arrange photos randomly. Think about the narrative you want to create and arrange the photos in a way that tells a story.
What if I’m not very creative?
Don’t worry if you don’t consider yourself a creative person! Scrapbooking is all about having fun and expressing yourself. There are plenty of resources available to help you get started, including:
* **Scrapbooking templates:** These provide pre-designed layouts that you can easily customize.
* **Online tutorials:** There are countless tutorials available online that can teach you basic scrapbooking techniques.
* **Scrapbooking kits:** These kits include all the materials you need to create a complete scrapbook.
* **Inspiration from other scrapbookers:** Browse online galleries and social media to see what other people are creating.
Remember, there’s no right or wrong way to scrapbook. The most important thing is to have fun and create something that you and the recipient will cherish. Don’t be afraid to experiment and try new things. The more you practice, the better you’ll become. And most importantly, don’t put too much pressure on yourself to create a perfect scrapbook. The imperfections are what make it unique and special.
Leave a Comment