

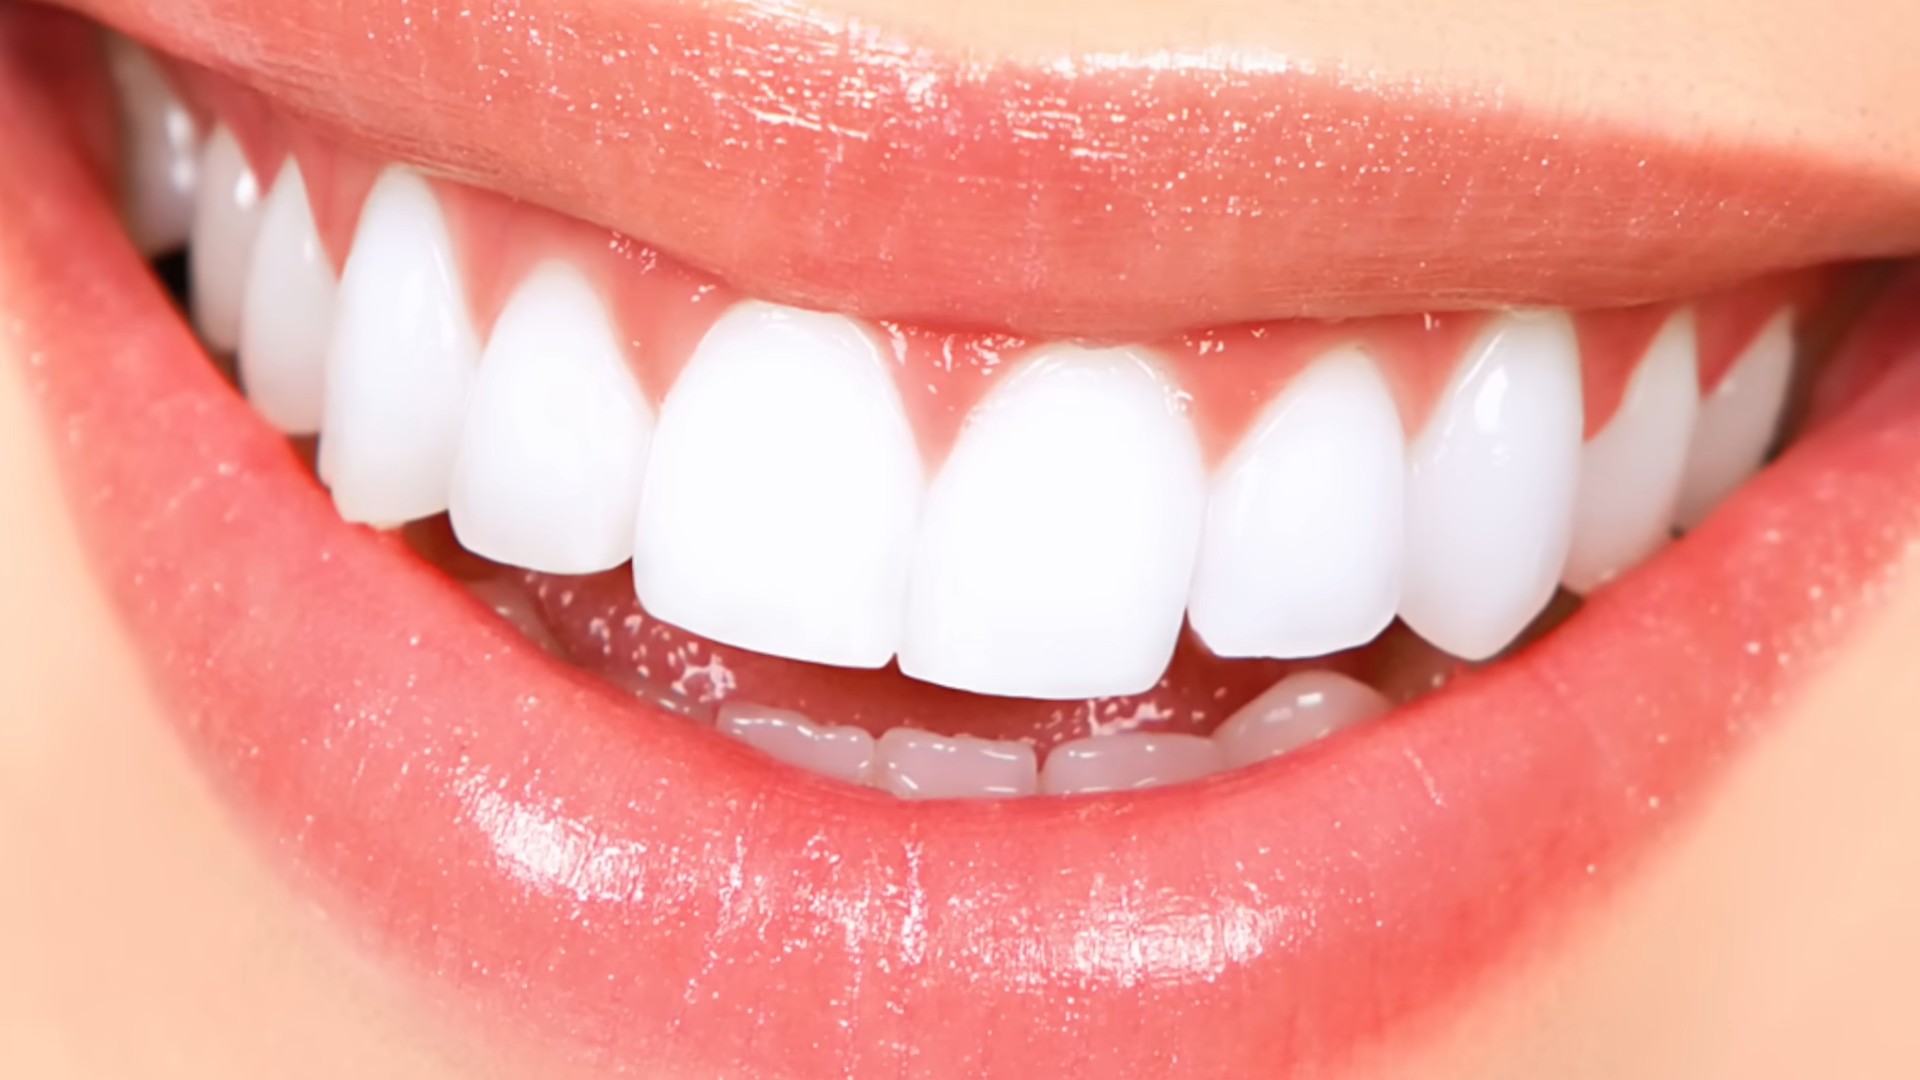
DIY teeth whitening: who doesn’t dream of a dazzling smile? I know I do! For centuries, cultures around the globe have sought ways to brighten their pearly whites, from ancient Egyptians using a paste of ground pumice and wine vinegar to Romans scrubbing with charcoal and tree bark. While those methods might sound a bit…abrasive, the desire for a brighter smile remains timeless.
But let’s be honest, professional teeth whitening treatments can be expensive and time-consuming. That’s where the magic of DIY comes in! In this article, I’m going to share some amazing, safe, and effective DIY teeth whitening tricks and hacks you can easily do at home. Imagine boosting your confidence with a noticeably brighter smile without breaking the bank. We’ll explore natural ingredients, simple techniques, and debunk some common myths along the way. Get ready to unlock your brightest smile yet – all from the comfort of your own bathroom!
DIY Teeth Whitening: A Comprehensive Guide to a Brighter Smile
Hey there! Ready to ditch those expensive whitening strips and dentist visits? I’m going to walk you through some awesome DIY teeth whitening methods you can try right at home. Remember, consistency is key, and what works for one person might not work for another. So, experiment safely and find what gives you the best results!
Understanding the Basics
Before we dive in, it’s important to understand why teeth get stained in the first place. Common culprits include coffee, tea, red wine, smoking, and certain medications. The goal of teeth whitening is to remove these surface stains and, in some cases, lighten the actual tooth enamel.
Important Note: These methods are best for surface stains. If you have deep-set stains or underlying dental issues, it’s always best to consult with your dentist. Also, if you experience any sensitivity, stop immediately!
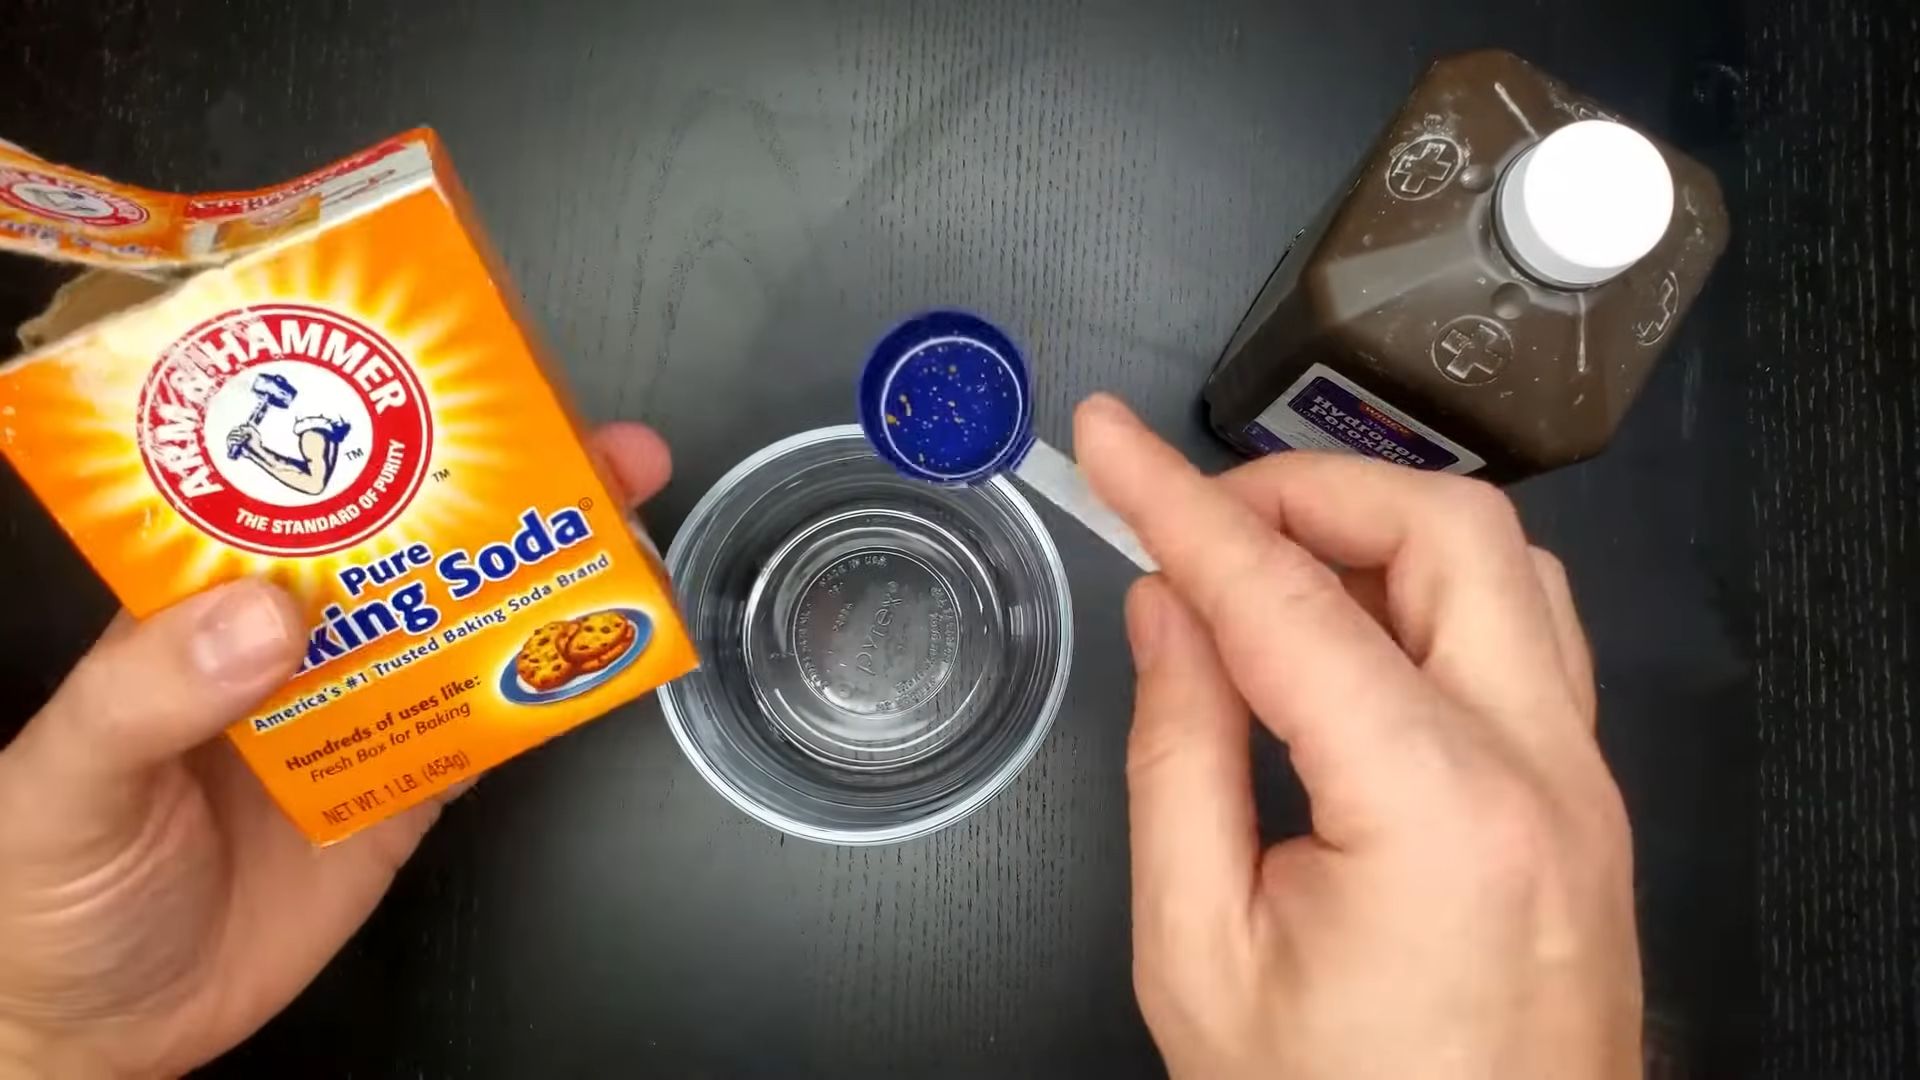
Method 1: Baking Soda and Hydrogen Peroxide Paste
This is probably the most well-known DIY whitening method. Baking soda is a mild abrasive that helps scrub away surface stains, while hydrogen peroxide acts as a bleaching agent.
What You’ll Need:
* Baking soda
* 3% Hydrogen peroxide (the kind you find in the drugstore)
* Toothbrush
* Small bowl
Step-by-Step Instructions:
1. Mix the Paste: In the small bowl, mix 1-2 teaspoons of baking soda with enough hydrogen peroxide to form a thick paste. You want it to be spreadable but not too runny.
2. Apply to Teeth: Using your toothbrush, apply the paste evenly to your teeth. Make sure to cover all surfaces that you want to whiten.
3. Let it Sit: Leave the paste on your teeth for 1-2 minutes. Don’t leave it on for longer than 2 minutes! Overexposure can damage your enamel.
4. Rinse Thoroughly: Rinse your mouth thoroughly with water. Make sure to get rid of all the paste.
5. Brush with Regular Toothpaste: Brush your teeth with your regular toothpaste to remove any remaining baking soda and hydrogen peroxide.
6. Repeat Sparingly: I recommend doing this only 1-2 times per week. Overdoing it can lead to enamel erosion and sensitivity.
Method 2: Oil Pulling with Coconut Oil
Oil pulling is an ancient Ayurvedic practice that involves swishing oil in your mouth to remove bacteria and toxins. While it’s not a direct bleaching method, it can help improve oral hygiene and reduce surface stains over time.
What You’ll Need:
* 1-2 tablespoons of coconut oil (unrefined, cold-pressed is best)
Step-by-Step Instructions:
1. Melt the Oil (if necessary): If your coconut oil is solid, melt it slightly until it’s liquid.
2. Swish: Put the coconut oil in your mouth and swish it around for 15-20 minutes. Don’t swallow the oil! It’s full of bacteria and toxins.
3. Spit it Out: Spit the oil into a trash can (not the sink, as it can clog your pipes). The oil should be milky white.
4. Rinse Thoroughly: Rinse your mouth thoroughly with warm water.
5. Brush Your Teeth: Brush your teeth with your regular toothpaste.
6. Repeat Daily: You can do oil pulling every day, preferably in the morning before you eat or drink anything.
Method 3: Activated Charcoal
Activated charcoal is another popular DIY whitening method. It’s highly absorbent and can help remove surface stains and toxins from your teeth.
What You’ll Need:
* Activated charcoal powder (make sure it’s food-grade)
* Toothbrush (use a separate one, as the charcoal can stain it)
* Small bowl
Step-by-Step Instructions:
1. Mix the Paste: In the small bowl, mix a small amount of activated charcoal powder with a little water to form a paste.
2. Apply to Teeth: Using your separate toothbrush, apply the paste evenly to your teeth.
3. Let it Sit: Leave the paste on your teeth for 2-3 minutes.
4. Rinse Thoroughly: Rinse your mouth thoroughly with water until all the charcoal is gone. It can be a bit messy!
5. Brush with Regular Toothpaste: Brush your teeth with your regular toothpaste to remove any remaining charcoal.
6. Repeat Sparingly: I recommend doing this only 1-2 times per week. Overuse can be abrasive and potentially damage your enamel.
Method 4: Apple Cider Vinegar Rinse
Apple cider vinegar (ACV) contains acetic acid, which can help break down plaque and bacteria on your teeth. However, it’s also acidic, so it’s important to use it sparingly and dilute it properly.
What You’ll Need:
* Apple cider vinegar (raw, unfiltered is best)
* Water
* Cup
Step-by-Step Instructions:
1. Dilute the ACV: Mix 1-2 teaspoons of apple cider vinegar with 6 ounces of water in a cup.
2. Swish: Swish the diluted ACV solution in your mouth for 30-60 seconds.
3. Rinse Thoroughly: Rinse your mouth thoroughly with water.
4. Brush Your Teeth: Brush your teeth with your regular toothpaste.
5. Repeat Sparingly: I recommend doing this only 1-2 times per week. Overuse can erode your enamel.
Method 5: Fruits and Vegetables
Certain fruits and vegetables can help naturally whiten your teeth.
Strawberries: Strawberries contain malic acid, which can help remove surface stains. You can mash a strawberry and rub it on your teeth for a few minutes, then rinse and brush.
Apples: The crispness of apples can help scrub away surface stains as you chew.
Broccoli: Broccoli contains iron, which can help protect your enamel from acid erosion.
Carrots and Celery: These crunchy vegetables stimulate saliva production, which helps wash away food particles and bacteria.
Important Note: While these foods can contribute to a brighter smile, they’re not a substitute for regular brushing and flossing.
Maintaining Your Pearly Whites
No matter which whitening method you choose, it’s important to maintain good oral hygiene habits to keep your teeth looking their best.
* Brush your teeth at least twice a day: Use a fluoride toothpaste and brush for at least two minutes each time.
* Floss daily: Flossing removes plaque and food particles from between your teeth, where your toothbrush can’t reach.
* Limit staining foods and drinks: Reduce your consumption of coffee, tea, red wine, and other staining substances.
* Rinse your mouth after eating or drinking staining substances: This can help prevent stains from setting in.
* Visit your dentist regularly: Professional cleanings can remove stubborn stains and keep your teeth healthy.
Safety Precautions and Considerations
Sensitivity: If you experience any sensitivity while using these methods, stop immediately. You may need to reduce the frequency of use or try a different method.
Enamel Erosion: Overuse of abrasive or acidic whitening methods can erode your enamel, making your teeth more sensitive and susceptible to decay. Always use these methods sparingly and follow the instructions carefully.
Dental Work: If you have fillings, crowns, or other dental work, these methods may not whiten them. In some cases, they may even damage them. Consult with your dentist before trying any DIY whitening methods.
Pregnancy and Breastfeeding: It’s generally not recommended to use teeth whitening products during pregnancy or breastfeeding. Consult with your doctor or dentist before trying any DIY methods.
Listen to Your Body: Pay attention to how your teeth and gums feel. If you experience any pain or discomfort, stop using the method and consult with your dentist.
My Personal Experience and Tips
I’ve personally tried the baking soda and hydrogen peroxide paste, as well as oil pulling with coconut oil. I found that the baking soda paste gave me noticeable results after just a few uses, but I had to be careful not to overdo it because it did make my teeth a little sensitive. Oil pulling is a more gentle method, and while I didn’t see dramatic whitening results, I did notice that my teeth felt cleaner and my gums were healthier.
Here are a few extra tips I’ve learned along the way:
* Be patient: DIY teeth whitening takes time and consistency. Don’t expect to see results overnight.
* Take before and after photos: This will help you track your progress and see how well the methods are working.
* Don’t be afraid to experiment: What works for one person might not work for another.
Conclusion
So, there you have it! This DIY teeth whitening trick isn’t just another fleeting trend; it’s a game-changer for achieving a brighter, more confident smile without breaking the bank or subjecting your teeth to harsh chemicals. We’ve explored a simple, effective method using ingredients you likely already have in your pantry. The beauty of this approach lies in its accessibility and control. You’re in charge of the ingredients, the frequency, and ultimately, the shade of white you desire.
Why is this a must-try? Because it empowers you to take control of your oral hygiene and aesthetics in a natural, affordable way. Commercial whitening products often contain strong bleaching agents that can lead to sensitivity and enamel damage. This DIY alternative offers a gentler approach, allowing you to gradually brighten your smile while minimizing potential side effects. Plus, think of the satisfaction of knowing you’re using a homemade solution!
But the journey doesn’t end here. Feel free to experiment with variations to find what works best for you. For instance, if you find baking soda too abrasive, try using activated charcoal powder instead. It’s known for its absorbent properties and can help draw out stains. You could also add a drop of peppermint essential oil for a refreshing flavor and breath-freshening boost. Remember to always use essential oils with caution and ensure they are food-grade. Another variation involves incorporating strawberries into your routine. The malic acid in strawberries can help remove surface stains, but be sure to rinse thoroughly afterward to prevent sugar from lingering on your teeth.
Important Note: While this DIY teeth whitening method is generally safe, it’s crucial to listen to your body. If you experience any sensitivity or discomfort, discontinue use immediately. And remember, this is not a substitute for regular dental checkups and professional cleanings. Maintaining good oral hygiene practices, such as brushing twice daily and flossing regularly, is essential for overall dental health.
We are confident that this DIY teeth whitening trick will become a staple in your beauty routine. It’s simple, effective, and customizable to your individual needs. Don’t just take our word for it, though. We encourage you to try it out for yourself and see the amazing results firsthand.
Once you’ve given it a go, we’d love to hear about your experience! Share your before-and-after photos, your favorite variations, and any tips or tricks you’ve discovered along the way in the comments section below. Let’s build a community of confident smiles and natural beauty! Your feedback will not only help others but also inspire us to continue providing you with valuable and effective DIY solutions. So, go ahead, give it a try, and let your smile shine!
Frequently Asked Questions (FAQ)
Is DIY teeth whitening safe for everyone?
Generally, yes, this DIY teeth whitening method is considered safe for most people when used in moderation. However, individuals with sensitive teeth, gum disease, or other oral health issues should exercise caution and consult with their dentist before trying it. The abrasiveness of baking soda, for example, can potentially irritate sensitive gums or erode enamel if used excessively. If you have any concerns, it’s always best to err on the side of caution and seek professional advice. Also, pregnant or breastfeeding women should consult their doctor before trying any new teeth whitening methods.
How often should I use this DIY teeth whitening trick?
We recommend using this DIY teeth whitening method no more than once or twice a week. Overuse can lead to enamel erosion and increased tooth sensitivity. Remember, consistency is key, but moderation is crucial. Listen to your teeth and gums. If you notice any sensitivity or discomfort, reduce the frequency or discontinue use altogether. It’s better to achieve gradual whitening over time than to risk damaging your enamel with aggressive treatments.
What if I have fillings or crowns?
If you have fillings or crowns, this DIY teeth whitening method should still be safe to use, but it’s important to be gentle and avoid excessive scrubbing. The materials used in fillings and crowns are generally resistant to staining, so you may not see the same whitening effect on those areas as you do on your natural teeth. If you have any concerns about the impact of this method on your dental work, consult with your dentist. They can provide personalized advice based on your specific situation.
Can I use lemon juice instead of water?
While lemon juice is a natural bleaching agent, we strongly advise against using it directly on your teeth. Lemon juice is highly acidic and can erode enamel, leading to increased sensitivity and potential damage. The small benefit of whitening is not worth the risk to your enamel. It’s always best to stick to gentler, less acidic alternatives like baking soda or activated charcoal.
How long will it take to see results?
The time it takes to see results from this DIY teeth whitening method can vary depending on several factors, including the severity of your staining, the frequency of use, and your individual tooth enamel. Some people may notice a difference after just a few uses, while others may need to use it consistently for several weeks to see noticeable results. Be patient and persistent, and remember that gradual whitening is often the safest and most effective approach.
What are some other natural ways to whiten teeth?
Besides the baking soda and activated charcoal method, there are several other natural ways to help whiten your teeth. These include:
* **Oil Pulling:** Swishing coconut oil in your mouth for 15-20 minutes can help remove bacteria and toxins, which can contribute to staining.
* **Proper Oral Hygiene:** Brushing twice daily and flossing regularly is essential for preventing stains and maintaining a bright smile.
* **Diet:** Limiting your consumption of staining foods and beverages, such as coffee, tea, red wine, and berries, can help prevent future discoloration.
* **Fruits and Vegetables:** Crunchy fruits and vegetables like apples, celery, and carrots can help scrub away surface stains as you chew.
Will this DIY method whiten my teeth as much as professional whitening treatments?
No, this DIY teeth whitening method is unlikely to achieve the same level of whitening as professional treatments. Professional whitening treatments use stronger bleaching agents and are administered under the supervision of a dentist, allowing for more dramatic results. However, this DIY method can still provide noticeable whitening and is a great option for those seeking a more natural and affordable alternative. It’s also a good way to maintain the results of professional whitening treatments.
What if I swallow some of the mixture?
Swallowing a small amount of the mixture is generally not harmful, but it’s best to avoid swallowing it intentionally. Baking soda, in particular, can have a slightly salty taste and may cause mild stomach upset in some individuals if ingested in large quantities. If you accidentally swallow a significant amount of the mixture, drink plenty of water and consult with a doctor if you experience any adverse symptoms.
How do I store the leftover mixture?
It’s best to make a fresh batch of the DIY teeth whitening mixture each time you use it. Storing the mixture can lead to bacterial growth and may reduce its effectiveness. Since the ingredients are readily available and inexpensive, it’s easy to whip up a new batch whenever you need it. This ensures that you’re always using a clean and effective solution.
Can this method damage my enamel?
While this DIY method is generally gentler than commercial whitening products, there is still a risk of enamel erosion if used excessively or if you use abrasive ingredients like baking soda too vigorously. To minimize this risk, use the method in moderation (no more than once or twice a week), use a soft-bristled toothbrush, and avoid scrubbing too hard. If you experience any sensitivity or discomfort, discontinue use immediately.
Leave a Comment