

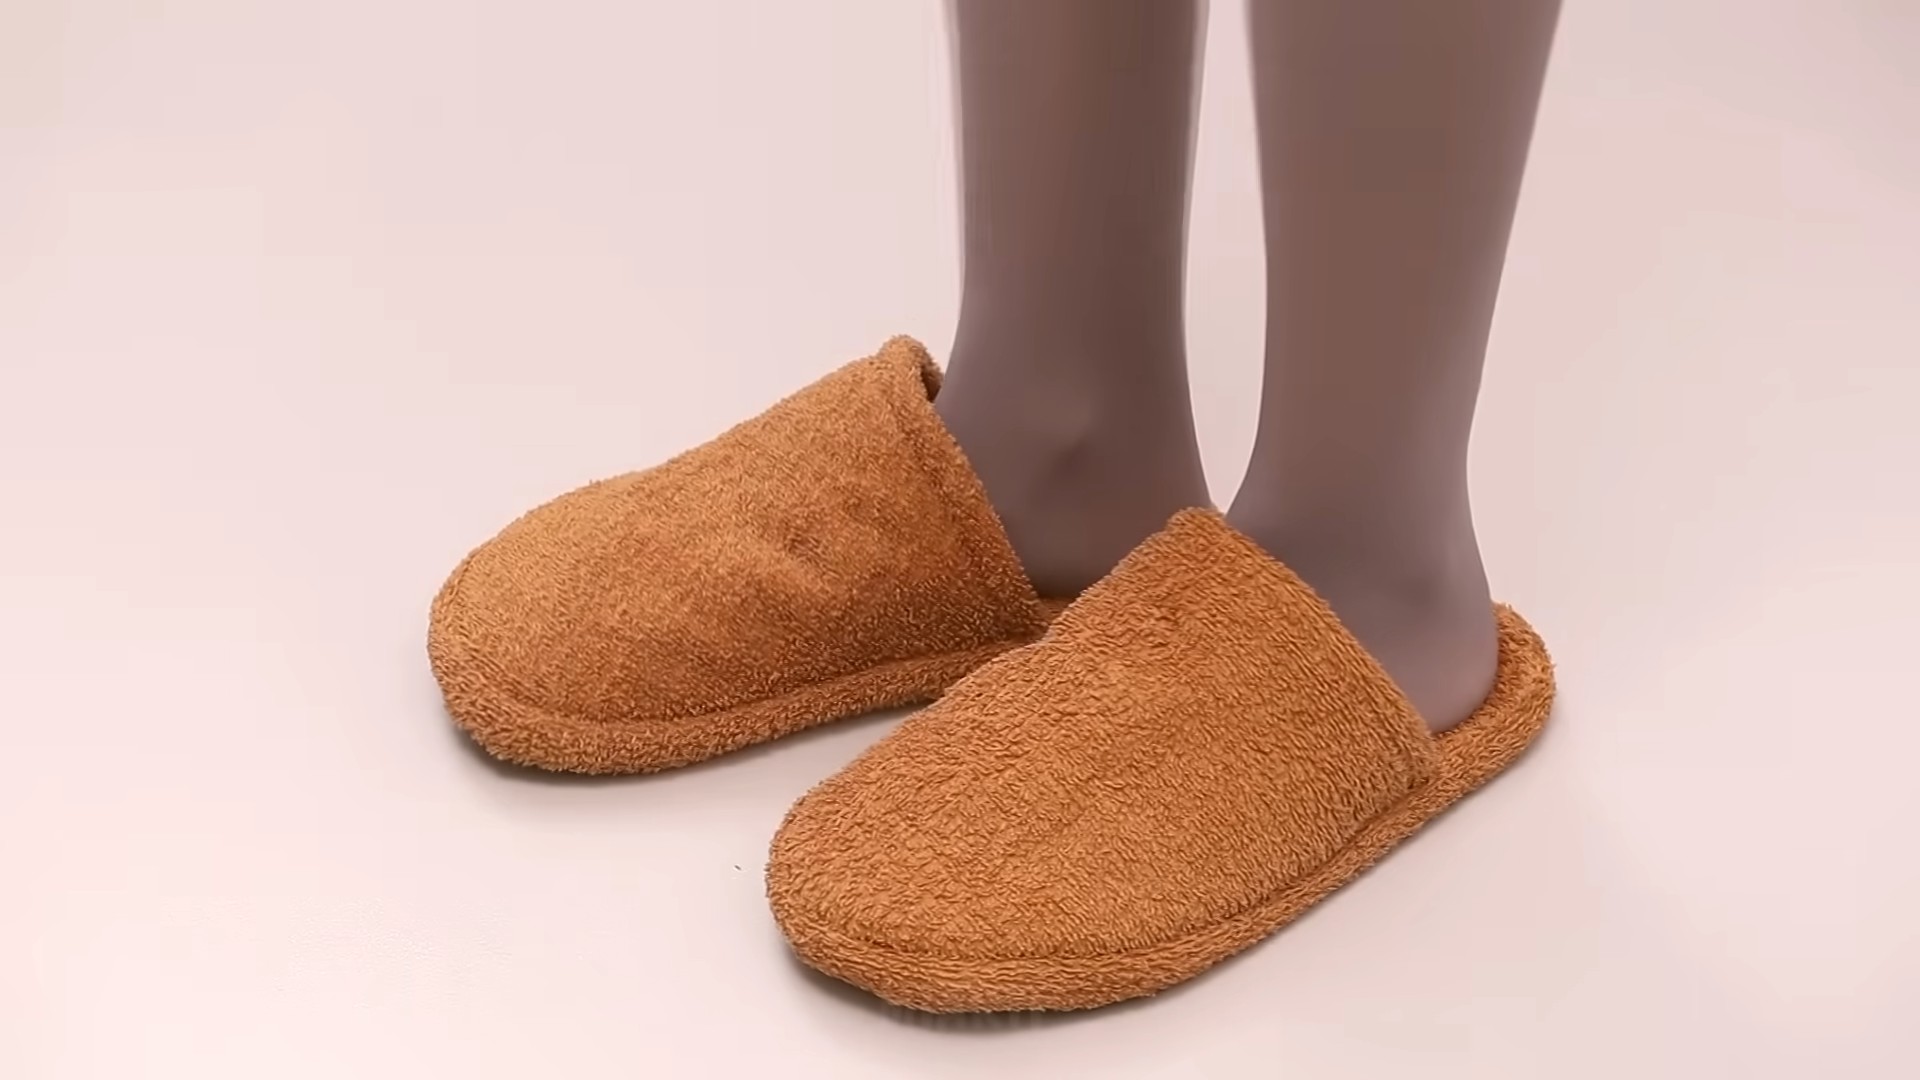
DIY Towel Slippers: Imagine sinking your feet into cloud-like comfort after a long day, without spending a fortune at the spa. Sounds dreamy, right? Well, you can make that dream a reality with a simple, fun, and incredibly practical DIY project: towel slippers!
The idea of repurposing materials for comfort and practicality isn’t new. Throughout history, resourceful individuals have found creative ways to transform everyday items into necessities. Think of the traditional Japanese Zori sandals, often made from rice straw, or the countless cultures that have utilized fabric scraps to create warm and cozy footwear. This DIY project taps into that same spirit of ingenuity and resourcefulness.
Let’s be honest, who doesn’t love a good pair of slippers? But store-bought slippers can be expensive, and sometimes they just don’t quite fit right. Plus, they often lack that personal touch. That’s where this DIY towel slippers project comes in. I’m going to show you how to create your own custom-fit slippers using materials you likely already have at home – old towels! Not only is this a fantastic way to upcycle and reduce waste, but it also allows you to create a pair of slippers that are perfectly tailored to your feet and your style. Say goodbye to cold floors and hello to cozy comfort, all thanks to a little DIY magic!
DIY Cozy Towel Slippers: A Step-by-Step Guide
Hey there! Ever get out of the shower and wish you had something super comfy and absorbent to slip your feet into? Well, I’ve got the perfect DIY project for you: towel slippers! These are incredibly easy to make, require minimal sewing (or even no sewing if you’re feeling crafty!), and are a fantastic way to upcycle old towels. Plus, they’re seriously the best thing ever on a cold morning or after a relaxing bath. Let’s get started!
Materials You’ll Need
Before we dive in, let’s gather our supplies. Don’t worry, you probably already have most of these lying around:
* Old Towels: The thicker, the better! Bath towels work great, but even hand towels can be used for smaller sizes. I prefer using towels that are still in good condition but maybe have a small stain or tear that makes them less appealing for regular use.
* Scissors: A good pair of fabric scissors is essential for clean cuts.
* Pins: These will help hold the fabric in place while you sew (or glue!).
* Sewing Machine (Optional): If you want a more durable slipper, a sewing machine is your best bet. But don’t worry, I’ll also show you how to make these without one!
* Needle and Thread (If not using a sewing machine): Choose a thread color that matches your towel.
* Cardboard or Thick Felt (For the soles): This will provide structure and support for your slippers. You can even use old cereal boxes if you’re on a budget!
* Pen or Marker: For tracing your foot.
* Hot Glue Gun and Glue Sticks (Optional, for no-sew version): This is a quick and easy alternative to sewing.
* Measuring Tape or Ruler: To ensure accurate measurements.
* Non-Slip Material (Optional): Consider adding non-slip fabric or dots to the soles for safety, especially if you have hardwood floors. You can find this at most craft stores.
* Embellishments (Optional): Buttons, ribbons, lace – get creative and personalize your slippers!
Creating the Pattern
This is a crucial step, so take your time and be accurate. We’re essentially making a custom pattern based on your foot size.
1. Trace Your Foot: Place a piece of cardboard or paper on a flat surface. Stand on the cardboard and carefully trace around your foot with a pen or marker. Make sure to keep the pen perpendicular to the cardboard for an accurate outline.
2. Add Seam Allowance: Around the tracing, add about 1/2 inch to 1 inch of extra space. This is your seam allowance, which will allow for comfortable movement and prevent the slippers from being too tight.
3. Design the Upper: Now, let’s design the upper part of the slipper. This is the part that will cover the top of your foot. You can create a simple rounded shape, a more elaborate design with a strap, or even a closed-toe slipper. I usually go for a simple rounded shape that covers about half of my foot. Draw this shape onto the cardboard, connecting it to the foot tracing. Remember to add seam allowance to this part as well.
4. Cut Out the Pattern Pieces: Carefully cut out the foot tracing (sole pattern) and the upper pattern. You now have your basic slipper pattern!
5. Test the Pattern (Optional): Before cutting into your towel, you might want to test the pattern using scrap fabric or paper. This will help you identify any areas that need adjustment.
Cutting the Fabric
Now that we have our pattern, it’s time to cut the fabric.
1. Prepare the Towel: Lay your towel flat on a clean surface. If your towel is very thick, you might want to cut it into a single layer for easier cutting and sewing.
2. Pin the Pattern: Place the sole pattern onto the towel and pin it securely in place. Repeat for the upper pattern. Make sure to position the pattern pieces so that you’re utilizing the towel efficiently and avoiding any worn or damaged areas.
3. Cut the Fabric: Carefully cut around the pattern pieces, following the outline closely. You’ll need to cut two sole pieces and two upper pieces for each slipper (so four sole pieces and four upper pieces in total).
4. Cut the Cardboard Soles: Using the sole pattern, cut out two cardboard or felt soles. These will provide the structure and support for your slippers.
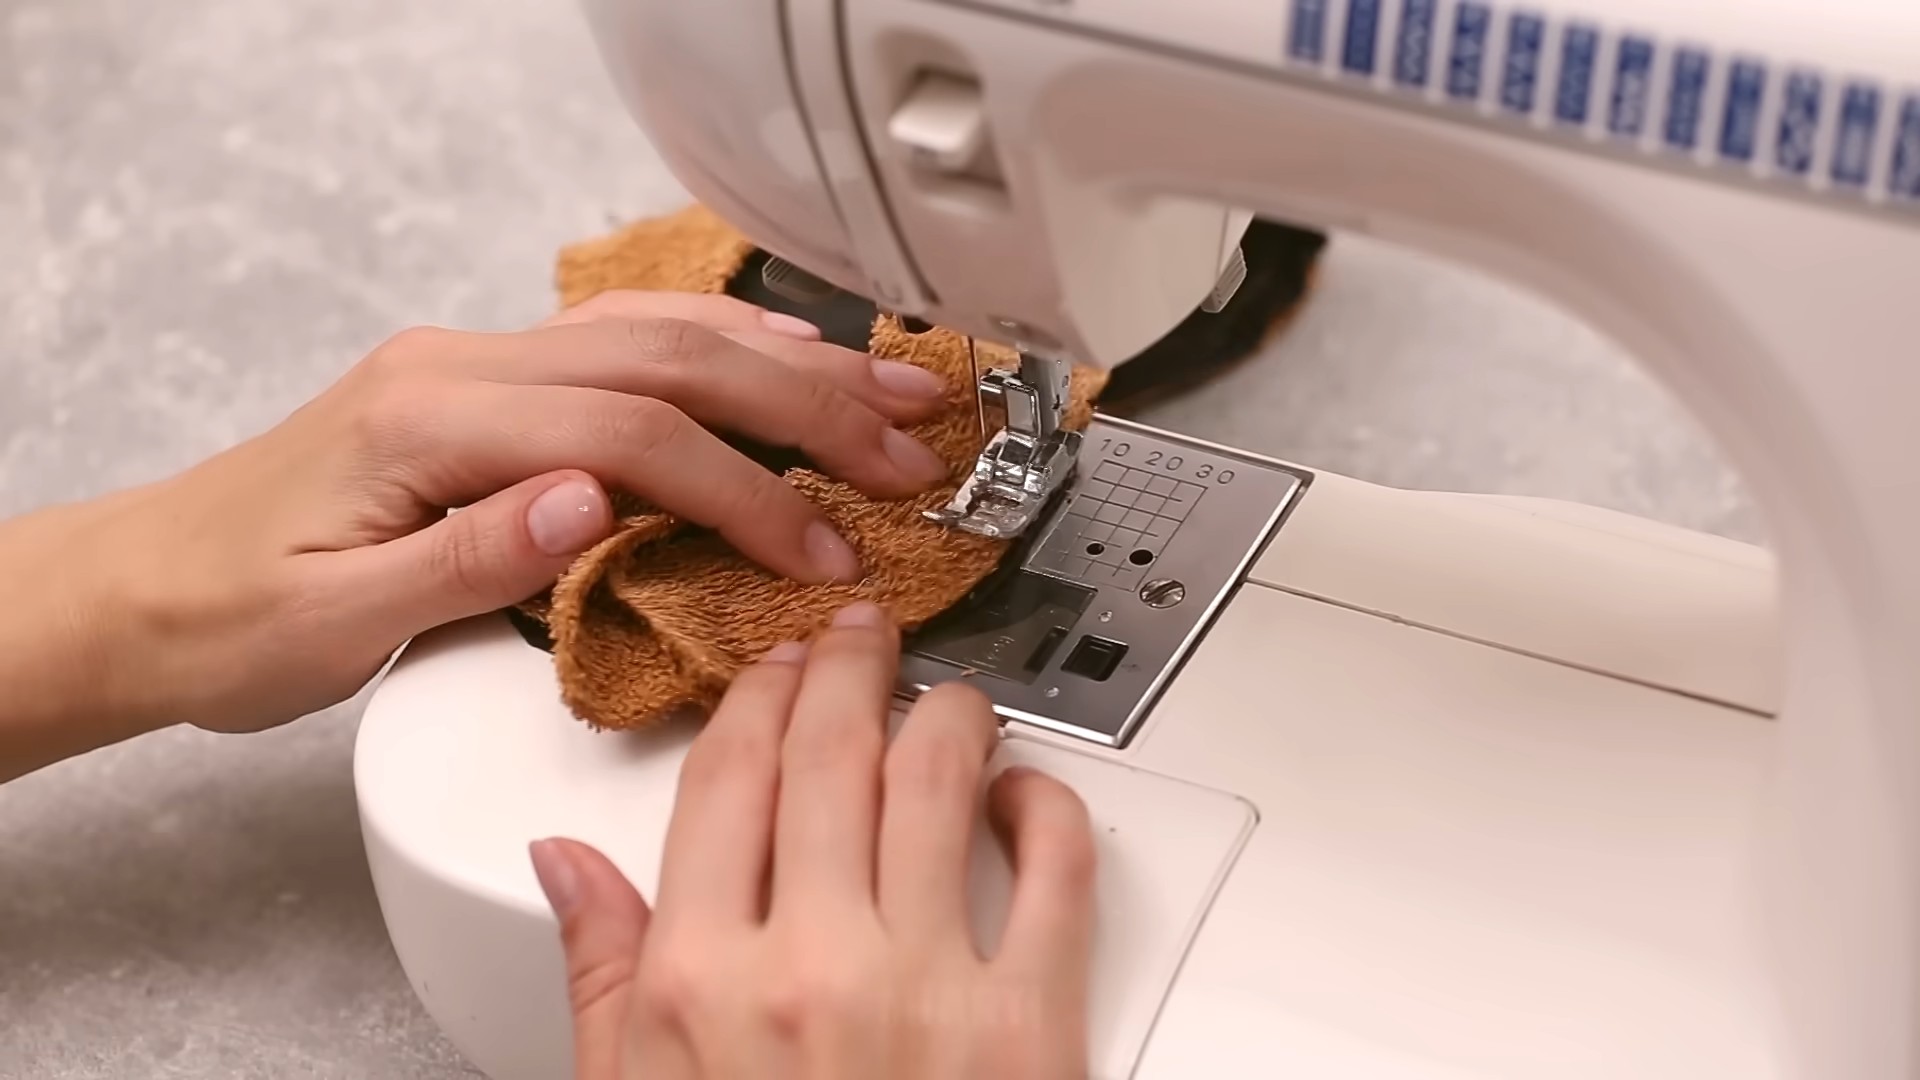
Sewing the Slippers (Sewing Machine Method)
If you have a sewing machine, this is the most durable and professional-looking option.
1. Sew the Upper Pieces: Take two upper pieces and place them right sides together. Sew along the curved edge, leaving the straight edge open. Repeat for the other slipper.
2. Turn Right Side Out: Turn the upper pieces right side out. This will create the finished look of the upper part of the slipper.
3. Pin the Upper to the Sole: Place the upper piece onto the sole piece, aligning the straight edge of the upper with the edge of the sole. Pin securely in place.
4. Sew the Upper to the Sole: Sew the upper piece to the sole piece, using a straight stitch or a zigzag stitch. Make sure to sew close to the edge of the fabric.
5. Attach the Cardboard Sole: Place the cardboard sole inside the slipper, between the towel sole and the upper. You can either glue it in place with hot glue or sew around the edge to secure it.
6. Repeat for the Other Slipper: Follow the same steps to create the other slipper.
Sewing the Slippers (Hand Sewing Method)
Don’t have a sewing machine? No problem! You can still create these slippers using hand sewing.
1. Sew the Upper Pieces: Take two upper pieces and place them right sides together. Using a needle and thread, sew along the curved edge with a backstitch or a running stitch. Repeat for the other slipper.
2. Turn Right Side Out: Turn the upper pieces right side out.
3. Pin the Upper to the Sole: Place the upper piece onto the sole piece, aligning the straight edge of the upper with the edge of the sole. Pin securely in place.
4. Sew the Upper to the Sole: Sew the upper piece to the sole piece, using a backstitch or a whipstitch. Make sure to sew securely and close to the edge of the fabric.
5. Attach the Cardboard Sole: Place the cardboard sole inside the slipper, between the towel sole and the upper. You can either glue it in place with hot glue or sew around the edge to secure it.
6. Repeat for the Other Slipper: Follow the same steps to create the other slipper.
No-Sew Method (Hot Glue Gun)
This is the quickest and easiest method, perfect for those who don’t want to sew.
1. Glue the Upper Pieces: Take two upper pieces and place them right sides together. Using a hot glue gun, carefully glue along the curved edge, creating a seam. Repeat for the other slipper.
2. Turn Right Side Out: Turn the upper pieces right side out.
3. Glue the Upper to the Sole: Place the upper piece onto the sole piece, aligning the straight edge of the upper with the edge of the sole. Using the hot glue gun, carefully glue the upper piece to the sole piece.
4. Attach the Cardboard Sole: Place the cardboard sole inside the slipper, between the towel sole and the upper. Glue it in place with hot glue.
5. Reinforce the Seams: For added durability, reinforce all the glued seams with an extra layer of hot glue.
6. Repeat for the Other Slipper: Follow the same steps to create the other slipper.
Adding Non-Slip Soles (Optional)
If you have hardwood floors, adding non-slip soles is a great idea to prevent slipping.
1. Cut Non-Slip Fabric: Using the sole pattern, cut out two pieces of non-slip fabric.
2. Attach to the Soles: Glue the non-slip fabric to the bottom of the towel soles using hot glue or fabric glue. Alternatively, you can apply non-slip dots to the soles.
Embellishing Your Slippers (Optional)
Now for the fun part! Let’s personalize your slippers.
* Buttons: Sew or glue buttons onto the upper part of the slipper for a decorative touch.
* Ribbons: Add ribbons around the edge of the upper or create a bow to attach to the front.
* Lace: Glue lace around the edge of the upper for a delicate and feminine look.
* Embroidery: Embroider your initials or a simple design onto the upper.
* Appliques: Add fabric app
Conclusion
So, there you have it! Transforming old towels into cozy, custom-fit slippers is not just a fun craft project; it’s a practical and sustainable way to pamper your feet. Forget those flimsy, disposable hotel slippers or the expensive, mass-produced versions that never quite fit right. With this simple DIY towel slippers method, you’re in control of the comfort, style, and environmental impact.
Why is this a must-try? Because it’s incredibly easy, budget-friendly, and customizable. You’re giving new life to something that might otherwise end up in the landfill, reducing waste and embracing a more eco-conscious lifestyle. Plus, the satisfaction of creating something useful and comfortable with your own hands is truly rewarding.
But the best part? The possibilities are endless! Feel free to experiment with different towel thicknesses for varying levels of cushioning. Use a plush bath towel for ultimate softness or a thinner hand towel for a more lightweight feel. Get creative with embellishments! Add decorative stitching, embroidery, or even non-slip grips to the soles for added safety. Consider using colorful towels or scraps of fabric to create unique and personalized designs. You could even add a layer of felt or foam padding between the towel layers for extra support and insulation, especially if you live in a colder climate.
For a spa-like experience, consider adding a few drops of your favorite essential oil, like lavender or eucalyptus, to the inside of the slippers before sewing them up. The gentle warmth of your feet will release the aroma, creating a soothing and relaxing sensation.
Don’t be afraid to adapt the pattern to suit your individual needs and preferences. If you have wider feet, simply adjust the measurements accordingly. If you prefer a more closed-toe design, extend the front flap of the towel. The beauty of this DIY project is that it’s completely adaptable to your unique foot shape and style.
We truly believe that once you try this DIY towel slippers trick, you’ll be hooked. It’s a simple, satisfying, and sustainable way to treat your feet to the comfort they deserve. So, gather your old towels, dust off your sewing machine (or grab a needle and thread), and get ready to create your own personalized pair of cozy slippers.
We can’t wait to see what you create! Share your finished slippers with us on social media using #DIYTowelSlippers. We’d love to see your unique designs and hear about your experience. Happy crafting!
Frequently Asked Questions (FAQ)
1. What kind of towels are best for making DIY towel slippers?
The best towels for DIY towel slippers are those that are absorbent, soft, and durable. Old bath towels are an excellent choice because they are typically thick and plush, providing ample cushioning for your feet. However, you can also use hand towels or even beach towels, depending on the desired thickness and size of your slippers. Consider the fabric content as well. Cotton towels are generally more absorbent and breathable, while microfiber towels are quick-drying and lightweight. Avoid using towels that are heavily worn or have significant damage, as they may not hold up well during the sewing process.
2. Do I need a sewing machine to make these slippers?
While a sewing machine will definitely speed up the process and create more durable seams, you can absolutely make these slippers by hand. If you’re sewing by hand, use a strong needle and thread, and be sure to use a sturdy stitch, such as a backstitch or a running stitch, to ensure that the seams are secure. Hand-sewing will take longer, but it’s a perfectly viable option, especially for those who enjoy the meditative process of handcrafting.
3. How do I determine the right size for my towel slippers?
To determine the right size for your towel slippers, measure the length of your foot from heel to toe. Add about an inch to this measurement to allow for seam allowance and a comfortable fit. You can then use this measurement as a guide when cutting out the towel pieces. It’s always better to err on the side of slightly larger slippers, as you can always trim them down if needed. You can also trace your foot onto a piece of paper and use that as a template for cutting out the towel pieces.
4. How can I make my towel slippers non-slip?
There are several ways to make your towel slippers non-slip. One option is to apply fabric paint or puffy paint to the soles in a dotted or patterned design. This will create a textured surface that provides traction. Another option is to purchase non-slip fabric or rubber grips and attach them to the soles of the slippers using fabric glue or by sewing them on. You can also use silicone sealant to create a non-slip surface. Be sure to allow the paint, glue, or sealant to dry completely before wearing the slippers.
5. How do I wash and care for my DIY towel slippers?
To wash your DIY towel slippers, it’s best to hand wash them in cold water with a mild detergent. Avoid using bleach or harsh chemicals, as these can damage the fabric. Gently squeeze out any excess water and allow the slippers to air dry completely. You can also machine wash them on a gentle cycle, but be sure to place them in a mesh laundry bag to protect them from damage. Avoid putting them in the dryer, as the heat can cause the fabric to shrink or the seams to come undone. With proper care, your DIY towel slippers will last for a long time.
6. Can I add embellishments to my towel slippers?
Absolutely! Adding embellishments is a great way to personalize your towel slippers and make them truly unique. You can add decorative stitching, embroidery, beads, buttons, or even patches. Get creative and use whatever materials you have on hand. Just be sure to use a strong adhesive or stitch to attach the embellishments securely.
7. What if I don’t have any old towels to use?
If you don’t have any old towels to use, you can purchase inexpensive towels from a discount store or thrift shop. You can also use scraps of fabric from other projects, such as old blankets, sheets, or even clothing. The key is to use a fabric that is absorbent, soft, and durable.
8. Can I make these slippers for children?
Yes, you can easily adapt this DIY project to make towel slippers for children. Simply adjust the measurements to fit their smaller feet. Be sure to use soft and gentle materials that are safe for children’s skin. You can also add fun embellishments, such as animal ears or cartoon characters, to make them more appealing to kids.
9. What if my sewing skills are limited?
Even if your sewing skills are limited, you can still make these towel slippers. The basic construction is very simple and requires only a few basic stitches. If you’re not comfortable sewing, you can also use fabric glue to assemble the slippers. Just be sure to use a strong and waterproof fabric glue. There are also no-sew methods that involve cutting and tying the towel in specific ways to create a slipper shape. Search online for “no-sew towel slippers” for tutorials.
10. How long will it take to make a pair of DIY towel slippers?
The amount of time it takes to make a pair of DIY towel slippers will depend on your sewing skills and the complexity of the design. If you’re using a sewing machine and following a simple pattern, it should take you about an hour or two to complete a pair. If you’re hand-sewing or adding intricate embellishments, it may take longer.
Leave a Comment