

DIY vanity tray projects are a fantastic way to add a touch of personalized elegance to your home, and I’m so excited to share some amazing ideas with you! Have you ever looked at those gorgeous, perfectly styled vanities in magazines and thought, “I wish I could achieve that level of chic”? Well, you absolutely can, and it doesn’t require a fortune or a professional decorator.
The concept of a vanity tray, a designated space for organizing your perfumes, jewelry, and makeup, has roots that stretch back centuries. Think of the ornate dressing tables of the Victorian era, where delicate trays held precious powders and perfumes. While the materials and styles have evolved, the purpose remains the same: to create a beautiful and functional display.
In today’s fast-paced world, a DIY vanity tray offers more than just aesthetic appeal. It’s about creating a sense of calm and order in your personal space. Let’s face it, a cluttered vanity can be a source of stress. By crafting your own tray, you’re not only adding a unique decorative element, but also creating a designated spot to keep your essentials organized and easily accessible. This means less time searching for that favorite lipstick and more time enjoying your morning routine. Plus, it’s a fantastic way to upcycle old materials and express your creativity! So, let’s dive into some inspiring DIY vanity tray ideas that will transform your space and bring a touch of luxury to your everyday life.
DIY Glam Vanity Tray: A Step-by-Step Guide
Hey there, fellow DIY enthusiasts! I’m so excited to share this project with you. I’ve always admired those gorgeous vanity trays you see in magazines and on Instagram, but the price tags? Ouch! So, I decided to create my own, and let me tell you, it was surprisingly easy and incredibly satisfying. This DIY glam vanity tray is perfect for organizing your makeup, perfumes, jewelry, or even just adding a touch of elegance to your bathroom or bedroom. Let’s get started!
Materials You’ll Need:
Before we dive in, let’s gather all the necessary supplies. Trust me, having everything on hand will make the process much smoother.
* A plain tray: You can find these at craft stores, thrift stores, or even online. I used a wooden tray with a slightly raised edge, about 12 inches in diameter. The size is really up to you and your needs.
* Mirror tiles: These are the key to the “glam” factor! I used square mirror tiles, about 1 inch by 1 inch. You’ll need enough to cover the bottom of your tray. Measure the inside of your tray to determine how many you’ll need.
* Strong adhesive: I recommend using a strong craft glue or epoxy. Make sure it’s suitable for bonding glass to wood (or whatever material your tray is made of). Read the label carefully!
* Grout (optional): If you want a more polished look, you can use grout to fill the spaces between the mirror tiles. I used a white grout, but you can choose any color you like.
* Grout float (optional): This is a rubber tool used to apply grout. It makes the process much easier, but you can also use your fingers (with gloves, of course!).
* Sponge (optional): For cleaning up excess grout.
* Sealer (optional): If you use grout, you’ll want to seal it to protect it from stains and moisture.
* Paint (optional): If you want to change the color of your tray, you’ll need paint and a paintbrush. I used a metallic gold spray paint for a super glam look.
* Embellishments (optional): This is where you can really get creative! Think rhinestones, pearls, beads, or anything else that sparkles.
* Gloves: To protect your hands from the adhesive and grout.
* Ruler or measuring tape: For accurate measurements.
* Pencil: For marking placement.
* Paper towels: For cleaning up spills.
Preparing the Tray
This step is crucial for ensuring a smooth and professional-looking finish.
1. Clean the tray: Start by thoroughly cleaning the tray with soap and water. Remove any dust, dirt, or grease. Let it dry completely. This will help the adhesive bond properly.
2. Paint the tray (optional): If you want to change the color of your tray, now’s the time to do it. Apply a thin, even coat of paint, following the manufacturer’s instructions. I used spray paint, which made the process quick and easy. Let the paint dry completely before moving on to the next step. You might need to apply a second coat for full coverage. Remember to paint in a well-ventilated area!
3. Measure the inside of the tray: Use a ruler or measuring tape to measure the inside dimensions of the tray. This will help you determine how many mirror tiles you’ll need and how to arrange them.
Arranging and Adhering the Mirror Tiles
This is where the magic happens! Take your time and be precise for the best results.
1. Dry-fit the tiles: Before you start gluing, arrange the mirror tiles inside the tray to see how they fit. You might need to trim some tiles to fit perfectly. If you need to trim them, use a glass cutter or a tile nipper. Be careful when working with glass!
2. Mark the placement (optional): If you’re using grout, you’ll want to leave a small space between the tiles for the grout to fill. Use a pencil to mark the placement of each tile, ensuring even spacing.
3. Apply adhesive to the first tile: Apply a small amount of adhesive to the back of the first mirror tile. Be careful not to use too much, as it can squeeze out from the sides and make a mess.
4. Place the tile in the tray: Carefully place the tile in the tray, pressing it firmly into place. Hold it for a few seconds to allow the adhesive to grab.
5. Repeat for the remaining tiles: Repeat steps 3 and 4 for the remaining mirror tiles, working your way across the tray. Make sure the tiles are evenly spaced and aligned.
6. Let the adhesive dry completely: Allow the adhesive to dry completely according to the manufacturer’s instructions. This is important for ensuring a strong bond. I usually wait at least 24 hours.
Grouting (Optional)
Grouting adds a professional touch and helps to fill any gaps between the tiles.
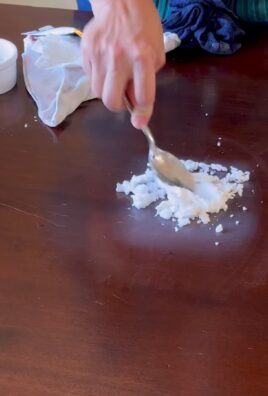
1. Prepare the grout: Mix the grout according to the manufacturer’s instructions. You’ll want a smooth, creamy consistency.
2. Apply the grout: Using a grout float or your fingers (with gloves!), apply the grout to the spaces between the mirror tiles. Press the grout firmly into the spaces, making sure to fill them completely.
3. Remove excess grout: Use a damp sponge to wipe away any excess grout from the surface of the tiles. Rinse the sponge frequently.
4. Let the grout dry: Allow the grout to dry according to the manufacturer’s instructions. This usually takes about 24 hours.
5. Clean the tiles: Once the grout is dry, use a clean, damp cloth to remove any remaining grout haze from the surface of the tiles.
6. Seal the grout (optional): Apply a grout sealer to protect the grout from stains and moisture. Follow the manufacturer’s instructions.
Embellishing (Optional)
This is where you can really personalize your vanity tray and make it your own!
1. Plan your design: Before you start gluing on embellishments, plan your design. You can arrange the embellishments on the tray to see how they look before you commit to gluing them.
2. Apply adhesive: Apply a small amount of adhesive to the back of each embellishment.
3. Place the embellishments: Carefully place the embellishments on the tray, pressing them firmly into place.
4. Let the adhesive dry: Allow the adhesive to dry completely according to the manufacturer’s instructions.
Final Touches
Almost there! Just a few more steps to complete your masterpiece.
1. Clean the tray: Give the entire tray a final cleaning to remove any dust, fingerprints, or smudges.
2. Admire your work: Step back and admire your beautiful, handmade glam vanity tray!
3. Arrange your items: Now, it’s time to fill your tray with your favorite makeup, perfumes, jewelry, or other accessories.
Tips and Tricks
Here are a few extra tips to help you create the perfect vanity tray:
* Choose high-quality materials: Using high-quality materials will ensure that your vanity tray lasts for years to come.
* Take your time: Don’t rush the process. Take your time and pay attention to detail.
* Be creative: Don’t be afraid to experiment with different colors, patterns, and embellishments.
* Protect your work surface: Cover your work surface with a drop cloth or newspaper to protect it from spills and splatters.
* Ventilate the area: When working with paint, adhesive, or grout, make sure to ventilate the area properly.
* Read the instructions: Always read the manufacturer’s instructions for all of the materials you’re using.
* Have fun! This is a fun and rewarding project, so relax and enjoy the process.
Alternative Ideas
* Use different shapes of mirror tiles: Instead of square tiles, you could use round, rectangular, or even mosaic tiles.
* Create a pattern with the tiles: Arrange the tiles in a pattern, such as a checkerboard or a herringbone.
* Add a border: Add a decorative border around the edge of the tray using ribbon, beads, or other embellishments.
* Use different colors of grout: Experiment with different colors of grout to create a unique look.
* Add legs: Attach small legs to the bottom of the tray to elevate it.
* Decoupage the tray: Instead of painting the tray, you could decoupage it with fabric, paper, or photos.
I hope you enjoyed this tutorial! I’m so happy with how my vanity tray turned out, and I know you’ll love yours too. Happy crafting!
Conclusion
So, there you have it! Transforming an ordinary item into a stunning, personalized DIY vanity tray is not only incredibly satisfying but also a fantastic way to elevate your space without breaking the bank. We’ve walked you through the simple steps, highlighting the versatility and creative freedom this project offers.
Why is this DIY trick a must-try? Because it’s more than just a craft project; it’s an opportunity to express your unique style and add a touch of luxury to your everyday routine. Imagine starting your day greeted by a beautifully curated vanity tray showcasing your favorite perfumes, jewelry, and skincare essentials. It’s an instant mood booster and a practical way to keep your space organized and clutter-free.
But the beauty of this DIY project lies in its adaptability. Feel free to experiment with different materials and embellishments to create a vanity tray that perfectly complements your existing décor.
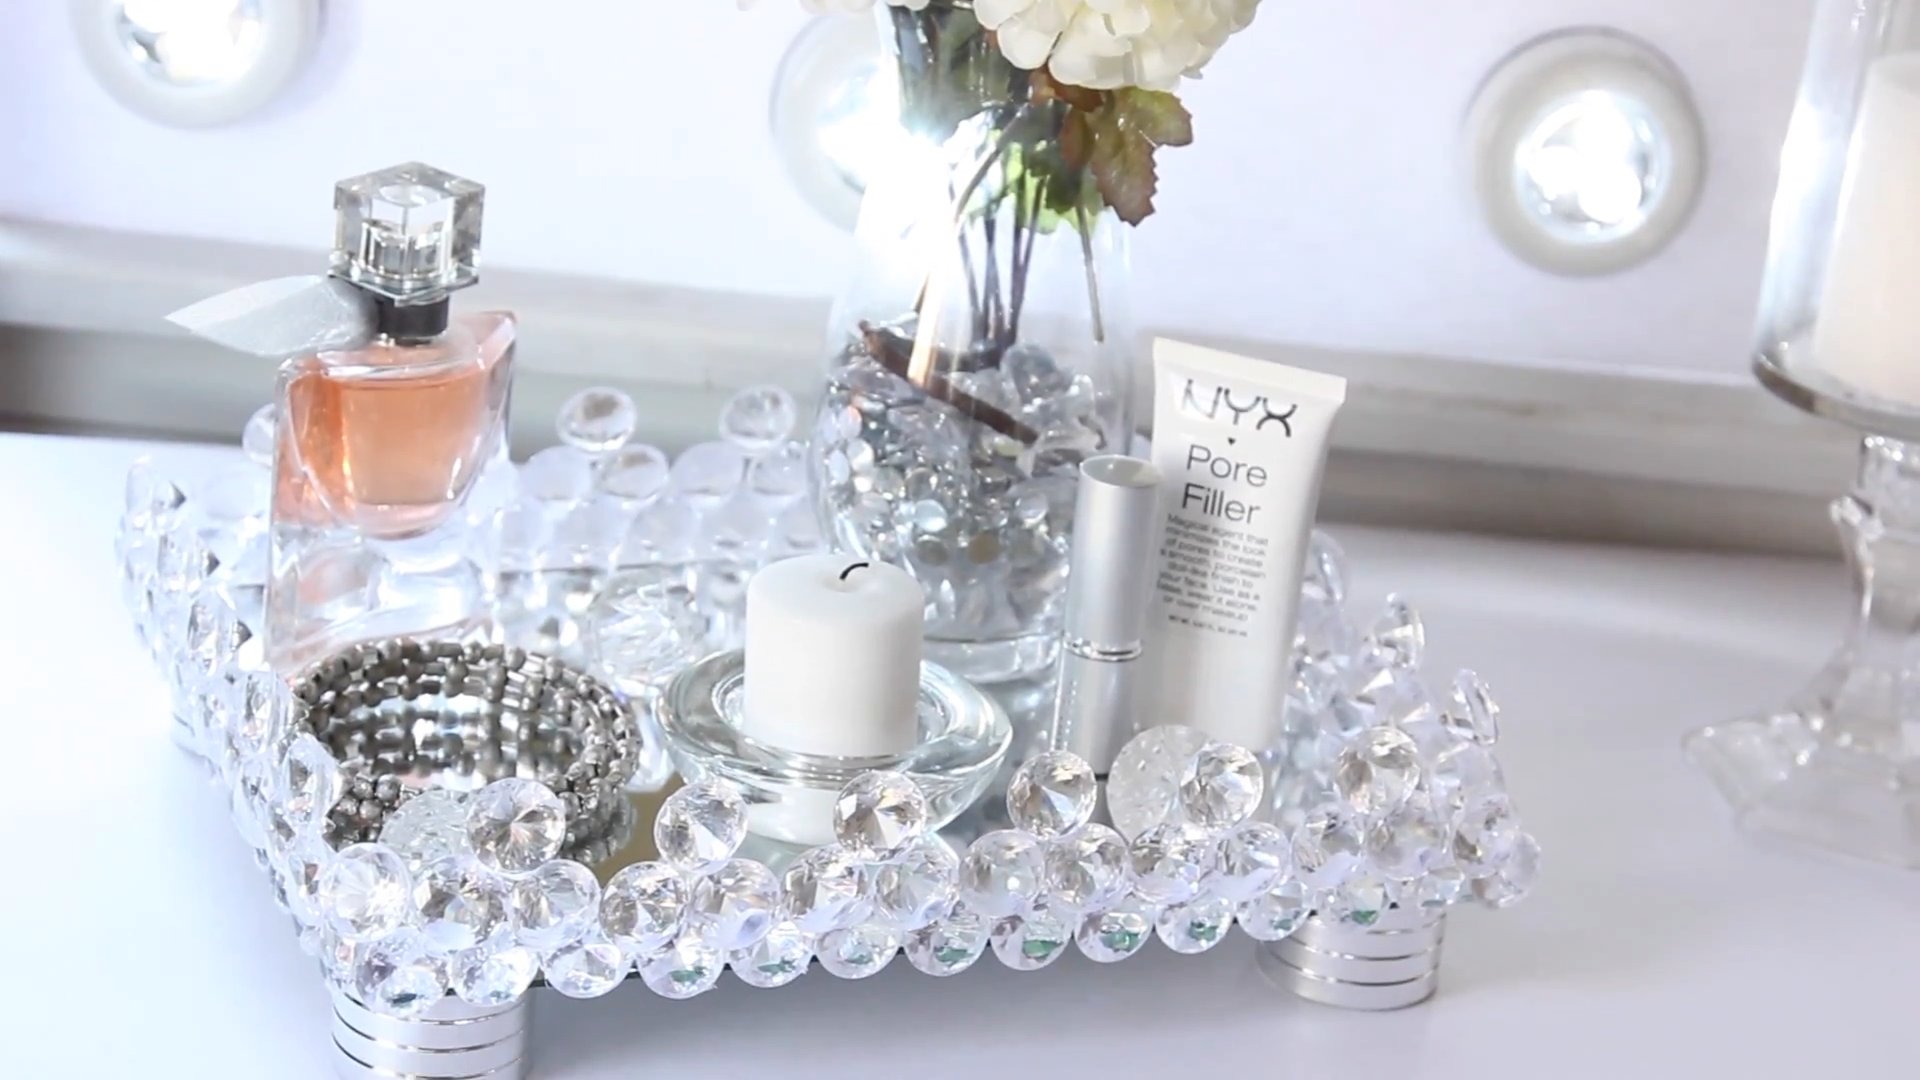
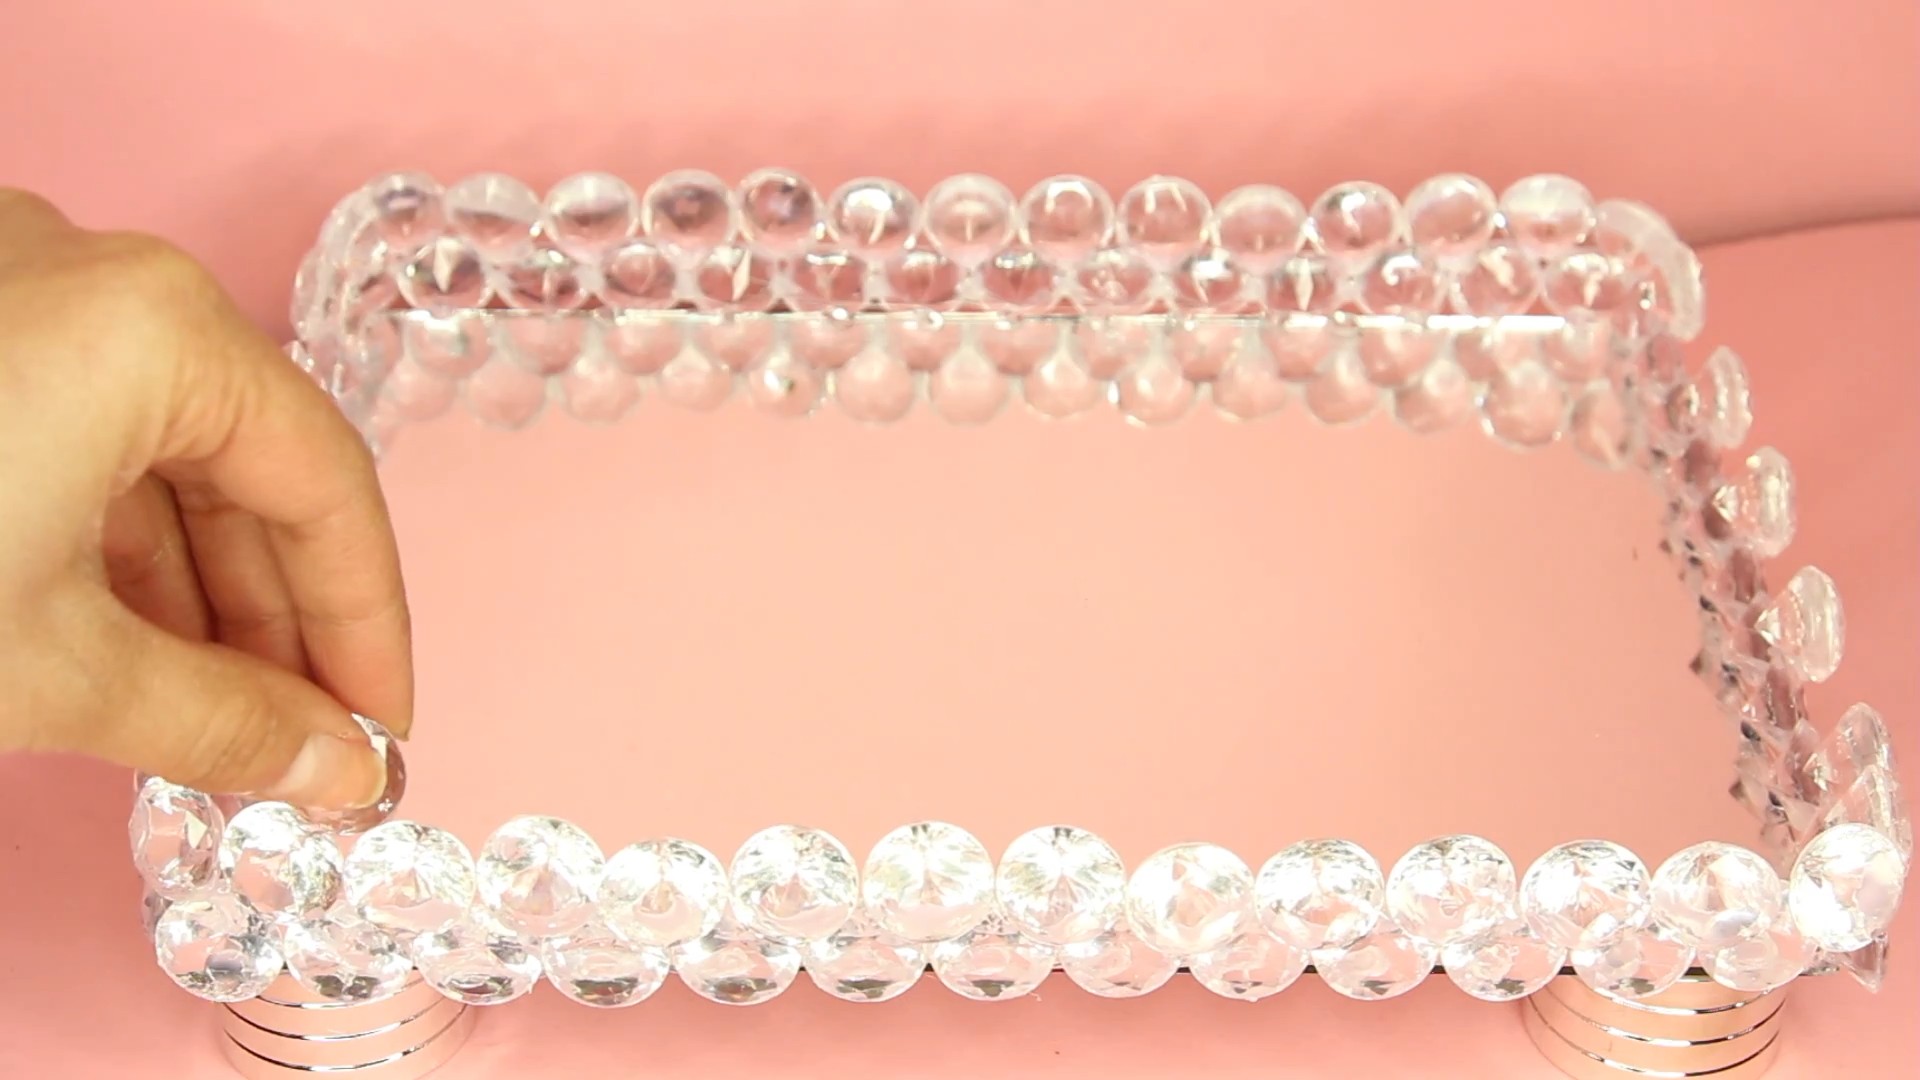
* Go Glam: Use mirrored tiles as the base for an extra touch of sparkle and sophistication. Add crystal knobs or drawer pulls for an opulent feel.
* Embrace Minimalism: Opt for a sleek, wooden tray with clean lines and a neutral color palette. Keep the embellishments minimal for a modern, understated look.
* Get Rustic: Use reclaimed wood or a vintage serving tray as the base. Add distressed paint or antique hardware for a charming, farmhouse-inspired vanity tray.
* Personalize it: Incorporate elements that reflect your personality and interests. Add pressed flowers, seashells, or even small trinkets to make your vanity tray truly one-of-a-kind.
Don’t be afraid to get creative and think outside the box! The possibilities are endless when it comes to designing your own DIY vanity tray.
We’re confident that you’ll love the process and the end result. It’s a rewarding project that allows you to unleash your creativity and create something truly special. Plus, it makes a thoughtful and personalized gift for friends and family.
So, what are you waiting for? Gather your supplies, unleash your inner artist, and create a stunning DIY vanity tray that will transform your space and elevate your everyday routine. We can’t wait to see what you create!
We encourage you to try this DIY trick and share your experience with us! Post photos of your finished vanity trays on social media using #DIYVanityTray and tag us so we can admire your creations. We’re always inspired by the creativity of our readers, and we’d love to feature your projects on our website. Let’s inspire others to embrace the joy of DIY and create beautiful, personalized spaces.
Now, let’s address some frequently asked questions to ensure you have all the information you need to embark on this exciting DIY adventure.
Frequently Asked Questions (FAQ)
What kind of tray can I use as a base for my DIY vanity tray?
The beauty of this project is its versatility! You can use a wide variety of trays as a base, depending on your desired aesthetic and budget. Some popular options include:
* Wooden Trays: These are readily available at craft stores and online retailers. They offer a sturdy base and can be easily painted, stained, or decorated.
* Metal Trays: Metal trays add a touch of industrial chic to your vanity. Look for vintage serving trays at thrift stores or antique shops for a unique and characterful base.
* Plastic Trays: Plastic trays are a budget-friendly option and come in a variety of shapes and sizes. They’re also lightweight and easy to clean.
* Mirrored Trays: Mirrored trays instantly add glamour and sophistication to your vanity. You can purchase pre-made mirrored trays or create your own by adhering mirrored tiles to a plain tray.
* Reclaimed Wood: For a rustic and eco-friendly option, consider using reclaimed wood as the base for your vanity tray. Sand it down and seal it for a smooth and durable surface.
What kind of glue should I use to attach embellishments to my vanity tray?
The best type of glue to use will depend on the materials you’re working with. However, here are some general recommendations:
* E6000: This is a strong, all-purpose adhesive that works well on a variety of materials, including wood, metal, glass, and plastic. It’s also waterproof and heat-resistant.
* Hot Glue Gun: A hot glue gun is a quick and easy way to attach lightweight embellishments, such as beads, sequins, and ribbons. However, it’s not as strong as E6000 and may not be suitable for heavier items.
* Super Glue: Super glue is a fast-drying adhesive that’s ideal for small, delicate embellishments. However, it can be brittle and may not be suitable for items that will be subject to stress or impact.
* Wood Glue: If you’re working with wood, use a high-quality wood glue for a strong and durable bond.
Always test the glue on a small, inconspicuous area before applying it to the entire project to ensure it doesn’t damage the materials.
How can I protect my DIY vanity tray from water damage?
To protect your vanity tray from water damage, especially if you plan to use it in a bathroom, consider these tips:
* Seal the Tray: Apply a sealant or varnish to the tray to create a waterproof barrier. Choose a sealant that’s appropriate for the material of your tray.
* Use a Waterproof Liner: Line the bottom of the tray with a waterproof material, such as silicone or plastic. This will prevent water from seeping into the tray and damaging it.
* Wipe Up Spills Immediately: If you spill water or other liquids on the tray, wipe it up immediately to prevent staining or damage.
* Avoid Harsh Cleaners: Use mild soap and water to clean your vanity tray. Avoid harsh cleaners or abrasive sponges, which can damage the finish.
Can I use spray paint to decorate my DIY vanity tray?
Yes, spray paint is a great way to add color and personality to your DIY vanity tray. However, it’s important to choose a spray paint that’s appropriate for the material of your tray.
* For Wood: Use a spray paint that’s specifically designed for wood. These paints typically have a primer built in and provide a durable, long-lasting finish.
* For Metal: Use a spray paint that’s designed for metal. These paints are typically rust-resistant and provide a smooth, even finish.
* For Plastic: Use a spray paint that’s designed for plastic. These paints are formulated to adhere to plastic surfaces without chipping or peeling.
Before spray painting your tray, be sure to clean it thoroughly and sand it lightly to create a smooth surface for the paint to adhere to. Apply several thin coats of paint, allowing each coat to dry completely before applying the next.
What are some other embellishments I can use to decorate my DIY vanity tray?
The possibilities are endless when it comes to embellishing your DIY vanity tray! Here are some additional ideas:
* Beads and Sequins: Add sparkle and glamour with beads and sequins.
* Ribbons and Lace: Add a touch of elegance and femininity with ribbons and lace.
* Buttons: Use vintage or colorful buttons for a whimsical and playful look.
* Shells and Sea Glass: Create a beach-themed vanity tray with shells and sea glass.
* Dried Flowers: Add a touch of nature with dried flowers.
* Decoupage: Decoupage images or patterns onto the tray for a unique and personalized look.
* Stencils: Use stencils to create intricate designs on the tray.
* Resin: Embed objects in resin for a glossy and durable finish.
Remember to have fun and let your creativity shine! The most important thing is to create a DIY vanity tray that you love and that reflects your personal style.
Leave a Comment