

Easy Summer Garden Crops: Imagine stepping outside your back door and harvesting fresh, sun-ripened tomatoes, crisp cucumbers, and fragrant herbs, all grown with your own two hands. Sounds idyllic, right? Well, it doesn’t have to be just a dream! Many people think growing their own food is complicated, but I’m here to tell you that cultivating an abundant summer garden is easier than you think, especially with the right knowledge.
For centuries, home gardening has been a cornerstone of self-sufficiency and a connection to the natural world. From the ancient Egyptians cultivating herbs and vegetables along the Nile to the Victory Gardens of World War II, growing your own food has always been a way to nourish ourselves and our communities. Today, with concerns about food security and the desire for healthier, more sustainable living, home gardening is experiencing a vibrant resurgence.
But let’s be honest, getting started can feel overwhelming. That’s where these DIY tricks and hacks come in! I’m going to share some of my favorite tips and techniques for growing easy summer garden crops, even if you’re a complete beginner. We’ll cover everything from choosing the right plants to simple pest control solutions, ensuring you have a thriving garden that provides you with delicious, homegrown produce all summer long. So, grab your gardening gloves, and let’s get started!
Easy Summer Garden Crops: A Beginner’s Guide to a Bountiful Harvest
Hey there, fellow gardening enthusiasts! I’m so excited to share my favorite easy-to-grow summer crops with you. If you’re a beginner gardener or just looking for some low-maintenance options, you’ve come to the right place. These plants are relatively forgiving, produce a generous yield, and are perfect for adding fresh, homegrown goodness to your summer meals. Let’s dive in!
Choosing Your Crops: The Easy-Grow All-Stars
Before we get our hands dirty, let’s talk about which plants are the easiest to cultivate during the summer months. I’ve narrowed it down to a few reliable choices:
* Zucchini: This prolific producer is practically a weed (in the best way possible!). Be prepared for an abundance of zucchini – you’ll be giving it away to friends and neighbors!
* Tomatoes: Nothing beats the taste of a sun-ripened tomato fresh from the garden. Choose determinate varieties for a more compact plant and earlier harvest.
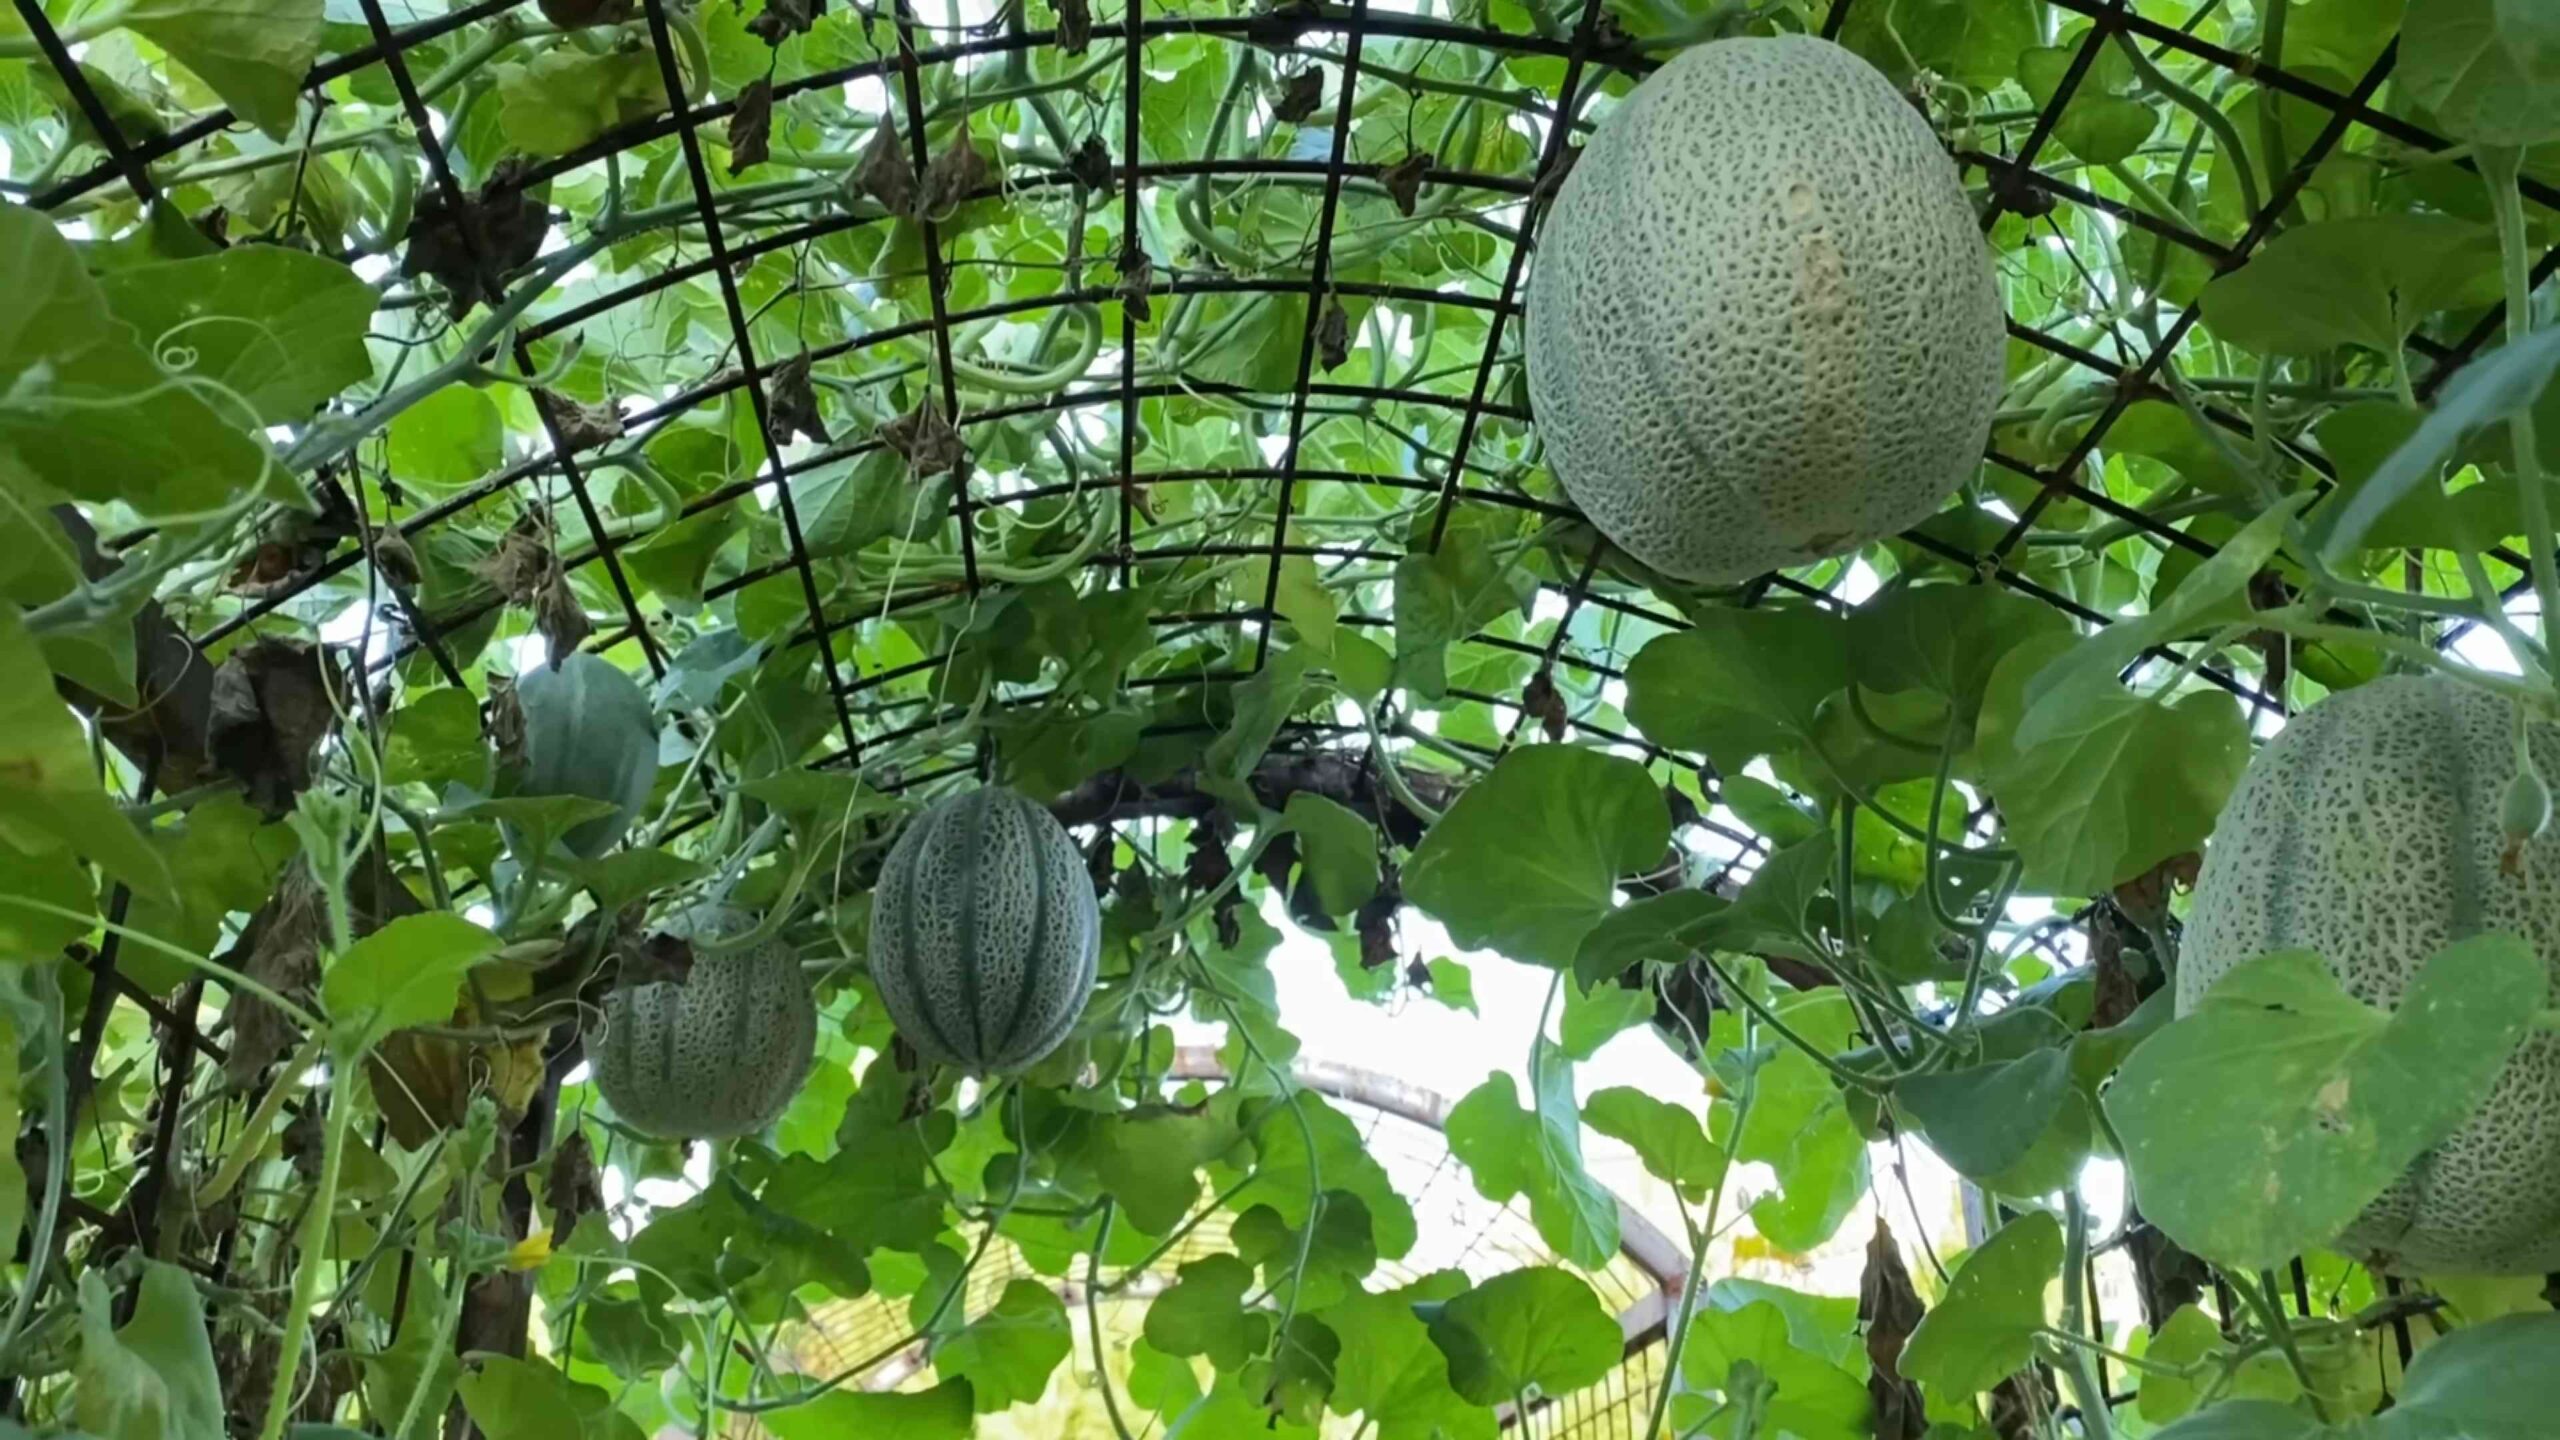
* Cucumbers: Another vining vegetable that’s perfect for trellising. Pickling cucumbers are especially easy and rewarding.
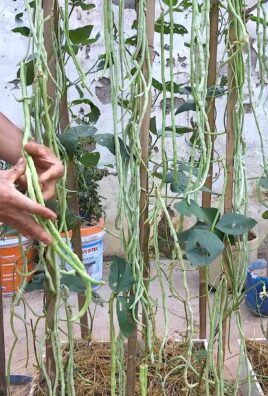
* Bush Beans: These compact plants produce a steady supply of beans throughout the summer. No staking required!
* Lettuce and Salad Greens: Plant a variety of loose-leaf lettuce for a continuous harvest of fresh greens.
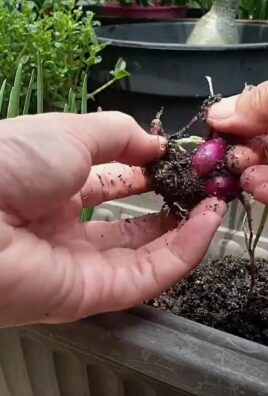
* Radishes: These fast-growing root vegetables are ready to harvest in just a few weeks.
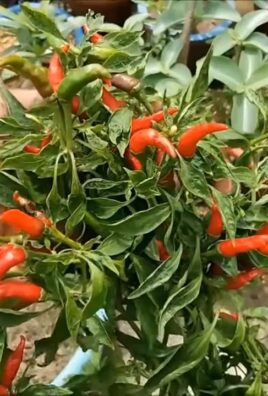
* Peppers (Bell and Hot): Peppers thrive in warm weather and are relatively easy to grow in containers or in the ground.
* Basil: This fragrant herb is a must-have for summer cooking and is incredibly easy to grow from seed or cuttings.
Preparing Your Garden Bed: Setting the Stage for Success
A little preparation goes a long way in ensuring a successful harvest. Here’s how I get my garden bed ready for planting:
1. Choose a Sunny Location: Most of these vegetables need at least 6-8 hours of direct sunlight per day. Observe your garden throughout the day to identify the sunniest spot.
2. Clear the Area: Remove any weeds, rocks, and debris from the planting area. I like to use a garden fork to loosen the soil and make it easier to work with.
3. Amend the Soil: Healthy soil is crucial for healthy plants. Amend your soil with compost, aged manure, or other organic matter to improve drainage and fertility. I usually add a generous layer of compost and work it into the top 6-8 inches of soil.
4. Test Your Soil (Optional): A soil test can tell you the pH level and nutrient content of your soil. This information can help you determine what amendments are needed to create the ideal growing conditions for your chosen crops. You can purchase a soil test kit at most garden centers or send a sample to your local agricultural extension office.
5. Create Raised Beds (Optional): Raised beds offer several advantages, including improved drainage, warmer soil, and easier weed control. You can build raised beds from wood, concrete blocks, or other materials. I find that raised beds also make gardening easier on my back!
Planting Your Crops: Getting Started
Now for the fun part – planting! Here’s a step-by-step guide for each of our easy-grow crops:
Zucchini
1. Start Seeds Indoors (Optional): You can start zucchini seeds indoors 2-3 weeks before the last expected frost. Sow seeds ½ inch deep in seed-starting trays or pots. Keep the soil moist and warm.
2. Direct Sow Seeds: Once the soil has warmed up to at least 60°F (16°C), you can direct sow zucchini seeds directly into the garden. Plant seeds ½ inch deep and space them 2-3 feet apart.
3. Transplant Seedlings: If you started seeds indoors, harden off the seedlings by gradually exposing them to outdoor conditions for a week before transplanting. Plant seedlings 2-3 feet apart.
4. Water Thoroughly: Water the newly planted seeds or seedlings thoroughly.
5. Mulch: Apply a layer of mulch around the plants to help retain moisture and suppress weeds. I like to use straw or wood chips.
Tomatoes
1. Start Seeds Indoors: Start tomato seeds indoors 6-8 weeks before the last expected frost. Sow seeds ¼ inch deep in seed-starting trays or pots. Keep the soil moist and warm.
2. Transplant Seedlings: Harden off the seedlings by gradually exposing them to outdoor conditions for a week before transplanting. Plant seedlings 2-3 feet apart.
3. Provide Support: Tomatoes need support to prevent the vines from sprawling on the ground. Use stakes, cages, or trellises to support the plants. I prefer using tomato cages because they’re easy to install and provide good support.
4. Water Deeply: Water tomato plants deeply and regularly, especially during hot weather.
5. Pinch Suckers: Remove the suckers (small shoots that grow between the main stem and the branches) to encourage the plant to focus its energy on producing fruit.
Cucumbers
1. Start Seeds Indoors (Optional): You can start cucumber seeds indoors 3-4 weeks before the last expected frost. Sow seeds ½ inch deep in seed-starting trays or pots. Keep the soil moist and warm.
2. Direct Sow Seeds: Once the soil has warmed up to at least 60°F (16°C), you can direct sow cucumber seeds directly into the garden. Plant seeds ½ inch deep and space them 1-2 feet apart.
3. Transplant Seedlings: If you started seeds indoors, harden off the seedlings by gradually exposing them to outdoor conditions for a week before transplanting. Plant seedlings 1-2 feet apart.
4. Provide Support: Cucumbers are vining plants and need support to climb. Use a trellis or fence to support the plants.
5. Water Regularly: Water cucumber plants regularly, especially during hot weather.
Bush Beans
1. Direct Sow Seeds: Bush beans are best direct sown into the garden after the last expected frost. Plant seeds 1 inch deep and space them 2-3 inches apart.
2. Water Thoroughly: Water the newly planted seeds thoroughly.
3. Succession Planting: Plant a new batch of bush beans every 2-3 weeks for a continuous harvest throughout the summer.
Lettuce and Salad Greens
1. Direct Sow Seeds: Lettuce and salad greens can be direct sown into the garden in early spring or late summer. Plant seeds ¼ inch deep and space them 1-2 inches apart.
2. Thin Seedlings: Once the seedlings emerge, thin them to 4-6 inches apart.
3. Succession Planting: Plant a new batch of lettuce and salad greens every 2-3 weeks for a continuous harvest.
4. Harvest Regularly: Harvest lettuce and salad greens when the leaves are young and tender.
Radishes
1. Direct Sow Seeds: Radishes are best direct sown into the garden in early spring or late summer. Plant seeds ½ inch deep and space them 1 inch apart.
2. Water Regularly: Water radish plants regularly to keep the soil moist.
3. Harvest Promptly: Radishes are ready to harvest in just a few weeks. Harvest them when they are about 1 inch in diameter.
Peppers (Bell and Hot)
1. Start Seeds Indoors: Start pepper seeds indoors 8-10 weeks before the last expected frost. Sow seeds ¼ inch deep in seed-starting trays or pots. Keep the soil moist and warm.
2. Transplant Seedlings: Harden off the seedlings by gradually exposing them to outdoor conditions for a week before transplanting. Plant seedlings 18-24 inches apart.
3. Provide Support (Optional): Taller pepper varieties may need support to prevent the branches from breaking under the weight of the fruit. Use stakes or cages to support the plants.
4. Water Regularly: Water pepper plants regularly, especially during hot weather.
Basil
1. Start Seeds Indoors (Optional): You can start basil seeds indoors 4-6 weeks before the last expected frost. Sow seeds ¼ inch deep in seed-starting trays or pots. Keep the soil moist and warm.
2. Direct Sow Seeds: Once the soil has warmed up to at least 70°F (21°C), you can direct sow basil seeds directly into the garden. Plant seeds ¼ inch deep and space them 12-18 inches apart.
3. Transplant Seedlings: If you started seeds indoors, harden off the seedlings by gradually exposing them to outdoor conditions for a week before transplanting. Plant seedlings 12-18 inches apart.
Conclusion
So, there you have it! Mastering this simple DIY trick for nurturing your easy summer garden crops is a game-changer. It’s not just about saving money; it’s about taking control of your garden’s health and productivity in a way that’s both sustainable and deeply satisfying. We’ve walked you through the steps, highlighting the benefits at each stage, and hopefully, dispelled any initial hesitations you might have had.
Why is this a must-try? Because it empowers you to create a thriving garden ecosystem, naturally boosting the growth and resilience of your plants. Imagine vibrant tomatoes bursting with flavor, crisp cucumbers ready for salads, and fragrant herbs adding zest to your summer meals – all thanks to your own ingenuity and a little bit of effort. This DIY approach allows you to tailor the nutrient content to the specific needs of your easy summer garden crops, something you can’t always achieve with store-bought solutions.
But the beauty of this method lies in its adaptability. Feel free to experiment with variations! For example, if you’re growing primarily leafy greens, consider adding a bit more nitrogen-rich material to your compost. If you’re focusing on fruiting vegetables like peppers or eggplants, a boost of phosphorus can encourage abundant blooms and fruit set. You can also incorporate different types of organic matter based on what’s readily available in your area – think coffee grounds, eggshells, or even seaweed if you live near the coast. The possibilities are endless!
Don’t be afraid to get your hands dirty and embrace the learning process. Gardening is, after all, a journey of discovery. Each season brings new challenges and opportunities to refine your techniques. This DIY trick is a fantastic starting point, providing a solid foundation for building a healthy and productive garden year after year.
We are confident that once you try this method, you’ll be amazed by the results. The vibrant growth, the improved flavor of your produce, and the satisfaction of knowing you’re nurturing your garden in a sustainable way will make it all worthwhile.
Now, we want to hear from you! Give this DIY trick a try with your easy summer garden crops and share your experiences in the comments below. What variations did you experiment with? What challenges did you encounter, and how did you overcome them? Your insights will not only help other readers but also contribute to a collective knowledge base that benefits the entire gardening community. Let’s grow together!
Frequently Asked Questions (FAQ)
What exactly are “easy summer garden crops,” and why are they important?
Easy summer garden crops are vegetables and herbs that thrive in warm weather and are relatively simple to grow, even for beginner gardeners. These often include tomatoes, cucumbers, zucchini, peppers, beans, lettuce, and various herbs like basil and mint. They are important because they provide fresh, healthy produce during the summer months, allowing you to enjoy homegrown flavors and reduce your reliance on store-bought options. Growing your own food also promotes a connection to nature and can be a rewarding and therapeutic experience.
How often should I apply this DIY trick to my easy summer garden crops?
The frequency of application depends on the specific needs of your plants and the overall health of your soil. As a general guideline, you can apply this DIY trick every 2-4 weeks during the active growing season. Observe your plants closely for signs of nutrient deficiencies, such as yellowing leaves or stunted growth. If you notice these signs, you may need to increase the frequency of application. It’s also a good idea to conduct a soil test periodically to assess the nutrient levels and adjust your feeding schedule accordingly. Remember, over-fertilizing can be just as harmful as under-fertilizing, so it’s always best to err on the side of caution.
Can I use this DIY trick for all types of plants, or is it specifically for easy summer garden crops?
While this DIY trick is particularly well-suited for easy summer garden crops, it can also be beneficial for other types of plants, both in the garden and in containers. However, it’s important to consider the specific nutrient requirements of each plant species. Some plants may require higher levels of certain nutrients than others. For example, acid-loving plants like blueberries and azaleas may benefit from the addition of acidic materials like coffee grounds to the compost. Research the specific needs of your plants and adjust the ingredients of your DIY trick accordingly.
What if I don’t have all the ingredients listed in the recipe? Can I substitute them?
Absolutely! The beauty of this DIY trick is its flexibility. You can substitute ingredients based on what’s readily available to you. For example, if you don’t have access to compost, you can use well-rotted manure or other organic matter. If you don’t have Epsom salts, you can skip them or use a different source of magnesium. The key is to understand the purpose of each ingredient and find a suitable alternative that provides similar benefits. Don’t be afraid to experiment and see what works best for your garden.
Is this DIY trick safe for organic gardening?
Yes, this DIY trick is generally safe for organic gardening, as long as you use organic ingredients. Make sure that the compost, manure, and other materials you use are certified organic or sourced from a trusted source that does not use synthetic pesticides or fertilizers. Avoid using ingredients that may contain harmful chemicals or contaminants. By using organic ingredients, you can ensure that your garden remains healthy and sustainable.
What are some common mistakes to avoid when using this DIY trick?
One common mistake is over-fertilizing, which can lead to nutrient imbalances and plant damage. Always follow the recommended application rates and observe your plants closely for signs of nutrient deficiencies or excesses. Another mistake is using ingredients that are not fully composted or decomposed, which can attract pests and diseases. Make sure that all materials are properly broken down before adding them to your garden. Finally, avoid applying the DIY trick directly to the leaves of your plants, as this can cause burning. Instead, apply it to the soil around the base of the plants.
How long will it take to see results after applying this DIY trick?
The time it takes to see results can vary depending on several factors, including the health of your plants, the quality of your soil, and the weather conditions. In general, you should start to see improvements within a few weeks of applying the DIY trick. Look for signs of increased growth, vibrant foliage, and improved flowering or fruiting. If you don’t see any noticeable changes after a few weeks, you may need to adjust your application rate or consider other factors that may be affecting your plants’ health.
Can I use this DIY trick in containers as well as in the garden?
Yes, this DIY trick can be used in containers as well as in the garden. However, you may need to adjust the application rate, as container plants tend to dry out and deplete nutrients more quickly than plants in the ground. Use a well-draining potting mix and apply the DIY trick more frequently, perhaps every 2-3 weeks. Be sure to monitor your container plants closely for signs of nutrient deficiencies or excesses and adjust your feeding schedule accordingly.
What if I have pests or diseases in my garden? Will this DIY trick help?
While this DIY trick can help to improve the overall health and resilience of your plants, it is not a substitute for proper pest and disease management. If you have pests or diseases in your garden, you will need to take additional steps to control them. This may include using organic pesticides, introducing beneficial insects, or removing infected plants. A healthy garden is more resistant to pests and diseases, so using this DIY trick can certainly help to prevent problems from occurring in the first place.
Where can I learn more about growing easy summer garden crops?
There are many resources available to help you learn more about growing easy summer garden crops. You can consult gardening books, websites, and blogs. You can also attend workshops or classes offered by local gardening clubs or nurseries. Your local extension office is also a great resource for information on gardening in your specific region. Don’t be afraid to experiment and learn from your own experiences. Gardening is a continuous learning process, and there’s always something new to discover.
Leave a Comment