

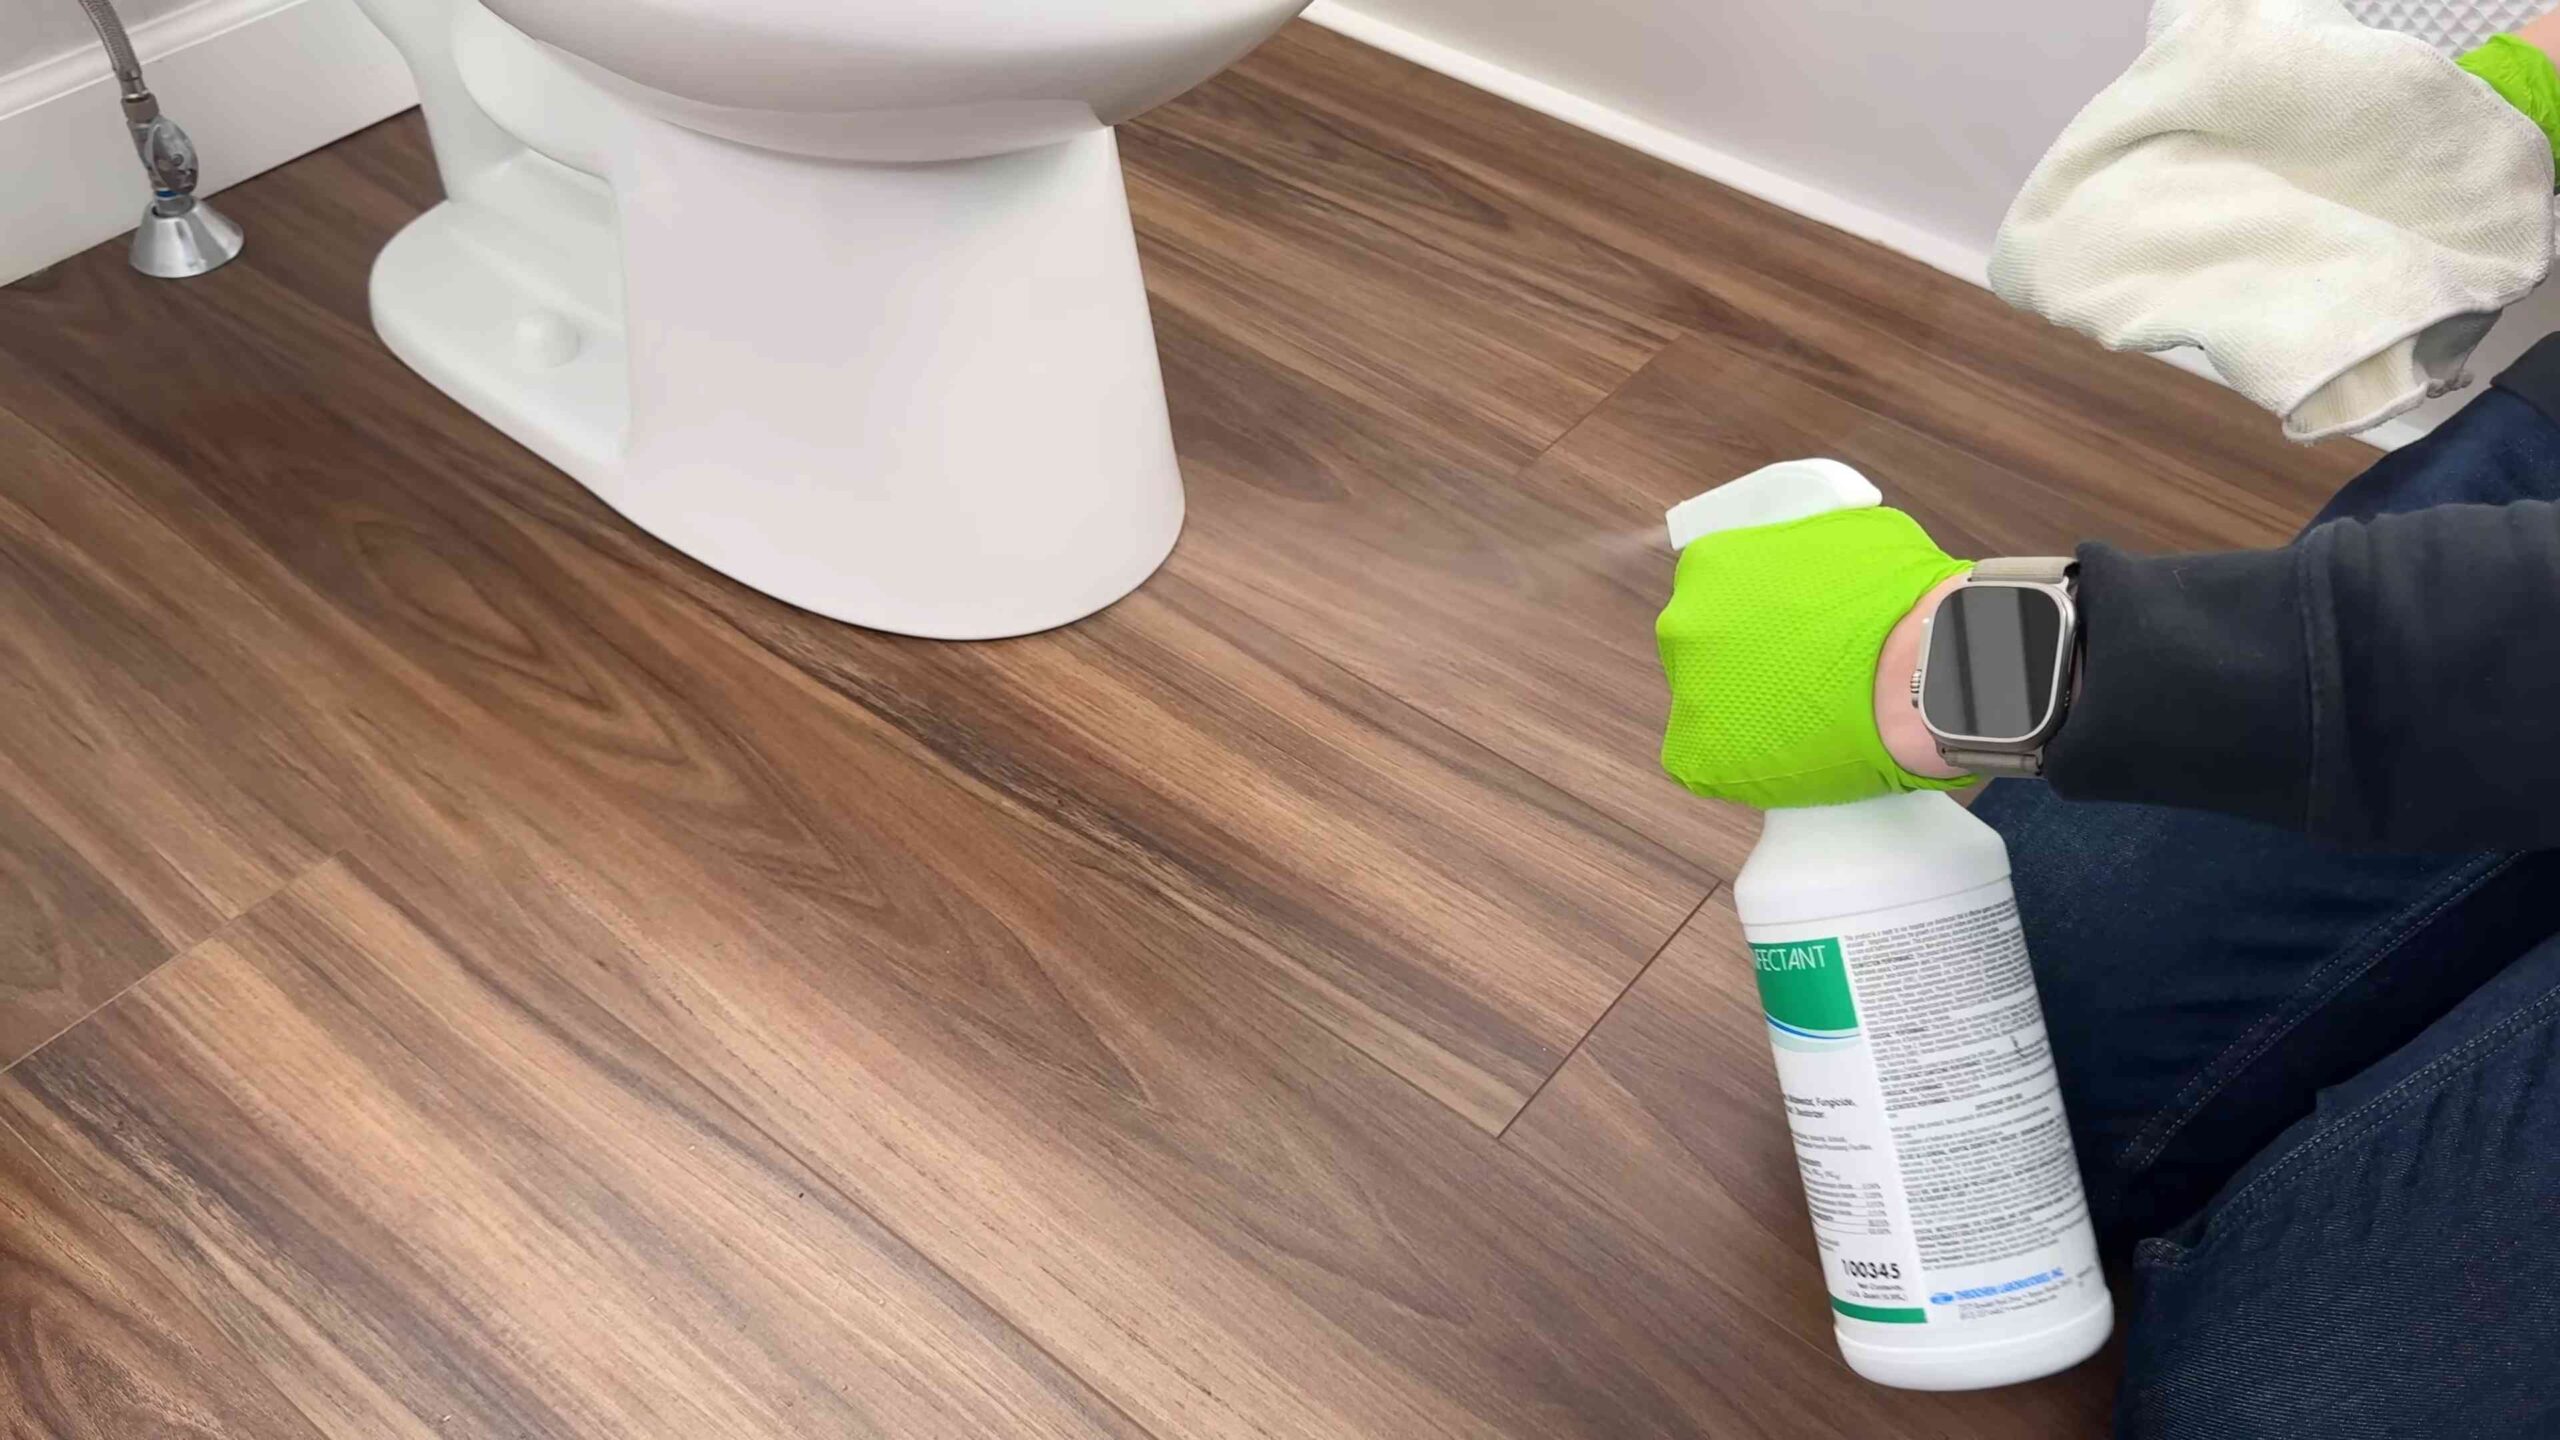
Easy toilet cleaning hacks – who doesn’t want those, right? Let’s be honest, cleaning the toilet is nobody’s favorite chore. It’s right up there with scrubbing grout and doing taxes! But what if I told you there are simple, effective, and even a little bit fun ways to keep your throne sparkling without breaking a sweat (or the bank)?
For centuries, maintaining hygiene has been a cornerstone of healthy living. While our ancestors may not have had the same cleaning products we do today, they certainly understood the importance of a clean and sanitary space. Think about it – ancient civilizations developed elaborate plumbing systems and cleaning rituals. We’re just building on that legacy, armed with a few clever tricks!
That’s where these easy toilet cleaning hacks come in. We all lead busy lives, and spending hours scrubbing the toilet bowl is simply not an option. These DIY solutions are designed to save you time, money, and elbow grease. From using common household ingredients to repurposing everyday items, you’ll discover a range of methods to tackle stains, eliminate odors, and keep your toilet looking its best. So, ditch the harsh chemicals and embrace these simple, effective, and eco-friendly ways to conquer the porcelain throne!
DIY Toilet Cleaning Bombs: Sparkling Clean in Minutes!
Hey everyone! I’m so excited to share this super easy and effective DIY toilet cleaning bomb recipe with you. I’ve been making these for months now, and they’ve completely replaced those expensive store-bought cleaners. Not only are they cheaper, but I know exactly what’s going into them – no harsh chemicals or mystery ingredients! Plus, they’re kind of fun to make. Let’s get started!
What You’ll Need: The Ingredient Rundown
Before we dive in, let’s gather all the necessary ingredients and equipment. Don’t worry, most of these are probably already in your pantry!
* Baking Soda (1 cup): This is the base of our cleaning bomb. It’s a mild alkali that helps to dissolve dirt and grease.
* Citric Acid (1/2 cup): This is what creates the fizzing action when the bomb hits the water. It also helps to remove hard water stains and mineral deposits. You can usually find this in the baking aisle or online.
* Cornstarch (1/2 cup): This acts as a binder, helping the ingredients stick together and slowing down the fizzing process, giving the cleaner more time to work.
* Dish Soap (1-2 tablespoons): This adds extra cleaning power and helps to create a nice, even fizz. I prefer using a clear dish soap to avoid any unwanted coloring in my toilet bowl.
* Essential Oils (10-20 drops): This is where you can get creative! Essential oils add a pleasant scent and can also have antibacterial properties. My favorites are tea tree, lemon, eucalyptus, and lavender.
* Water (in a spray bottle): We’ll use this to lightly dampen the mixture so it holds its shape.
* Optional: Food Coloring (a few drops): If you want to add a pop of color to your cleaning bombs, feel free to use a few drops of food coloring. Just be careful not to use too much, as it could stain your toilet bowl.
* Mixing Bowl: A large bowl to combine all the dry ingredients.
* Spray Bottle: For spritzing water into the mixture.
* Gloves: To protect your hands from the essential oils and citric acid.
* Measuring Cups and Spoons: For accurate measurements.
* Molds: You can use silicone molds (like muffin tins or ice cube trays), plastic Easter eggs, or even just shape them by hand.
Step-by-Step Instructions: Bomb-Making Time!
Okay, let’s get down to business! Follow these steps carefully to create your own toilet cleaning bombs.
1. Combine Dry Ingredients: In your mixing bowl, combine the baking soda, citric acid, and cornstarch. Whisk them together thoroughly to ensure they are evenly distributed. This is important for a consistent fizzing action.
2. Add Dish Soap: Slowly add the dish soap to the dry ingredients. Mix it in with your hands or a spoon. The mixture will start to clump together slightly.
3. Incorporate Essential Oils: Add your chosen essential oils to the mixture. I usually go for a combination of tea tree and lemon for their cleaning and disinfecting properties. Mix well to distribute the oils evenly.
4. Dampen the Mixture: This is the trickiest part. Using your spray bottle, lightly spritz the mixture with water. You want to add just enough water so that the mixture holds its shape when you squeeze it in your hand, but not so much that it starts to fizz prematurely. Add the water a little at a time, mixing well after each spritz. It should feel like damp sand.
5. Add Food Coloring (Optional): If you’re using food coloring, add a few drops to the mixture and mix well until the color is evenly distributed. Remember, a little goes a long way!
6. Mold the Bombs: Now it’s time to shape your cleaning bombs! Pack the mixture tightly into your chosen molds. If you’re using silicone molds, press the mixture firmly into each cavity. If you’re shaping them by hand, squeeze the mixture tightly in your palm to form a ball.
7. Let Them Dry: Once you’ve molded all the bombs, let them dry completely. This can take anywhere from 4-24 hours, depending on the humidity in your area. I usually leave them overnight to be safe. You’ll know they’re dry when they feel hard to the touch.
8. Remove from Molds: Once the bombs are completely dry, carefully remove them from the molds. If they’re sticking, you can gently tap the mold on a hard surface to loosen them.
9. Store Properly: Store your toilet cleaning bombs in an airtight container in a cool, dry place. This will prevent them from absorbing moisture and fizzing prematurely.
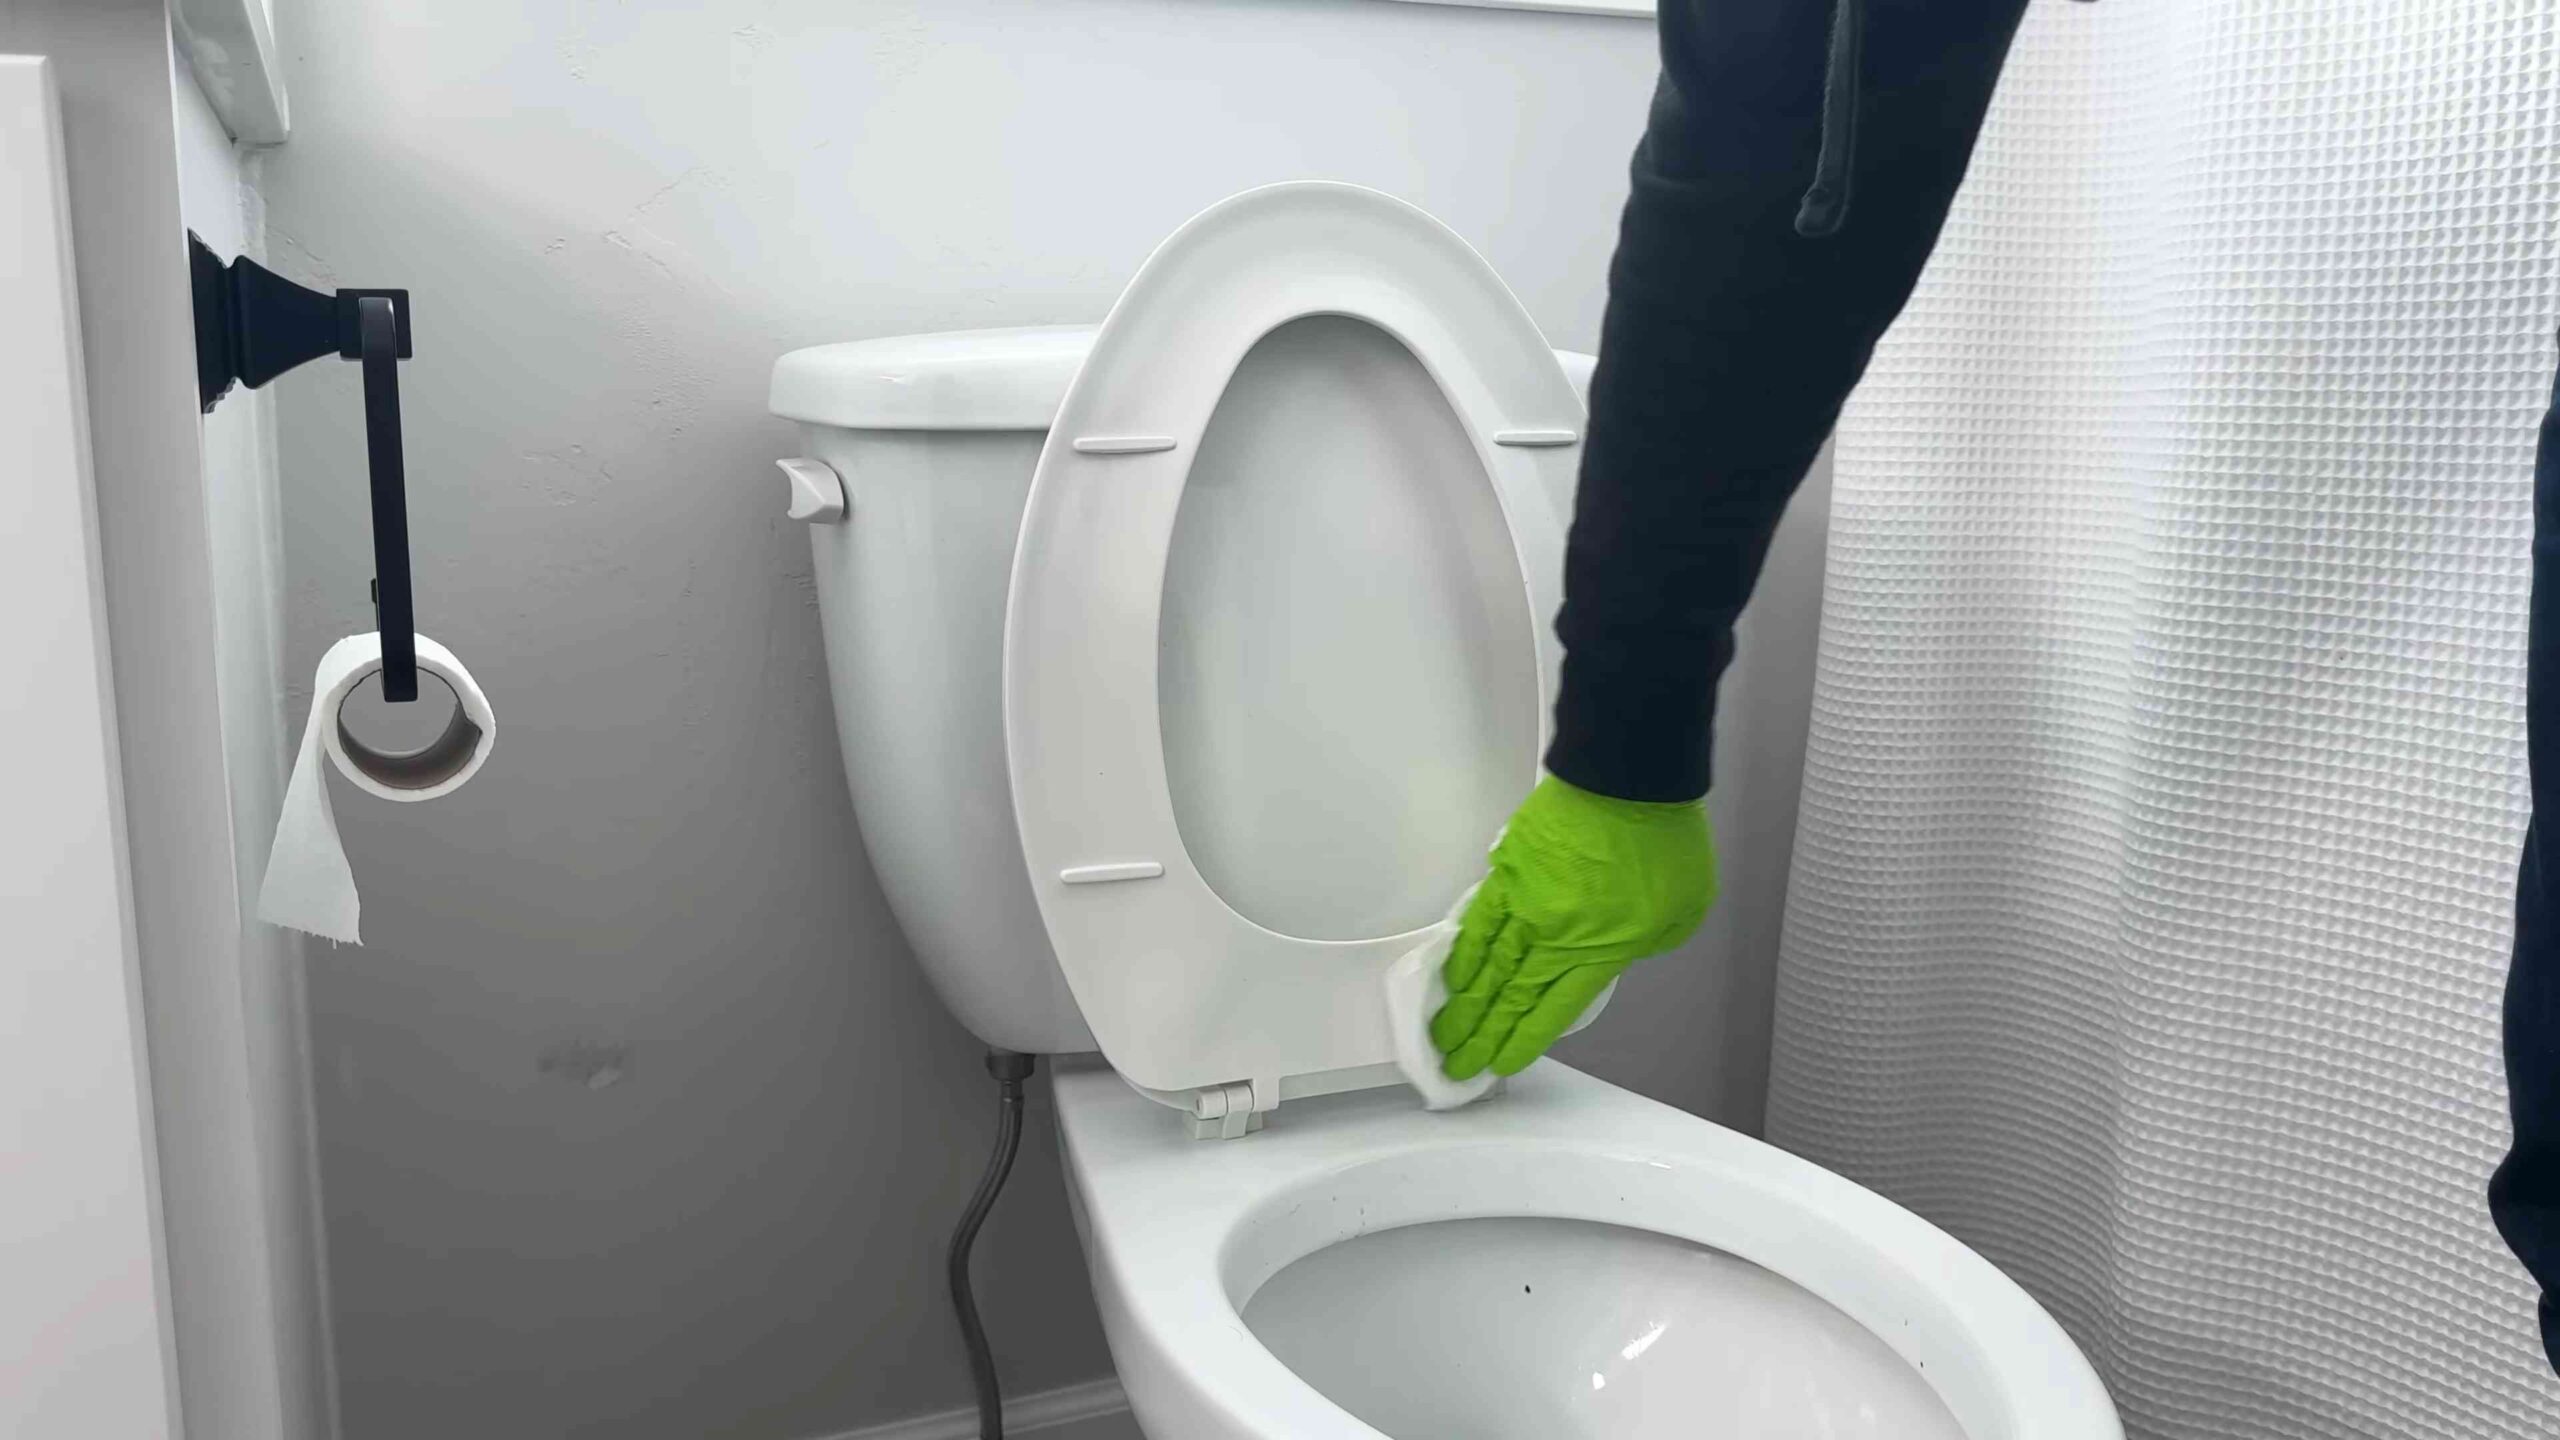
Using Your Toilet Cleaning Bombs: A Sparkling Clean Toilet Awaits!
Using these bombs is super simple!
1. Drop It In: Simply drop one toilet cleaning bomb into the toilet bowl.
2. Let It Fizz: Let the bomb fizz and dissolve completely. This usually takes a few minutes.
3. Scrub (Optional): For extra cleaning power, you can use a toilet brush to scrub the bowl while the bomb is fizzing.
4. Flush: Flush the toilet to rinse away the cleaner and any remaining residue.
5. Enjoy Your Sparkling Clean Toilet!
Troubleshooting: Common Issues and Solutions
Sometimes things don’t go exactly as planned. Here are a few common issues you might encounter and how to fix them:
* Bombs are Fizzing Prematurely: This usually means you’ve added too much water. Try adding more baking soda and cornstarch to absorb the excess moisture.
* Bombs are Crumbly and Won’t Hold Their Shape: This means you haven’t added enough water. Spritz the mixture with a little more water, a tiny bit at a time, until it holds its shape.
* Bombs are Sticking to the Molds: Make sure the bombs are completely dry before trying to remove them from the molds. You can also try lightly greasing the molds with a little coconut oil or cooking spray before adding the mixture.
* Bombs Aren’t Fizzing Enough: This could be due to old citric acid or not enough citric acid in the mixture. Make sure your citric acid is fresh and try adding a little more to the next batch.
* Bombs are Leaving a Residue: This could be due to using too much dish soap or using a dish soap that’s not clear. Try using less dish soap or switching to a clear dish soap.
Essential Oil Blends: Scent-sational Cleaning!
Experiment with different essential oil blends to find your favorite scent! Here are a few of my go-to combinations:
* Lemon & Tea Tree: A classic combination for cleaning and disinfecting. Lemon adds a bright, citrusy scent, while tea tree has powerful antibacterial properties.
* Eucalyptus & Peppermint: A refreshing and invigorating blend that’s perfect for freshening up your bathroom.
* Lavender & Chamomile: A calming and relaxing blend that’s perfect for creating a spa-like atmosphere.
* Orange & Clove: A warm and spicy blend that’s perfect for the holidays.
* Grapefruit & Rosemary: An uplifting and energizing blend that’s perfect for starting your day.
Safety First: Important Precautions
While these toilet cleaning bombs are made with natural ingredients, it’s still important to take a few precautions:
* Wear Gloves: Citric acid can be irritating to the skin, so it’s best to wear gloves when making these bombs.
* Avoid Contact with Eyes: If the mixture gets in your eyes, rinse immediately with plenty of water.
* Keep Out of Reach of Children and Pets: These bombs are not meant to be ingested. Store them in a safe place where children and pets cannot reach them.
* Test on a Small Area First: If you’re concerned about the food coloring staining your toilet bowl, test the bomb on a small, inconspicuous area first.
Why I Love This DIY Hack: The Benefits
I absolutely love this DIY toilet cleaning bomb recipe for so many reasons:
* It’s Affordable: Making your own cleaning bombs is much cheaper than buying them at the store.
* It’s Natural: You know exactly what’s going into your cleaning bombs, so you can avoid harsh chemicals and mystery ingredients.
* It’s Customizable: You can customize the scent and color of your cleaning bombs to your liking.
* It’s Effective: These bombs are just as effective as store-bought cleaners at cleaning and freshening your toilet bowl.
* It’s Fun! Making these bombs is a fun and rewarding DIY project.
So there you have it
Conclusion
So, there you have it! This simple, yet incredibly effective, DIY toilet cleaning hack is more than just a quick fix; it’s a game-changer for maintaining a sparkling clean and fresh-smelling bathroom without harsh chemicals or back-breaking scrubbing. We’ve shown you how to harness the power of readily available ingredients to create a potent cleaning solution that tackles stains, eliminates odors, and leaves your toilet bowl gleaming.
Why is this DIY trick a must-try? Because it’s economical, environmentally friendly, and, most importantly, it works! Forget about expensive, store-bought cleaners filled with questionable chemicals. This method allows you to control exactly what goes into your cleaning solution, ensuring a safer and healthier environment for you and your family. Plus, it’s incredibly satisfying to create something so effective with your own two hands.
But the beauty of this DIY approach lies in its adaptability. Feel free to experiment with variations to suit your specific needs and preferences. For instance, if you’re dealing with particularly stubborn stains, consider adding a tablespoon of borax to the mixture for extra cleaning power. Or, if you prefer a different scent, swap out the essential oil for your favorite fragrance. Lavender, tea tree, and eucalyptus are all excellent choices for their antibacterial properties and refreshing aromas. You could even add a few drops of blue food coloring for that classic “toilet bowl cleaner” look, though this is purely for aesthetic purposes.
Another variation involves using vinegar instead of lemon juice. While lemon juice offers a pleasant scent and mild acidity, vinegar is a powerhouse when it comes to dissolving mineral deposits and grime. Just be mindful of the stronger odor, which will dissipate quickly. You can also create cleaning bombs by mixing the ingredients, packing them into silicone molds, and letting them dry. Simply drop one into the toilet bowl for a fizzing, cleaning action.
This easy toilet cleaning hack is not just about cleaning; it’s about embracing a more sustainable and mindful approach to home care. It’s about reducing your reliance on harsh chemicals and creating a healthier living space. It’s about taking control of your cleaning routine and finding joy in the process.
We wholeheartedly encourage you to give this DIY trick a try. We’re confident that you’ll be amazed by the results. And once you’ve experienced the satisfaction of a sparkling clean toilet bowl achieved with simple, natural ingredients, we’d love to hear about it! Share your experiences, variations, and tips in the comments below. Let’s build a community of DIY cleaning enthusiasts who are passionate about creating a healthier and more sustainable world, one toilet bowl at a time. Don’t forget to share this article with your friends and family so they can benefit from this amazing hack too! Let’s spread the word about this simple, effective, and eco-friendly way to keep our toilets clean and fresh.
Frequently Asked Questions (FAQ)
What kind of lemon juice should I use?
Freshly squeezed lemon juice is always the best option, as it contains the most potent cleaning properties and a vibrant scent. However, bottled lemon juice can also be used in a pinch. Just make sure it’s 100% lemon juice and doesn’t contain any added sugars or preservatives. The effectiveness might be slightly reduced compared to fresh juice, but it will still work well.
Can I use this hack on all types of toilets?
Yes, this DIY toilet cleaning hack is generally safe for use on most types of toilets, including porcelain and ceramic bowls. However, if you have a toilet with a particularly delicate or unusual finish, it’s always a good idea to test the solution on a small, inconspicuous area first to ensure it doesn’t cause any damage or discoloration.
How often should I use this cleaning hack?
The frequency of use depends on how often you typically clean your toilet and how quickly it gets dirty. For regular maintenance, using this hack once or twice a week should be sufficient to keep your toilet bowl clean and fresh. If you have a particularly busy household or notice stains accumulating more quickly, you may need to use it more frequently.
What if I don’t have essential oils? Can I still use this hack?
Yes, you can definitely still use this hack without essential oils. The lemon juice and baking soda are the primary cleaning agents, and they will still be effective at removing stains and odors. The essential oils are mainly added for their fragrance and antibacterial properties, but they are not essential for the hack to work. If you don’t have essential oils, you can simply omit them or substitute them with a few drops of your favorite fragrance oil.
Is this hack safe for septic systems?
Yes, this DIY toilet cleaning hack is generally considered safe for septic systems. The ingredients used – lemon juice, baking soda, and essential oils – are all natural and biodegradable, and they won’t harm the beneficial bacteria in your septic tank. However, it’s always a good idea to avoid using excessive amounts of any cleaning product, even natural ones, as this could potentially disrupt the balance of your septic system.
Can I use this hack to clean other bathroom surfaces?
While this hack is specifically designed for cleaning toilet bowls, the basic ingredients – lemon juice and baking soda – can also be used to clean other bathroom surfaces, such as sinks, countertops, and tiles. However, you may need to adjust the proportions of the ingredients depending on the surface you’re cleaning. For example, you might want to use a slightly diluted solution for delicate surfaces or a more concentrated paste for stubborn stains. Always test the solution on a small, inconspicuous area first to ensure it doesn’t cause any damage or discoloration.
How long should I let the solution sit in the toilet bowl before scrubbing?
For best results, it’s recommended to let the solution sit in the toilet bowl for at least 15-30 minutes before scrubbing. This allows the lemon juice and baking soda to penetrate and loosen any stains or grime. For particularly stubborn stains, you can let the solution sit for even longer, up to a few hours or even overnight. Just be sure to flush the toilet thoroughly after scrubbing to remove any remaining residue.
What kind of brush should I use to scrub the toilet bowl?
A standard toilet bowl brush with stiff bristles is ideal for scrubbing the toilet bowl. Look for a brush with a long handle to make it easier to reach all areas of the bowl. You can also use a pumice stone for removing particularly stubborn stains, but be careful not to scratch the porcelain.
Can I store the leftover cleaning solution?
While it’s best to use the cleaning solution immediately for optimal effectiveness, you can store any leftover solution in an airtight container for a few days. However, the baking soda may settle to the bottom of the container, so you’ll need to shake it well before using it again. The scent of the lemon juice and essential oils may also fade over time.
What if the stains are not completely removed after the first try?
If the stains are not completely removed after the first try, don’t worry! Some stubborn stains may require multiple applications. Simply repeat the process, letting the solution sit for a longer period of time before scrubbing. You can also try using a more concentrated solution or adding a tablespoon of borax for extra cleaning power.

Leave a Comment