

Effective Daily Cleaning Routine: Are you tired of spending your weekends scrubbing and stressing over a messy house? Imagine coming home each day to a space that feels fresh, inviting, and effortlessly clean. Sounds like a dream, right? Well, it doesn’t have to be! This article is your ultimate guide to creating an effective daily cleaning routine that will transform your home and your life.
The concept of daily cleaning, while seemingly modern, actually has roots in ancient practices. Throughout history, cultures have emphasized the importance of cleanliness for both physical and spiritual well-being. From the meticulous cleaning rituals of ancient Egyptians to the daily sweeping traditions in many Asian cultures, maintaining a tidy living space has always been valued. But let’s be honest, in today’s busy world, who has time for elaborate rituals?
That’s where our DIY cleaning hacks come in! We’ll break down the overwhelming task of cleaning into manageable, bite-sized chunks that you can easily incorporate into your daily schedule. No more marathon cleaning sessions! I’m going to share my favorite tips and tricks that will not only save you time and energy but also create a healthier and happier home environment. Learn how to maintain an effective daily cleaning routine and reclaim your weekends for the things you truly enjoy!
Creating Your Dream Daily Cleaning Routine: A Step-by-Step Guide
Okay, let’s be honest, nobody *loves* cleaning. But a consistent daily cleaning routine? That’s a game-changer. It’s the secret weapon against overwhelming weekend cleaning marathons and that constant feeling of being behind. Trust me, I’ve been there! This guide will walk you through creating a daily cleaning routine that’s actually manageable and, dare I say, even enjoyable (well, almost!).
Why a Daily Routine Matters
Before we dive into the nitty-gritty, let’s quickly cover why a daily cleaning routine is so beneficial:
* Less Overwhelm: Small, consistent tasks prevent dirt and clutter from piling up, making cleaning less daunting.
* More Free Time: Spending a little time each day means you won’t have to dedicate entire weekends to cleaning.
* Improved Mental Health: A clean and organized space can significantly reduce stress and anxiety. It’s amazing how much better you feel in a tidy environment.
* Healthier Home: Regular cleaning reduces allergens, dust, and germs, creating a healthier living space for you and your family.
* Impress Guests (and Yourself!): You’ll always be ready for unexpected visitors, and you’ll feel proud of your home.
Building Your Personalized Cleaning Routine
The key to a successful daily cleaning routine is personalization. What works for me might not work for you. Consider your lifestyle, the size of your home, and your personal preferences. Here’s how to build a routine that fits *your* needs:
* Identify High-Traffic Areas: Think about the areas that get the dirtiest the fastest. For most people, this includes the kitchen, bathrooms, and entryway.
* Break Down Tasks: Divide larger cleaning tasks into smaller, more manageable chunks. Instead of cleaning the entire bathroom, focus on wiping down the sink and mirror one day, and cleaning the toilet the next.
* Set Realistic Time Limits: Don’t try to do too much at once. Aim for 15-30 minutes of cleaning each day. You can always adjust as needed.
* Choose Your Cleaning Supplies: Gather your favorite cleaning supplies and keep them readily accessible. This will make it easier to stick to your routine. I like to keep a caddy with all my essentials under the kitchen sink.
* Schedule Your Cleaning Time: Decide when you’ll do your daily cleaning. Is it first thing in the morning, during your lunch break, or after dinner? Find a time that works best for your schedule and stick to it.
* Make it a Habit: Consistency is key. The more you stick to your routine, the easier it will become.
The Daily Cleaning Checklist: My Go-To Tasks
This is my personal daily cleaning checklist. Feel free to adapt it to your own needs and preferences.
Morning Routine (5-10 minutes)
1. Make the Bed: This simple task instantly makes your bedroom look tidier.
2. Quick Kitchen Clean: Wipe down the kitchen counters and sink after breakfast. Load the dishwasher or wash any remaining dishes.
3. Sweep or Vacuum High-Traffic Areas: A quick sweep or vacuum of the kitchen and entryway can prevent dirt from spreading throughout the house.
Afternoon Routine (5-10 minutes)
1. Laundry Check: Start a load of laundry. This prevents laundry from piling up.
2. Tidy Up Living Areas: Straighten up pillows and blankets on the couch. Put away any books, magazines, or toys that are lying around.
3. Empty Trash Cans: Empty any full trash cans, especially in the kitchen and bathrooms.
Evening Routine (10-15 minutes)
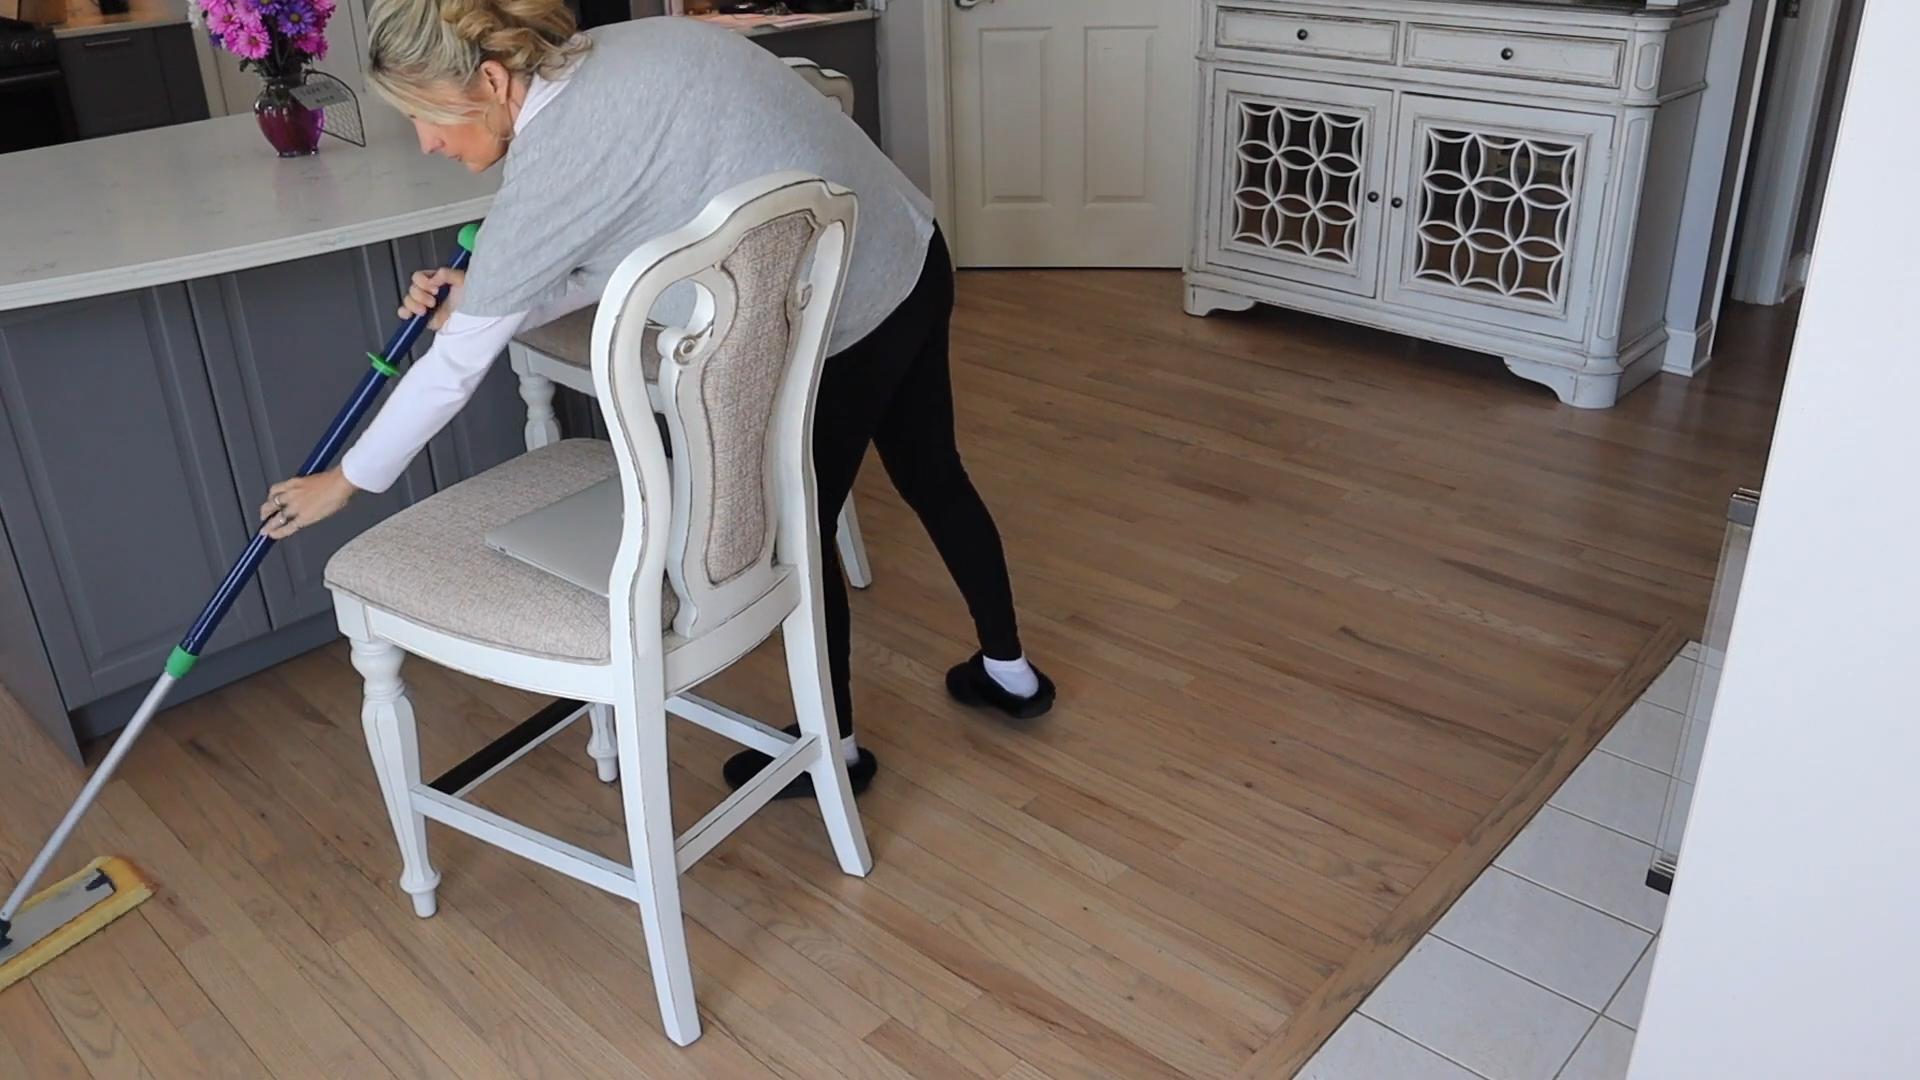
1. Kitchen Clean-Up: After dinner, load the dishwasher or wash the dishes. Wipe down the counters, stovetop, and sink. Sweep or mop the kitchen floor.
2. Bathroom Wipe-Down: Wipe down the bathroom sink, mirror, and toilet. This prevents soap scum and water spots from building up.
3. Quick Tidy-Up: Do a final walk-through of the house and put away anything that’s out of place.
4. Prepare for Tomorrow: Lay out your clothes for the next day and pack your lunch. This will make your morning routine smoother.
Detailed Step-by-Step Instructions for Key Tasks
Let’s break down some of the key tasks in more detail:
1. Kitchen Clean-Up: The Heart of the Home
The kitchen is often the dirtiest room in the house, so it’s important to keep it clean.
1. Clear the Counters: Remove any items from the counters, such as appliances, dishes, or food containers.
2. Load the Dishwasher: Load the dishwasher with dirty dishes. If you don’t have a dishwasher, wash the dishes by hand.
3. Wash Dishes by Hand (if needed): Fill the sink with hot, soapy water. Wash the dishes, rinse them, and dry them with a clean towel.
4. Wipe Down Counters: Spray the counters with a cleaning solution and wipe them down with a clean cloth or sponge. Pay attention to areas where food has spilled or splattered.
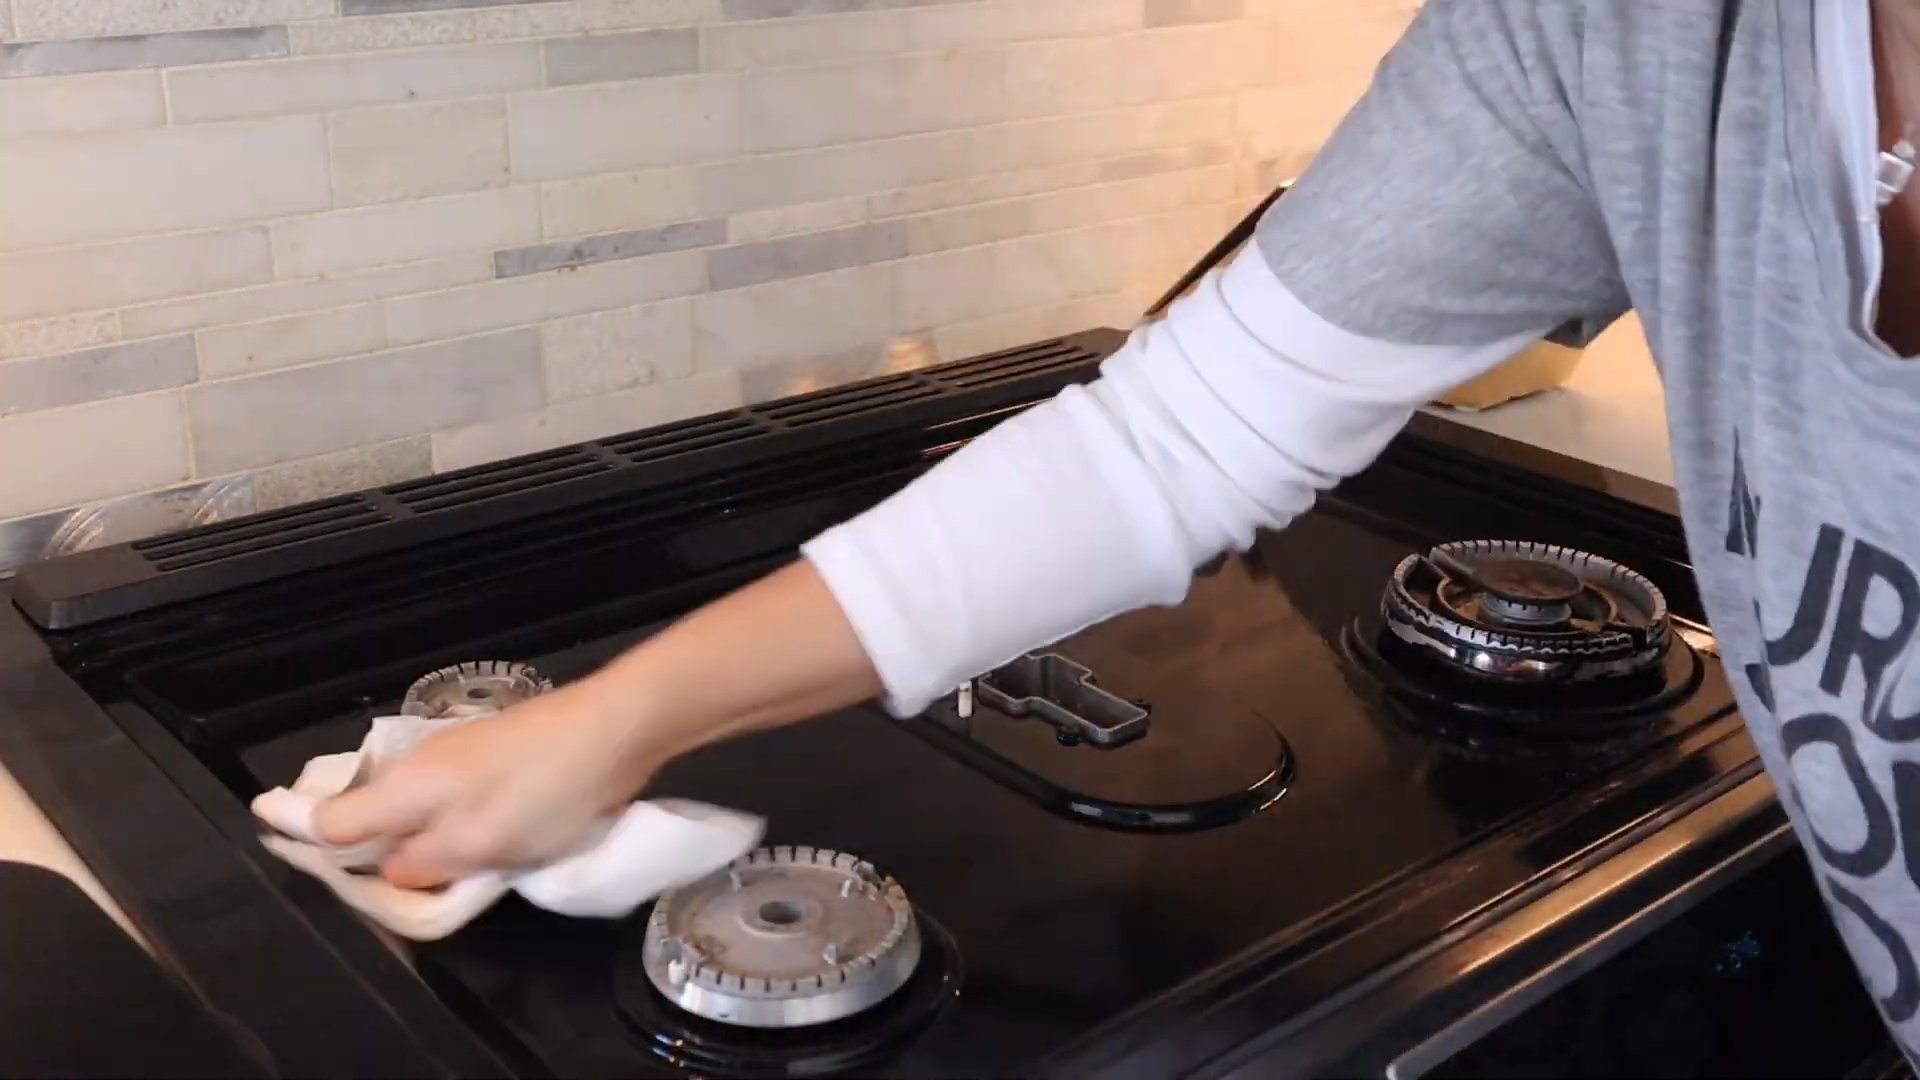
5. Clean the Stovetop: Remove any food particles or spills from the stovetop. Use a stovetop cleaner to remove grease and grime.
6. Clean the Sink: Scrub the sink with a cleaning solution and rinse it thoroughly.
7. Sweep or Mop the Floor: Sweep or mop the kitchen floor to remove any dirt or spills.
2. Bathroom Wipe-Down: Keeping it Fresh
A quick daily wipe-down can prevent the bathroom from becoming a breeding ground for germs and grime.
1. Spray the Sink and Counter: Spray the sink and counter with a bathroom cleaner.
2. Wipe Down the Sink and Counter: Wipe down the sink and counter with a clean cloth or sponge. Pay attention to areas around the faucet and drain.
3. Clean the Mirror: Spray the mirror with a glass cleaner and wipe it down with a clean cloth or paper towel.
4. Wipe Down the Toilet: Wipe down the toilet seat, lid, and base with a disinfectant wipe or bathroom cleaner.
5. Empty the Trash Can: Empty the trash can and replace the liner.
3. Laundry Management: Staying on Top of the Pile
Laundry can quickly become overwhelming if you don’t stay on top of it.
1. Sort Laundry: Sort your laundry into whites, colors, and delicates.
2. Start a Load: Load the washing machine with the appropriate type of laundry.
3. Add Detergent: Add detergent according to the manufacturer’s instructions.
4. Start the Washing Machine: Start the washing machine on the appropriate cycle.
5. Transfer to Dryer (or Hang to Dry): Once the washing machine is finished, transfer the clothes to the dryer or hang them to dry.
6. Fold and Put Away: Once the clothes are dry, fold them and put them away.
Tips for Success
* Don’t Be Afraid to Adjust: Your routine might need tweaking as your lifestyle changes. Be flexible and adjust as needed.
* Enlist Help: If you live with others, involve them in the cleaning routine. Assign tasks to each person to share the workload.
* Reward Yourself: After completing your daily cleaning routine, reward yourself with something you enjoy, such as a cup of tea, a good book, or a relaxing bath.
* Focus on Progress, Not Perfection: Don’t strive for perfection. Just aim to do a little bit each day. Even small efforts can make a big difference.
* Use a Timer: Set a timer for each task to stay on track and prevent yourself from getting sidetracked.
* Listen to Music or Podcasts: Make cleaning more enjoyable by listening to your favorite music or podcasts.
* Keep Cleaning Supplies Accessible: Store your cleaning supplies in a convenient location so they’re easy to grab when you need them.
* Declutter Regularly: Decluttering regularly will make cleaning easier and more efficient. Get rid of anything you don’t need or use.
Troubleshooting Common Challenges
* Feeling Overwhelmed: If you’re feeling overwhelmed, break down the tasks into even smaller steps. Focus on one small task at a time.
* Lack of Time: If you’re short on time, prioritize the most important tasks. Focus on cleaning the high-traffic areas and leave the less important tasks for another day.
* Procrastination: If you’re procrastinating, try setting a timer for just 5 minutes and see how much you can get done. Often, just getting started is the hardest part.
* Lack of Motivation
Conclusion
So, there you have it! Transforming your daily cleaning routine with this simple yet incredibly effective DIY trick is more than just a way to save money; it’s about reclaiming your time, reducing your exposure to harsh chemicals, and creating a healthier, happier home. We’ve shown you how easy it is to whip up a powerful cleaning solution using ingredients you likely already have in your pantry.
Think about it: no more rushing to the store for expensive, pre-packaged cleaners. No more deciphering long lists of unpronounceable ingredients. Just a straightforward, natural solution that tackles grime, grease, and everyday messes with ease. This DIY approach empowers you to take control of your cleaning process and customize it to your specific needs.
Why is this DIY trick a must-try? Because it’s economical, eco-friendly, and effective. It simplifies your cleaning routine, reduces waste, and provides a safer environment for your family and pets. You’ll be amazed at how well this homemade cleaner performs, often outperforming its store-bought counterparts.
But the benefits don’t stop there. This DIY cleaning solution is incredibly versatile.
Variations and Suggestions:
* For extra disinfecting power: Add a few drops of tea tree oil or eucalyptus oil to your solution. These essential oils have natural antibacterial and antiviral properties.
* For a fresh, citrusy scent: Infuse your vinegar with citrus peels (lemon, orange, grapefruit) for a few weeks before using it in your cleaning solution. This will add a pleasant aroma to your home.
* For stubborn stains: Create a paste of baking soda and water and apply it to the stain before cleaning with your DIY solution. Let it sit for a few minutes, then scrub gently.
* For delicate surfaces: Always test your DIY cleaner on an inconspicuous area first to ensure it doesn’t damage the surface. Dilute the solution further if necessary.
* For streak-free windows and mirrors: Use a microfiber cloth and a diluted solution of vinegar and water.
We are confident that once you try this DIY cleaning trick, you’ll wonder why you didn’t start sooner. It’s a game-changer for anyone looking to simplify their life, save money, and create a healthier home.
Now, it’s your turn! We encourage you to give this DIY cleaning solution a try and experience the difference for yourself. Don’t be afraid to experiment with different variations and find what works best for you.
And most importantly, we want to hear about your experience! Share your tips, tricks, and results in the comments below. Let’s build a community of DIY cleaning enthusiasts who are passionate about creating a cleaner, greener world, one homemade solution at a time. Let us know how this **effective daily cleaning routine** has changed your life!
FAQ
Q: Is this DIY cleaning solution safe for all surfaces?
A: While this DIY cleaning solution is generally safe for most surfaces, it’s always best to test it on an inconspicuous area first, especially on delicate materials like marble, granite, or wood. The acidity of vinegar can potentially damage certain surfaces over time. If you’re unsure, dilute the solution further or consult the manufacturer’s instructions for the surface you’re cleaning. Avoid using it on natural stone surfaces without proper sealing.
Q: Can I use any type of vinegar for this DIY cleaning solution?
A: White distilled vinegar is the most commonly recommended type of vinegar for cleaning due to its high acidity and lack of color, which minimizes the risk of staining. However, you can also use apple cider vinegar, although it may have a slightly stronger odor and could potentially leave a residue on some surfaces. Avoid using balsamic vinegar or other flavored vinegars, as they may contain sugars or other additives that could leave a sticky residue.
Q: How long will this DIY cleaning solution last?
A: This DIY cleaning solution can last for several months when stored properly in an airtight container in a cool, dark place. However, it’s always a good idea to make a fresh batch every few weeks to ensure its effectiveness. If you notice any changes in color, odor, or consistency, discard the solution and make a new batch.
Q: Can I add essential oils to this DIY cleaning solution?
A: Yes, you can definitely add essential oils to this DIY cleaning solution for added fragrance and antibacterial properties. Some popular choices include tea tree oil, eucalyptus oil, lavender oil, and lemon oil. However, it’s important to use essential oils sparingly, as they can be potent and may irritate some people. A few drops are usually sufficient. Also, be aware that some essential oils are not safe for pets, so do your research before using them if you have furry friends.
Q: What are some other uses for this DIY cleaning solution?
A: This DIY cleaning solution is incredibly versatile and can be used for a variety of cleaning tasks around the home, including:
* Cleaning countertops and sinks
* Cleaning bathroom fixtures
* Cleaning floors (except for unsealed wood or natural stone)
* Cleaning windows and mirrors
* Deodorizing garbage disposals
* Removing hard water stains
* Cleaning appliances (such as microwaves and refrigerators)
* Freshening up laundry (as a fabric softener or stain remover)
Q: Is this DIY cleaning solution safe for pets and children?
A: While this DIY cleaning solution is generally considered safer than many commercial cleaners, it’s still important to exercise caution when using it around pets and children. Keep the solution out of reach of children and pets, and avoid spraying it directly on them. If your pet or child ingests the solution, contact a veterinarian or poison control center immediately. Always ensure proper ventilation when using the solution, and avoid mixing it with other cleaning products, as this could create harmful fumes.
Q: Can I use this DIY cleaning solution on my hardwood floors?
A: It’s generally not recommended to use vinegar-based cleaners on hardwood floors, especially if they are unsealed or have a wax finish. The acidity of the vinegar can damage the finish and cause the wood to dry out or become discolored. If you choose to use this solution on your hardwood floors, dilute it significantly and test it on an inconspicuous area first. Alternatively, you can use a pH-neutral cleaner specifically designed for hardwood floors.
Q: How does this DIY cleaning solution compare to commercial cleaners?
A: This DIY cleaning solution offers several advantages over commercial cleaners, including:
* Cost-effectiveness: It’s significantly cheaper to make your own cleaning solution than to buy pre-packaged cleaners.
* Eco-friendliness: It reduces your reliance on plastic bottles and harmful chemicals.
* Safety: It’s generally safer for your family and pets, as it doesn’t contain harsh chemicals or artificial fragrances.
* Customization: You can customize the solution to your specific needs and preferences by adding essential oils or adjusting the concentration.
However, commercial cleaners may be more effective at tackling certain types of stains or messes, and they may also offer specialized formulas for specific surfaces or cleaning tasks. Ultimately, the best choice depends on your individual needs and preferences.
Q: What is the best way to store this DIY cleaning solution?
A: The best way to store this DIY cleaning solution is in a clean, airtight spray bottle or container in a cool, dark place. This will help to prevent the solution from degrading or losing its effectiveness. Be sure to label the container clearly so that you don’t accidentally mistake it for something else. Avoid storing the solution in direct sunlight or near heat sources, as this could cause it to break down.
Leave a Comment