

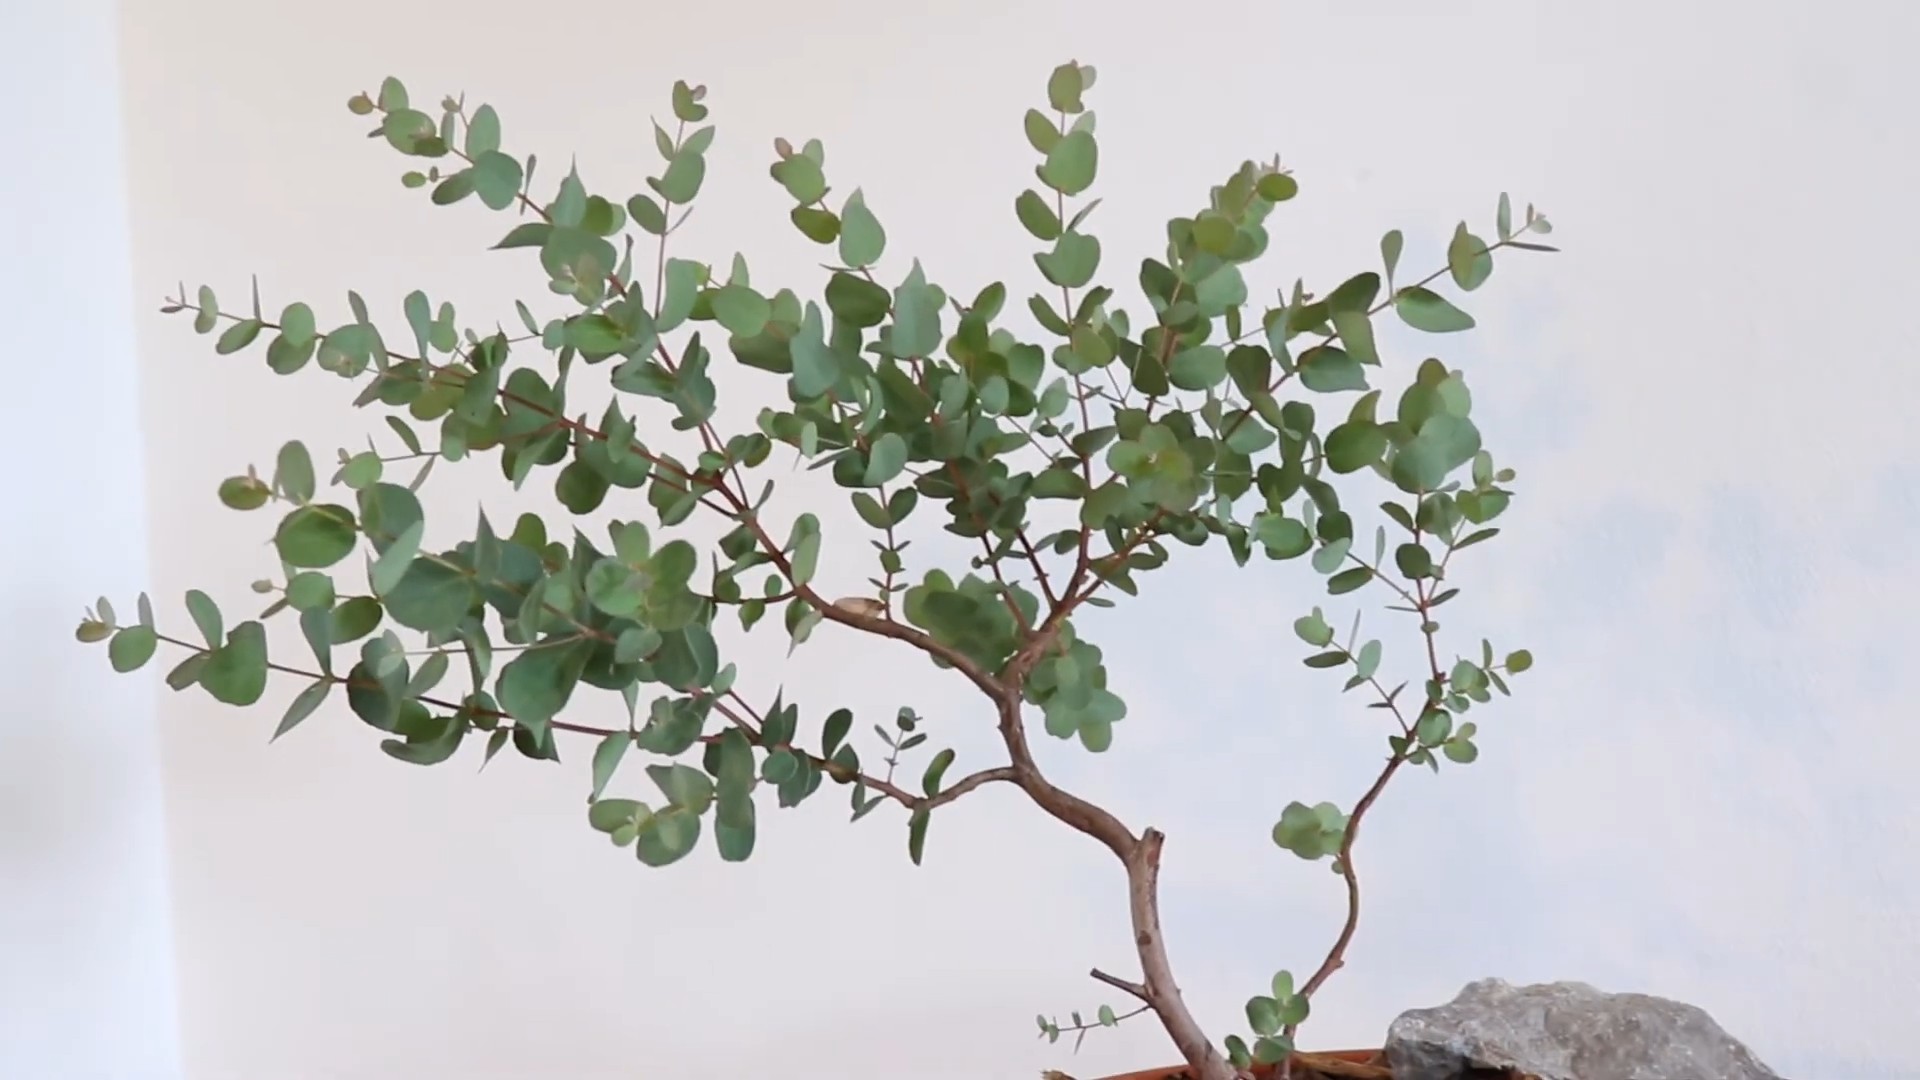
Eucalyptus tree care might seem daunting, conjuring images of vast Australian landscapes and towering giants. But fear not, fellow gardening enthusiasts! You don’t need a sprawling outback to successfully cultivate these aromatic beauties. I’m here to guide you through simple, effective DIY tricks that will have your eucalyptus thriving, whether it’s nestled in a pot on your balcony or gracing your garden with its presence.
Eucalyptus trees have a rich history, deeply intertwined with the culture and ecology of Australia. For centuries, Aboriginal Australians have utilized eucalyptus for medicinal purposes, crafting essential oils and using the leaves for healing remedies. Now, you can bring a piece of that natural heritage into your own home.
Why bother with eucalyptus tree care? Well, beyond their stunning visual appeal and invigorating scent, eucalyptus trees offer a multitude of benefits. They’re known for their air-purifying qualities, releasing compounds that can help freshen your home. Plus, who wouldn’t want to harvest their own eucalyptus leaves for soothing teas or aromatherapy? Many people struggle with the specific needs of eucalyptus, leading to stunted growth or even plant death. But with these easy DIY hacks, you’ll be equipped to provide the perfect environment for your eucalyptus to flourish. Let’s get started!
DIY Eucalyptus Shower Bundle for Stress Relief and Congestion
Okay, friends, let’s talk about turning your shower into a spa! I’m going to walk you through creating your own eucalyptus shower bundle. Not only does it smell amazing, but the steam releases the eucalyptus oil, which can help clear congestion, reduce stress, and just generally make you feel fantastic. Plus, it’s a super easy and affordable DIY project.
Gathering Your Supplies
First things first, you need to gather your supplies. Don’t worry, it’s a pretty short list!
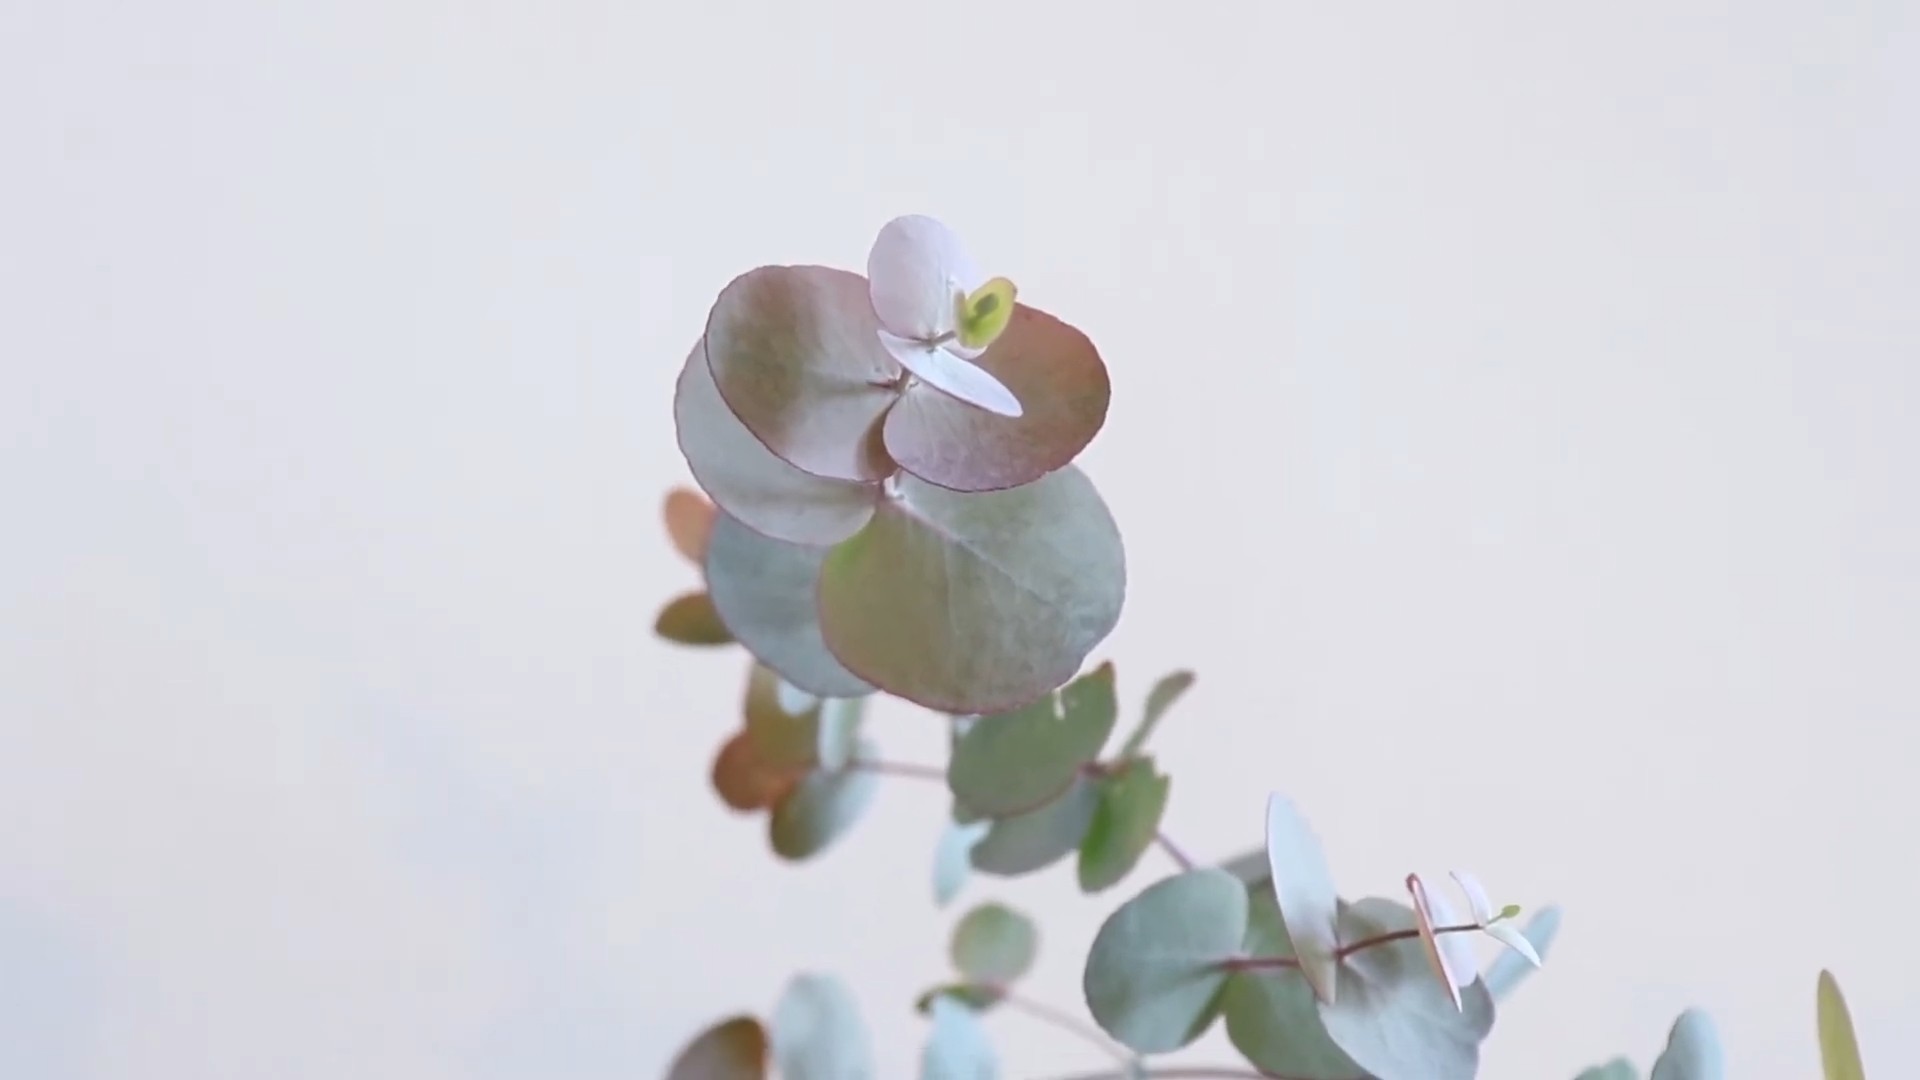
* **Fresh Eucalyptus Branches:** This is the star of the show! You can find eucalyptus at most florists, some grocery stores (especially those with a good floral department), or even your own backyard if you’re lucky enough to have a tree. Look for branches that are fragrant and have healthy-looking leaves. Different varieties have slightly different scents, so pick one you love. I personally prefer the silver dollar eucalyptus for its classic scent and rounded leaves.
* **Twine or String:** You’ll need something to tie the bundle together. Natural twine looks rustic and charming, but any sturdy string will do. Avoid anything too thin or flimsy, as it needs to hold the weight of the wet eucalyptus.
* **Scissors or Pruning Shears:** For trimming the eucalyptus branches to the desired length. Sharp scissors work fine for smaller branches, but pruning shears are better for thicker stems.
* **Optional: Other Aromatic Herbs:** If you want to add some extra oomph to your bundle, consider including other fragrant herbs like lavender, rosemary, or mint. These will complement the eucalyptus beautifully and add their own therapeutic benefits.
* **Optional: Essential Oils (Eucalyptus or other):** For an extra boost of fragrance, especially if your eucalyptus isn’t super potent.
Preparing the Eucalyptus
Before you start assembling your bundle, you’ll want to prep the eucalyptus. This involves cleaning and trimming the branches.
1. **Rinse the Eucalyptus:** Gently rinse the eucalyptus branches under cool water to remove any dirt, dust, or insects. Shake off the excess water.
2. **Trim the Branches:** Using your scissors or pruning shears, trim the ends of the branches at an angle. This helps the eucalyptus absorb water and stay fresh longer. Remove any leaves from the bottom few inches of the stems, as these will be submerged in water and can rot.
3. **Consider Crushing the Leaves (Optional):** Gently crushing a few of the eucalyptus leaves can help release more of the essential oils. Be careful not to overdo it, as you don’t want to damage the leaves.
Assembling Your Shower Bundle
Now for the fun part – putting your bundle together!
1. **Gather Your Branches:** Arrange the eucalyptus branches in a bundle, with the thicker stems at the bottom and the thinner, more delicate branches at the top. Aim for a bundle that’s about 6-8 inches in diameter.
2. **Add Other Herbs (Optional):** If you’re using other herbs, tuck them in among the eucalyptus branches, making sure they’re evenly distributed throughout the bundle.
3. **Tie the Bundle Securely:** Using your twine or string, tie the bundle tightly together about an inch or two from the cut ends of the stems. Wrap the twine around the bundle several times, pulling it taut each time.
4. **Create a Hanging Loop:** Leave a long tail of twine after tying the bundle. Use this tail to create a loop for hanging the bundle from your showerhead. Tie a knot at the end of the loop to secure it.
5. **Trim Excess Twine:** Trim any excess twine from the bundle, leaving a neat and tidy finish.
6. **Add Essential Oils (Optional):** If you want an extra boost of fragrance, you can add a few drops of eucalyptus essential oil (or other essential oil of your choice) to the bundle. Drip the oil onto the leaves, being careful not to saturate them.
Hanging Your Shower Bundle
Okay, almost there! Now it’s time to hang your beautiful eucalyptus shower bundle.
1. **Choose a Location:** Select a spot in your shower where the bundle will be exposed to steam but not directly in the path of the water. Hanging it from the showerhead arm is usually a good option. You want the steam to release the oils, but direct water contact will shorten the bundle’s lifespan.
2. **Hang the Bundle:** Use the loop you created to hang the bundle from your chosen location. Make sure it’s securely attached so it doesn’t fall down during your shower.
3. **Enjoy Your Spa Shower!** Turn on the hot water and let the steam work its magic. Breathe deeply and enjoy the invigorating scent of eucalyptus.
Maintaining Your Shower Bundle
To keep your eucalyptus shower bundle fresh and fragrant for as long as possible, here are a few tips:
* **Avoid Direct Water Contact:** As mentioned earlier, direct water contact will shorten the bundle’s lifespan. Try to position it so it’s exposed to steam but not directly sprayed with water.
* **Mist the Bundle Regularly:** If you notice the eucalyptus leaves starting to dry out, you can mist them with water to rehydrate them.
* **Replace the Bundle When Needed:** Eventually, the eucalyptus will lose its fragrance and the leaves will start to turn brown. When this happens, it’s time to replace the bundle with a fresh one. Typically, a bundle lasts for 1-3 weeks, depending on humidity and water exposure.
* **Consider Drying the Bundle:** Once the fragrance fades, you can dry the bundle completely and use it as a decorative element. Hang it upside down in a cool, dry place until it’s completely dry.
Troubleshooting
Sometimes things don’t go exactly as planned. Here are a few common issues and how to fix them:
* **Bundle is Falling Apart:** If your bundle is falling apart, it’s likely that you didn’t tie it tightly enough. Remove the bundle, re-gather the branches, and tie it more securely.
* **Eucalyptus Isn’t Fragrant Enough:** If your eucalyptus isn’t as fragrant as you’d like, try crushing a few more leaves or adding a few drops of eucalyptus essential oil.
* **Leaves are Turning Brown Quickly:** This is usually a sign that the bundle is getting too much direct water contact. Try repositioning it so it’s further away from the shower stream.
* **Mold Growth:** If you notice any mold growth on the bundle, discard it immediately. This is usually caused by excessive moisture.
Alternative Herbs and Variations
Don’t be afraid to experiment with different herbs and variations to create a shower bundle that’s perfect for you! Here are a few ideas:
* **Lavender:** Adds a calming and relaxing scent.
* **Rosemary:** Invigorating and helps improve focus.
* **Mint:** Refreshing and helps clear congestion.
* **Lemon Balm:** Uplifting and helps reduce stress.
* **Chamomile:** Soothing and promotes relaxation.
You can also create themed bundles, such as a “Relaxation Bundle” with lavender and chamomile, or an “Invigorating Bundle” with rosemary and mint.
Safety Considerations
While eucalyptus is generally safe, there are a few safety considerations to keep in mind:
* **Allergies:** Some people may be allergic to eucalyptus. If you experience any skin irritation or respiratory problems after using a eucalyptus shower bundle, discontinue use immediately.
* **Pregnancy and Breastfeeding:** If you are pregnant or breastfeeding, consult with your doctor before using eucalyptus essential oil.
* **Pets:** Eucalyptus can be toxic to pets if ingested. Keep eucalyptus bundles out of reach of pets.
* **Essential Oil Use:** When using essential oils, always follow the manufacturer’s instructions and use them sparingly.
Why This Works: The Science Behind the Steam
The magic of a eucalyptus shower bundle lies in the steam. The hot water creates steam, which carries the volatile oils from the eucalyptus leaves into the air. When you inhale this steam, the eucalyptus oil can help to:
* **Clear Congestion:** Eucalyptus oil contains a compound called cineole, which is a natural decongestant. It helps to loosen mucus and phlegm, making it easier to breathe.
* **Reduce Inflammation:** Eucalyptus oil has anti-inflammatory properties, which can help to soothe irritated airways.
* **Relieve Stress:** The scent of eucalyptus is known to have calming and relaxing effects. It can help to reduce stress and anxiety.
* **Boost Immunity:** Eucalyptus oil has antimicrobial properties, which can help to fight off bacteria and viruses.
So, not only does a eucalyptus shower bundle smell amazing, but it also offers a range of therapeutic benefits!
Cost Breakdown
One of the best things about this DIY project is how affordable it is. Here’s a rough cost breakdown:
* **Eucalyptus Branches:** $5-$15 (depending on the florist and the quantity)
* **Twine:** $2-$5 (you’ll likely have plenty left over for other projects)
* **Other Herbs (Optional):** $2-$5
* **Essential Oils (Optional):** $5-$15 (
Conclusion
So, there you have it! Mastering eucalyptus tree care doesn’t have to be an intimidating task. By implementing this simple, yet effective DIY trick, you’re not just giving your eucalyptus a fighting chance; you’re actively promoting its health, vigor, and longevity. We’ve shown you how to create a customized, nutrient-rich soil amendment that addresses the specific needs of these magnificent trees, helping them thrive in a variety of environments.
Why is this DIY approach a must-try? Because it empowers you to take control of your eucalyptus tree’s well-being. Store-bought fertilizers can be expensive and often contain ingredients that aren’t ideally suited for eucalyptus. This method allows you to tailor the nutrient blend to your tree’s specific needs, ensuring it receives precisely what it requires to flourish. Plus, it’s a sustainable and cost-effective way to utilize readily available resources.
But the beauty of this DIY trick lies in its adaptability. Feel free to experiment with variations to suit your local climate and soil conditions. For instance, if you live in an area with particularly alkaline soil, consider adding a bit more sulfur to the mix to help lower the pH. If your eucalyptus is showing signs of iron deficiency (yellowing leaves), incorporate a small amount of chelated iron into the amendment. You could also add some well-rotted composted manure for an extra boost of organic matter and beneficial microbes. Remember to always observe your tree closely and adjust the recipe accordingly.
Don’t be afraid to get your hands dirty and experiment! The key is to understand the basic principles of eucalyptus tree care and then adapt them to your specific situation.
We are confident that this DIY trick will make a significant difference in the health and appearance of your eucalyptus tree. It’s a simple, effective, and rewarding way to nurture these beautiful trees and enjoy their many benefits for years to come.
Now, it’s your turn! We encourage you to try this DIY trick and see the results for yourself. We’re eager to hear about your experiences. Share your successes, your challenges, and any variations you’ve tried in the comments below. Let’s build a community of eucalyptus enthusiasts who are passionate about providing the best possible care for these remarkable trees. Your insights could help others achieve even greater success with their eucalyptus tree care endeavors. Let us know how this DIY trick has helped you with your eucalyptus tree care.
Frequently Asked Questions (FAQ)
What exactly is eucalyptus tree care, and why is it important?
Eucalyptus tree care encompasses all the practices involved in maintaining the health and well-being of eucalyptus trees. This includes proper watering, fertilization, pruning, pest control, and disease prevention. It’s important because eucalyptus trees, while generally hardy, can be susceptible to various problems if not properly cared for. Neglecting their needs can lead to stunted growth, leaf discoloration, increased vulnerability to pests and diseases, and even death. Proper care ensures that your eucalyptus tree thrives, providing shade, beauty, and the characteristic fragrance that makes them so beloved.
How often should I apply this DIY soil amendment?
The frequency of application depends on several factors, including the age of your tree, the quality of your soil, and the climate you live in. As a general guideline, apply the amendment every 3-6 months during the growing season (spring and summer). For younger trees, a more frequent application (every 3 months) may be beneficial. For mature trees in well-drained soil, an application every 6 months may suffice. Observe your tree closely for signs of nutrient deficiency (e.g., yellowing leaves, slow growth) and adjust the frequency accordingly. Remember, it’s always better to err on the side of caution and avoid over-fertilizing.
Can I use this DIY trick on other types of trees?
While this DIY soil amendment is specifically formulated for eucalyptus trees, some of the principles can be applied to other trees as well. However, it’s crucial to understand the specific nutrient requirements of each tree species. Eucalyptus trees have a particular need for certain micronutrients, such as iron and zinc, which may not be as critical for other trees. Before applying this amendment to other trees, research their specific needs and adjust the recipe accordingly. It’s always best to consult with a local arborist or horticultural expert for guidance.
What if I don’t have access to all the ingredients listed in the recipe?
Don’t worry if you can’t find every single ingredient. The key is to focus on providing the essential nutrients that eucalyptus trees need. If you can’t find bone meal, for example, you can substitute it with another source of phosphorus, such as rock phosphate. If you don’t have Epsom salts, you can skip it, although it does provide valuable magnesium. The most important ingredients are the nitrogen source (e.g., blood meal), the phosphorus source (e.g., bone meal), and the potassium source (e.g., wood ash). You can also consider using a commercially available fertilizer specifically formulated for eucalyptus trees as a base and then supplementing it with some of the other ingredients in the recipe.
My eucalyptus tree’s leaves are turning yellow. Is this DIY trick the solution?
Yellowing leaves (chlorosis) can be a sign of several problems, including nutrient deficiency, overwatering, underwatering, or disease. While this DIY trick can help address nutrient deficiencies, it’s essential to diagnose the underlying cause of the yellowing before applying it. Check the soil moisture levels to ensure that you’re not overwatering or underwatering. Also, inspect the leaves for signs of pests or diseases. If you suspect a nutrient deficiency, perform a soil test to determine which nutrients are lacking. This DIY amendment can be a valuable tool in addressing nutrient deficiencies, but it’s not a cure-all for all eucalyptus tree problems.
How do I know if I’m over-fertilizing my eucalyptus tree?
Over-fertilizing can be just as harmful as under-fertilizing. Signs of over-fertilization include leaf burn (browning edges), stunted growth, and a build-up of salts in the soil. If you suspect that you’re over-fertilizing, stop applying the amendment immediately and flush the soil with plenty of water to help remove excess salts. Perform a soil test to determine the nutrient levels and adjust your fertilization schedule accordingly. Remember, it’s always better to err on the side of caution and apply fertilizer sparingly.
Can I use this DIY trick on eucalyptus trees grown in containers?
Yes, this DIY trick can be used on eucalyptus trees grown in containers, but you’ll need to adjust the application rate. Container-grown trees have limited access to nutrients and are more susceptible to nutrient deficiencies. Therefore, you may need to apply the amendment more frequently, but in smaller amounts. Be sure to use a well-draining potting mix and avoid overwatering. Monitor the tree closely for signs of nutrient deficiency or over-fertilization and adjust the application rate accordingly.
Where can I find more information about eucalyptus tree care?
There are many resources available to help you learn more about eucalyptus tree care. Your local nursery or garden center can provide valuable advice and guidance. You can also consult with a local arborist or horticultural expert. Online resources, such as university extension websites and gardening forums, can also provide a wealth of information. Be sure to choose reputable sources and verify the information before applying it to your own trees.

Leave a Comment